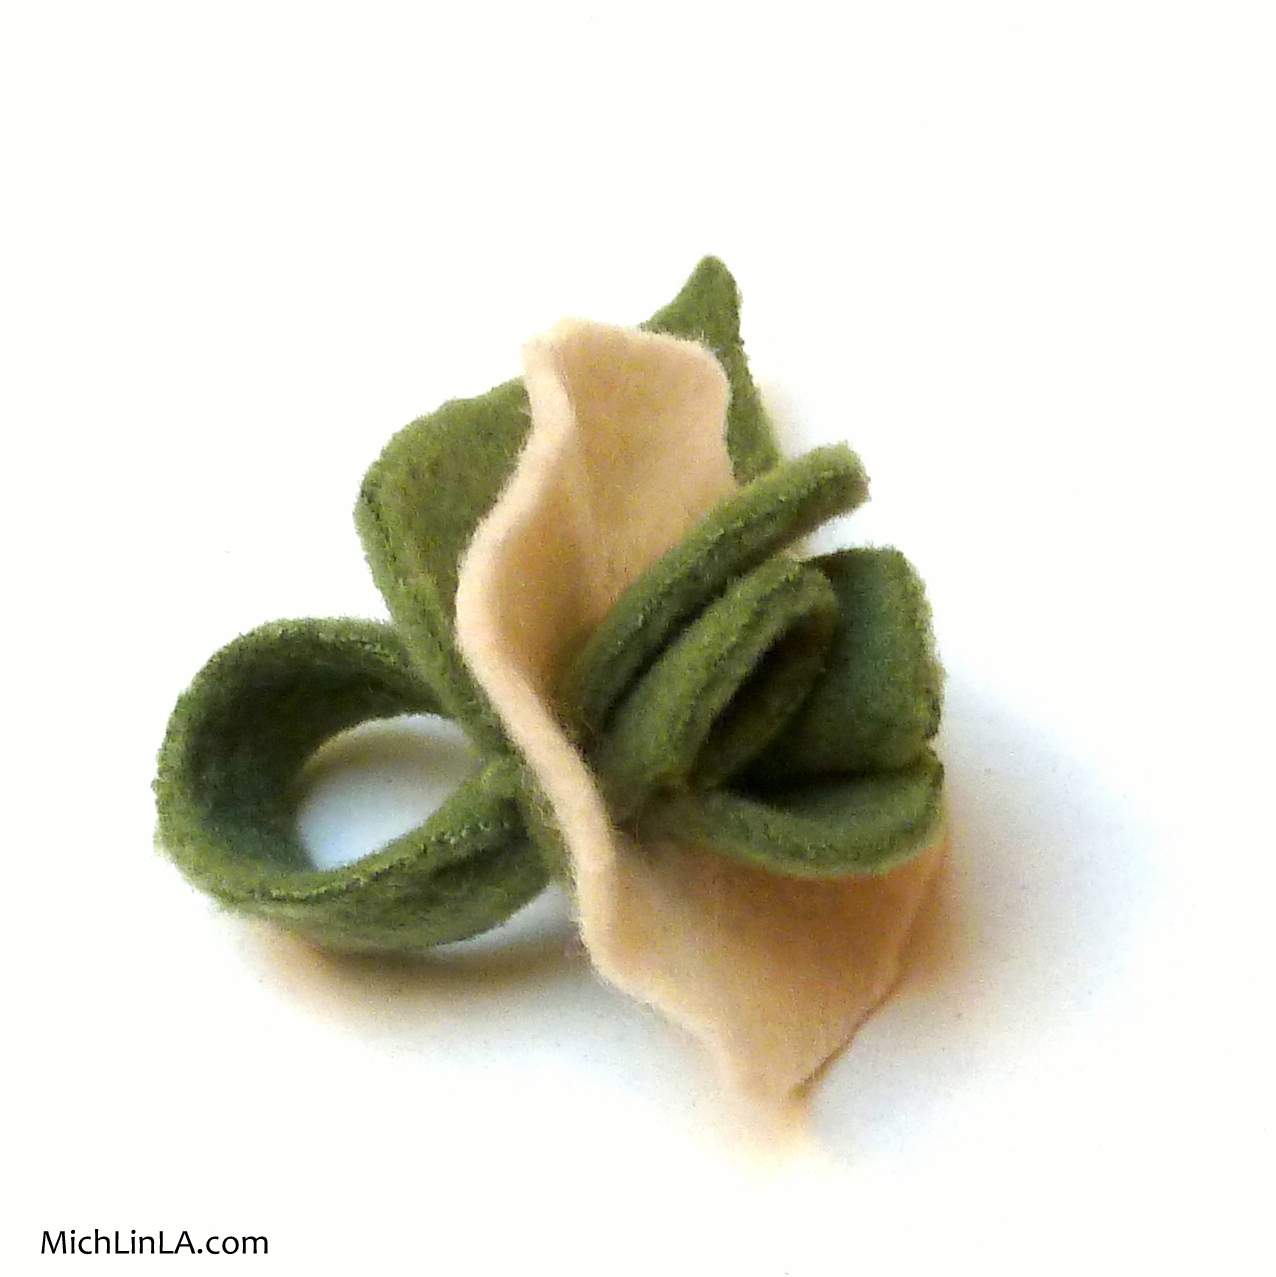
Today's craft: a DIY ring made from scraps of fleece and felt.
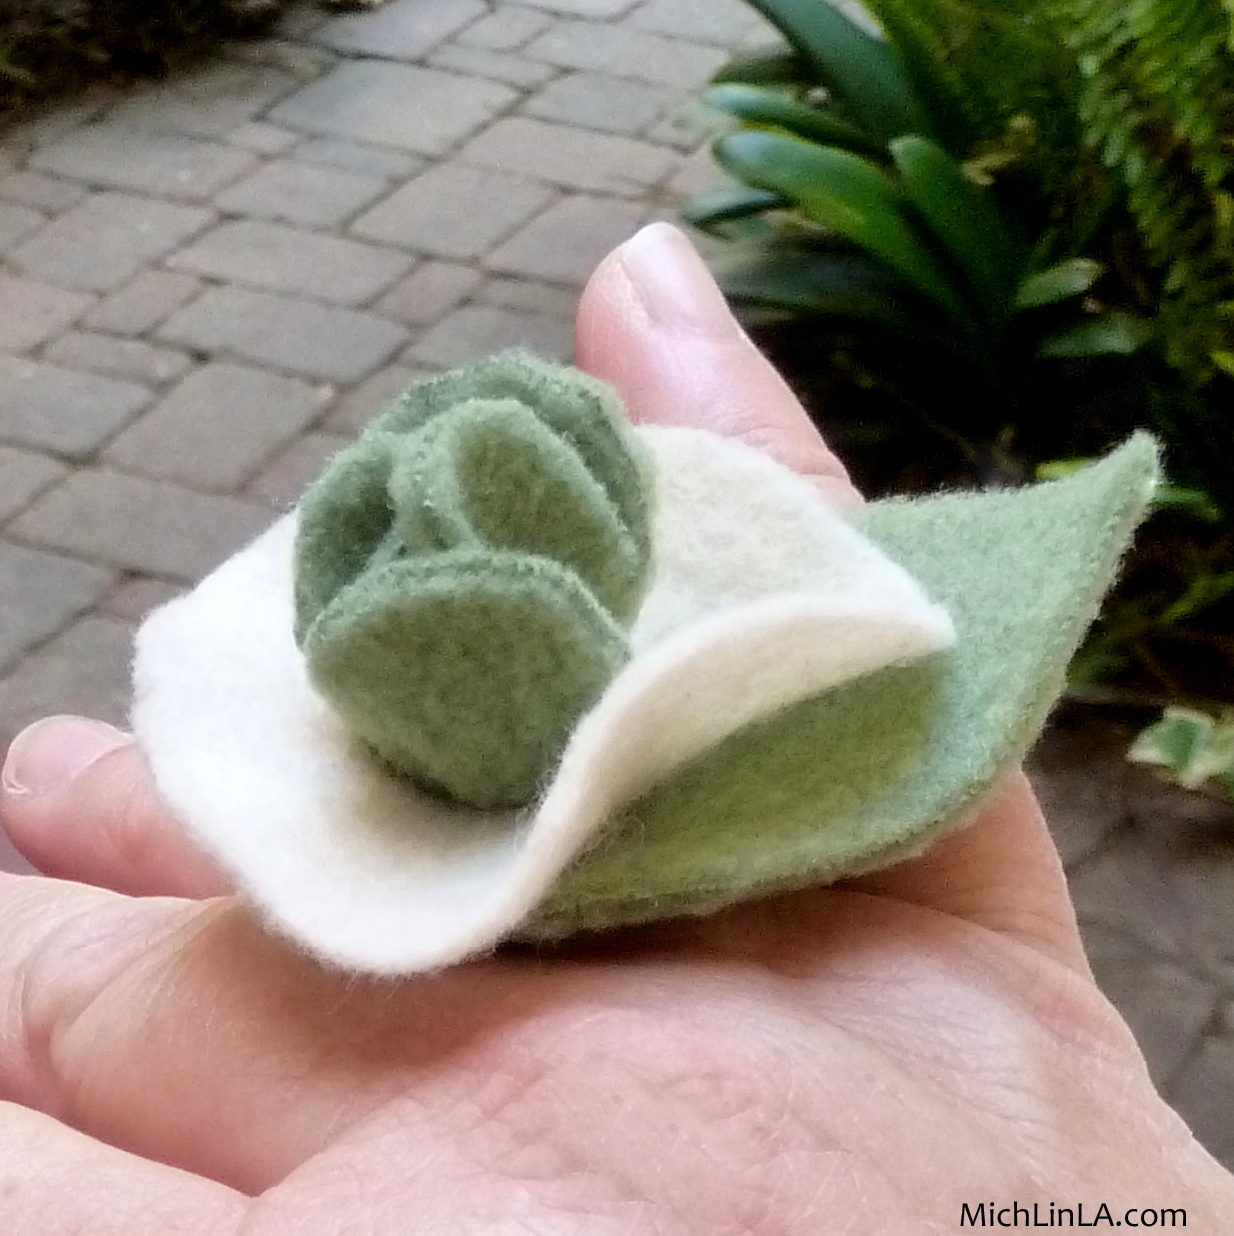
A five minute craft for any age and skill level. I like it plain...
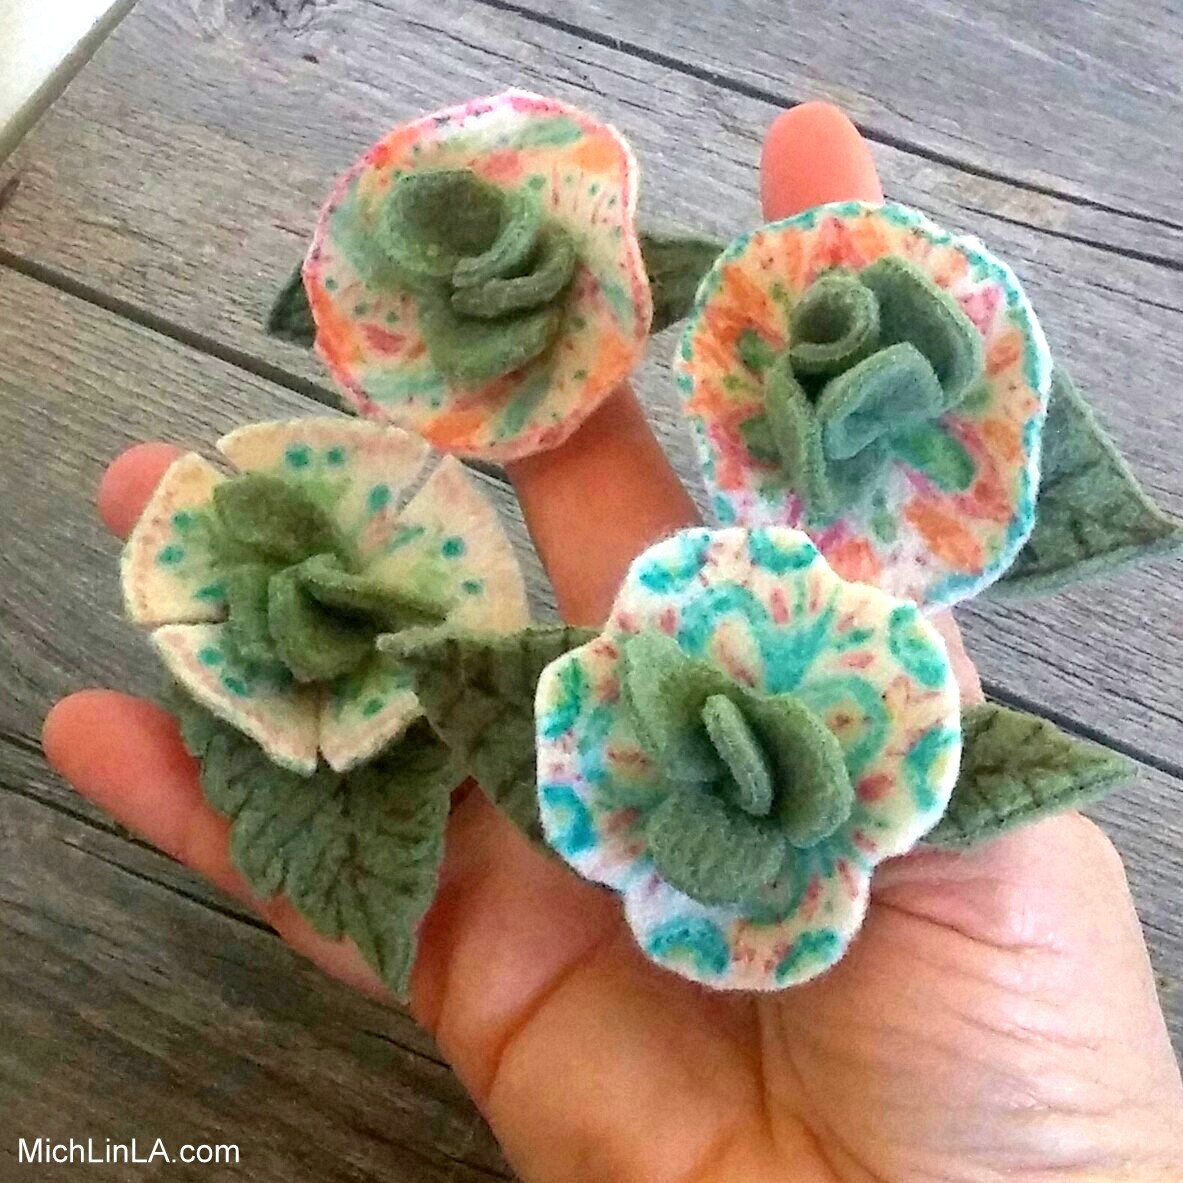
And I like it patterned.
Aw heck, I just like it.
The How-To is particularly fun, and involves a dog biscuit. So now you have to try it, right? Ready? Here goes!
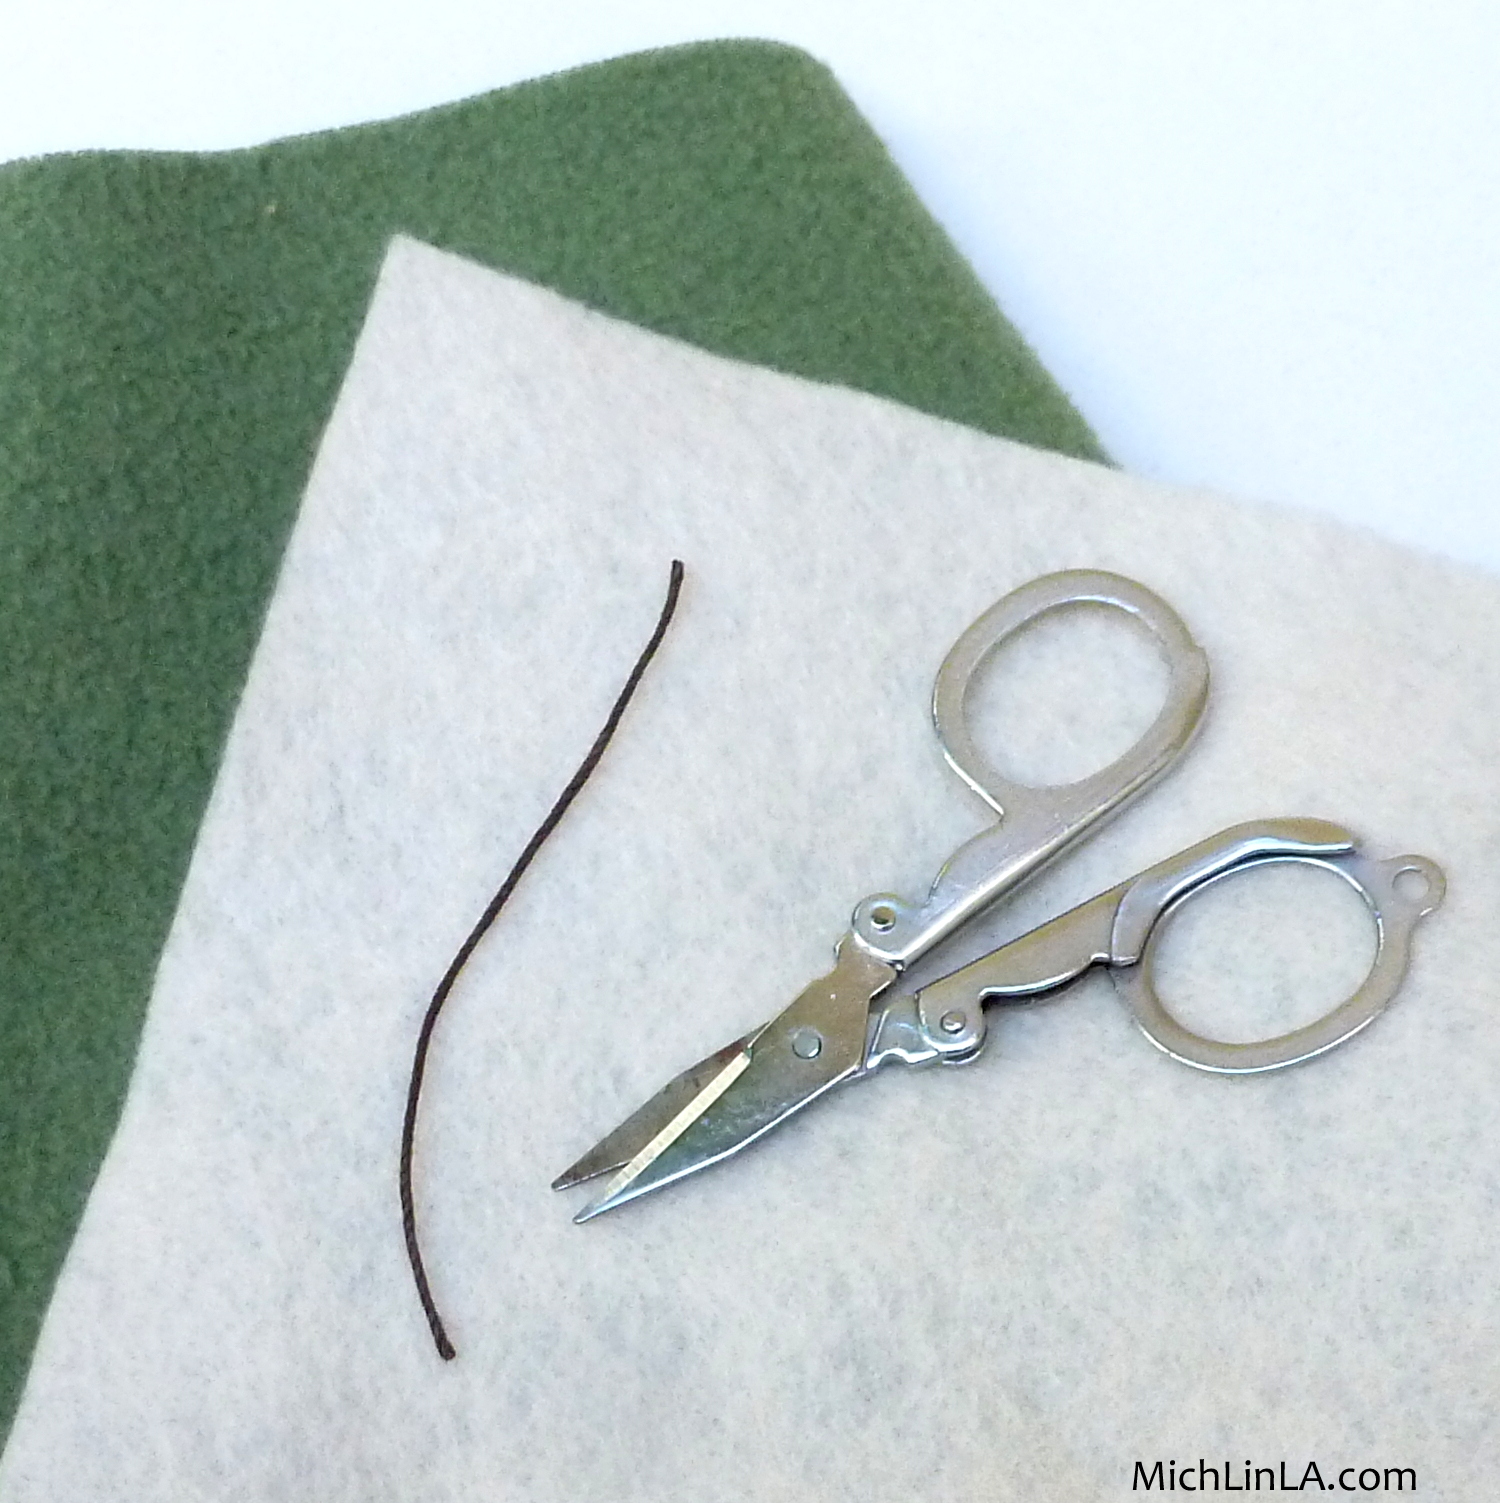
You will need some floppy scrap fleece (the green stuff) and some slightly-stiffer felt. You will also need scissors and a tiny piece of string.
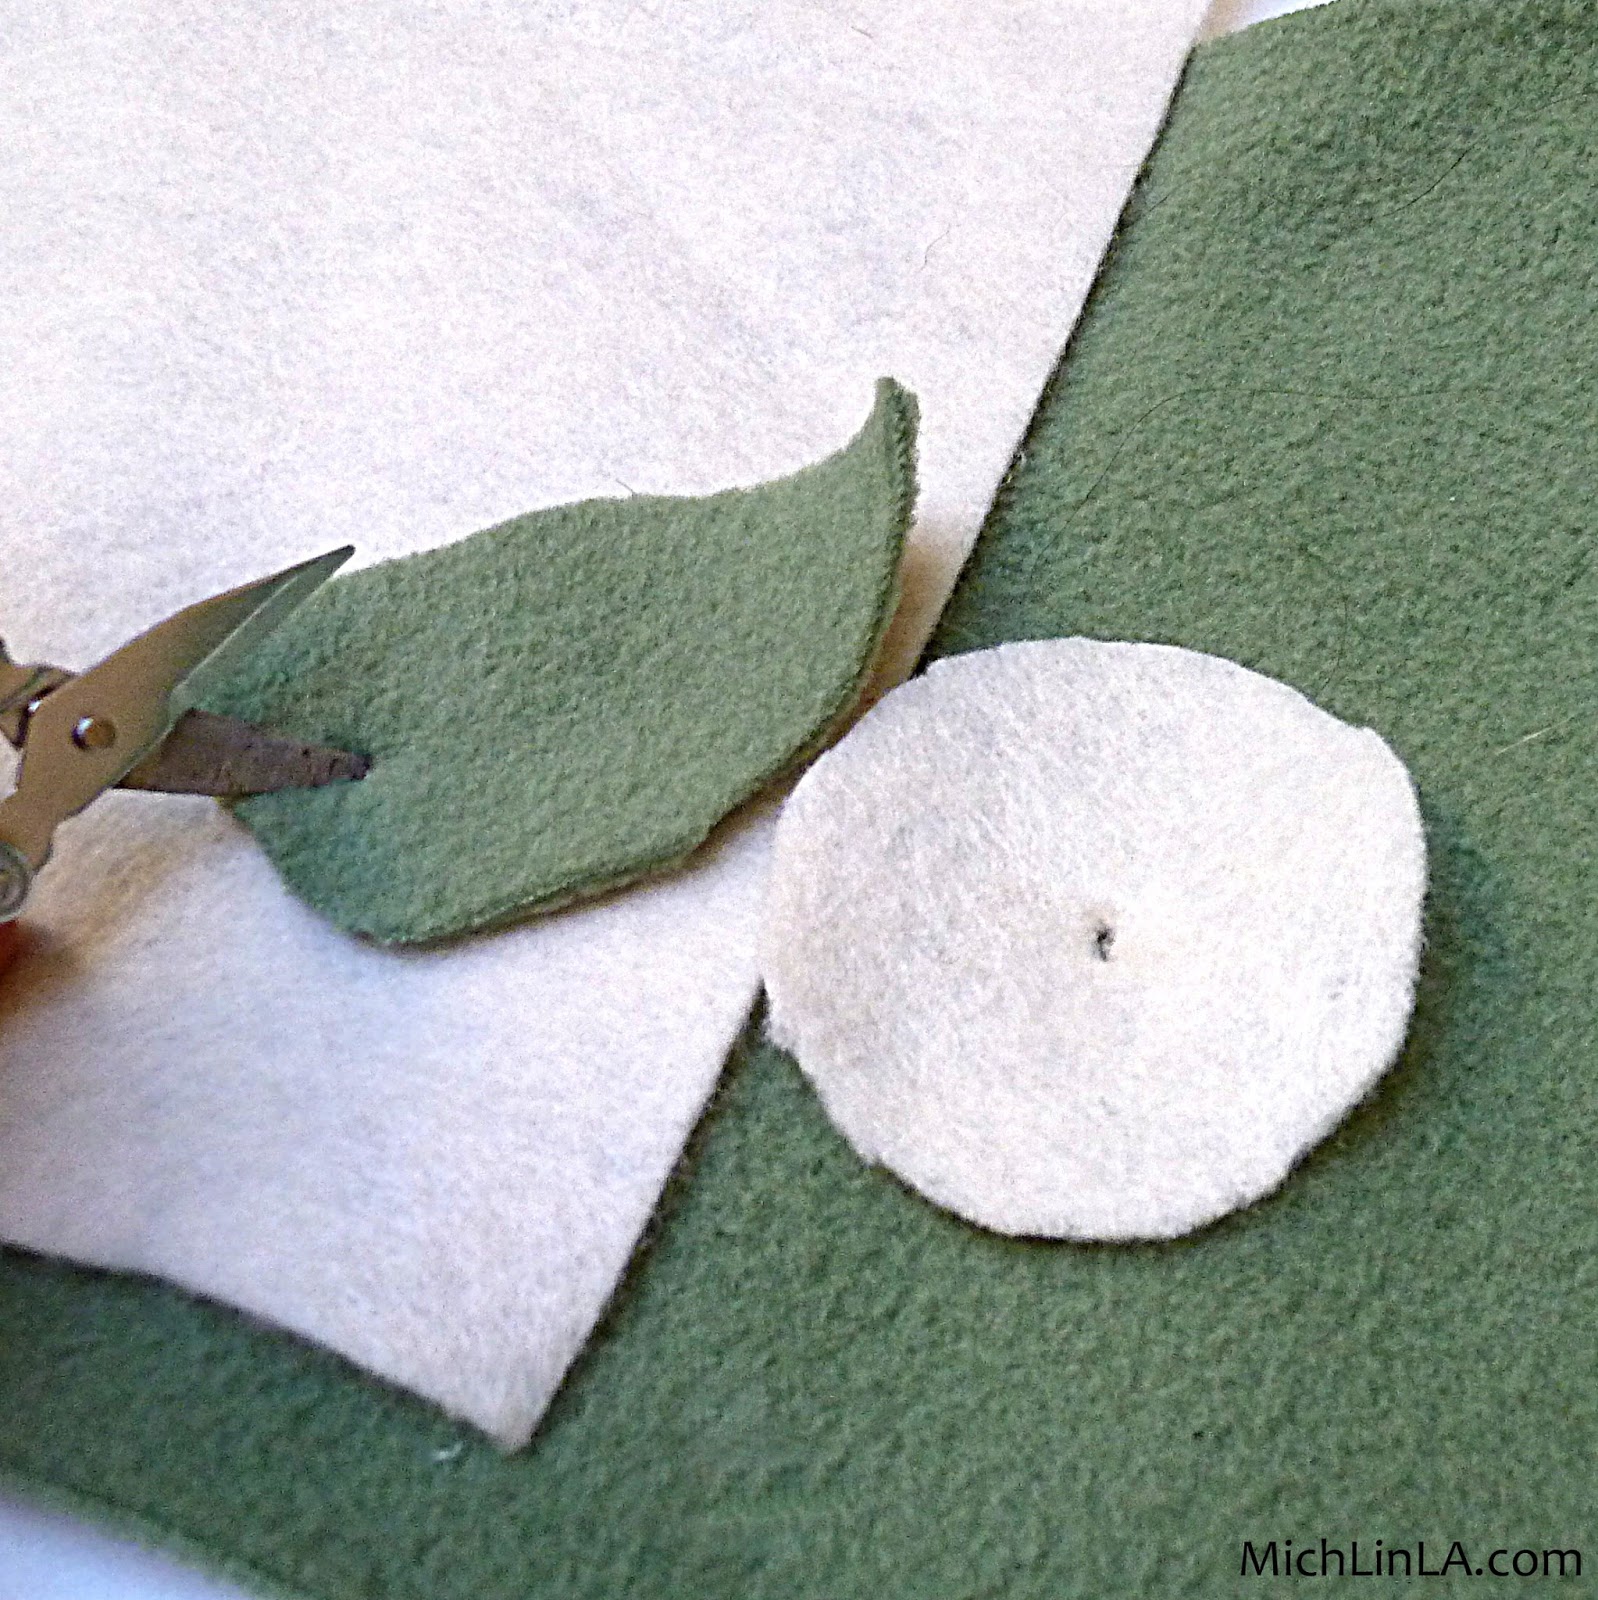
Cut a fleece leaf and a felt petal. (The petal can be a simple circle or a more flowery shape if you like.) Poke a hole in each as shown here:
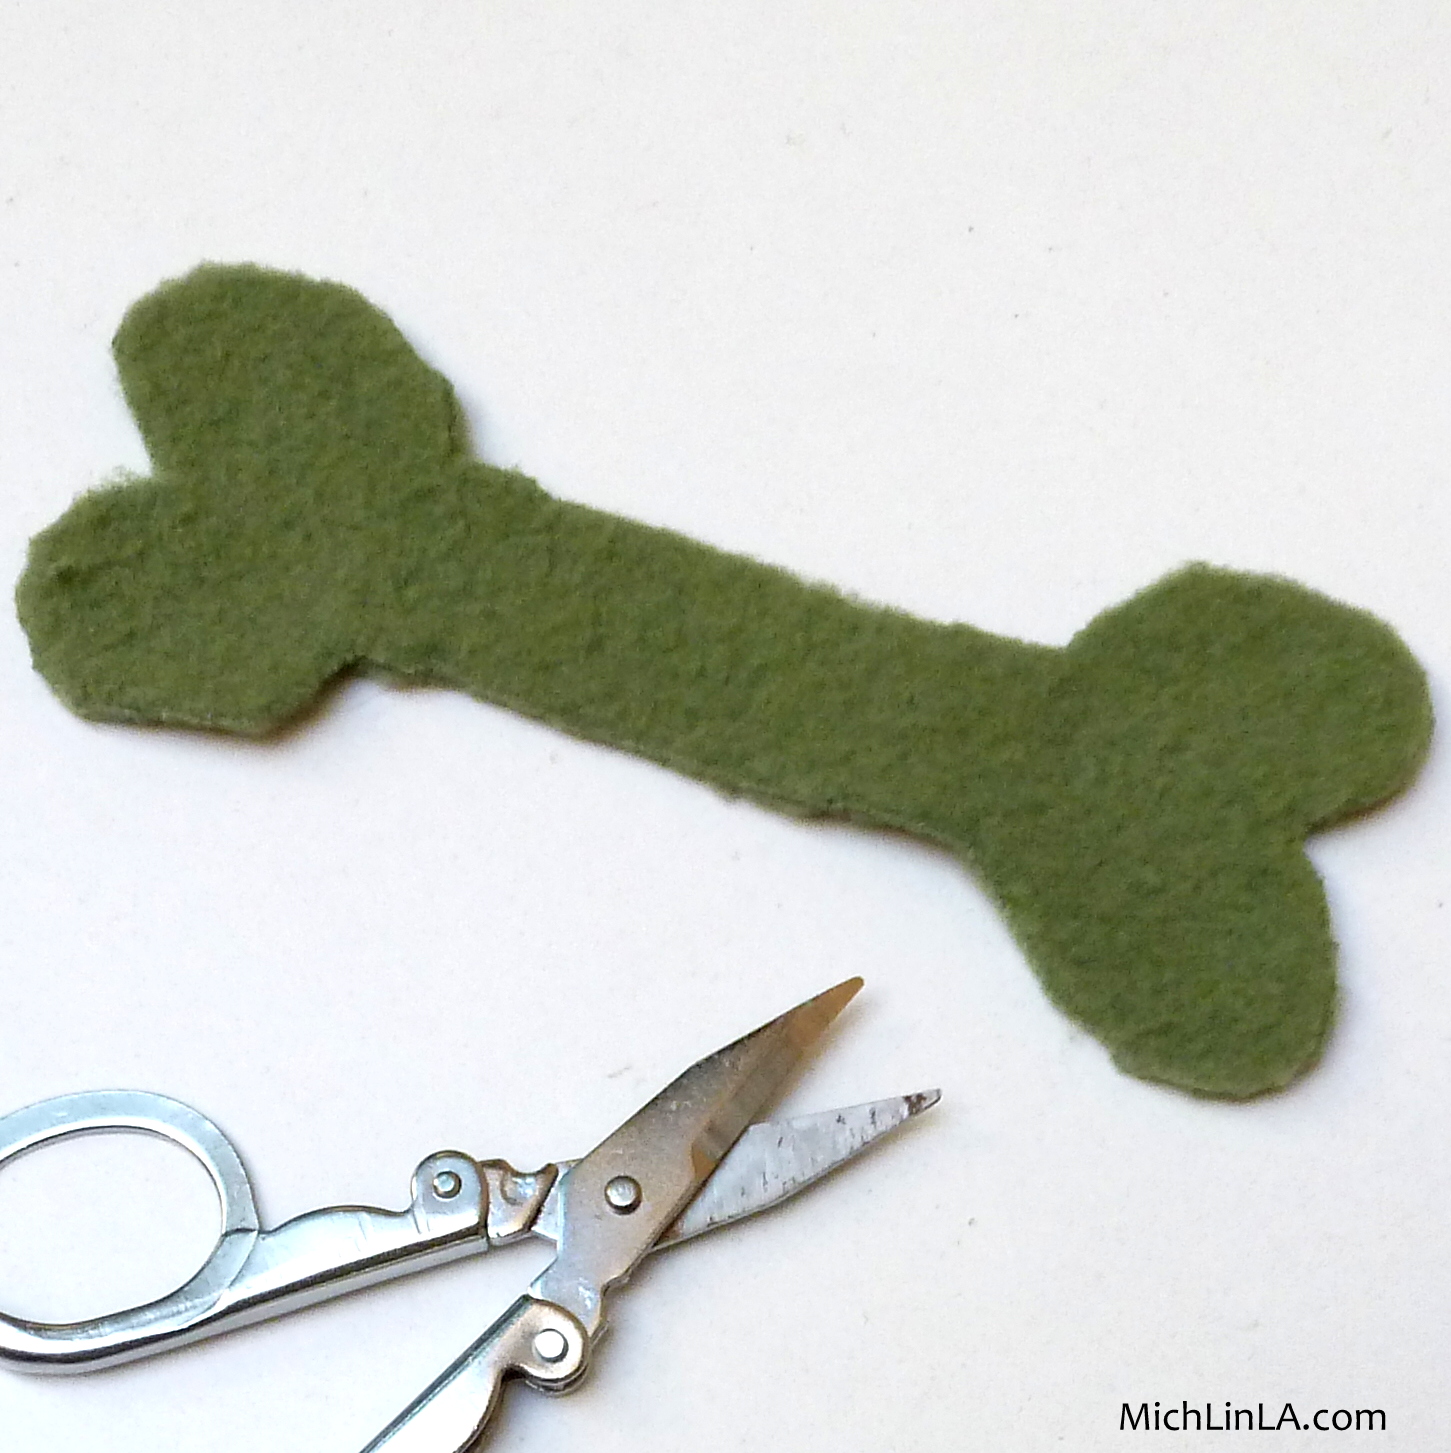
Now make a dog biscuit out of fleece, like so:
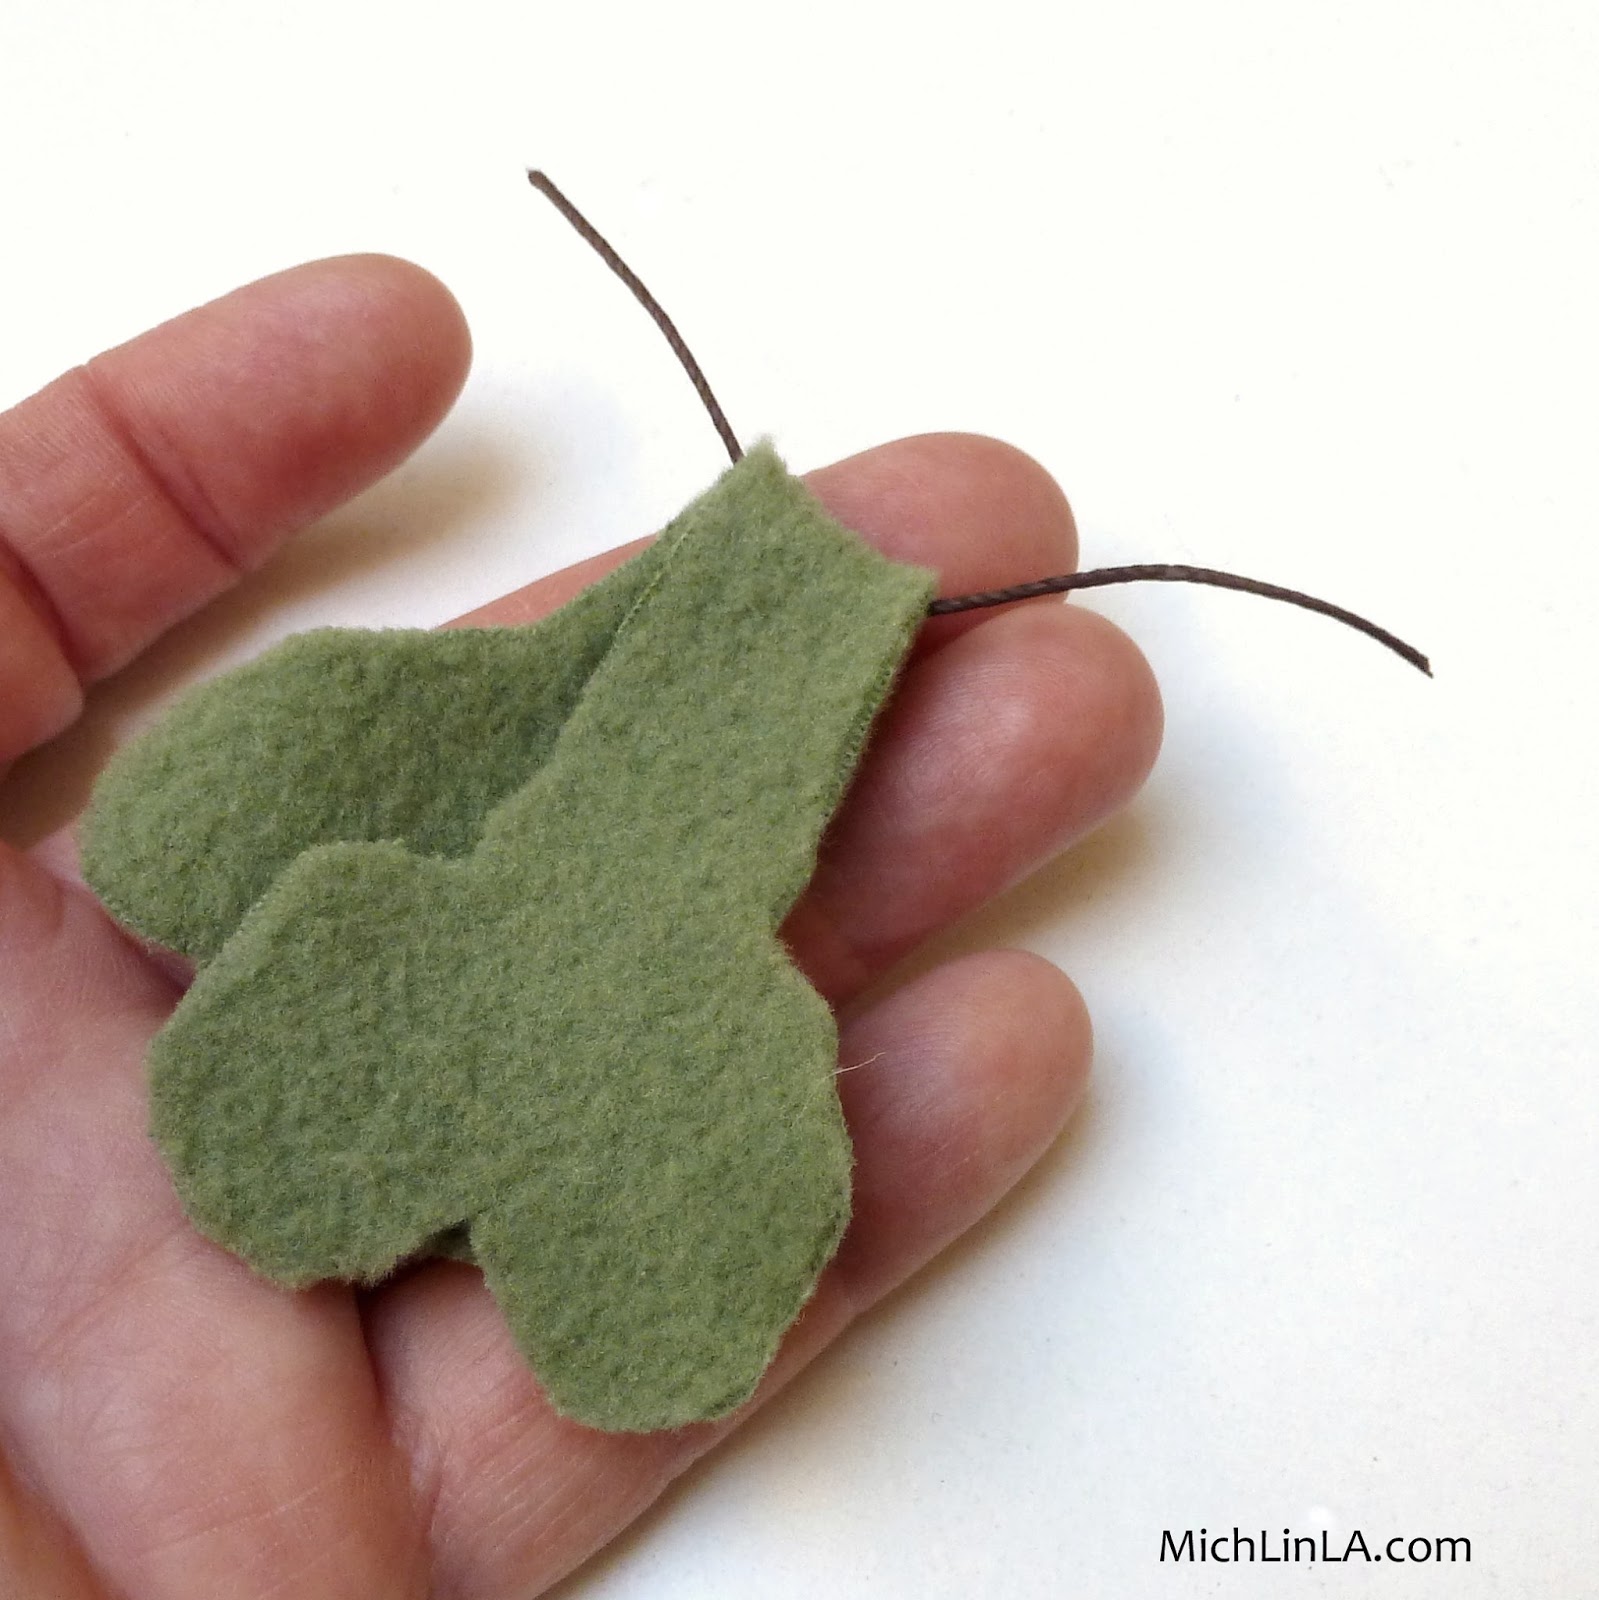
Fold the biscuit in half and insert the string at the fold.
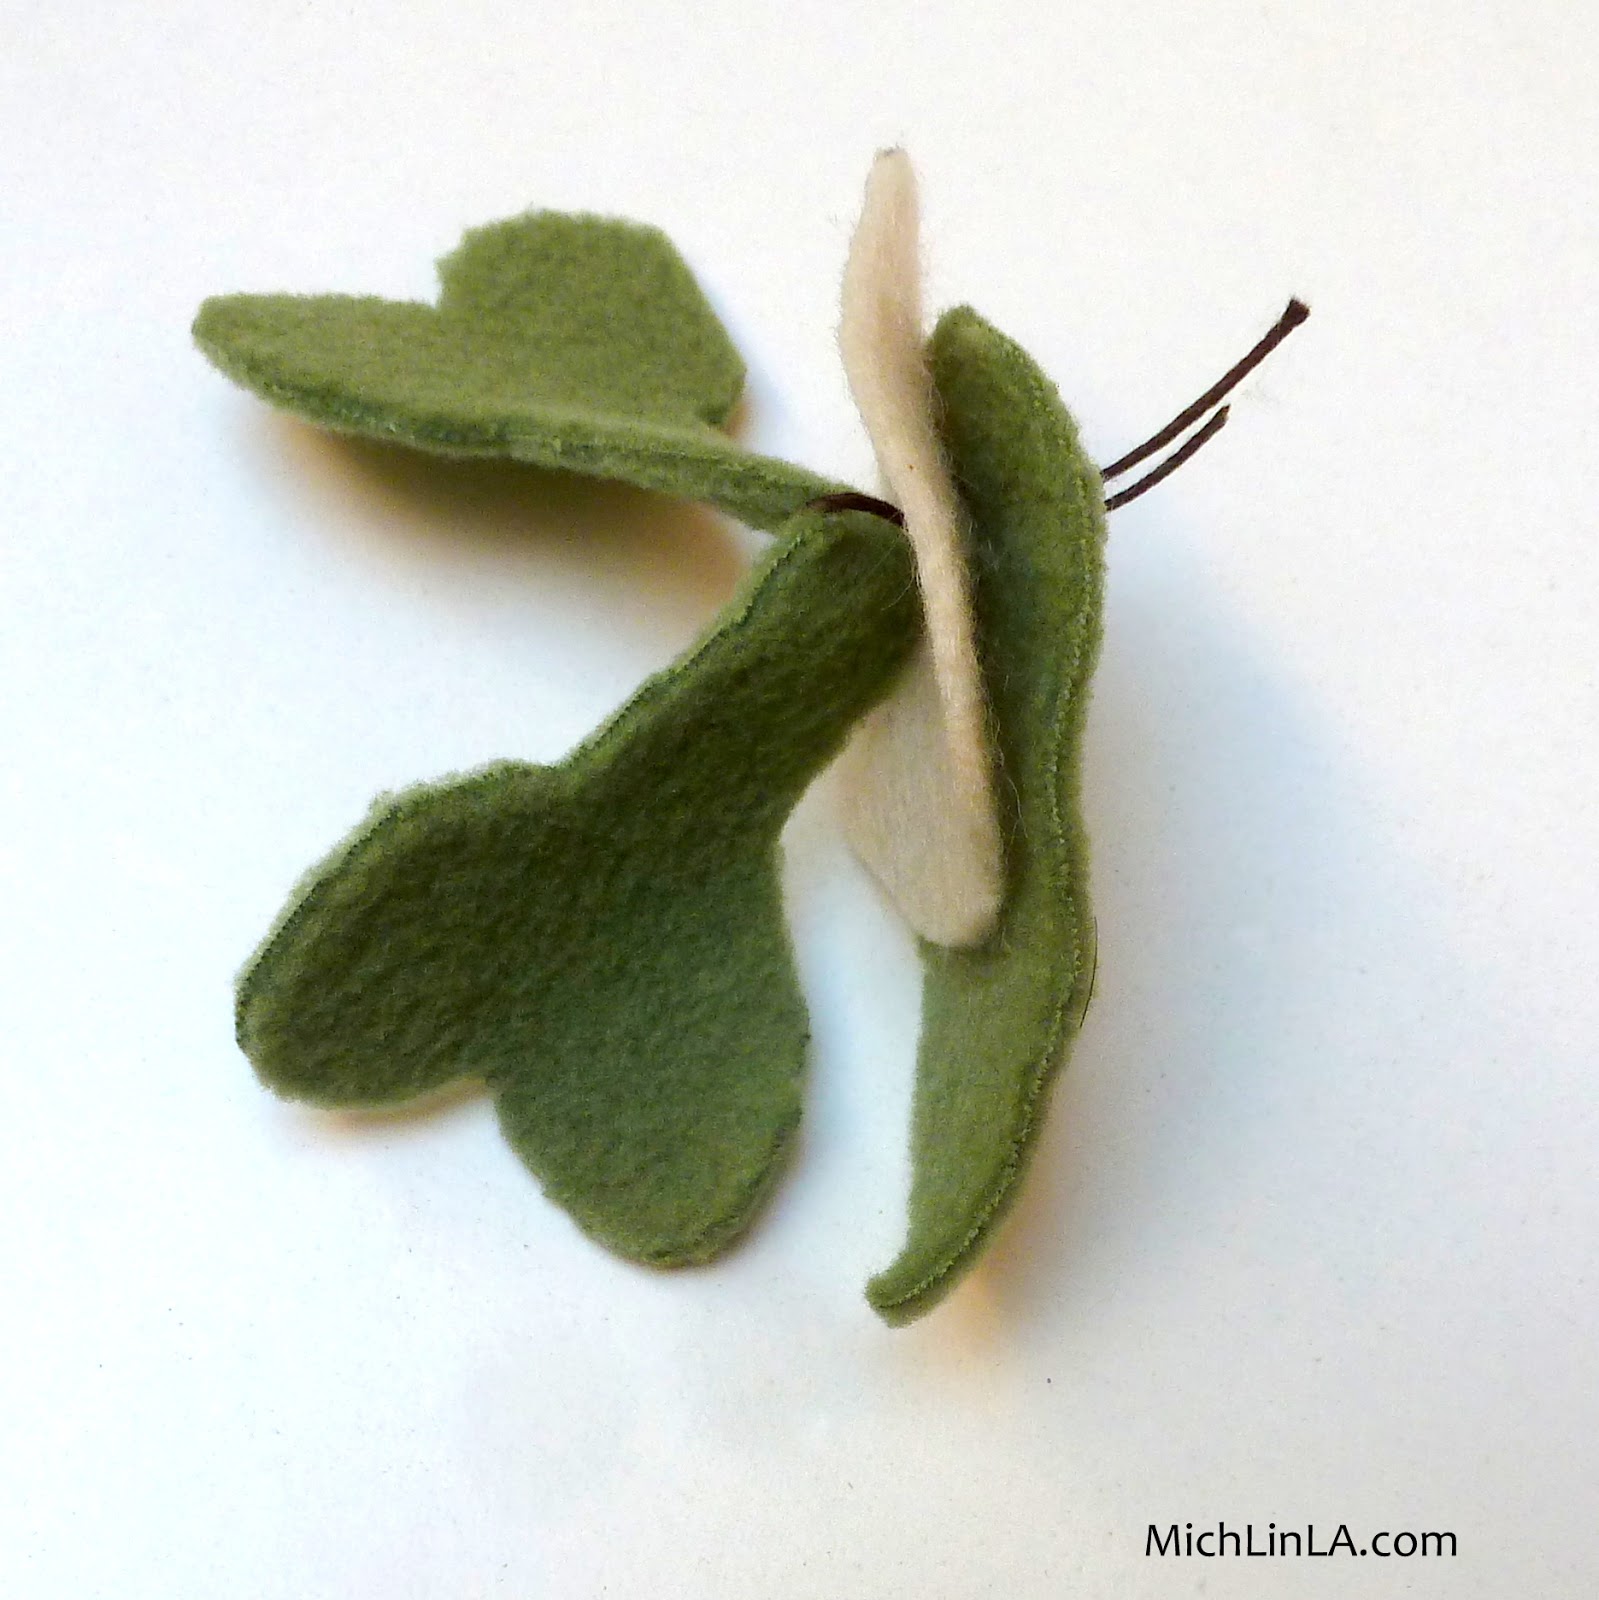
Stack the leaf and petal, then use the string to pull the folded biscuit through the holes.
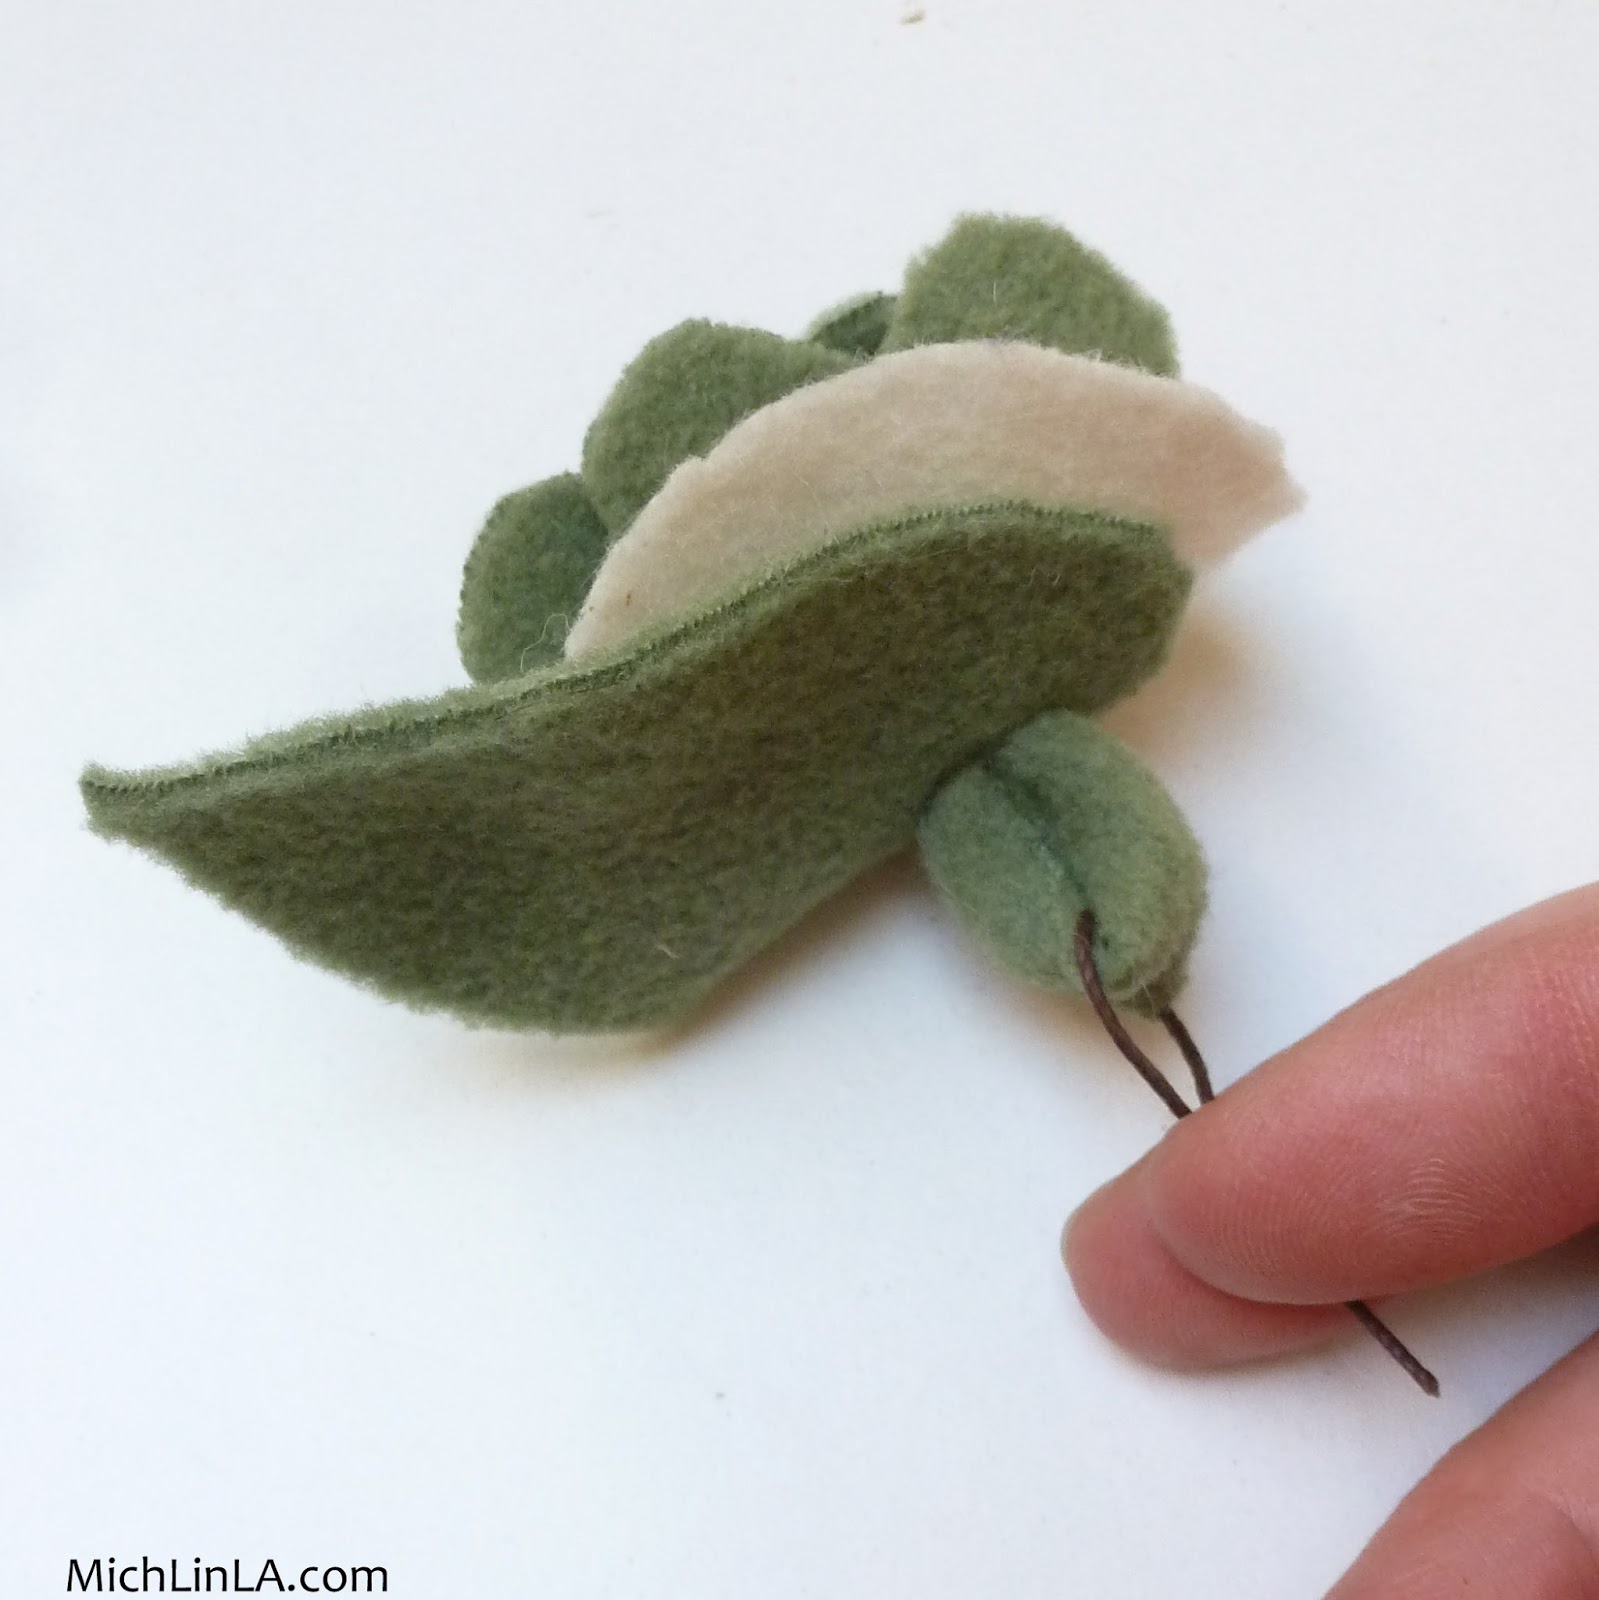
Pull until the biscuit ends are bunched in the center of the flower and you can't go any further.
Done and done.
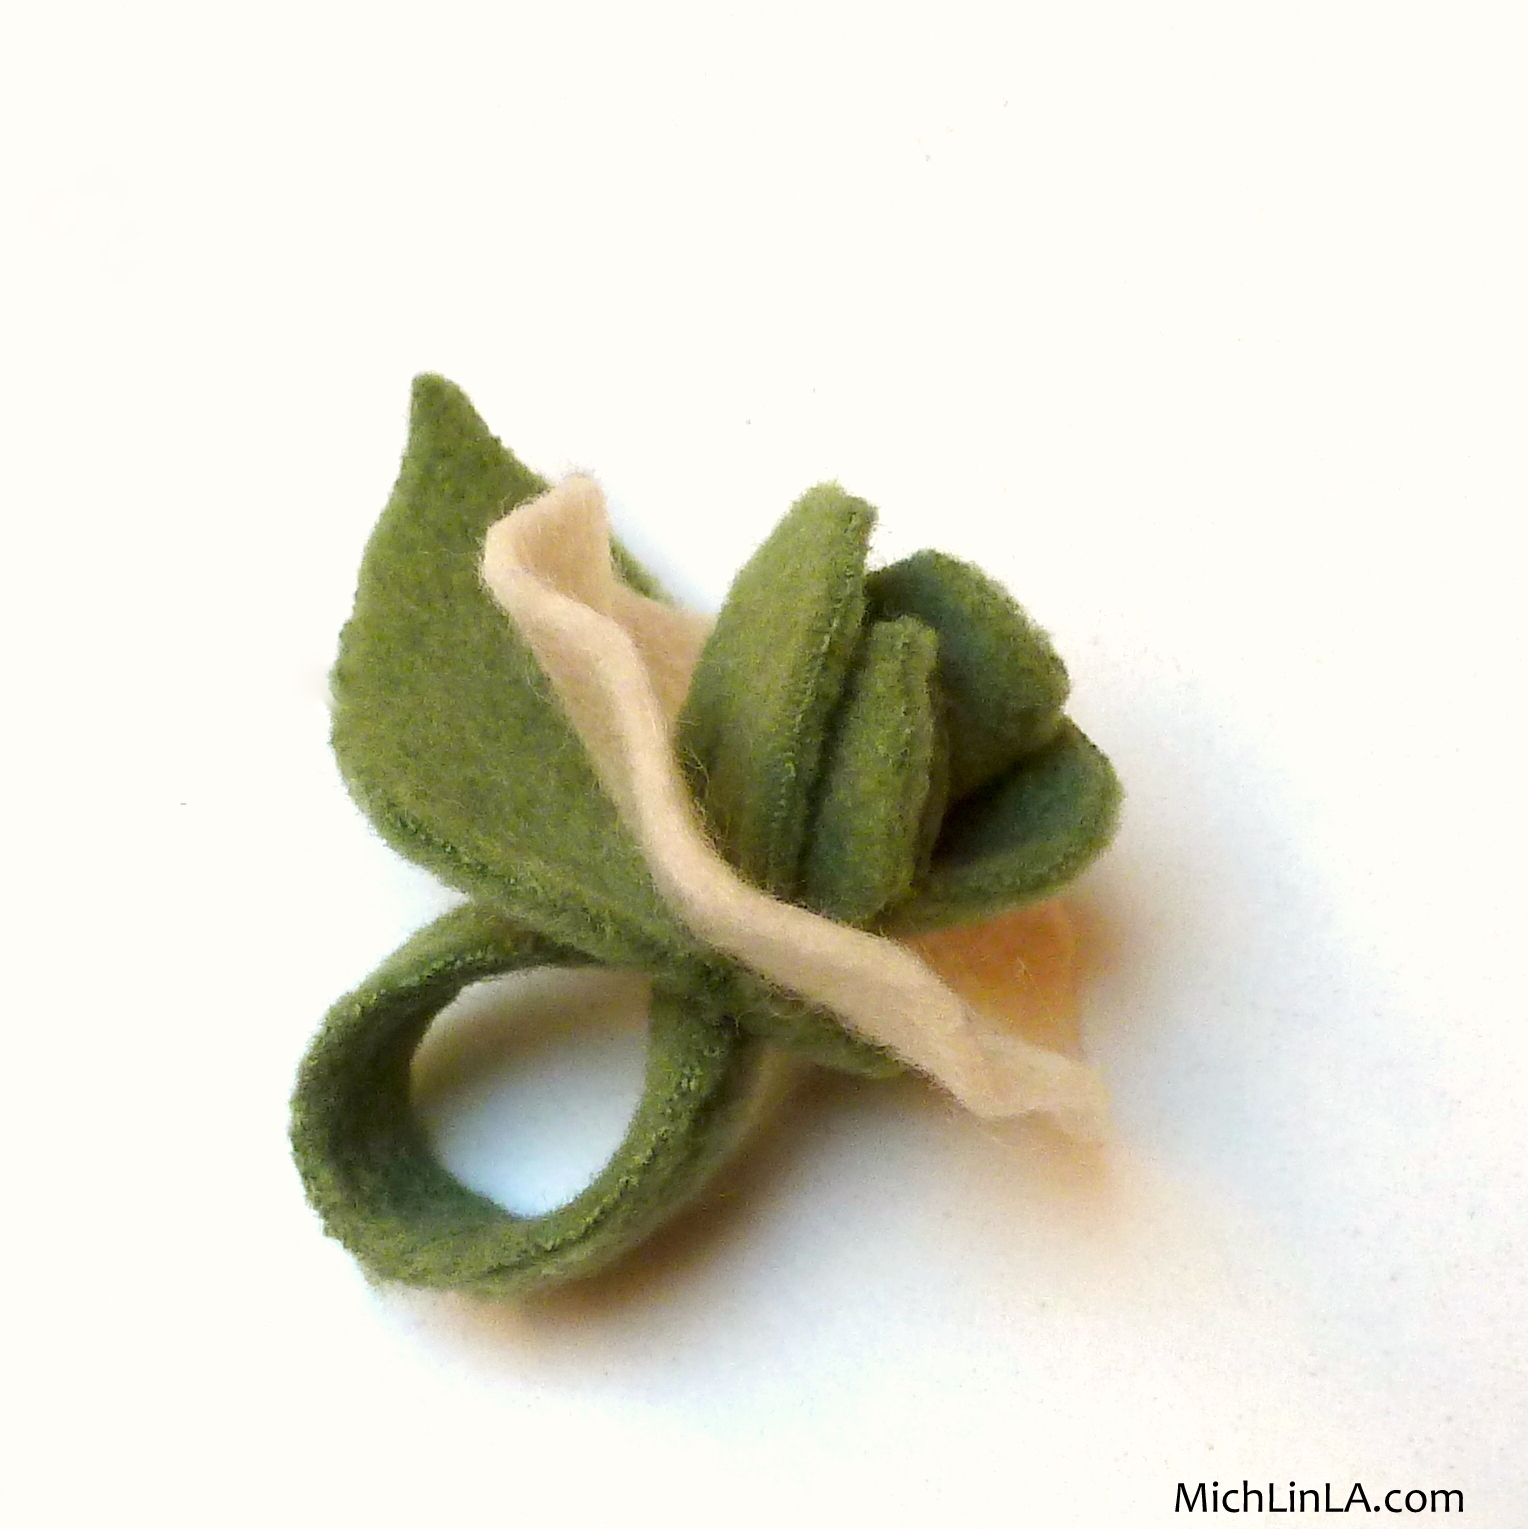
For the fancy version, I just Sharpied the heck out of both the felt petal and the fleece leaf (or leaves). Here you can see some potential different shapes for both elements:
And that, you guys, is my Scrappy Fleece Flower Ring. Sure hope you like it!
Oops, gotta go, someone has been waiting patiently while I wrote this post.
Thank you for coming by!
It's the most wonderful time of the year: that month when you can buy jingle bells at the dollar store! (Okay, you can buy them other places too. So I'm told.)
Why is this wonderful? Well, duh, they make everything more jingly. But even more significantly -
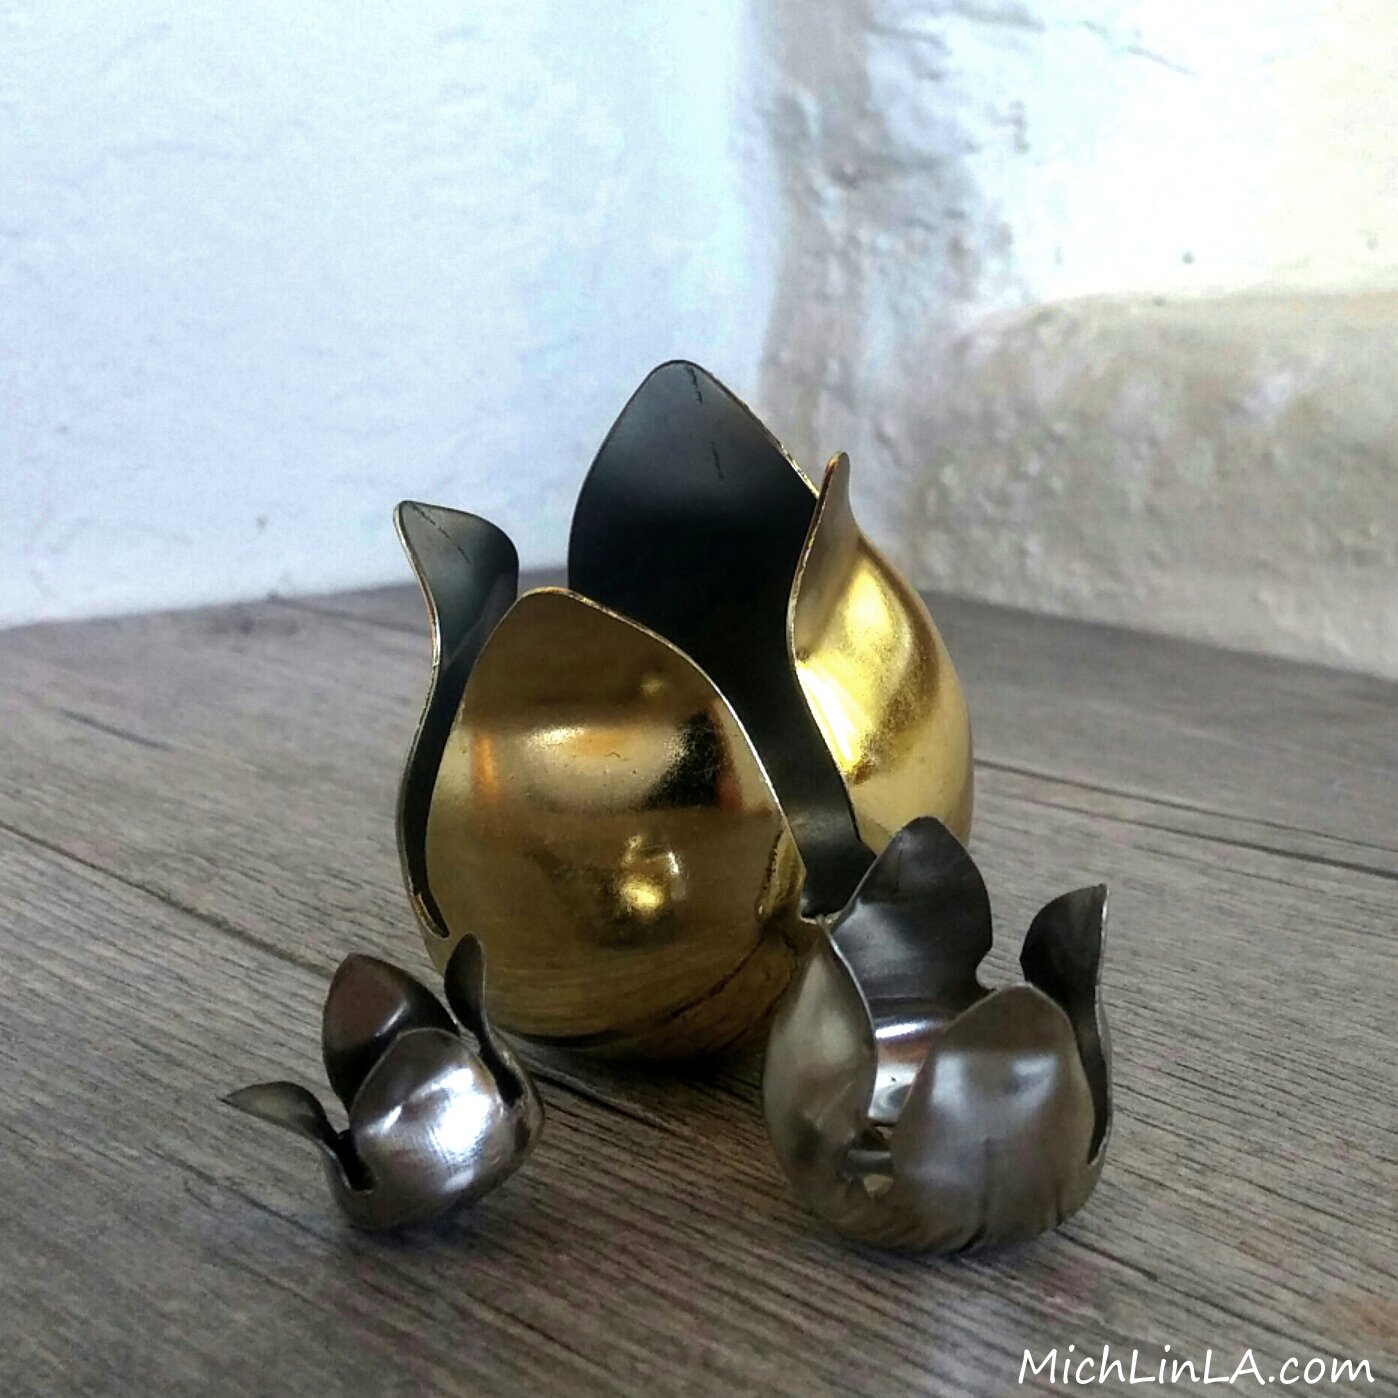
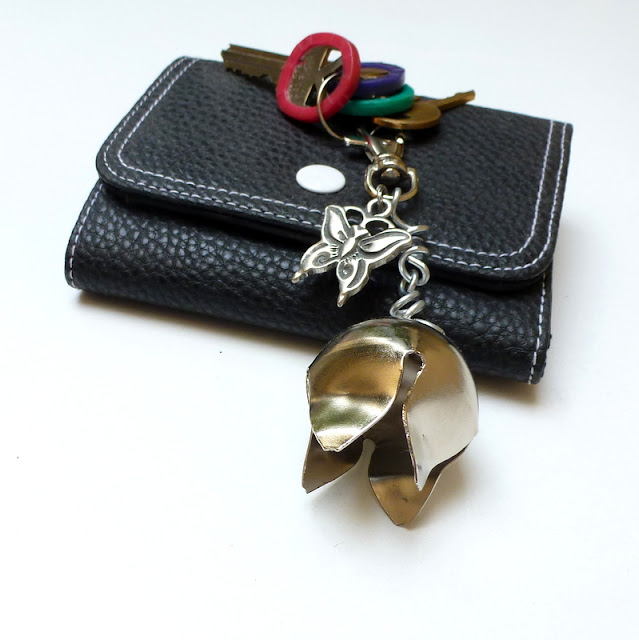
You can turn them into flower buds.
They are awfully fun to use in crafting. Delightful for jewelry...
I love to use them in home decor projects (more about that in another post), and for cute flower gifts like these key rings.
If you try, bet you'll come up with all kinds of cool things to use them for.
The DIY is easy - you can probably figure it out without a tutorial. But I have a neat little trick to show you, so bear with me all the way to the end - you might decide to do it my way. Ready? Here we go.
First the basic technique - this is how I used to make them before figuring out my super secret maneuver. And it's a perfectly fine way to do it.
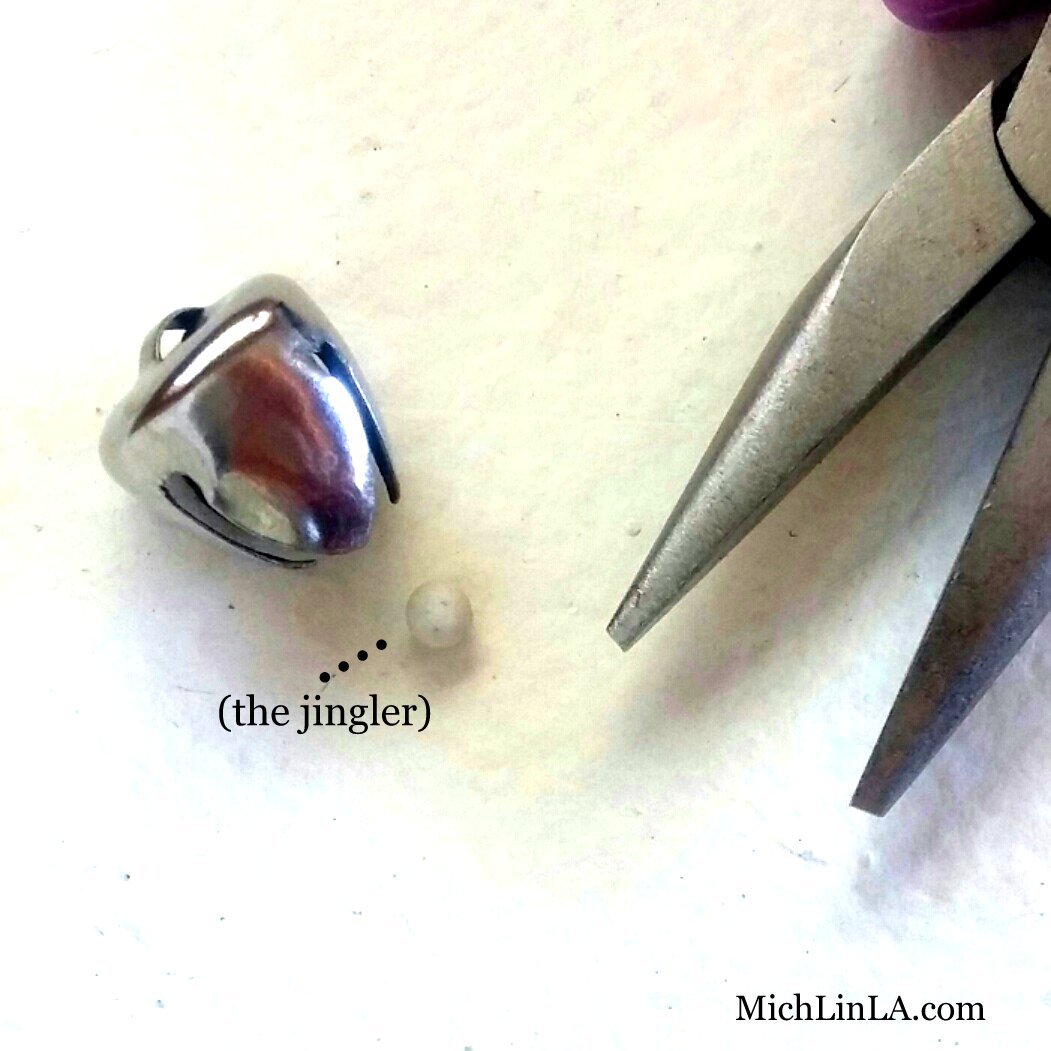
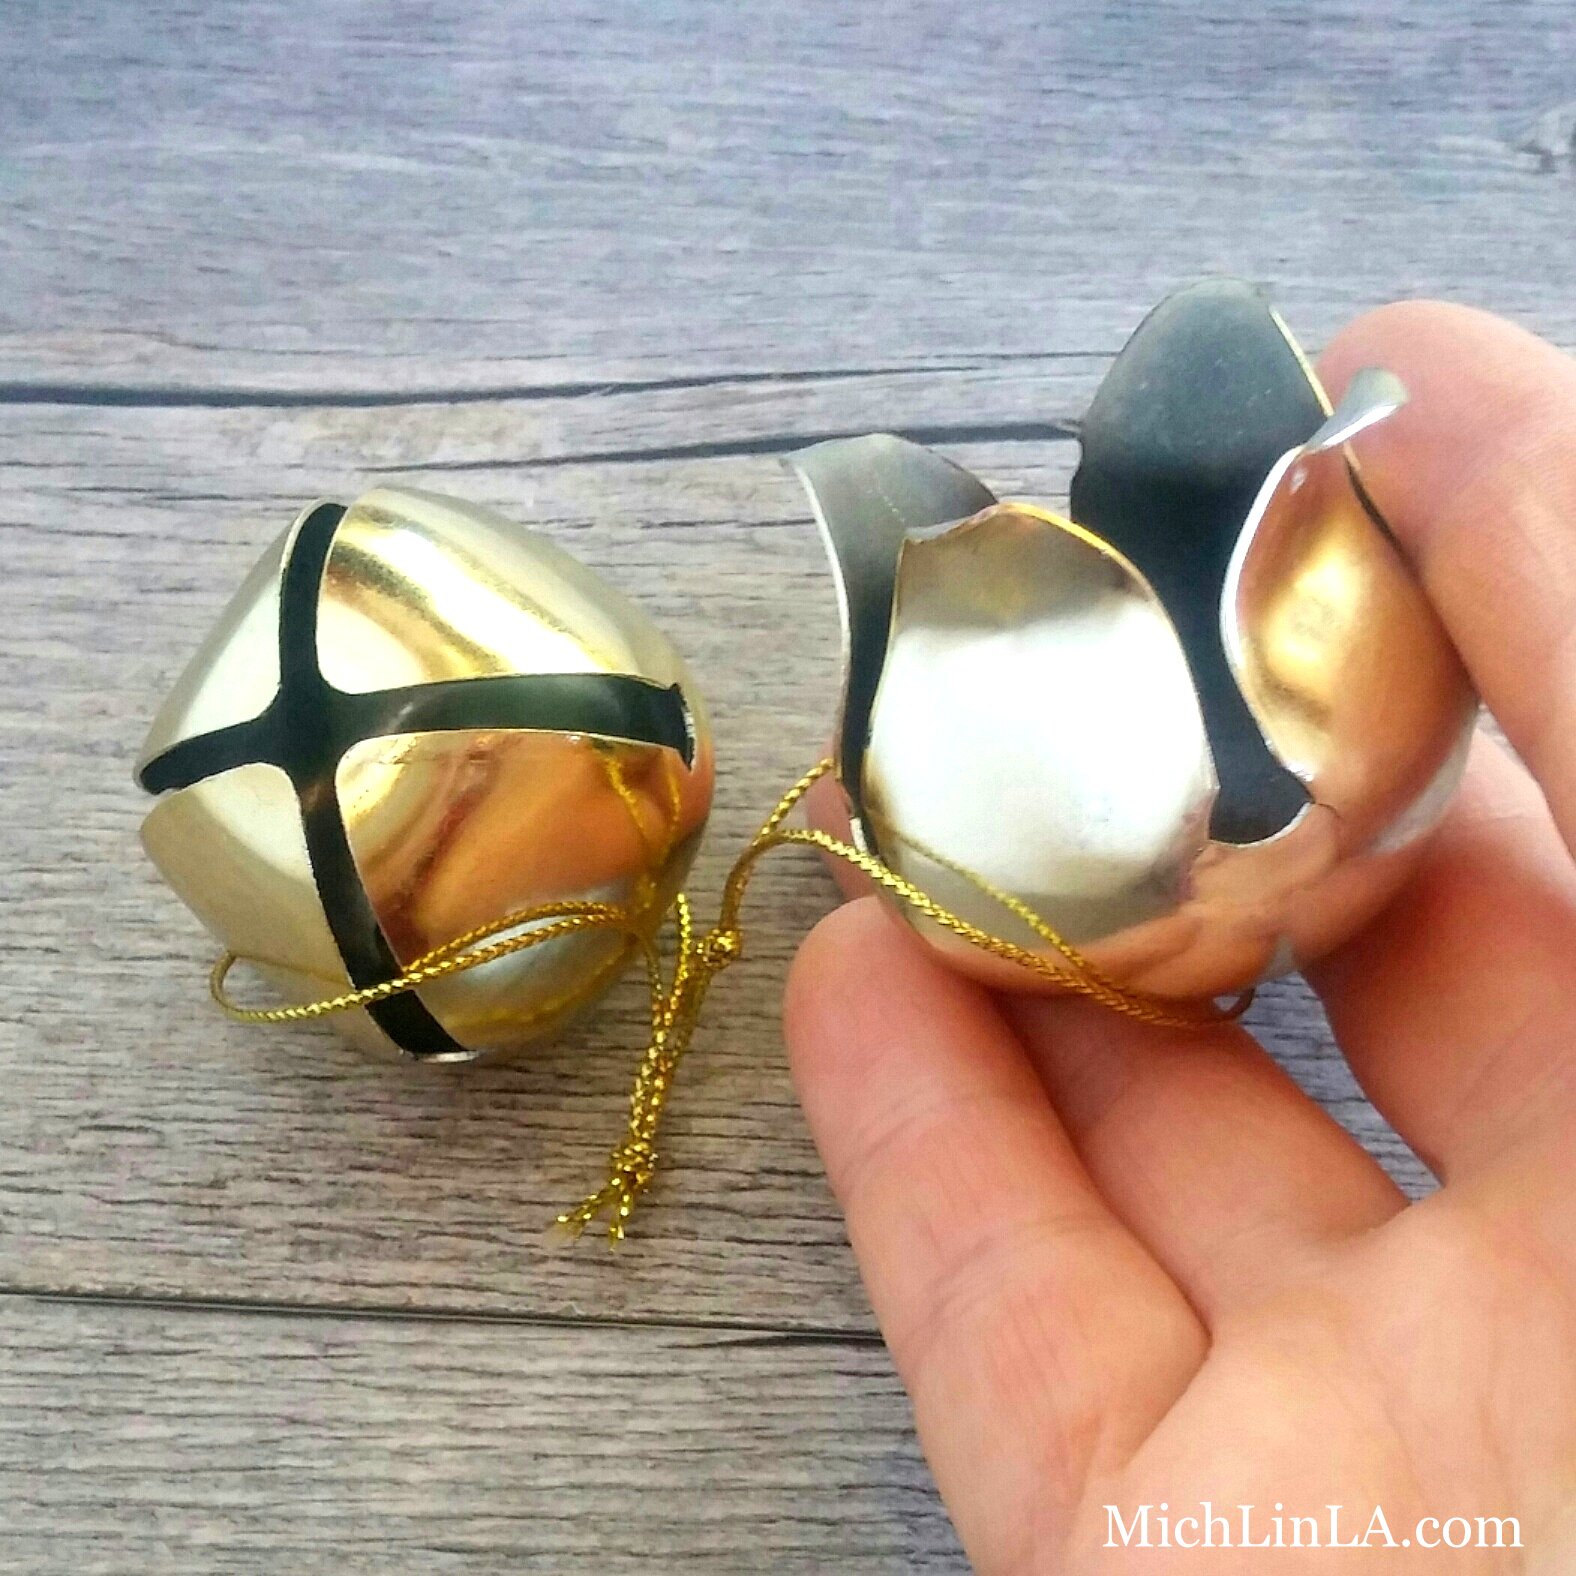
1. Use a fingernail or pliers to open out the petals just far enough to jettison the jingler.
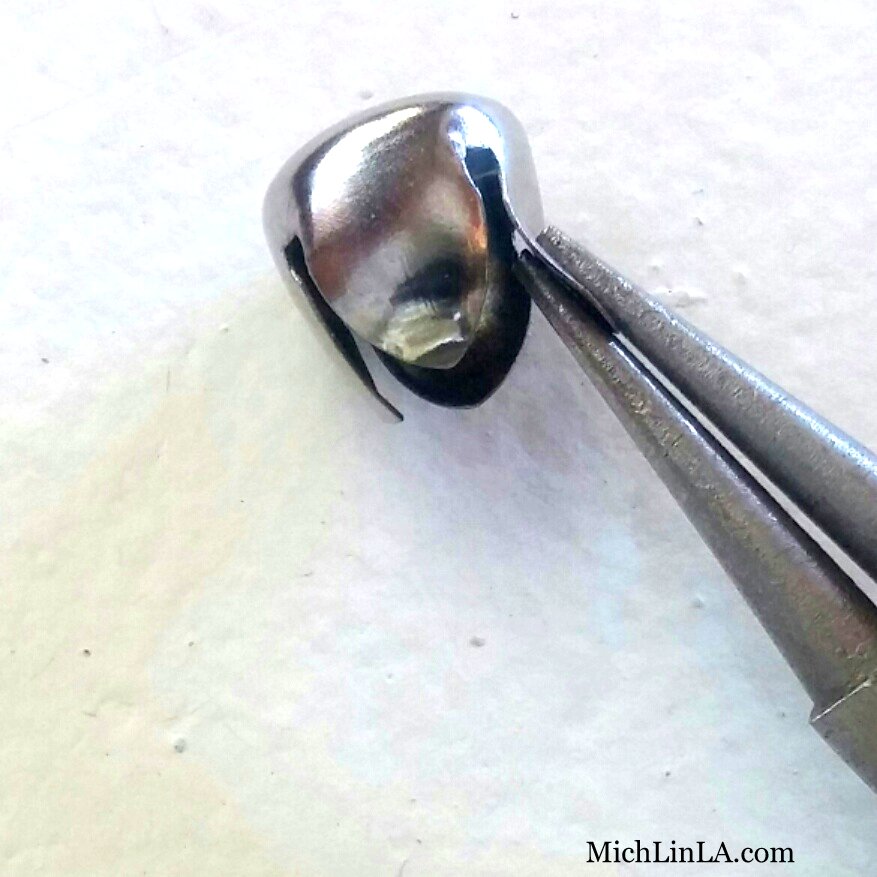
2. Grab a petal between pliers and bend it over - as little or as much as you like.
Do it with all four petals and - yep, that's it! Flower done!
But here comes my awesome trick. Watch carefully now.
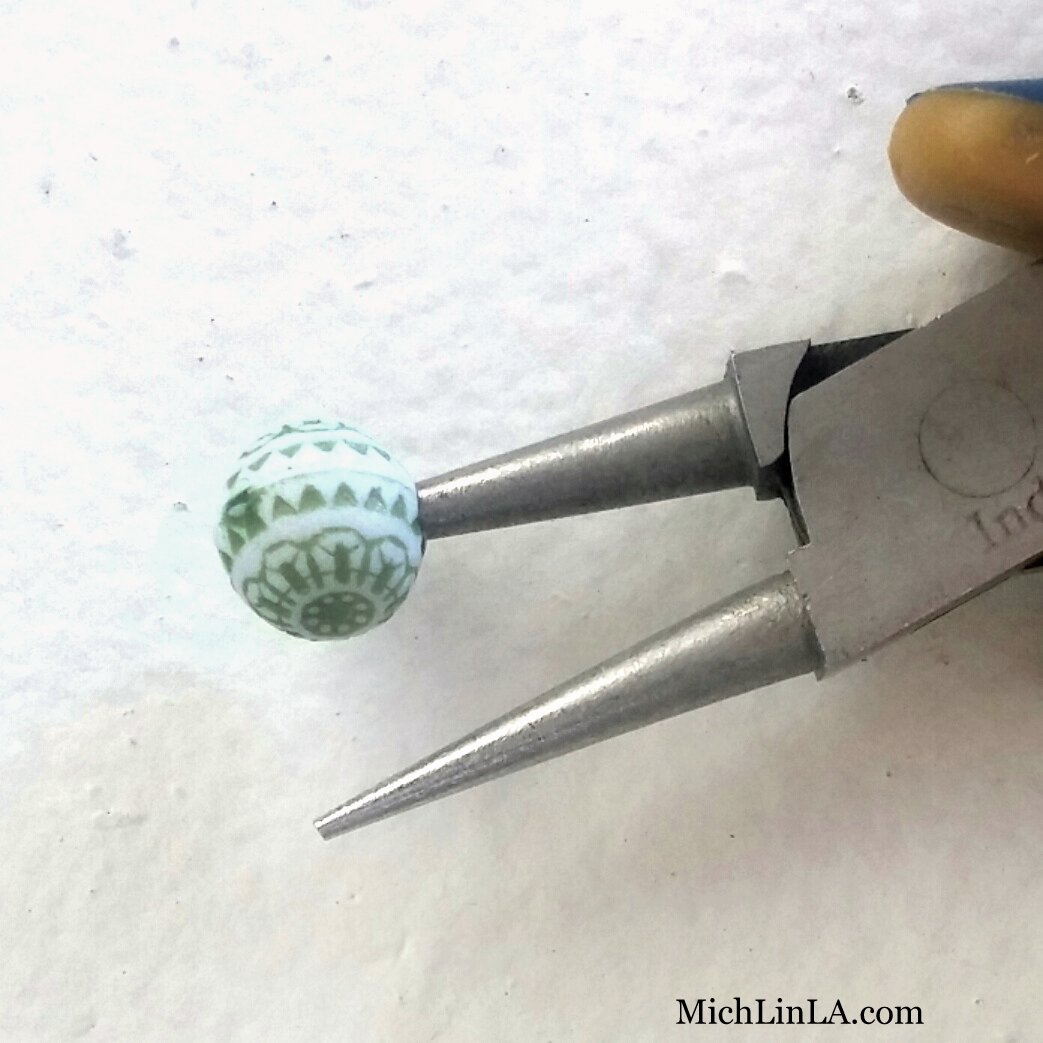
Pop a round plastic bead onto one tip of the pliers.
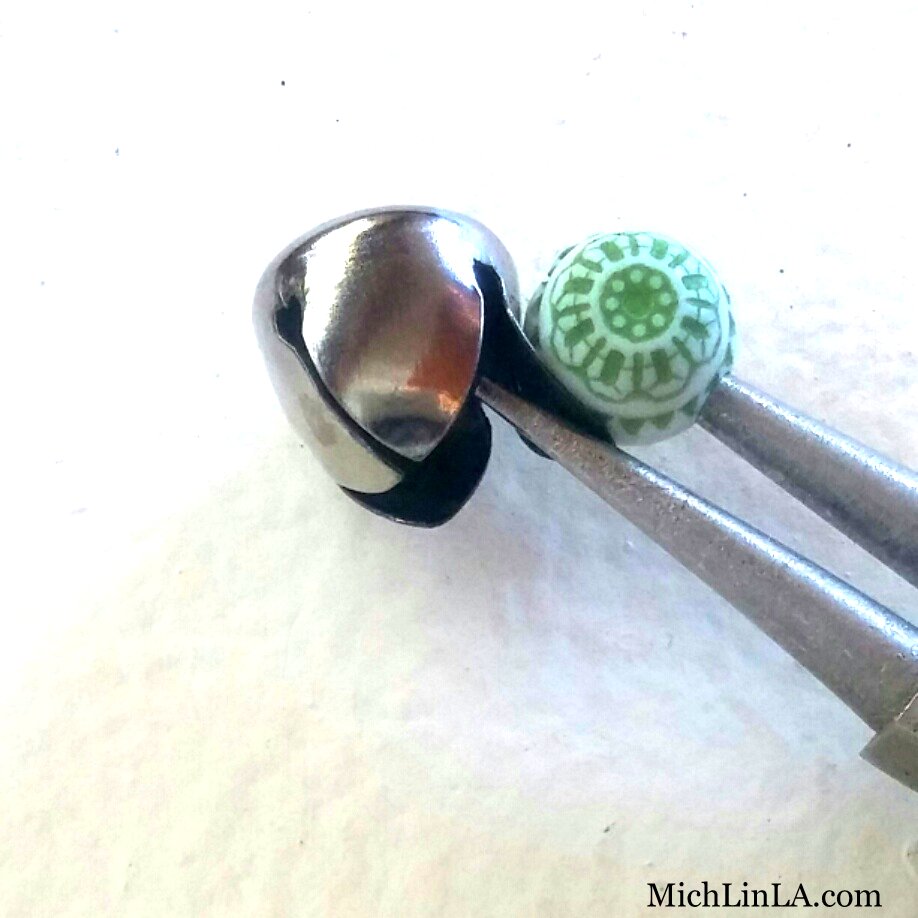
Now grab your petals (with the plastic bead on the outside) and bend.
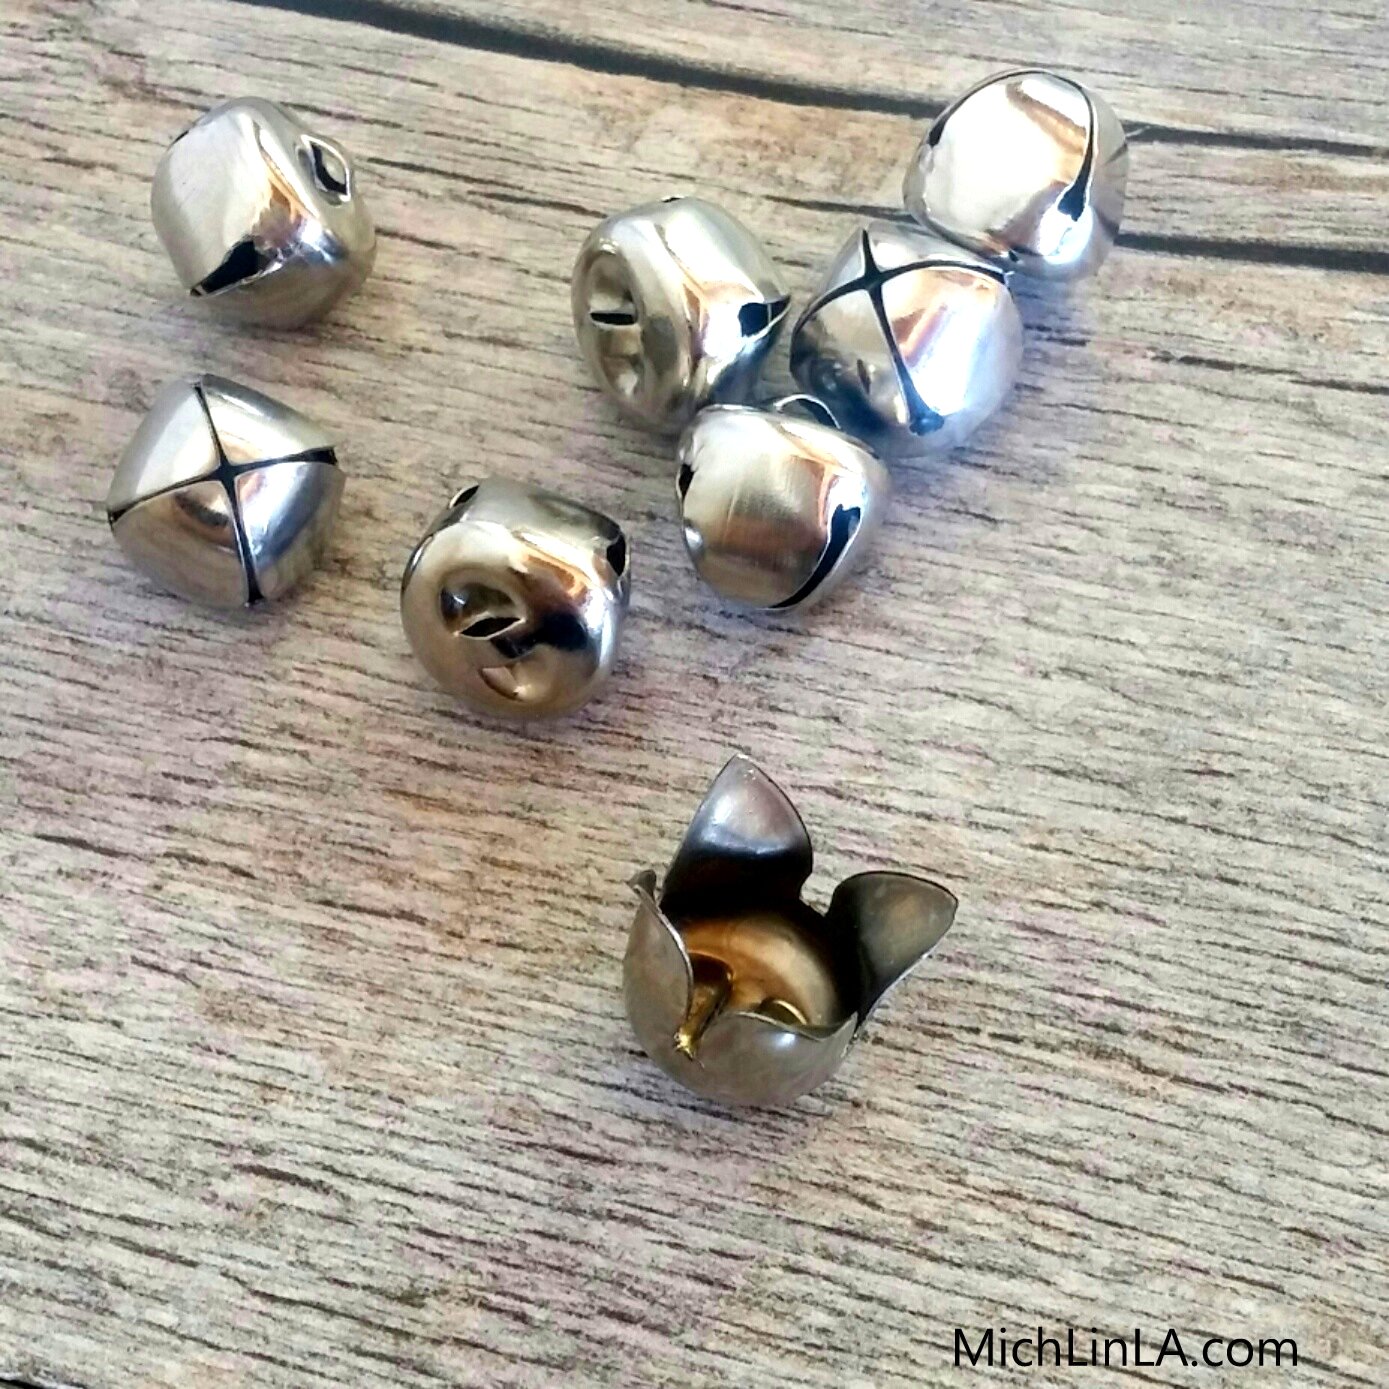
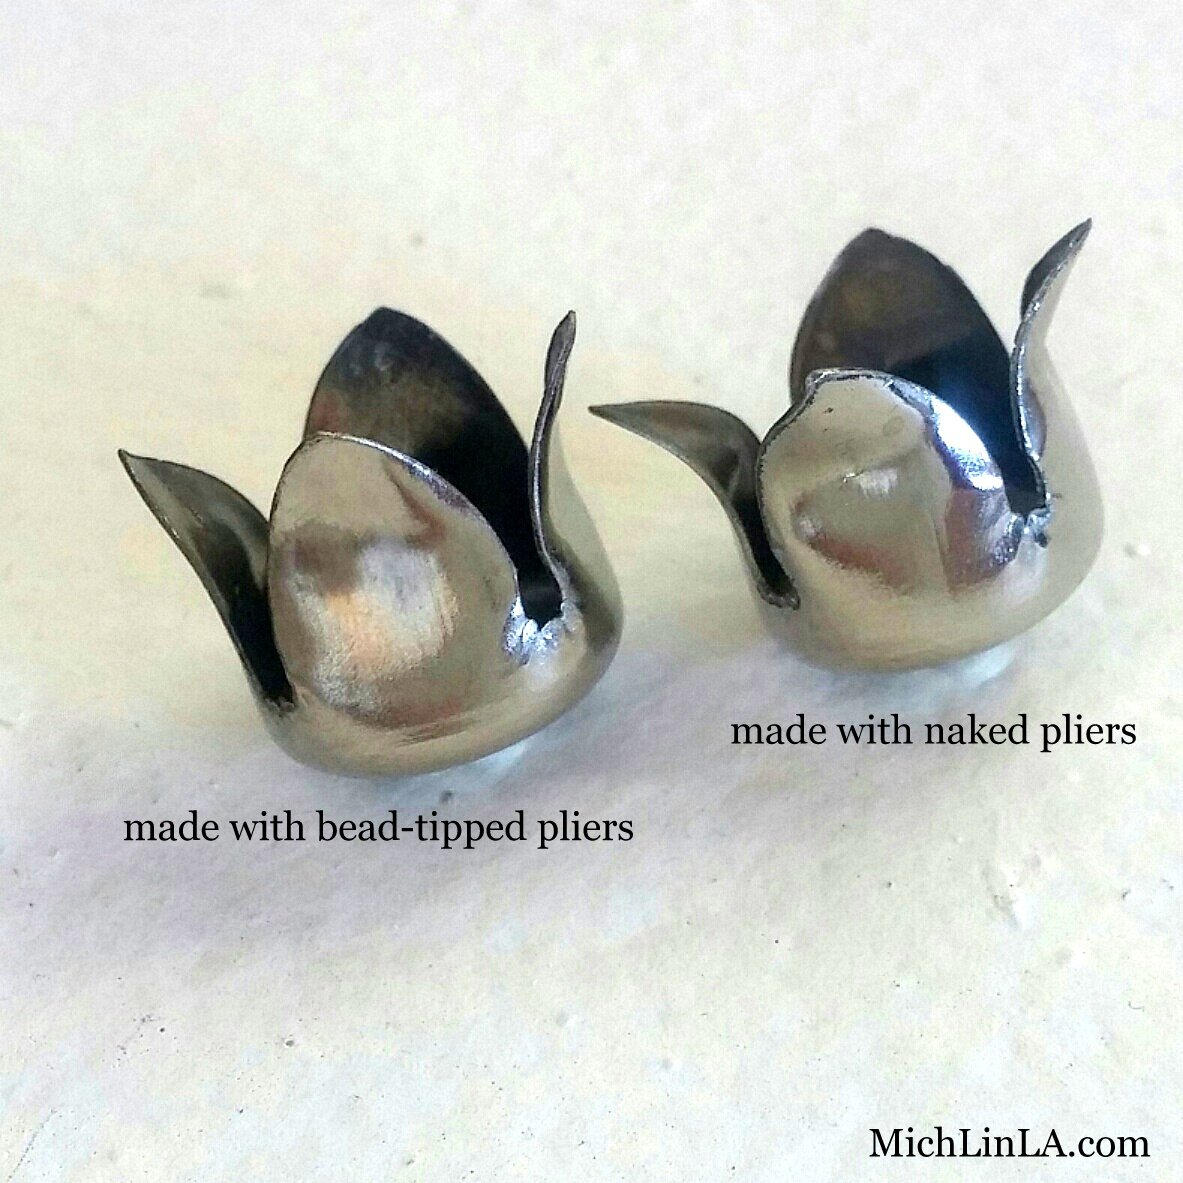
The round bead will protect the metal and make a prettier, unmarked petal! This photo shows what I mean:
A tiny - but interesting - difference, is it not?
I hope you enjoyed this idea! Perhaps there's a trip to the jingle bell store in your future?
P.S. check my next post for another awesomely adorable idea for the jingle buds!
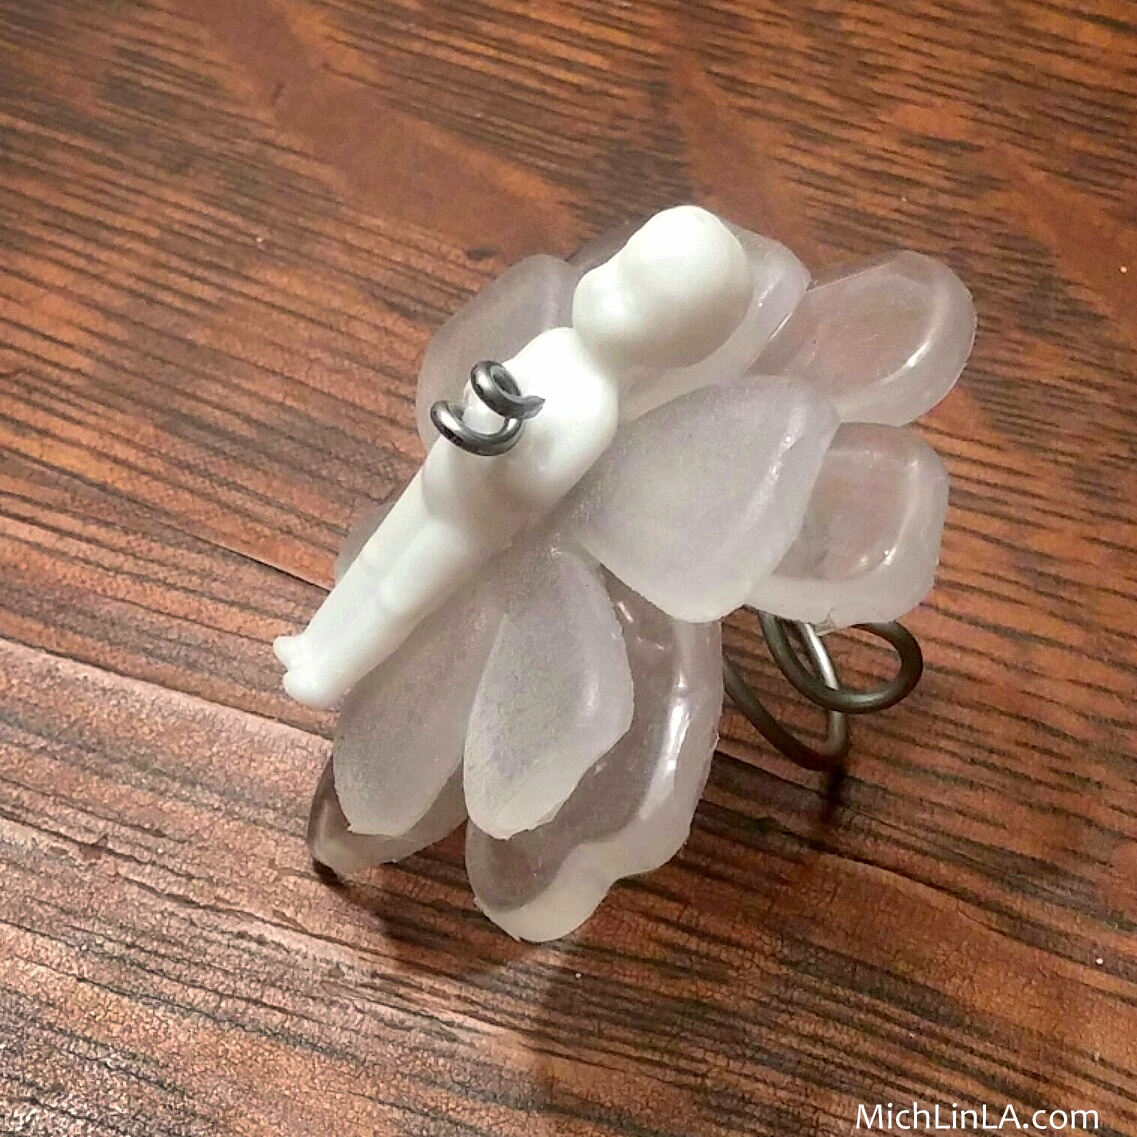
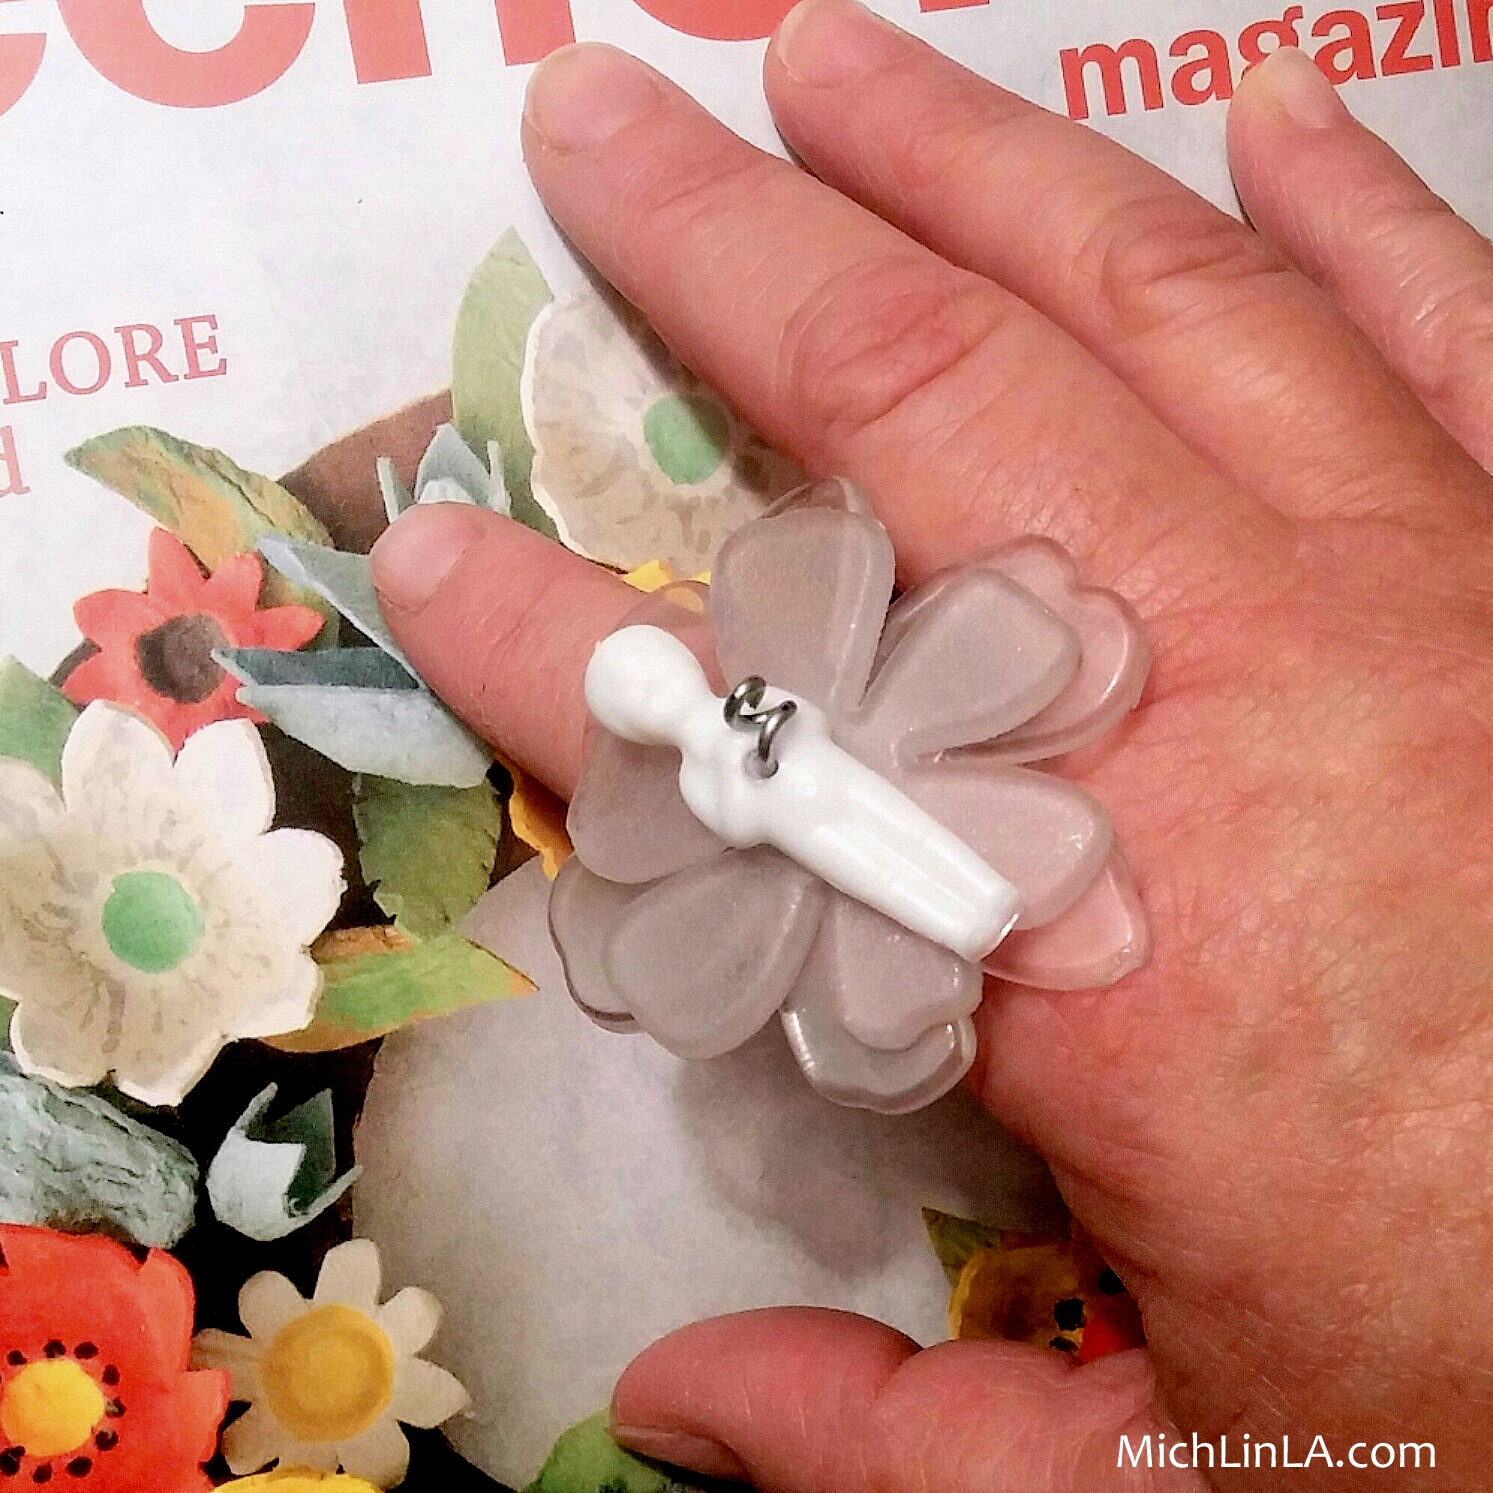
Hello! Last night I had a good time. Want to see what I made? It's a ring...can you guess the story behind it?
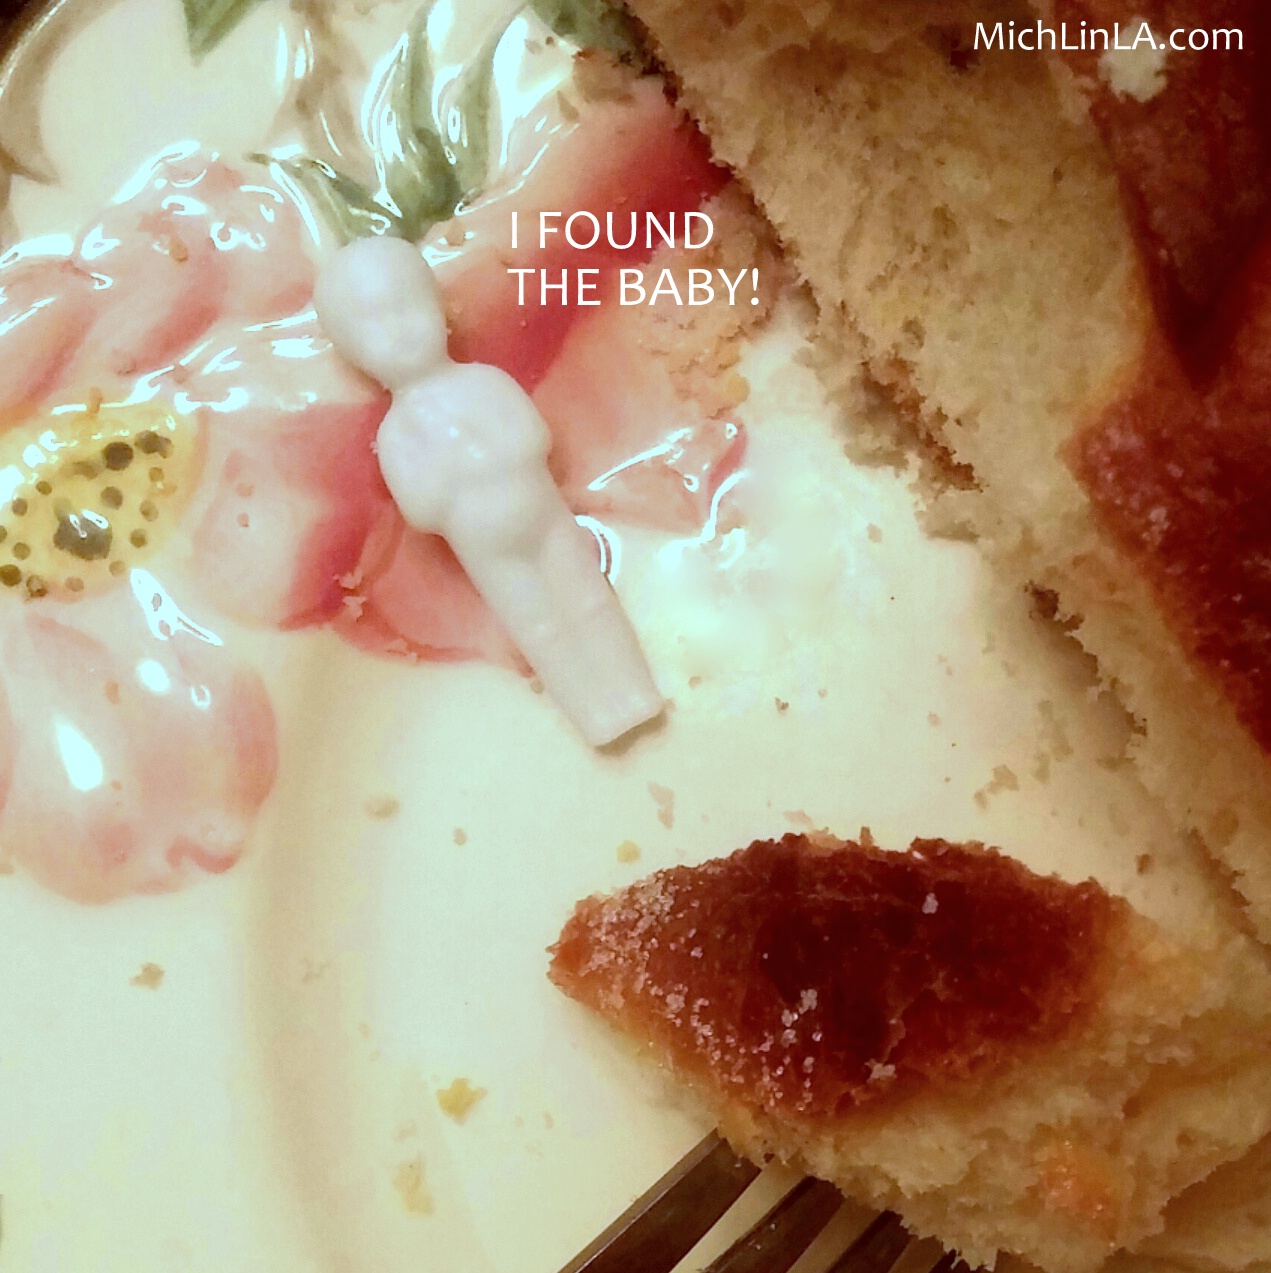
Yesterday was January 6th, which is celebrated as King's Day in Los Angeles and many other places. Friends came over with a giant Rosca De Reyes, a ring cake that commemorates the Three Magi.
We had Mexican hot chocolate and ate mucho cake. And lucky, lucky me!
So of course I made jewelry.
P.S. Did anyone recognize the pale flowers? They are from a rubber sink mat.
Later, creators!
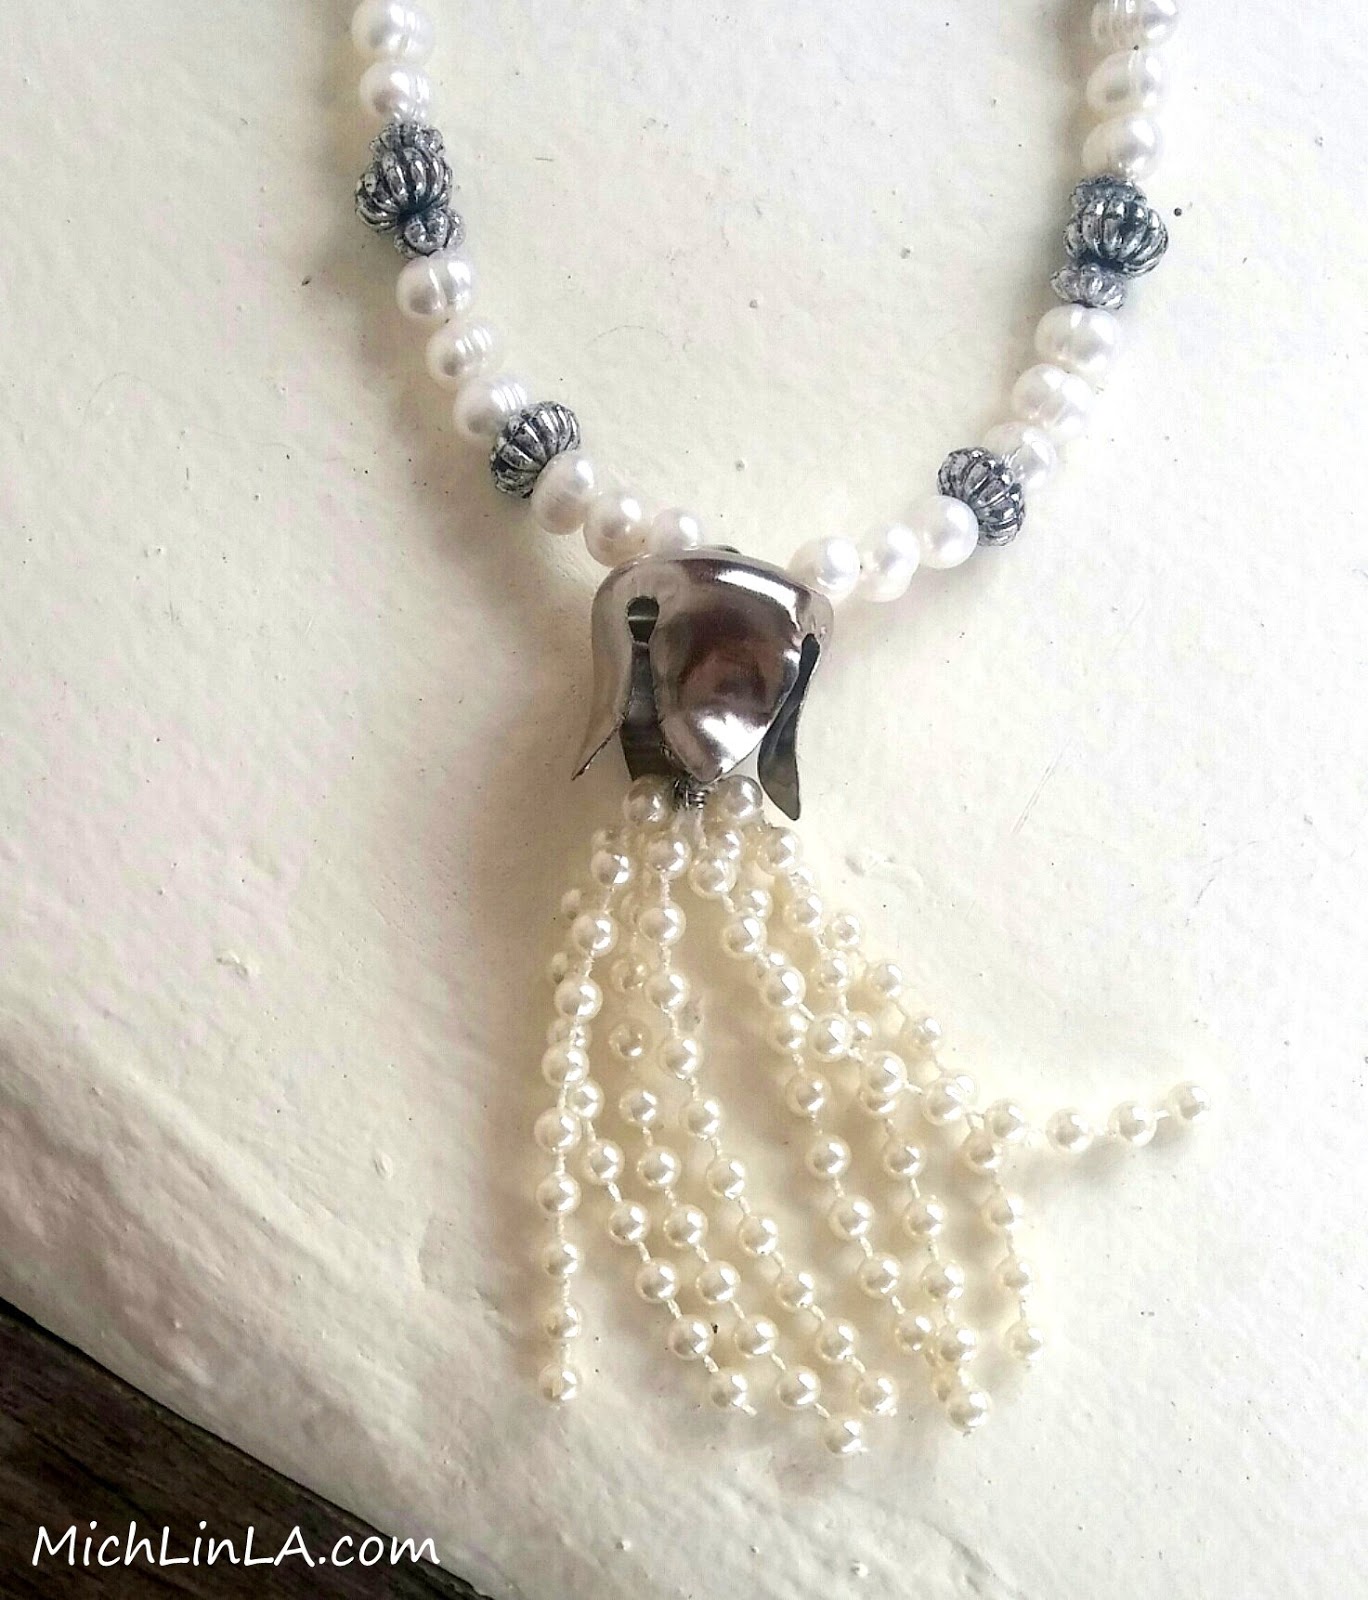
Ready to play a new round of Guess The Mystery Thing? Me, too! Look at this beautiful rose necklace:
And this other necklace, and this ring:
Oh, and some earrings, too.
What on earth is the original source for these delicate, delightful fleurs? I will say, this is kind of a strange one - I'm not sure anyone will get it unless they have actually seen this item in person. Good luck, everyone.
Reminder: we are playing on the honor system, dearies. Noooooo peeking until you have a guess. Only then may you scroll.
Ready? Think you know it?
Scroll, baby!
*
*
*
*
Keep scrolling.
*
*
Aaaand the answer is...tada!
The world's most ornamental iPhone case. From the dollar store!!! (The 99 Cents Only store, to be exact.) They are made of silicone. Can you believe how pretty they are? They come in a bunch of yummy colors. With some careful cutting, I harvested three different size roses from each case.
Cool, eh? I am partial to the ring, although it's such a strange green and goes with nothing I own. But it looks spectacular on.
Here's a tip on using silicone items in jewelry making. Learned this the hard way! Do not use a sharp object to poke a hole for jump rings. Over time, the poked hole will split, and your piece will fissure/disintegrate/fail spectacularly. (This won't happen for about a year - you will be lulled into thinking you made a wonderful jewel - then RIIIIIP!) So what to do? You can't melt a hole - they make fireproof potholders out of this stuff. Answer: punch a smooth-edged hole with a leather punch.
That's what I did with the earrings above, as well as this dangly necklace:
So now I want to hear what you guys thought it was...anybody get this one? What was your guess?
Time for the reveal! If you're just popping in, we have been playing a round of Guess the Mystery Thing featuring this upcycled necklace:
My readers have been trying to identify the purple and black focal piece. What the heck is this thing?
I also made a crazy ring and an extra-long giant version of the pendant - let's see if showing them will help at all...
Think you know the answer? Did anybody get this right? All shall be told in a minute.
First, here's Mich's Honor Roll of Most Creative (Totally Wrong) Guesses:
Betsy: Where did you find purple lady bugs?
arisraver: Part of a hair brush handle.
Angeline: I truly admire your bravery! How did you manage to grasp the technology
to enlarge the body of an ant, behead it, and dye it purple?!
Jill: Looks like part of a pen my daughter owns. Wondered where it had disappeared to!
Rebecca: The bottle from those little favour sized bubbles. If so, I hope
to see a cool unique pair of earrings made with the bubble wands.
Dena: Grapes. Wear it now, eat it later.
squarefeet: Easter bunny pellets.
Jessica: Beads from an abacus.
Amy: Barbie's jawbreakers.
Hahaha! Great work, team! Angeline's guess is too cool! Hey, squarefeet, are 'Easter bunny pellets' what I think they are? If so, hilarious.
Here comes the answer.
Ready?
Steady?
Alright already.
It's...
From the dollar store, of course. (Query: do 'Easter straws' appear in the King James Version, or the New American Standard Bible? I'm sure there's a scholar somewhere who can point me to the verse.)
Anyhow, they are weirdly cute and I doctored them up with a black Sharpie.
Winners, winners! This week we have two lucky prize winners chosen by random.org: Rebecca Anne and Arisraver. Congrats, you two! Look for my email, coming soon.
Note: player Bonnie B guessed "part of a bumpy straw," and would have been the winner, but didn't include an email. Sorry, Google-plus people, I can't email you directly from your profile. Bonnie, if you send me your address I'll send you a consolation prize.
Thanks for playing, everybody. See ya!
Look at my chic new ring holders!
A happy marriage of rubber chair tips from the hardware store:
And some mismatched drawer knobs from my collection of Stuff I Couldn't Bring Myself To Throw Away.
I bet you have a random drawer knob someplace. (It's probably in a random drawer.) Wanna make a ring holder? Here's the DIY.
Make a loop on the end of some craft wire, 22 gauge or thicker. (Anything thinner is too floppy.)
Bend the loop at a 90 degree angle to create a faux headpin.
Poke a hole in a rubber chair tip and thread your faux headpin through the hole. Add some beads. Trim the extra wire to about 3/4 inch.
Finish with a swirly (a plain loop works, too).
Now just pop the bead-embellished chair tip onto a flat-bottomed drawer knob. Like so:
VOILA! Ring holder!
Here's a cool variation to the basic look. Use the screw that came with the knob, plus a stack of rubber washers (or even a big bead) to add some height.
Now watch what happens when you add the top part:
It's got a pedestal! Isn't that cute? I like these pedestal ones a lot.
But really, the low profile ones are just as purty.
The metal or glass knobs add lots of weight to the base, making them sturdy enough to hold a whole stack of pretties! Or your biggest crazy cocktail rings...
These would make a great gift for someone who wears lots of rings. I've already given myself four: one for the bedside table, and one to put beside each sink in the house.
Thanks for checking out today's upcycle! Hope some of you get inspired to try it. See ya next time!


