Well hi! Today I thought I'd show you the quickest, simplest beaded home decor project evah. It's practical, it's pretty, it's economical - heck, there's even a little element of upcycling in there for good measure.
It's a scarf hanger system, for storage and display.
The DIY takes about a minute. You will need:
-a buncha big beads
-an old shoelace
Ready? Go!
Thread 16-20 inches of big beads onto an old shoelace (or any bit of cord or ribbon you happen to have handy). Tie a bow, and double-knot it.
That's it, baby! Hang one (or three or six or ten!) on your wall, as demonstrated here...
Then just add scarves.
I hung mine on a cute 3-hook coat rack, but you could hang these up in a number of ways. Use little nails, or individual hooks, or even those removable hooks for apartments.
I was looking for a way to use up a vast quantity of not-so-thrilling wooden beads, and this was just the ticket. I'm a VERY scarf-y person, so it's something I actually need and use - daily!
It could also be a fun project to do with kids, tweens or teens. Let them choose beads to suit their personal style to make hangers for their own rooms, or to give as AWESOME handmade gifts.
Hope this one catches someone's fancy. See ya!
Showing posts with label storage solutions. Show all posts
Thursday, June 8, 2017
Friday, January 20, 2017
Sweet Earring Display Frame Made From A Recycled Tissue Box
Hey, here's something I've been meaning to show you for a while. I have a lot of these ranged around my studio. Penny-pinching, earth friendly, practical jewelry displays...and they do brighten everything up!
Can you picture the top of the tissue box and how I used it? Got 5 minutes, scissors and a stapler? Here's the ridiculously simple DIY.
Cut the top and sides from a square tissue box, like so:
Cut a piece of scrap cardboard to cover the opening.
Glue or tape the cardboard to the inside; I use packing tape because it's a strong hold. Then poke a couple of holes near the top. Here's how it will look when flipped right-side-up:
Now staple together the two sides - one staple at the top, one at the bottom. And that's it! Here's your 3-D frame seen from the back:
Hang earrings inside and stand it up. So darn cute! And it's fun to match the earrings to the frame.
Tissue boxes are so pretty nowadays. Find one you like and give it a second life.
Later, gators.
Monday, December 14, 2015
The Thing With Two Beads
Here's a reverse mystery for you! Look at these strange tiny objects, made with two big beads.
What are they for? They are a much loved little invention of mine, a contraption I've been making and using for years.
Puzzle your head for a few moments and see if you can guess! Then scroll down to see the answer.
Scrollin'
Scrollin'
Scrollin'
Check it out...bing!
Just tuck some recycled cardboard between the two beads, and voila, earring display stands! Yep, they stand up on their own.
I love these mucho. One, they're way cute. Two, they take up hardly any space when not in use. And three, they are an AWESOME way to use up big clunky orphan beads that I'd probably never use for jewelry.
I also use them as mini holders for small photos or art:
They have lots of other uses, too - like place card holders, buffet table signs, anywhere you need to label or display something while maintaining a tiny footprint. Fer example, they make the darlingest business card display:
Pretty cool, eh? Wanna DIY? Here goes!
Stack two big beads on a headpin, with a little spacer bead in front to schmancy it up a bit.
Use round-nose pliers to turn the tail of the headpin in a loop. Cinch it all the way down tight against the bead.
For the earring card, cut a cardboard shape with a small bite out of the bottom. Looks a bit funny, but it helps balance the weight of the earrings.
Then just tuck the cardboard into the slot. Here's a side view:
How easy was that?
For party or wedding place card holders: instead of orphan beads for those, you might decide to choose beads in your favorite colors and make matched sets to decorate your table.
Here are some tips on making these. 1. Use beads with flattish ends rather than round. 2. Beads with the same approximate diameters work best together. 3. I used acrylic and porcelain beads here, but any material will do. Heavier beads will support slightly larger photos or earrings.
So ends The Mystery Of The Thing With Two Beads. Did you figure it out before scrolling down? Do tell.
Tuesday, October 20, 2015
Awesome Organizing With Vintage Hair Rollers!
Okay, here's an organizing and storage idea that (I hope) will make you smile.
I rescued a huge bag of unwanted, old-fashioned plastic hair rollers, and have been working out ways to use them.
As one with naturally curly locks, I knew I'd have to repurpose the dickens out of them. After giving them a bleach-and-water bath, I started playing around with ideas. My previous post showed how I turned them into some offbeat jewelry:
As well as a sweet little Christmas ornament.
All very well, but I still had fifty rollers to use up. Here is the answer: these cylindrical darlings will organize your life! Simply stuff some rollers into various upcycled containers and WHEE! Storage for all kinds of things! Look inside this cut-down milk bottle:
Add paint brushes...
Voila!
Here's a nekkid peanut can:
I dressed it up with a necklace, but it would be a perfect blank slate for decoupage, paint, glitter or whatever. Stuffed it full of hair rollers. Now it's a cool and supremely functional art tool caddy.
Works equally well for makeup and bathroom-counter storage.
And here's my favorite use! Not exactly organization - more like home decor. Jam a bunch of rollers tightly into any kind of vase, like so:
Add water and foliage...it'll hold stems of all sizes and become a simply marvelous flower frog!
It's waterproof, easy to clean and fits into anything - you can turn any odd container into a working vase.
Ain't that fun?
I do so hope you enjoyed this one!
Sunday, June 7, 2015
Invisible Upcycled Necklace Display
Oooh, check out this eerie phenomenon...
A wall of jewelry, displayed on invisible necks!
How'd I do it? I think you're gonna love this. It's a crazy easy eco-craft project, starting with some plastic cups (not easily recyclable) that were destined for the trash.
The DIY takes about 30 seconds. Half a minute, people! Just think how quickly you could fill up a wall with phantom throats.
Here's all you do. A couple of inches from the rim, trim nearly all the way around. Before you cut it completely off the cup, jog your scissors to leave a little tab attached, like so:
Then just bend the tab up and affix it to the wall with a clear thumbtack.
That's it!
At first I thought my invisible necks would be a bit flimsy, so I started with one necklace each...
But it turns out they are surprisingly sturdy. I piled on more weight and they didn't even flinch. I might go for three per neck...wish me luck.
This is a big deal for me, as I'm deeply in the throes of creating a new craft studio in a loft room of my desert Southwest adobe fixer house. I sorely needed an unobtrusive way to show off lots of necklaces. The recycled element is just a wonderful bonus.
I'm having a great time finding ways to repurpose these iced coffee cups. To see what else I've come up with, check out these earrings:
And these awesomely fancy fleurs:
I may not be done yet...got some more ideas up my sleeve that I hope to share soon. See ya!
Friday, December 5, 2014
My Future Repurposed Entryway: In Search Of Ideas!
Hi, guys! I haven't said much about this, but I am working on a very cool house renovation project IRL. (IRL = In Real Life. You're welcome, mom!)
It's an old adobe house in the desert Southwest (just outside Tucson). You might call it a mini-mini-ranch. A mini slice of cactus-studded ranch land, where the original owner raised miniature horses.
We have finally gotten all the beautiful adobe walls painted a nice creamy white, so at last it's time to decorate! Here's the inside of the foyer, showing the decor so far:
Yep, one rug and a hat rack. About that hat rack...want a closer look?
It's made from a fireplace-tool caddy I found on the curb, and a tree branch from the yard. Total cost: $0.00
I want everything in my entry to be repurposed, upcycled, rustic and funky. I assembled a clipboard of ideas from Hometalk, which is sort of like Pinterest but more project-oriented, and exclusively for house and home. (It's also a fun forum where you can pose technical or design questions, and get lots of friendly advice.)
Just click on the graphic to check out some great upcycles that caught my eye. Let me know your thoughts, 'cause I am open to ideas! If you were me, how would you furnish the entry?
Friday, August 15, 2014
Monster Boxes! And A Great Dollar Tree Giveaway
Disclaimer: I was compensated for this post; opinions expressed are entirely my own.
So a few weeks ago I joined a thing. It's called the Dollar Tree Value Seekers Club - basically a free-to-sign-up-for area on the Dollar Tree website, packed with crazy easy project ideas. Seriously, I have already gleaned so many clever nuggets from the archives. Not just crafts - some delightful life hacks as well. (Example: DIY puppy popsicles, made with chicken broth! My dog worships me now.)
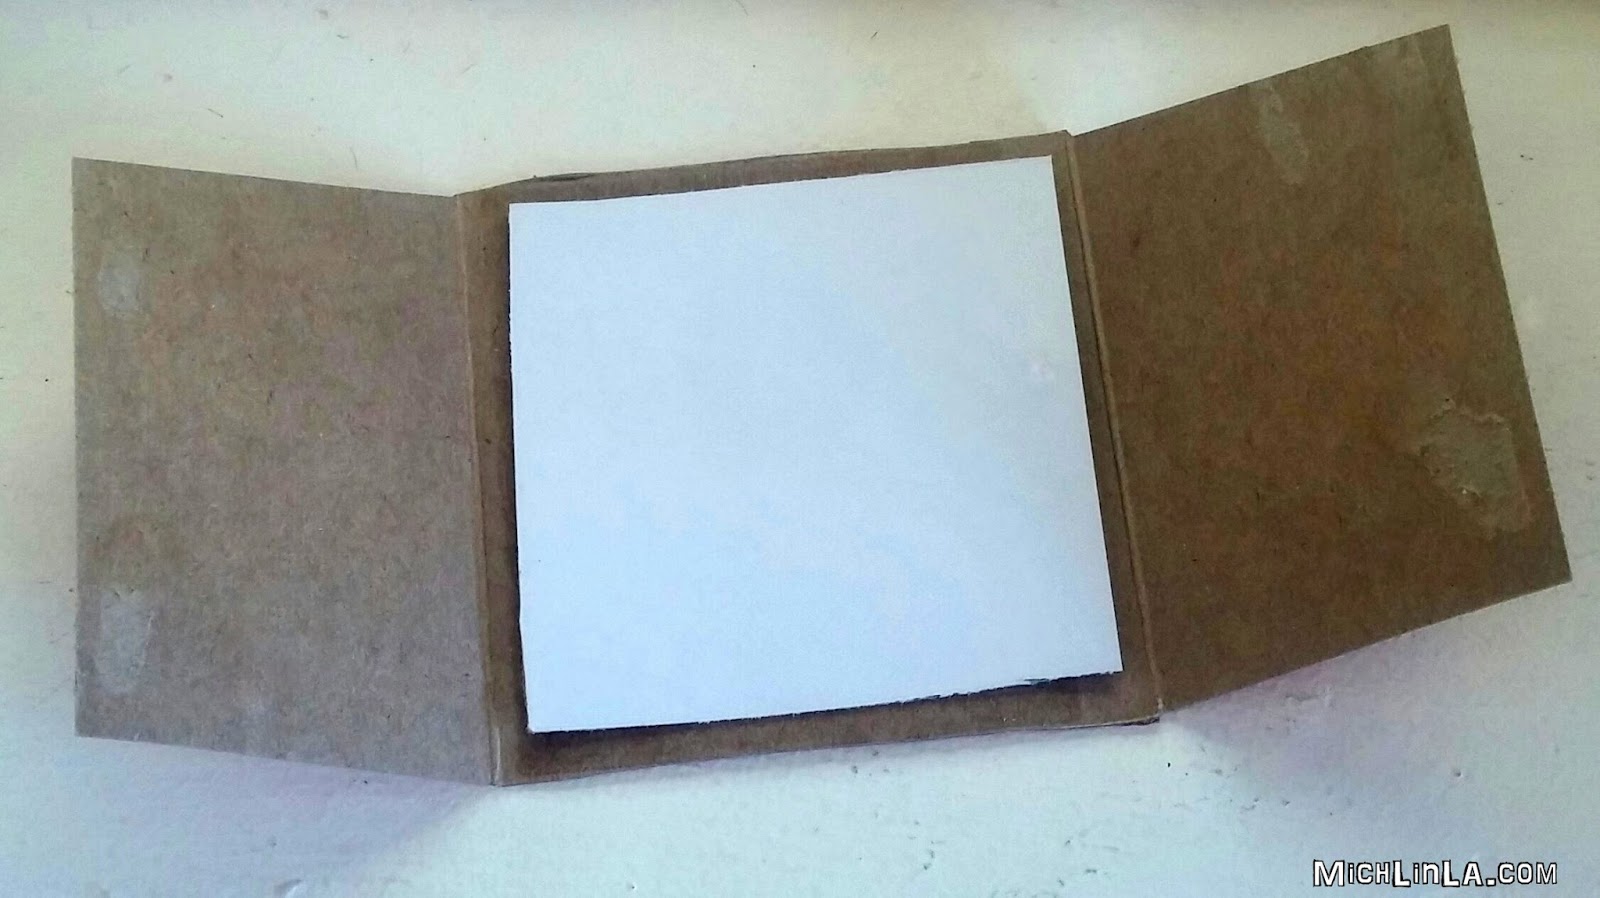
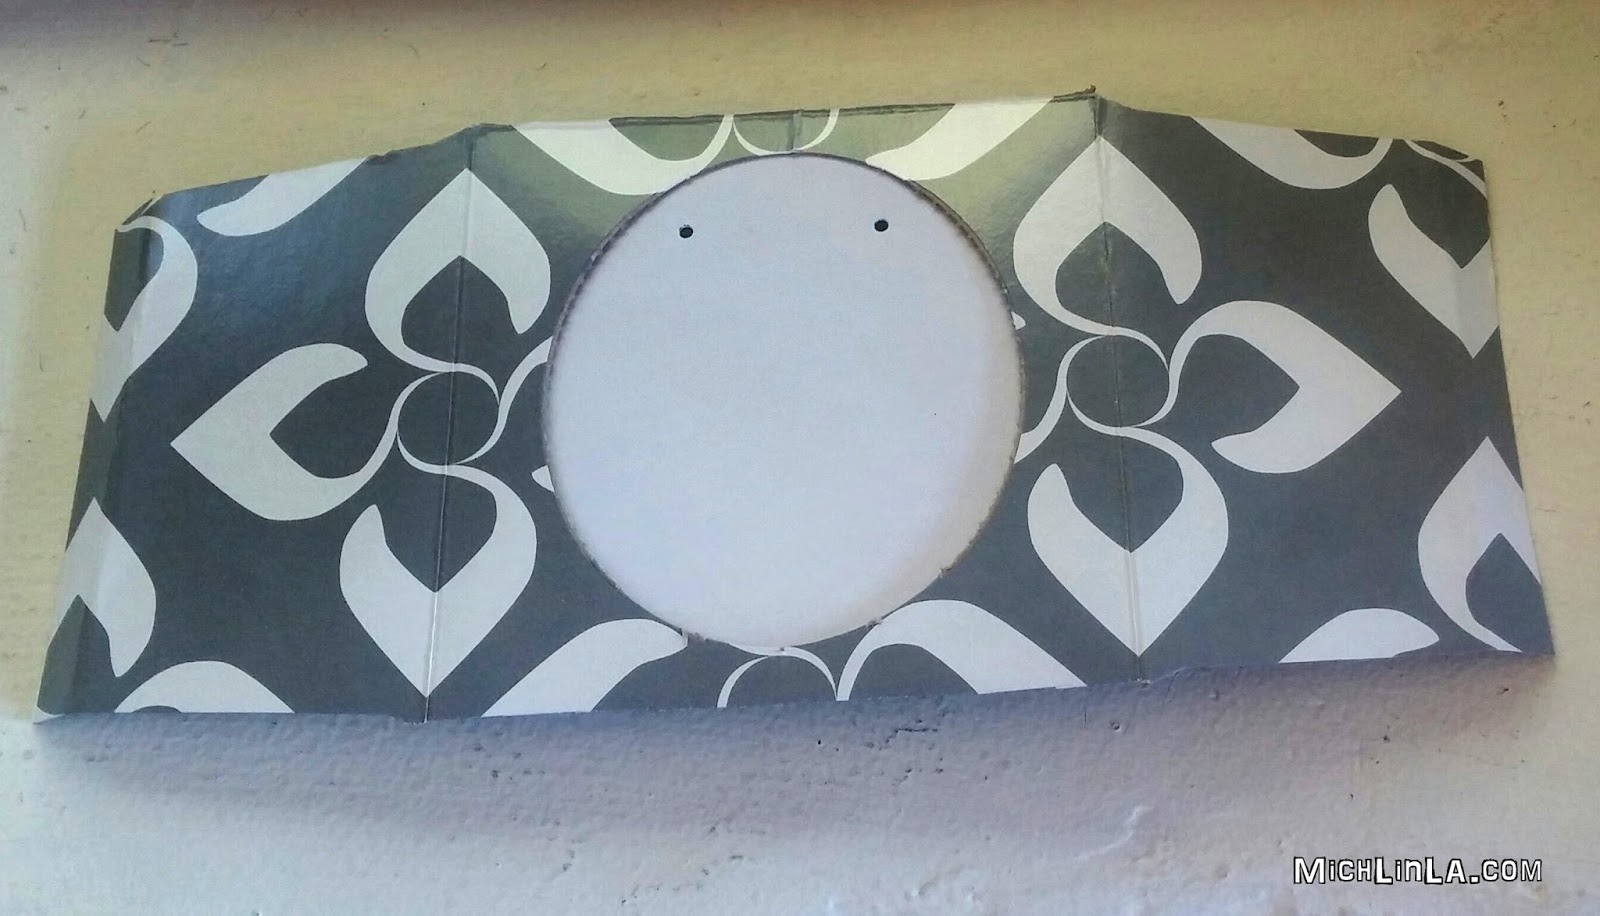
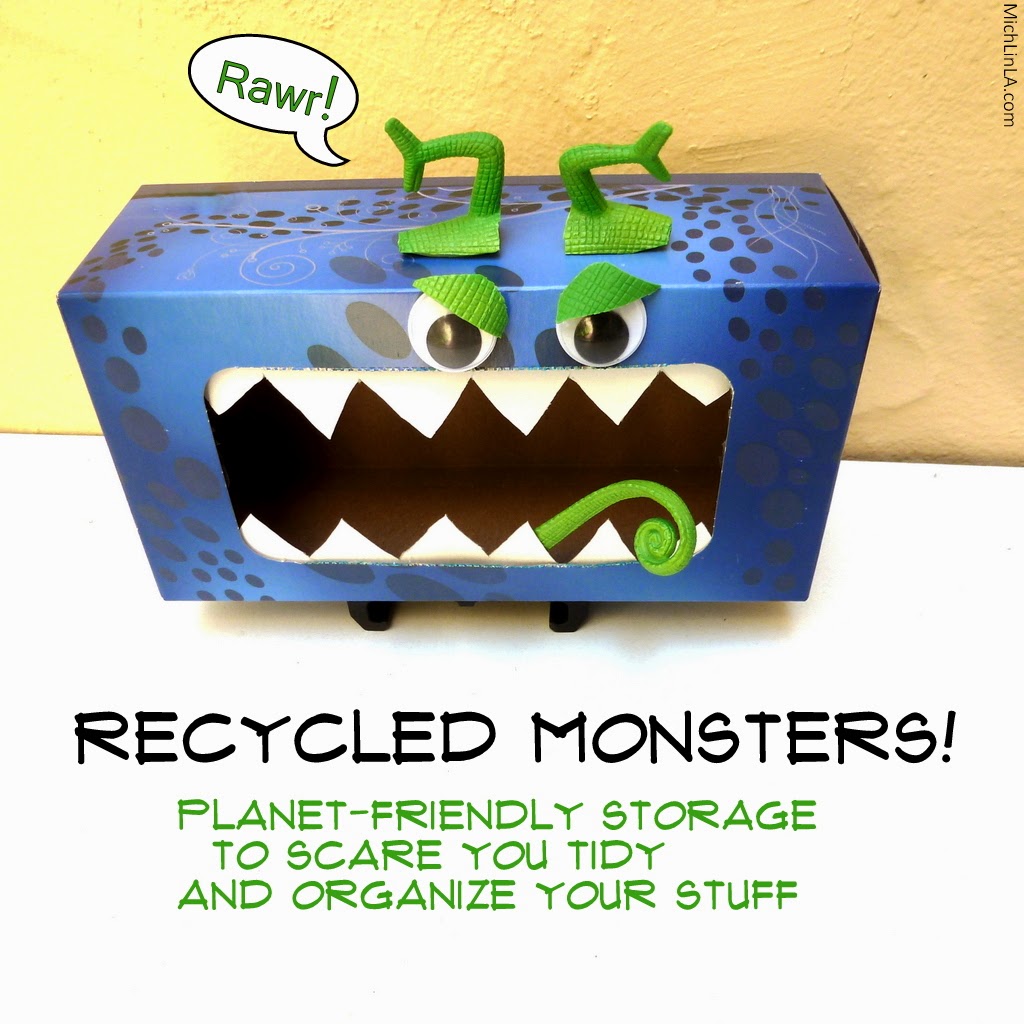
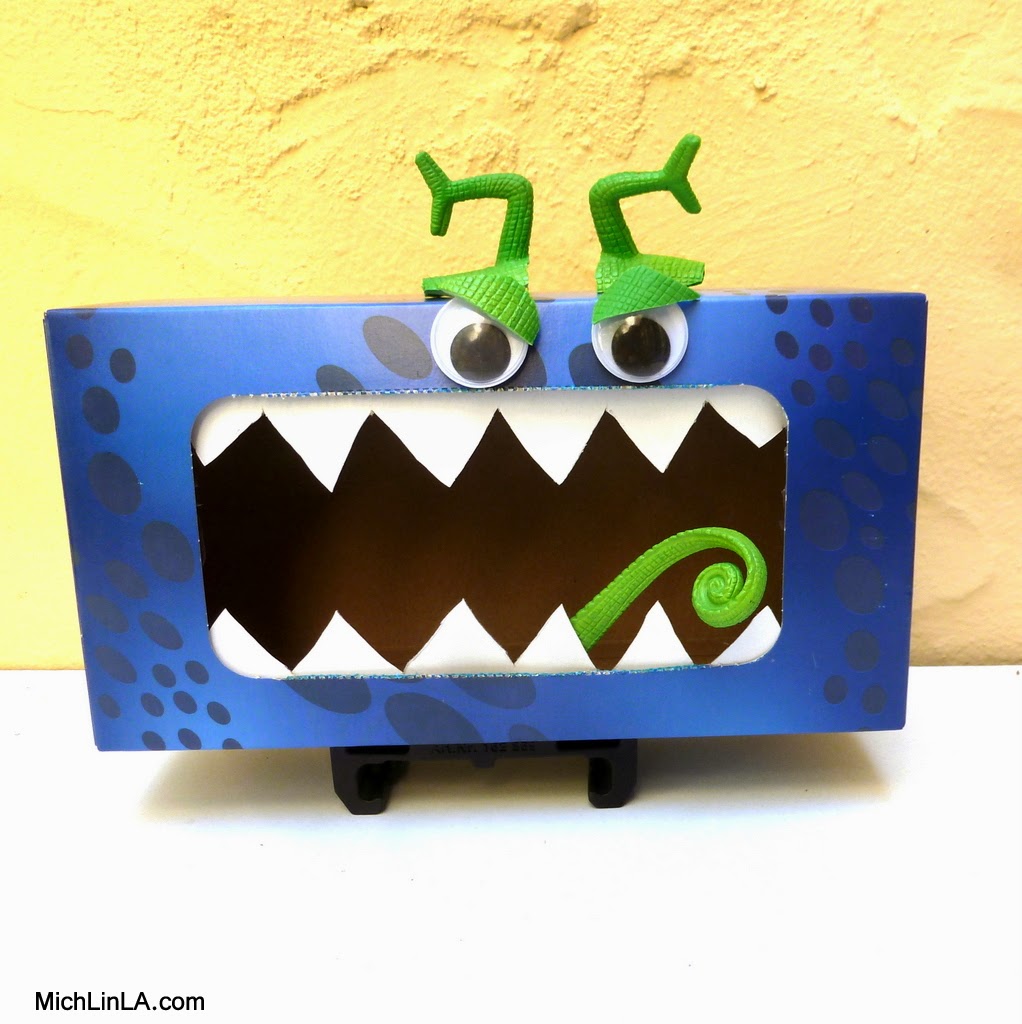
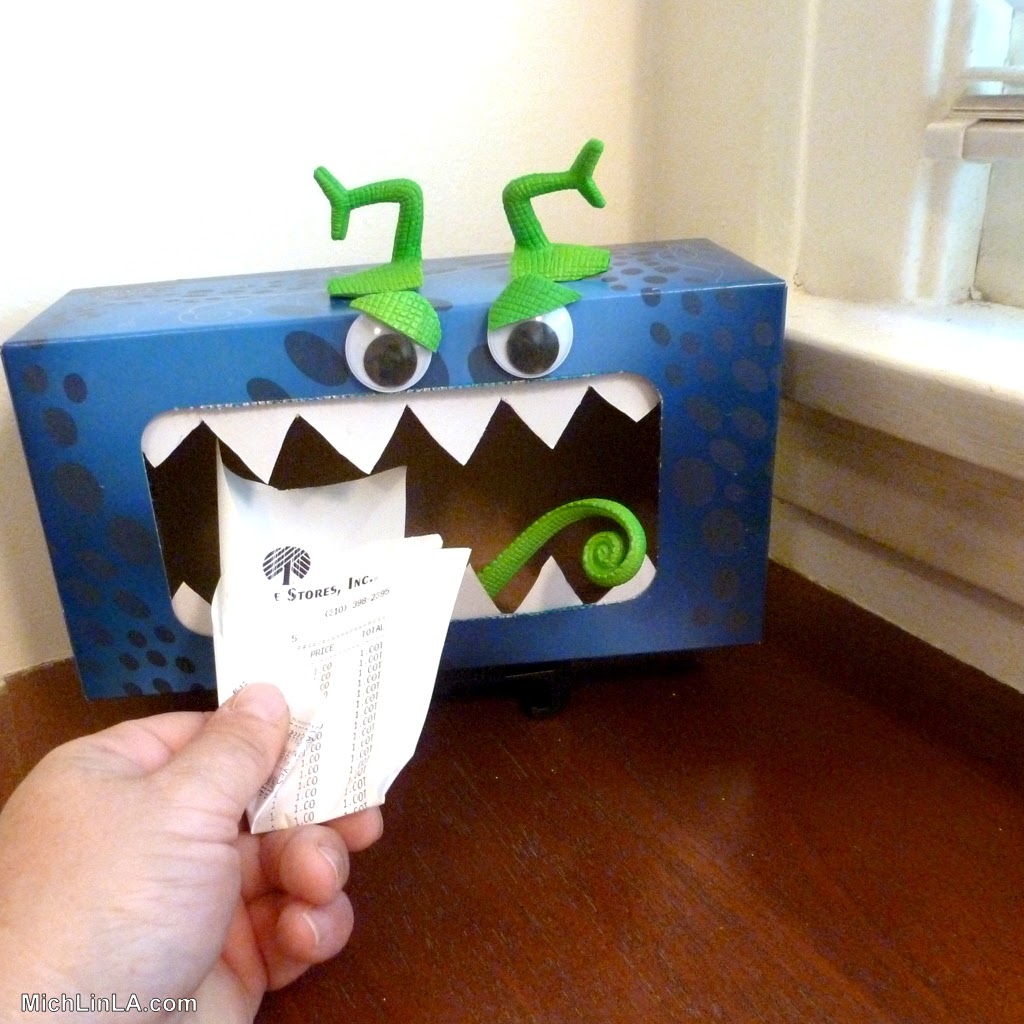
Anywhoo, here's my version of one of the newest club projects. Monster Boxes, rawrrr! Funky, planet-friendly storage...what's not to like? The DIY is the definition of basic. 1. a tissue box body and 2. paper monster teeth. After that, embellish like mad with anything that makes you happy.
The project page has a great list of ways to use them for kids, teachers and parents. Can't wait to make some with my little monster-loving nephews.
Meanwhile, I made one for me, 'cause I like monsters, too.
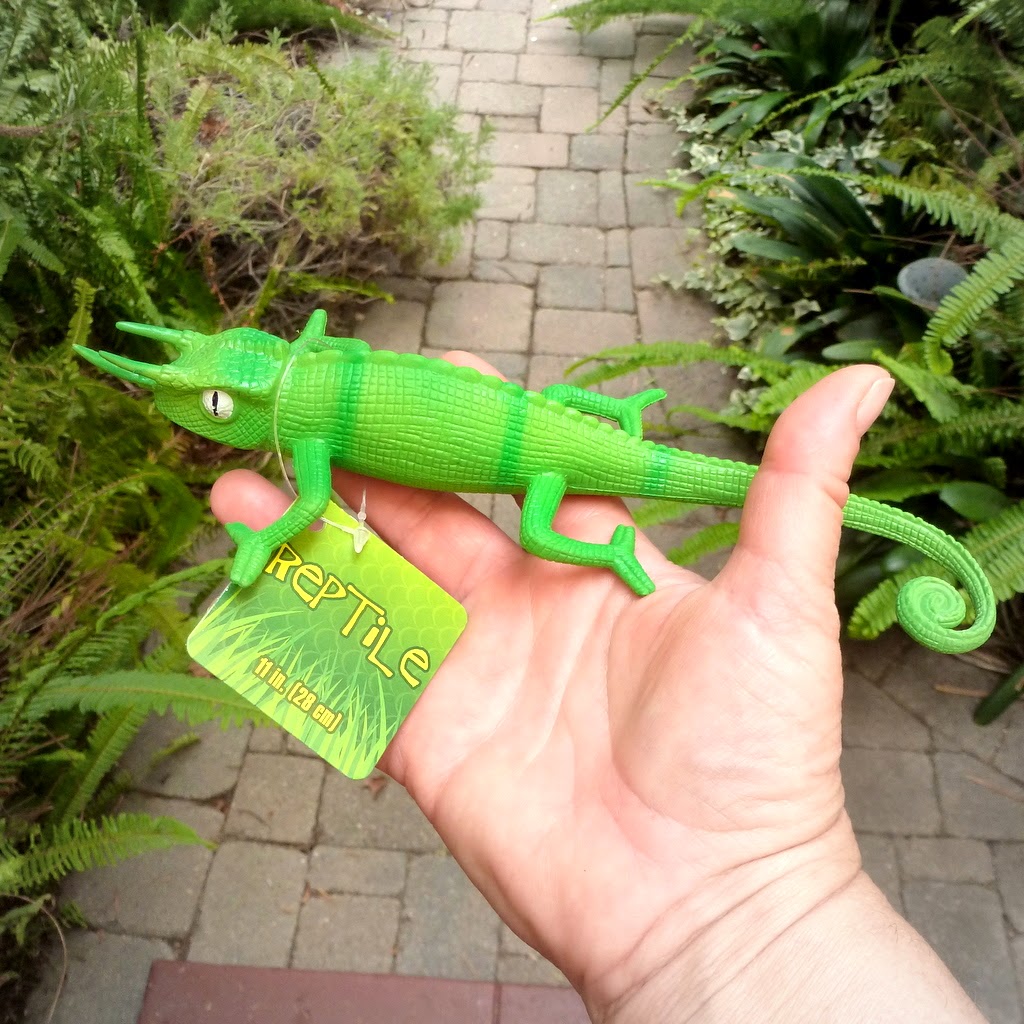
My twist on the idea is the lizardskin accents. Using a realistic rubber lizard (also from Dollar Tree).
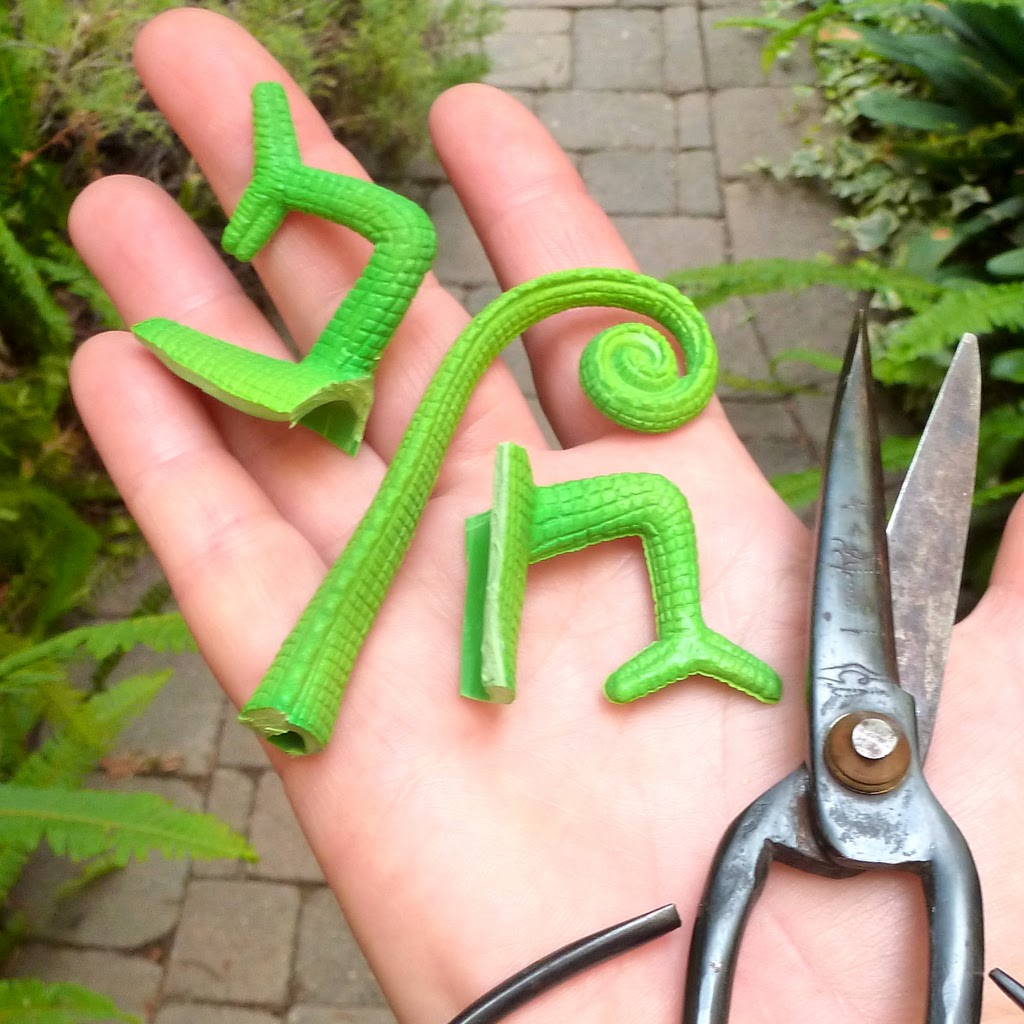
I cut apart my amphibian sacrifice with a pair of sharp scissors.
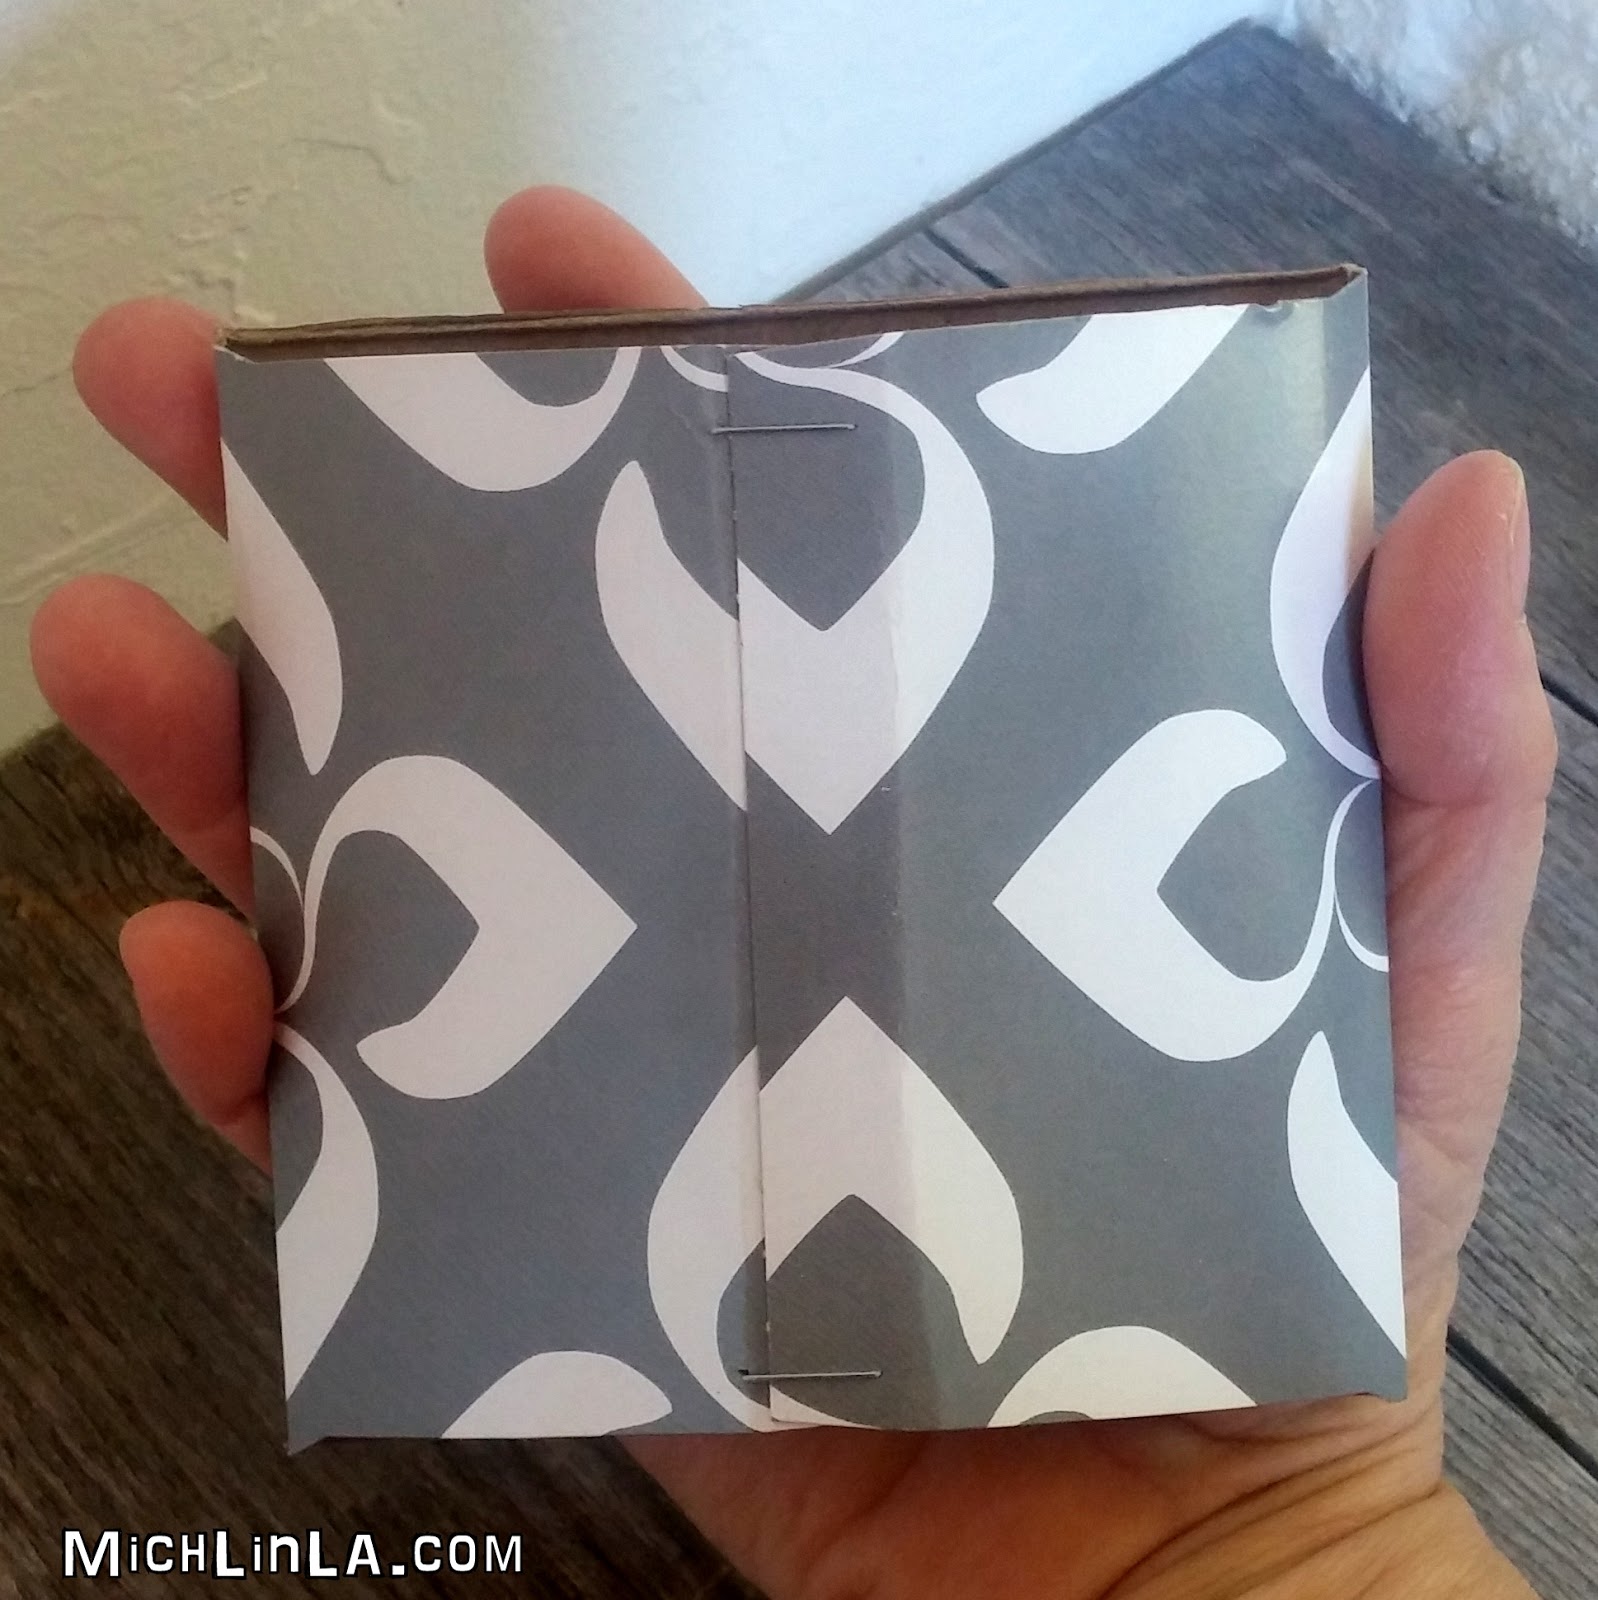
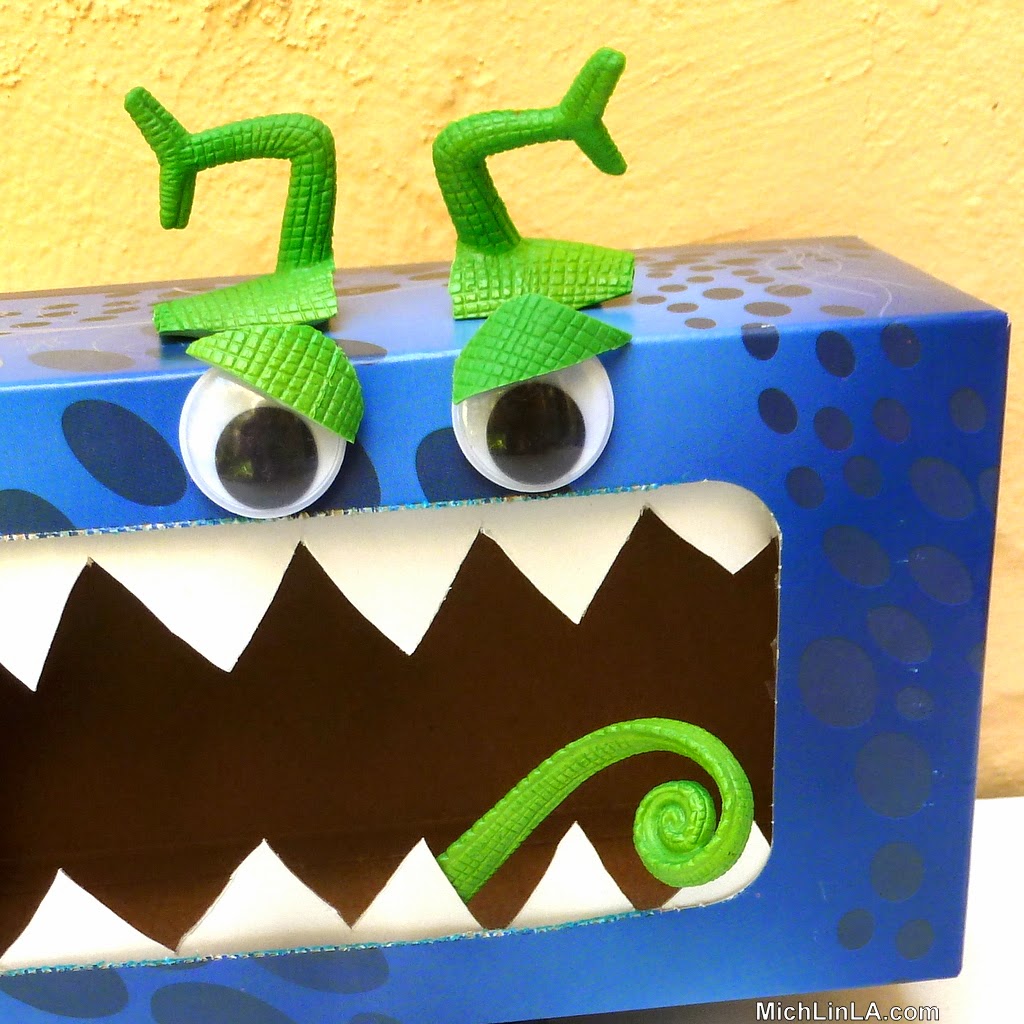
I used adhesive dots to attach the lizard bits. (Hot glue would work as well.) Plus a little duct tape reinforcement for that big floppy tongue.
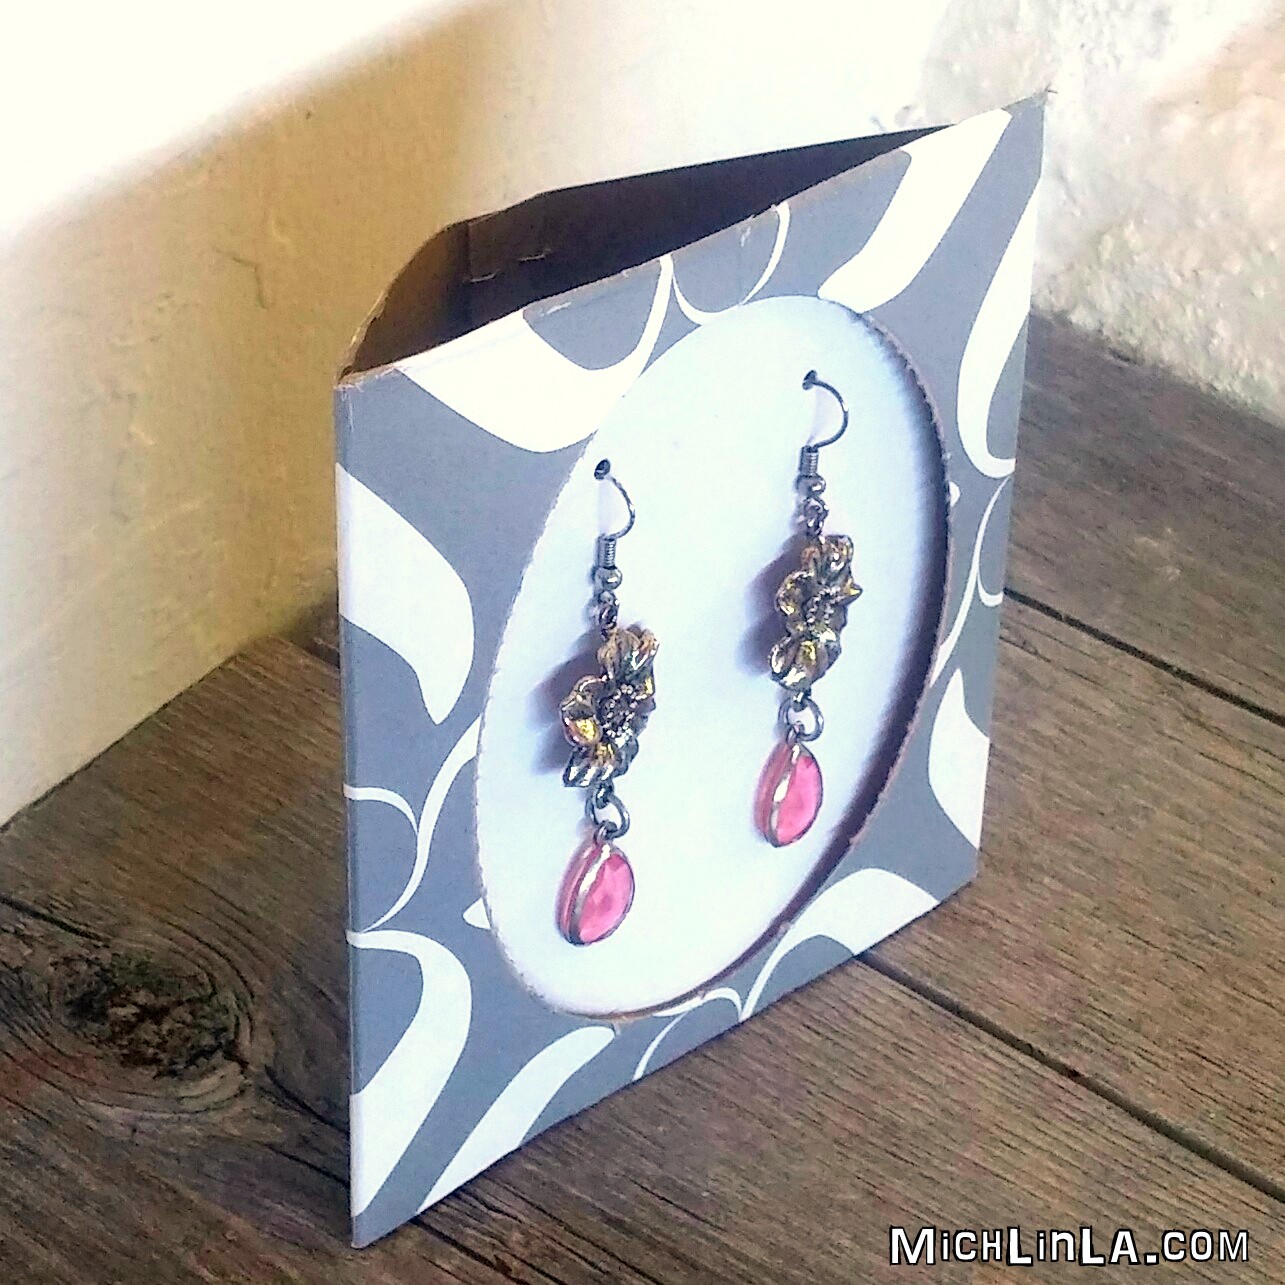
I think he looks so cute. I've already found a use for him - collecting crafting receipts in a corner of my workroom.
Pop over to the Dollar Tree Value Seekers Club website and check out the crafts, kid activities, home decor, clever tips and money savers. The best thing about the projects is how madly simple they are. Also easy to print out and take along for reference. Every month they update it with fun new stuff.
BIG GIVEAWAY, YOU GUYS!
Once you sign up, come back, 'cause I am giving away a $50 Dollar Tree gift card to one lucky club member. Dude. Do you know how far FITTY BUCKS goes at Dollar Tree?
To enter, leave a comment with your email. (Be sure it's the same email you used to sign up over at Dollar Tree, or the entry won't be valid.) One random, lucky winner will be chosen a week from today
Oh, yeah, one last thing. You didn't really think I was gonna let the rest of that lizard go to waste, did you? Decapitated chameleon head backpack charm, anyone?
Hee hee.
UPDATE: THE GIVEAWAY IS NOW CLOSED - THANKS FOR ENTERING, EVERYBODY! Congrats to the winner: entry #2 Lisa, chosen by random.org's super hi tech integer generator. (Lisa, check for my email, coming soon.)
Subscribe to:
Posts (Atom)