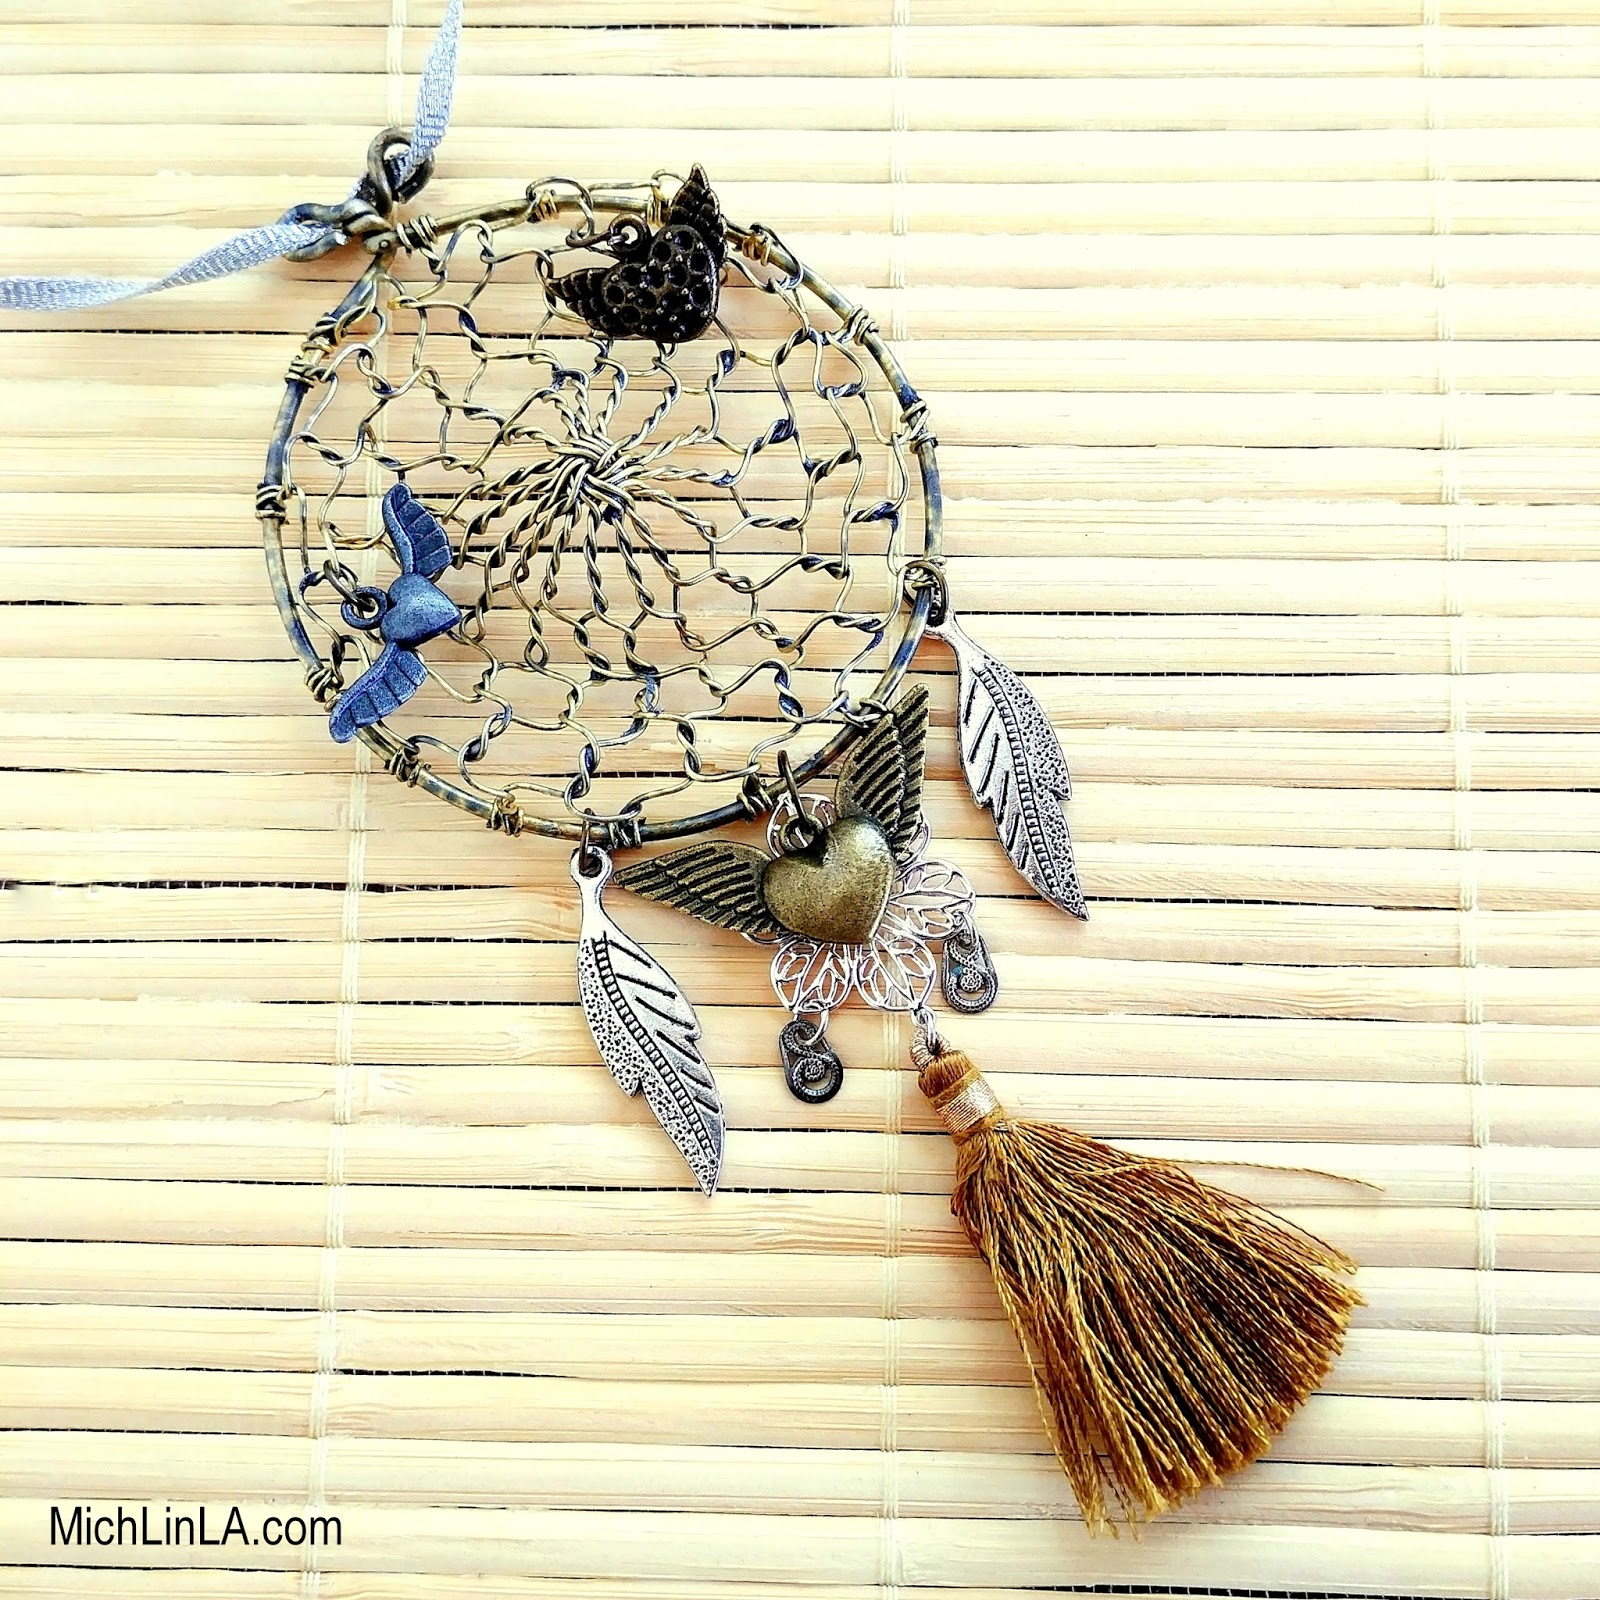
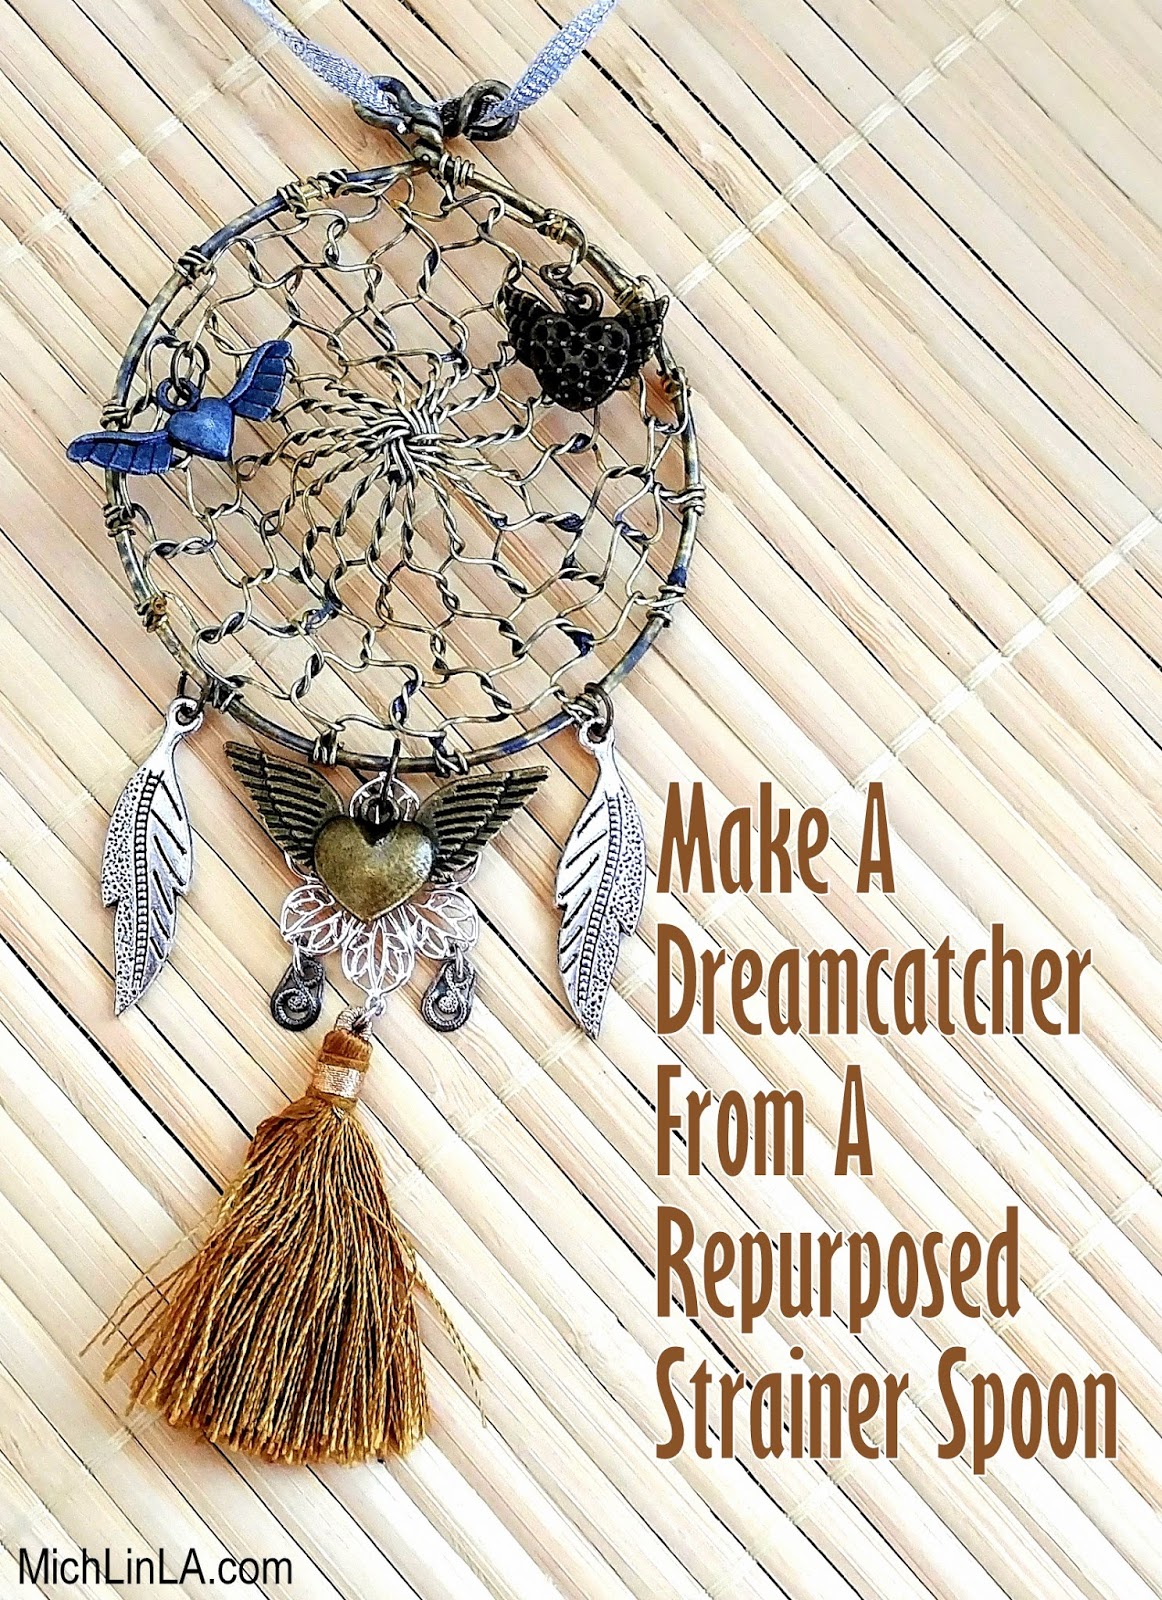
Check out my latest little brainwave! A cool metallic dreamcatcher that looks it's woven with wire.
I've always loved dreamcatchers, but never tried one before. Probably because I didn't want to figure out the knotwork involved. (Q: is there an award for laziest crafter?)
So I came up with a simple five minute hack for the 'web' part of the dreamcatcher. After that, it was all embellishment - the part of crafting I really enjoy.
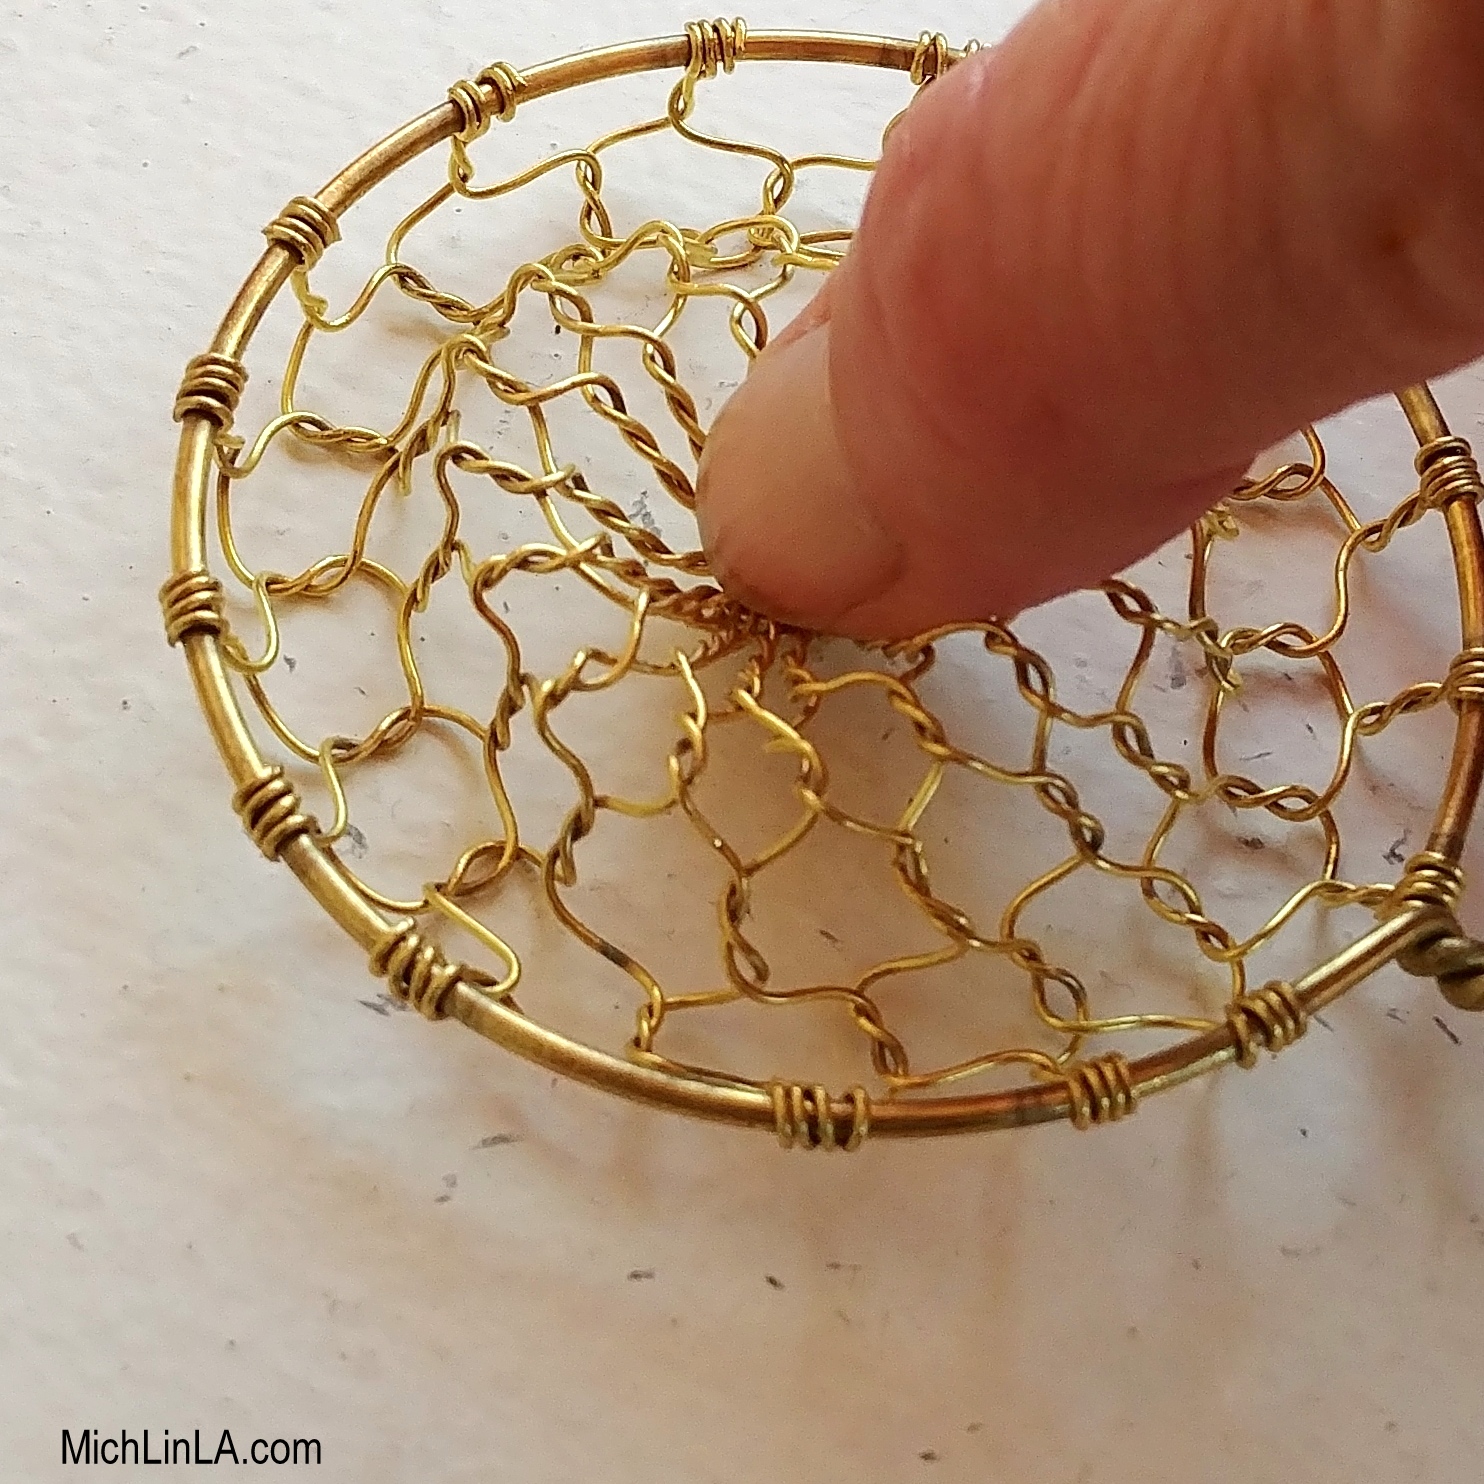
Here's the DIY. I began with a loose-weave metal strainer spoon. I found mine at an Asian market for less than two bucks. Try your favorite kitchen shop or dollar store for something similar.
First I squished the center of the spoon inward.
Then I flipped the spoon over and squished again, flattening the small inner bump. It created a pattern of concentric circles in the mesh.
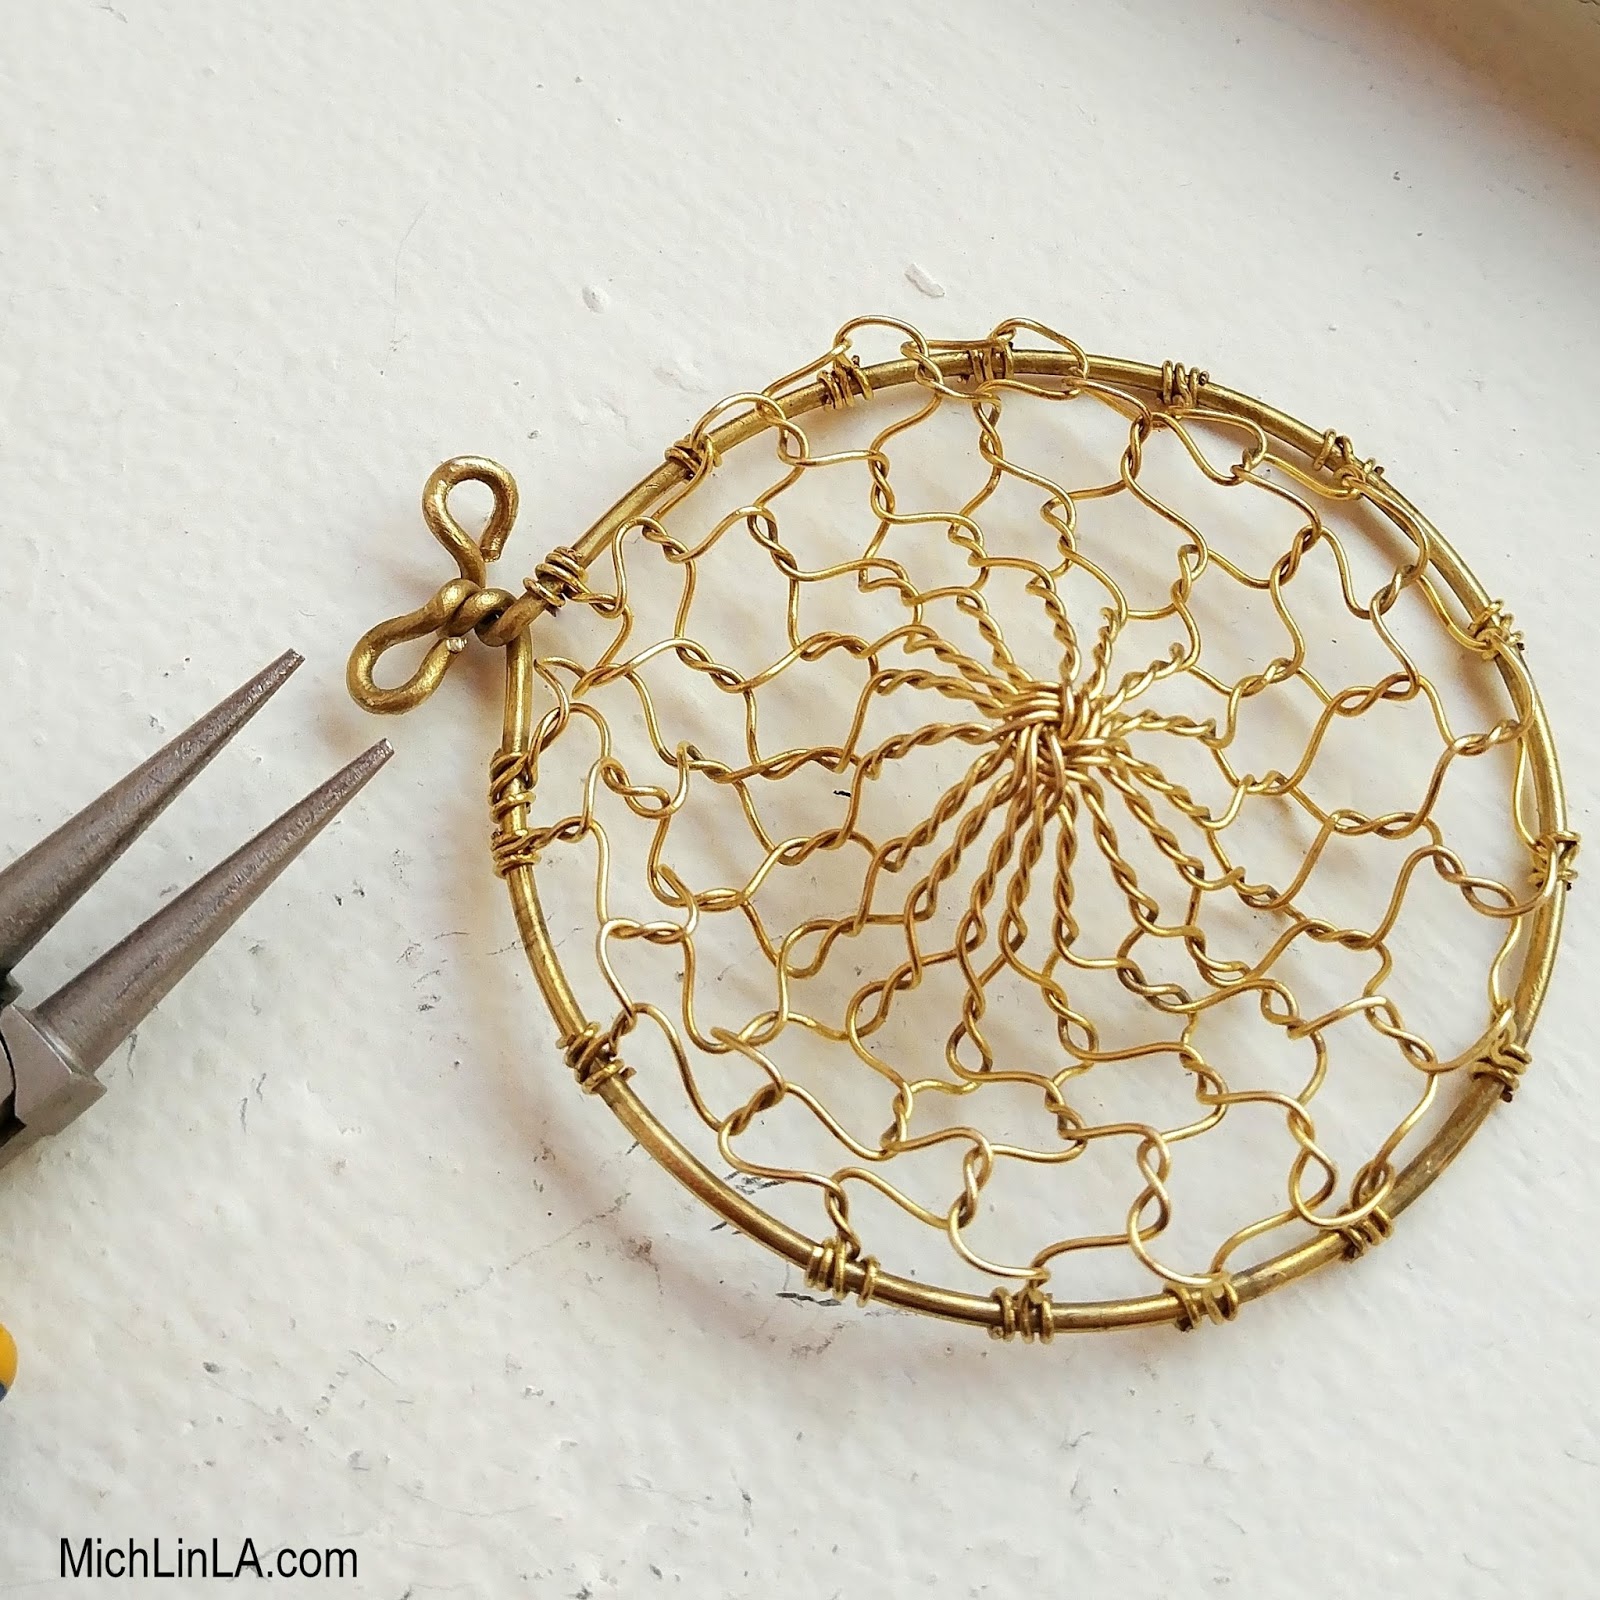
I untwisted and trimmed the handle wires. Then I made small loops with the trimmed ends, like so:
Tip: that two-loop bail was the one tricky bit. Because the handle wire was so curly, I had to straighten it with pliers before turning the loops. You could simplify by just cutting the handle short, and turning a plain loop.
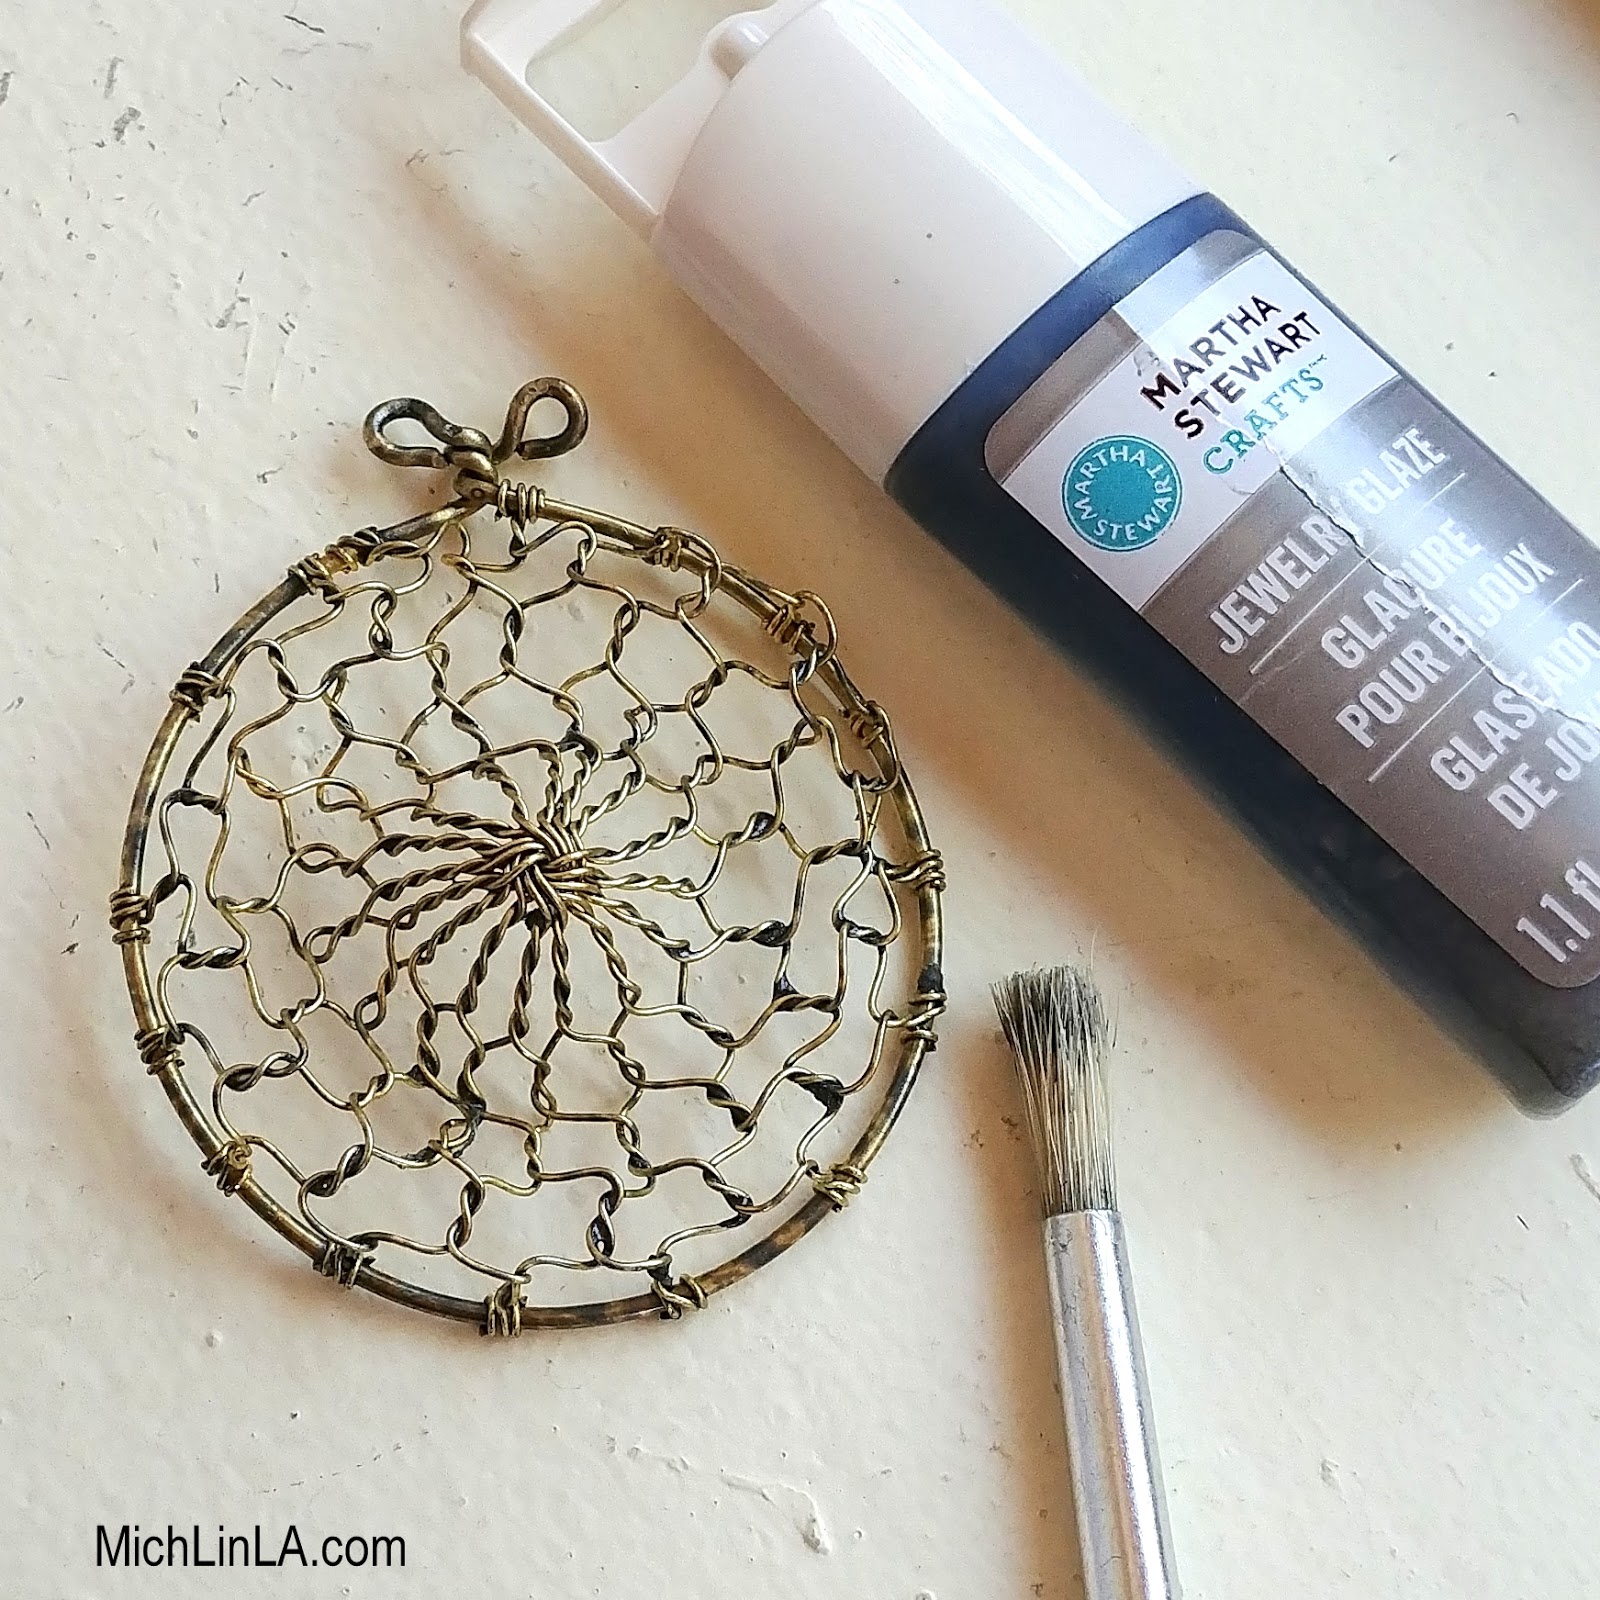
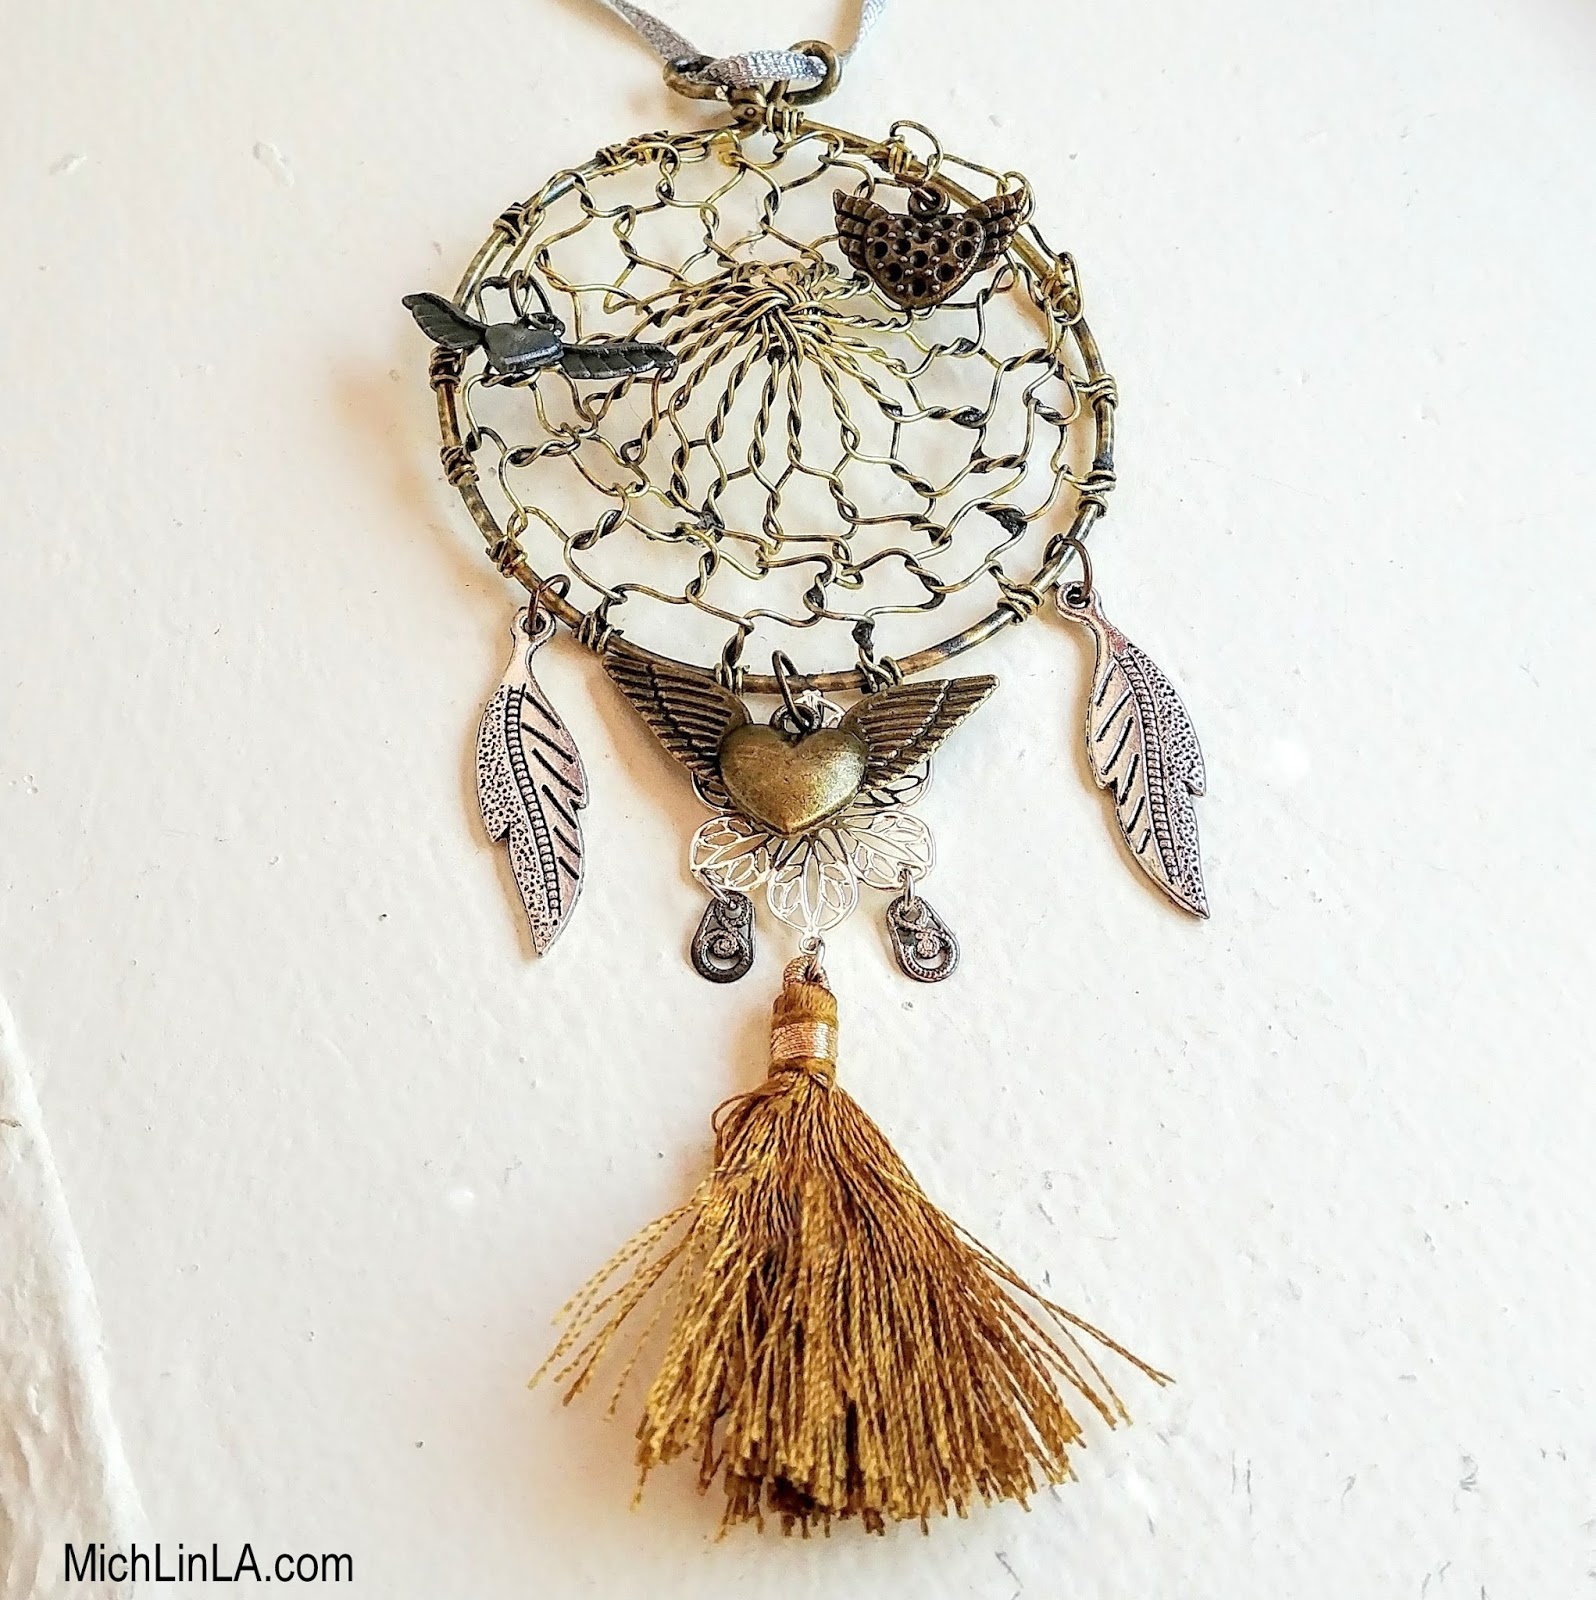
If you like the bright brass color, your dreamcatcher web is all done and ready to decorate. I took one extra step: a dark jewelry glaze to add an antiqued look.
Tip: If you don't have glaze or patina, a simple wash with brown or black craft paint will work, too!
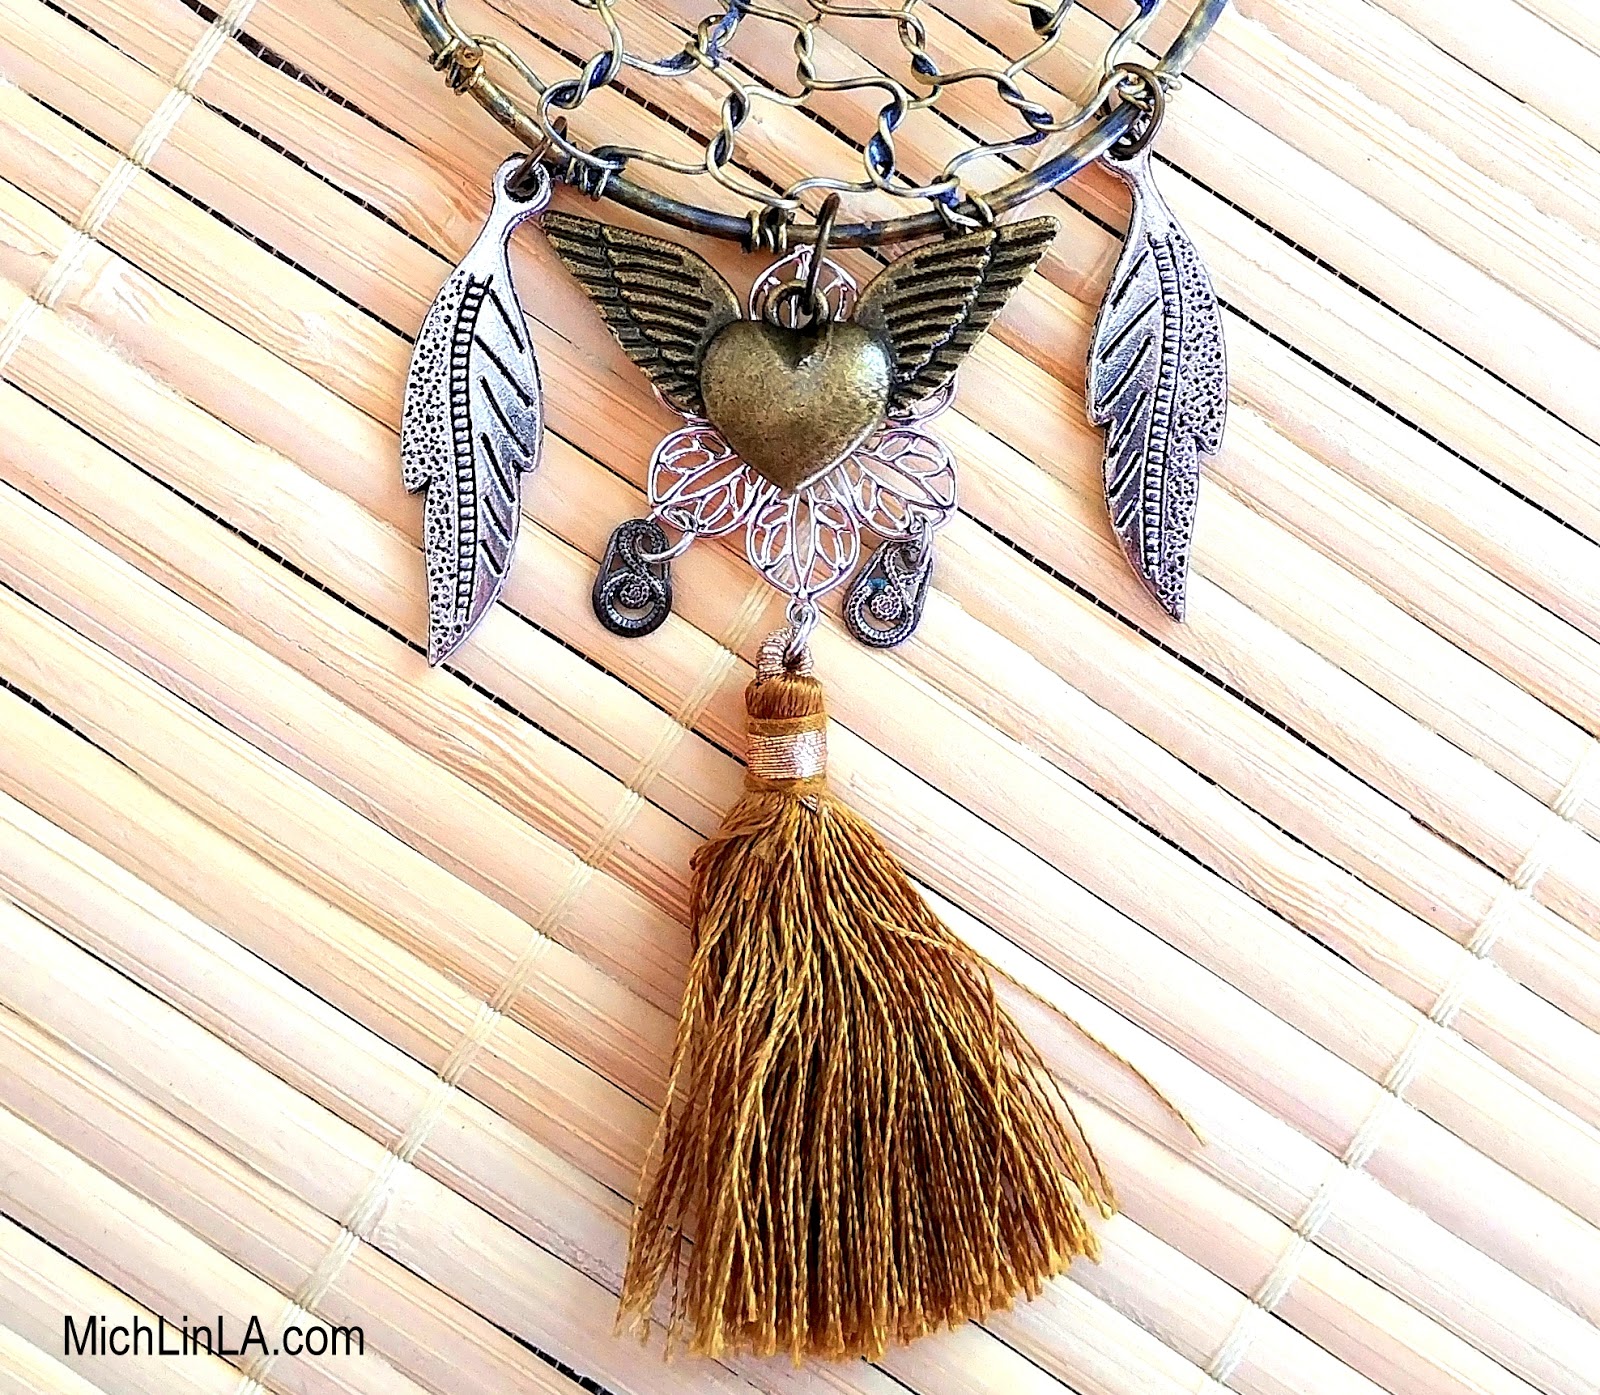
Then I had a great time with the adornments. Metal feather charms, flying hearts, filigree and a tassel went into the final result.
And my dreamy catcher was ready to hang above the bed.
Of course, this is just an example. You might prefer to include more traditional elements. Bone beads, feathers, shells or other natural objects - there are lots of different styles when creating a dreamcatcher, with personal meaning for each maker.
Consult your own taste, aura, and sense of magic.
Now wouldn't this make a great gift, especially for a guy or someone who isn't really into jewelry? Or hey - I would even count this as a handmade Christmas ornament.
OK, people, thanks a bunch for visiting! See you again...maybe in dreams.
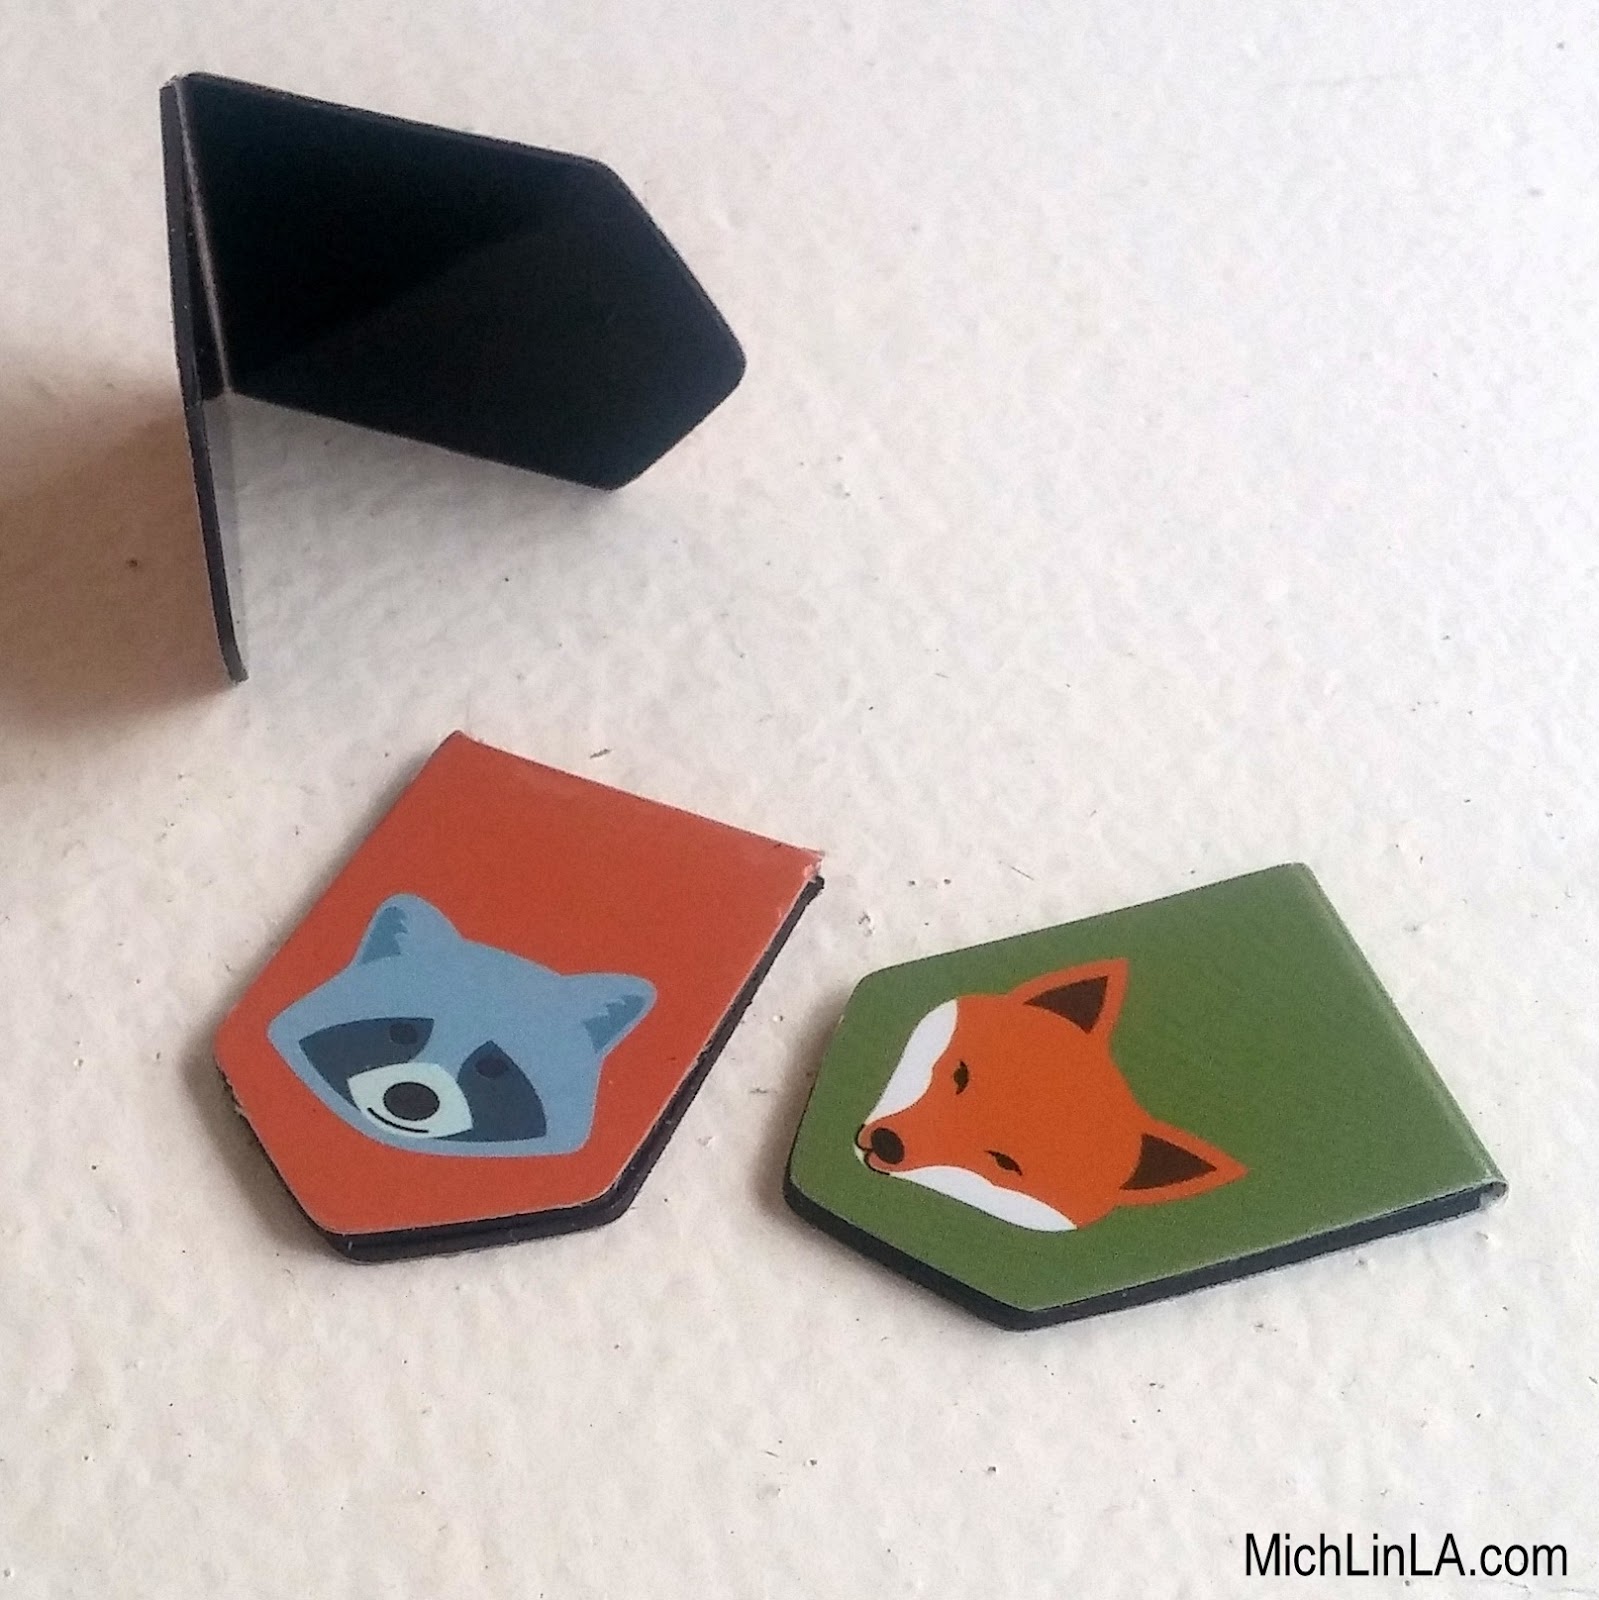
You know those magnetic bookmarks, right? The kind with two flat magnets that stick to the edge of your page. Like these woodland cuties.
They are always embellished with some type of nicely laminated art; you can find them in thousands of adorable designs.
I have a funny little hack for turning them into necklaces. As an added bonus, they are interchangeable - switch out the bookmarks to a different design in seconds. Wanna see? Sure you do!
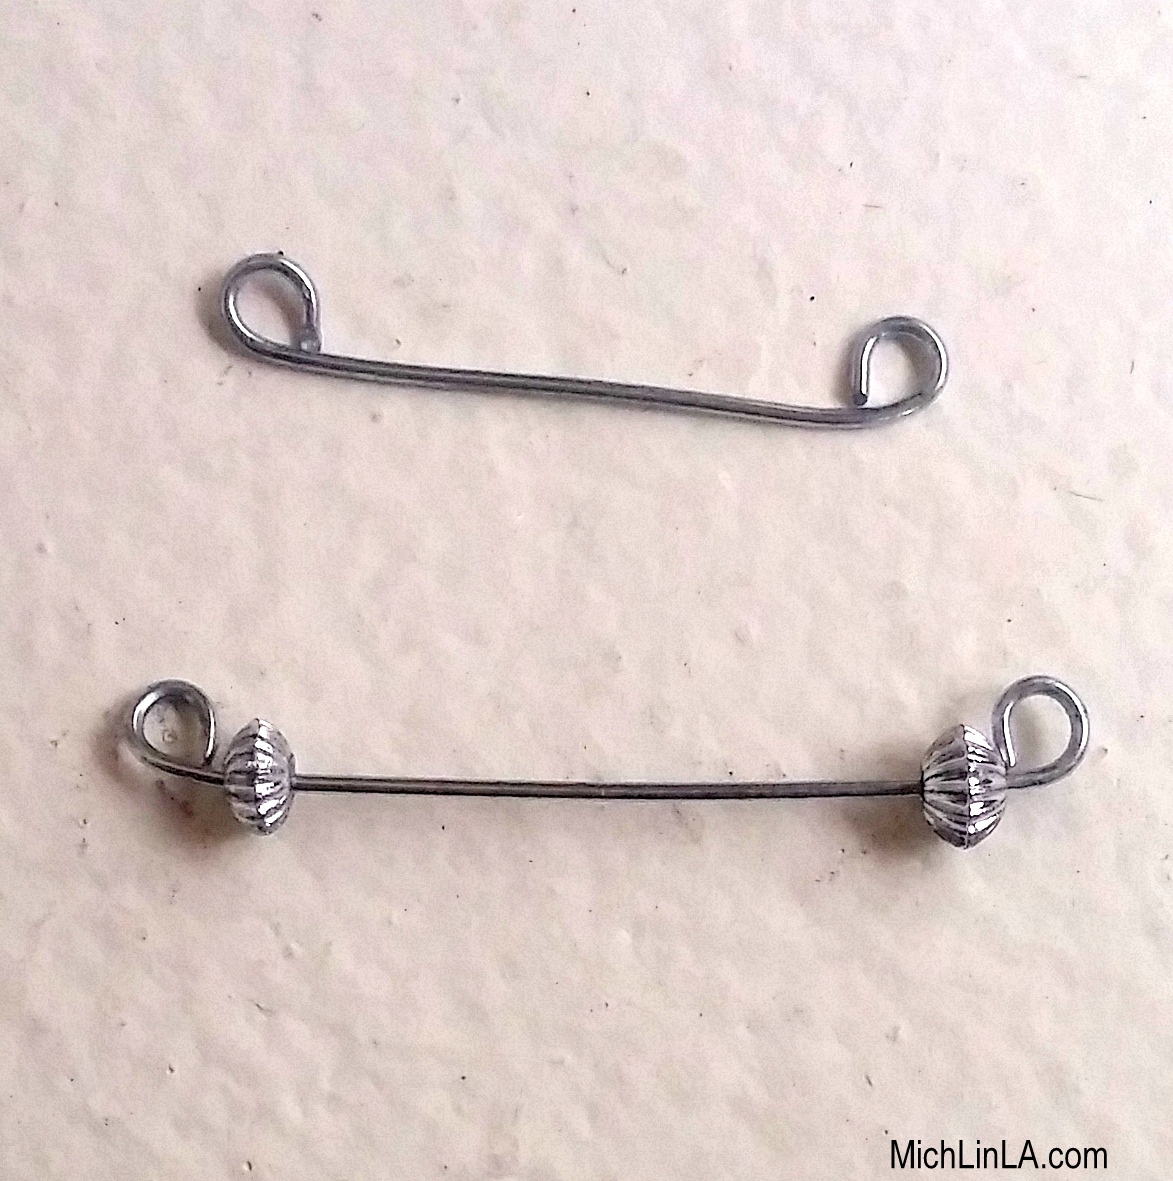
Begin by making a simple wire piece with a loop on each end. The straight section of wire should be the same width as your bookmark. (Optional: add two small decorative spacers.) Here's how it should look:
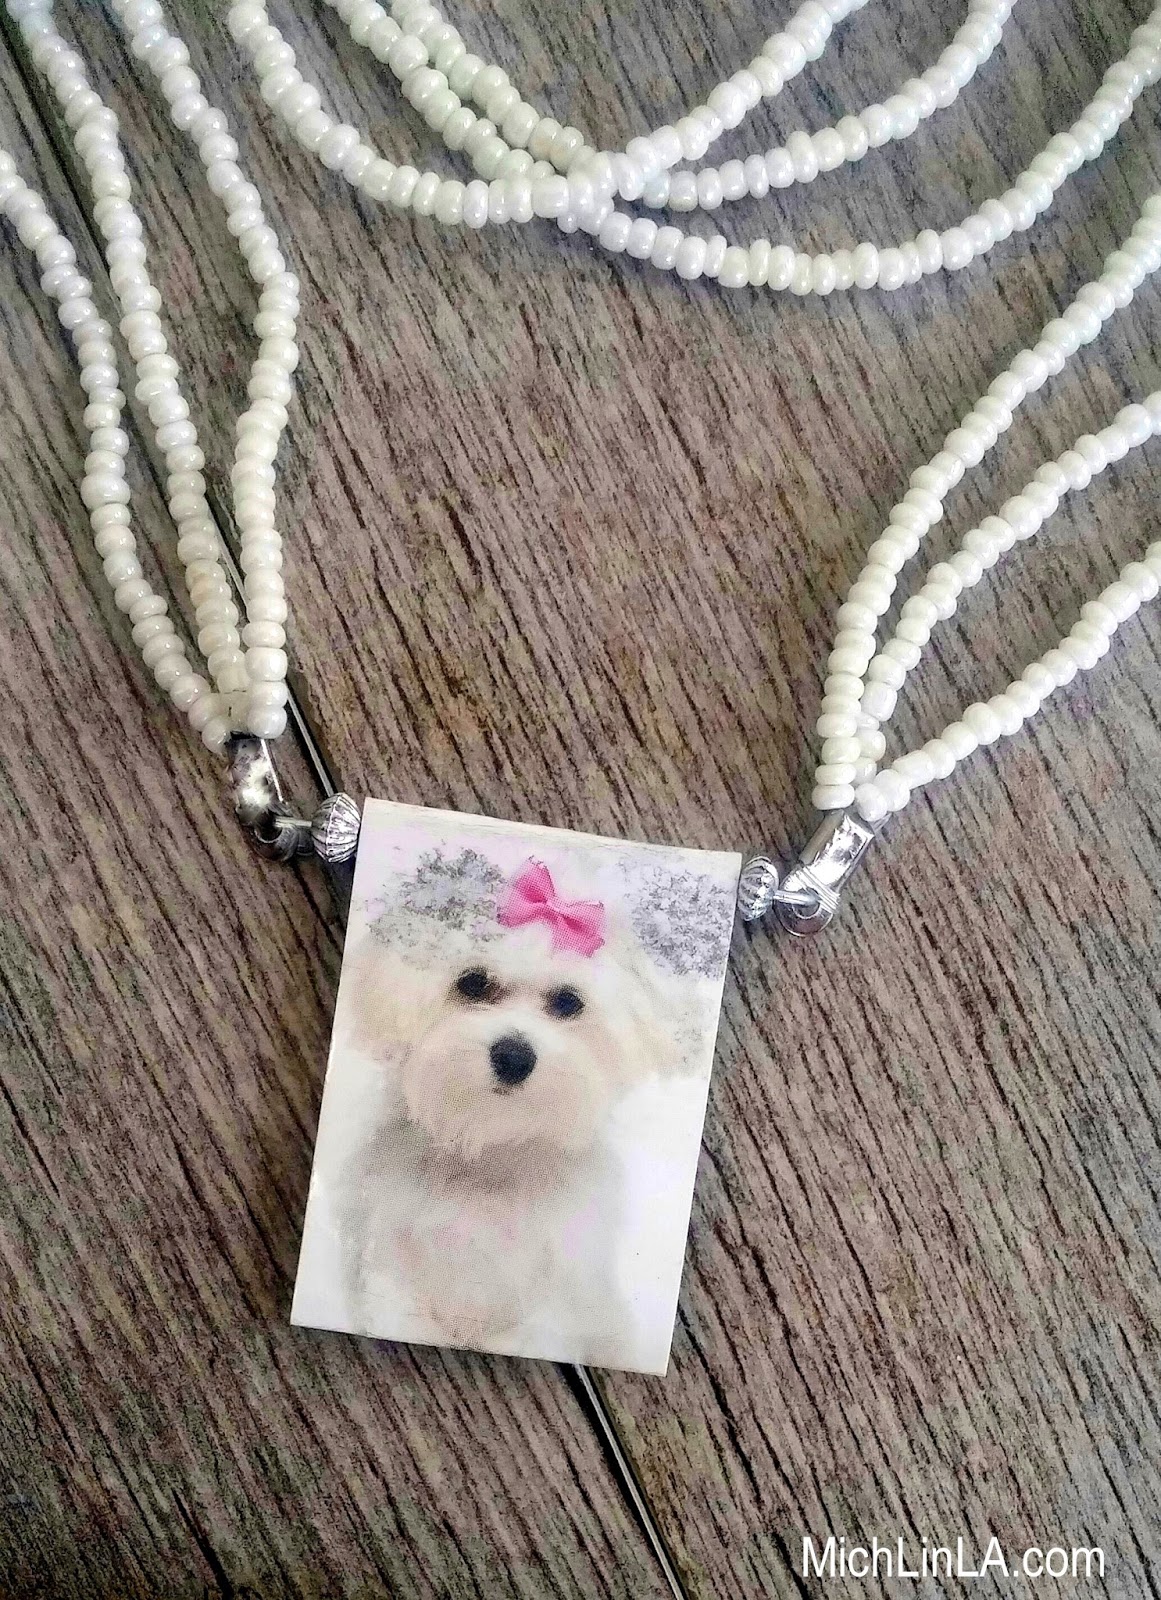
Now add the wire piece to a necklace or a chain.
Open a bookmark, slip it over the wire, and let it fall closed. That is it!
Switch it to another bookmark in the blink of an eye.
It's a great beginner's wirework project. Couldn't be any easier - two loops and you're done. Try it with a teen or a tween, or a jewelry-making newbie!
This would be a fun gift for a book lover: give a set of bookmarks and a convertible necklace to go with it.
I'm sure you can find an elegant bookmark out there to match anyone's taste. Something sophisticated, or whimsical, or literary...
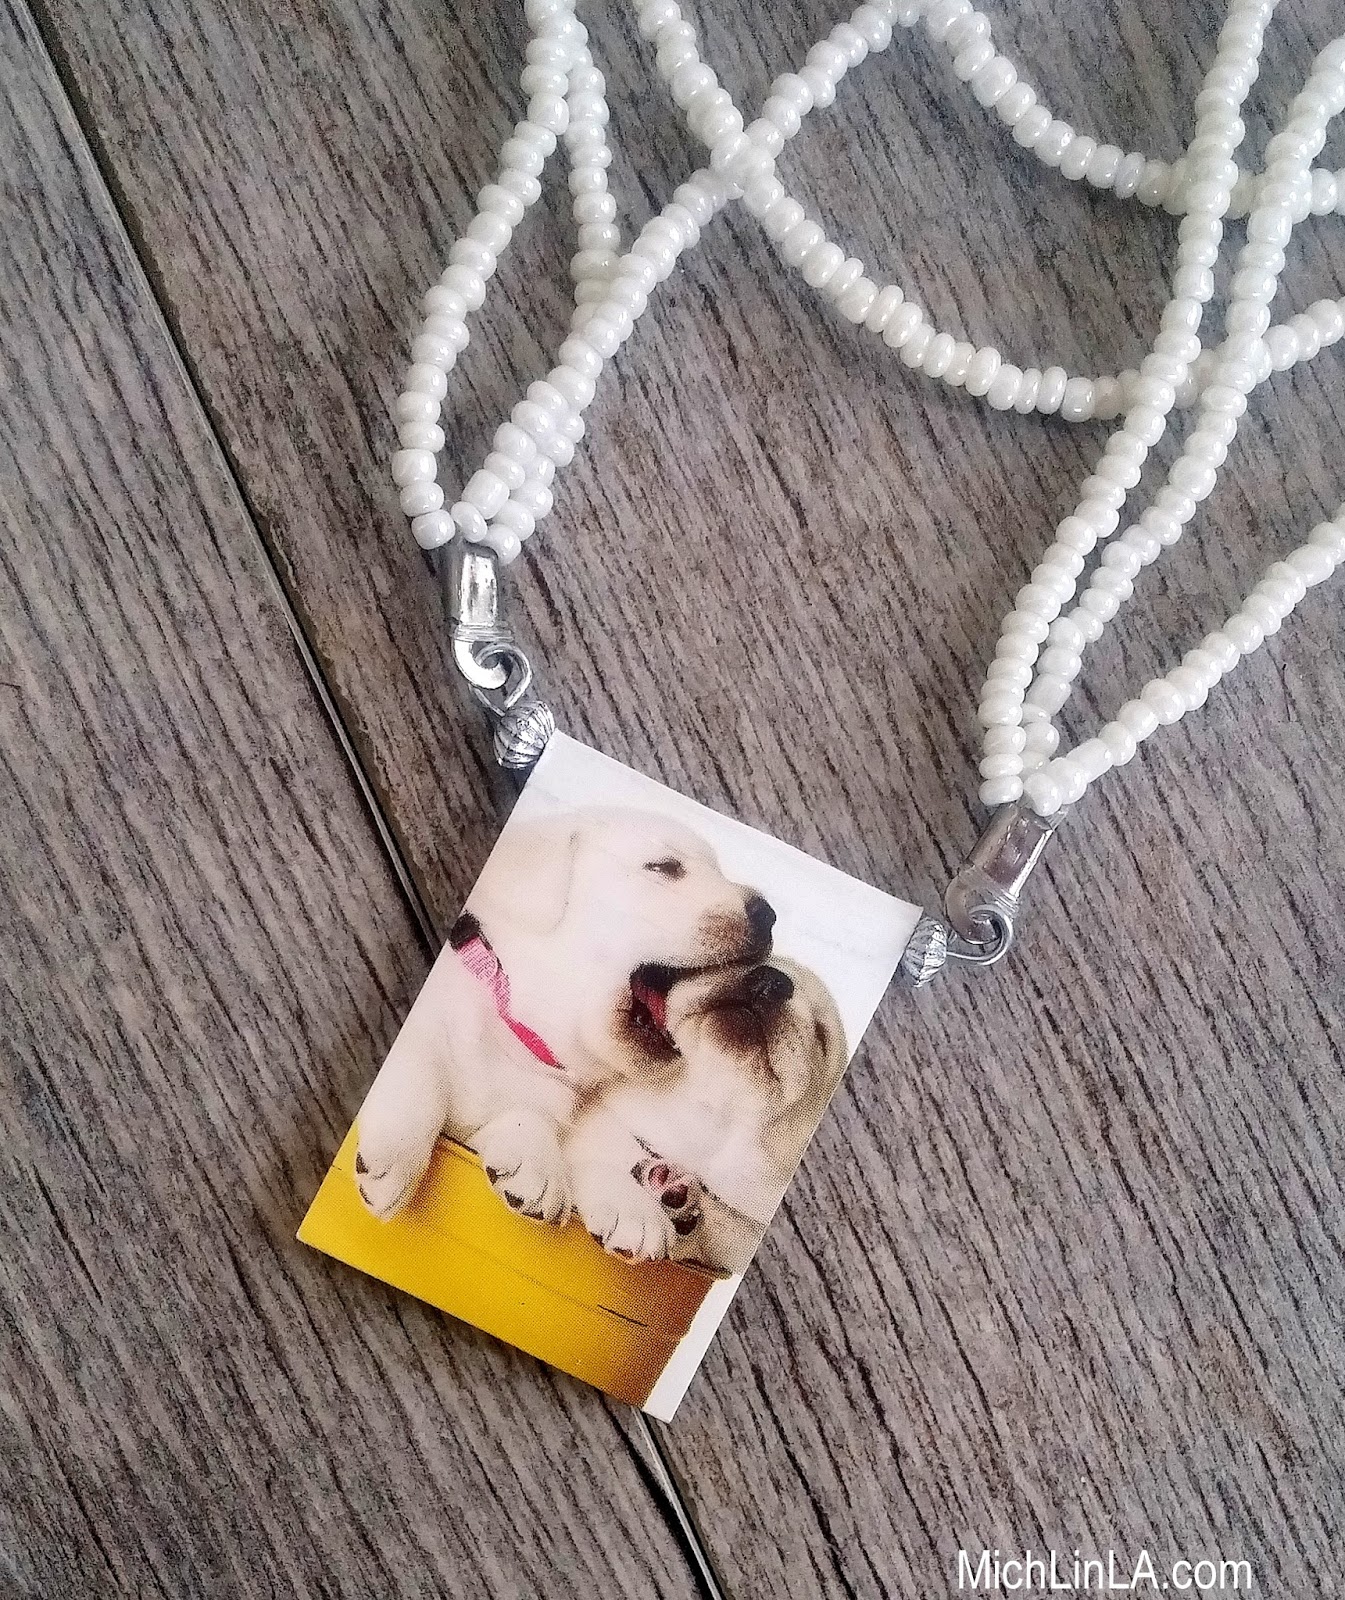
Or you could go in a different direction.
!!!Omg puppies!!!
Bye for now.
p.s. thanks for the puppy ones, mom!
p.p.s. fellow blogger Divya suggested making them for your book club - great idea!
Hi, all! Check out these flittery, fluttery butterfly earrings.
This design is really at its best when worn - the true effect is a little hard to capture in a photo. That's because they have lots of movement and, when hanging free, tend to cascade in almost a spiral. This pic shows it a bit better:
I know it looks complex, but it's not really so difficult, I promise. Tutorial begins now!
Put four butterfly beads on headpins, with one pin a little shorter than the other three. Turn a loop at the top of each one. You will end up with four butterfly dangles, with empty lengths of pin exposed. Like this:
Swivel open the loop on one of the long dangles, and add it to the empty section of the short dangle. Close the loop. It should look like this.
Do the same with the next two dangles, adding each butterfly to the empty pin section of the one above it. You will end up with this interesting geometry:
Now add an earring finding to the loop at the top of the cascade (the short butterfly dangle).
If you have two ears, make a second earring. And you're done!
Aren't they fun? I used some little polymer clay butterflies from a bracelet I took apart, and some carved beads in a stone called strawberry quartz. There are so many cute butterfly beads out there, I bet you find just the thing to make your heart flutter.
In a good way. Not in a tachycardic kind of way.
Hope some of you decide to give it a try!
Hi again! While I'm on the subject of recycled denim jewelry (see last week's post with roses made from blue jeans), I thought I'd show you an updated version of a different style of blue jean pendant.
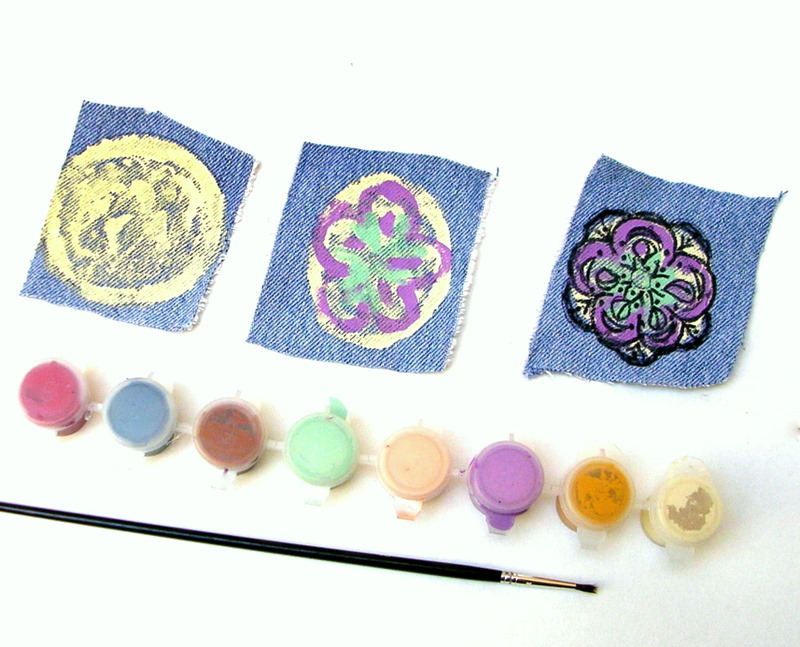
Today's necklace is madly simple to make, hand-painted, and eco-fabulous.
Just paint and then Sharpie on a scrap of denim. Like this...
And you end up with...cuteness!
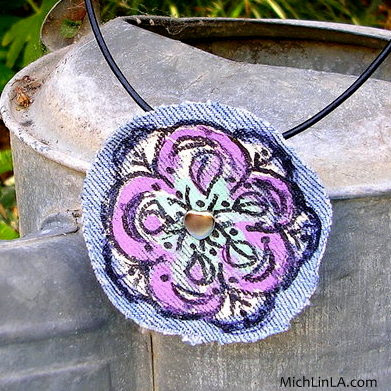
There's a hidden bail in the back, made of felt. In my original version, I used little metal nailhead studs to connect the pendant to the bail.
A really fun, casual chic look. Here my sweet friend Kim models one so you can see it on.
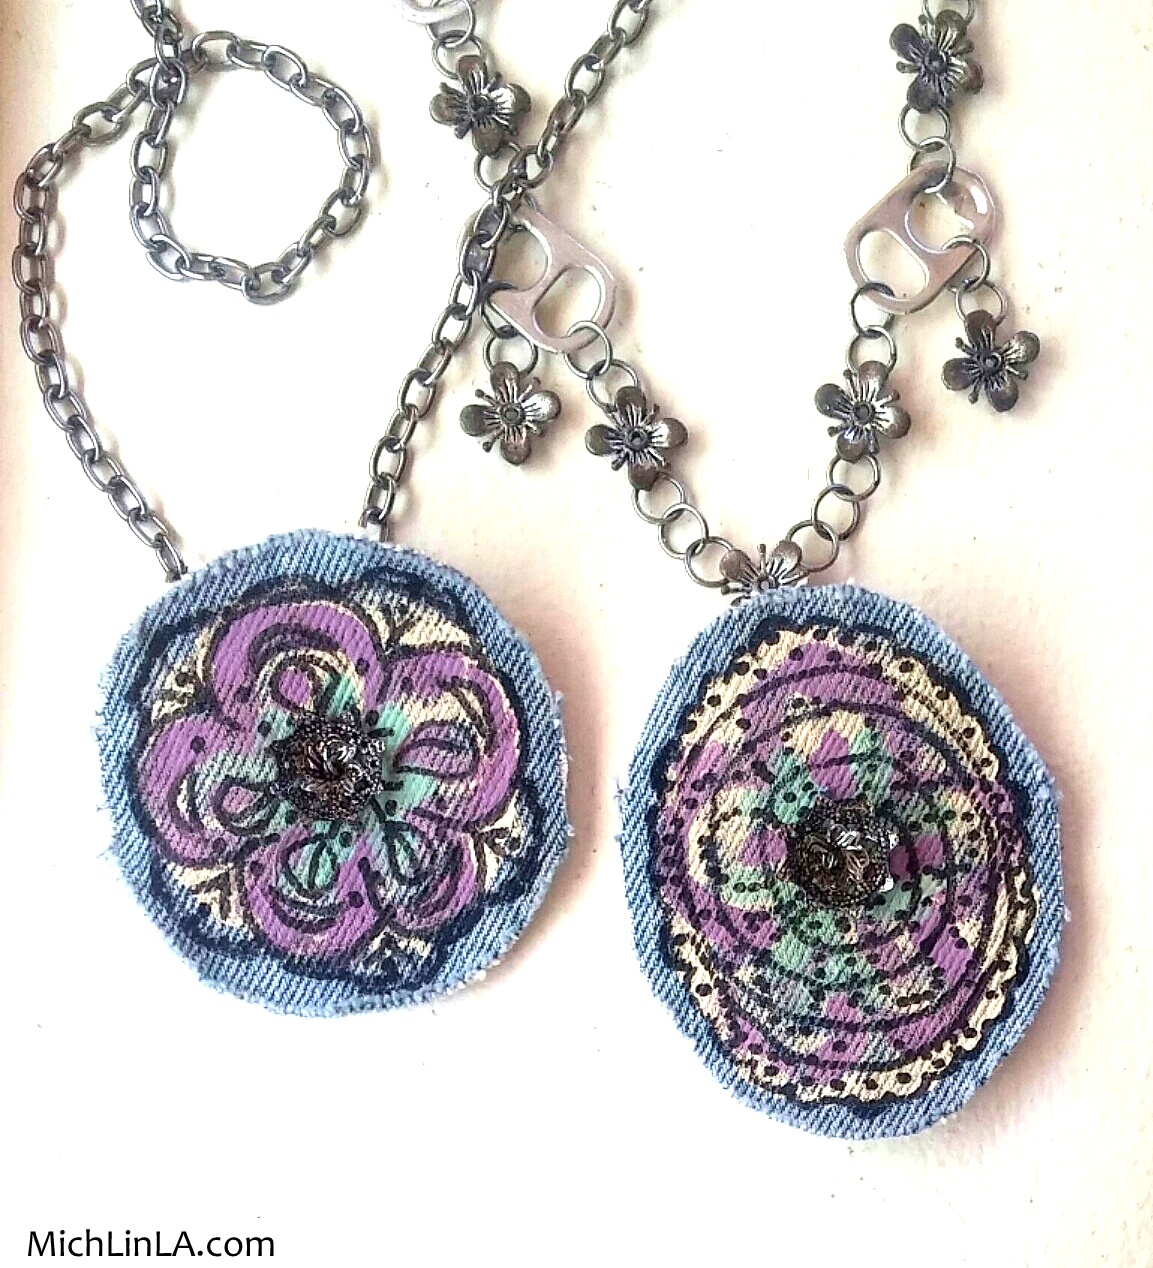
In this new version, I used the same method as in my denim roses, i.e., a headpin with a flat spacer, like this:
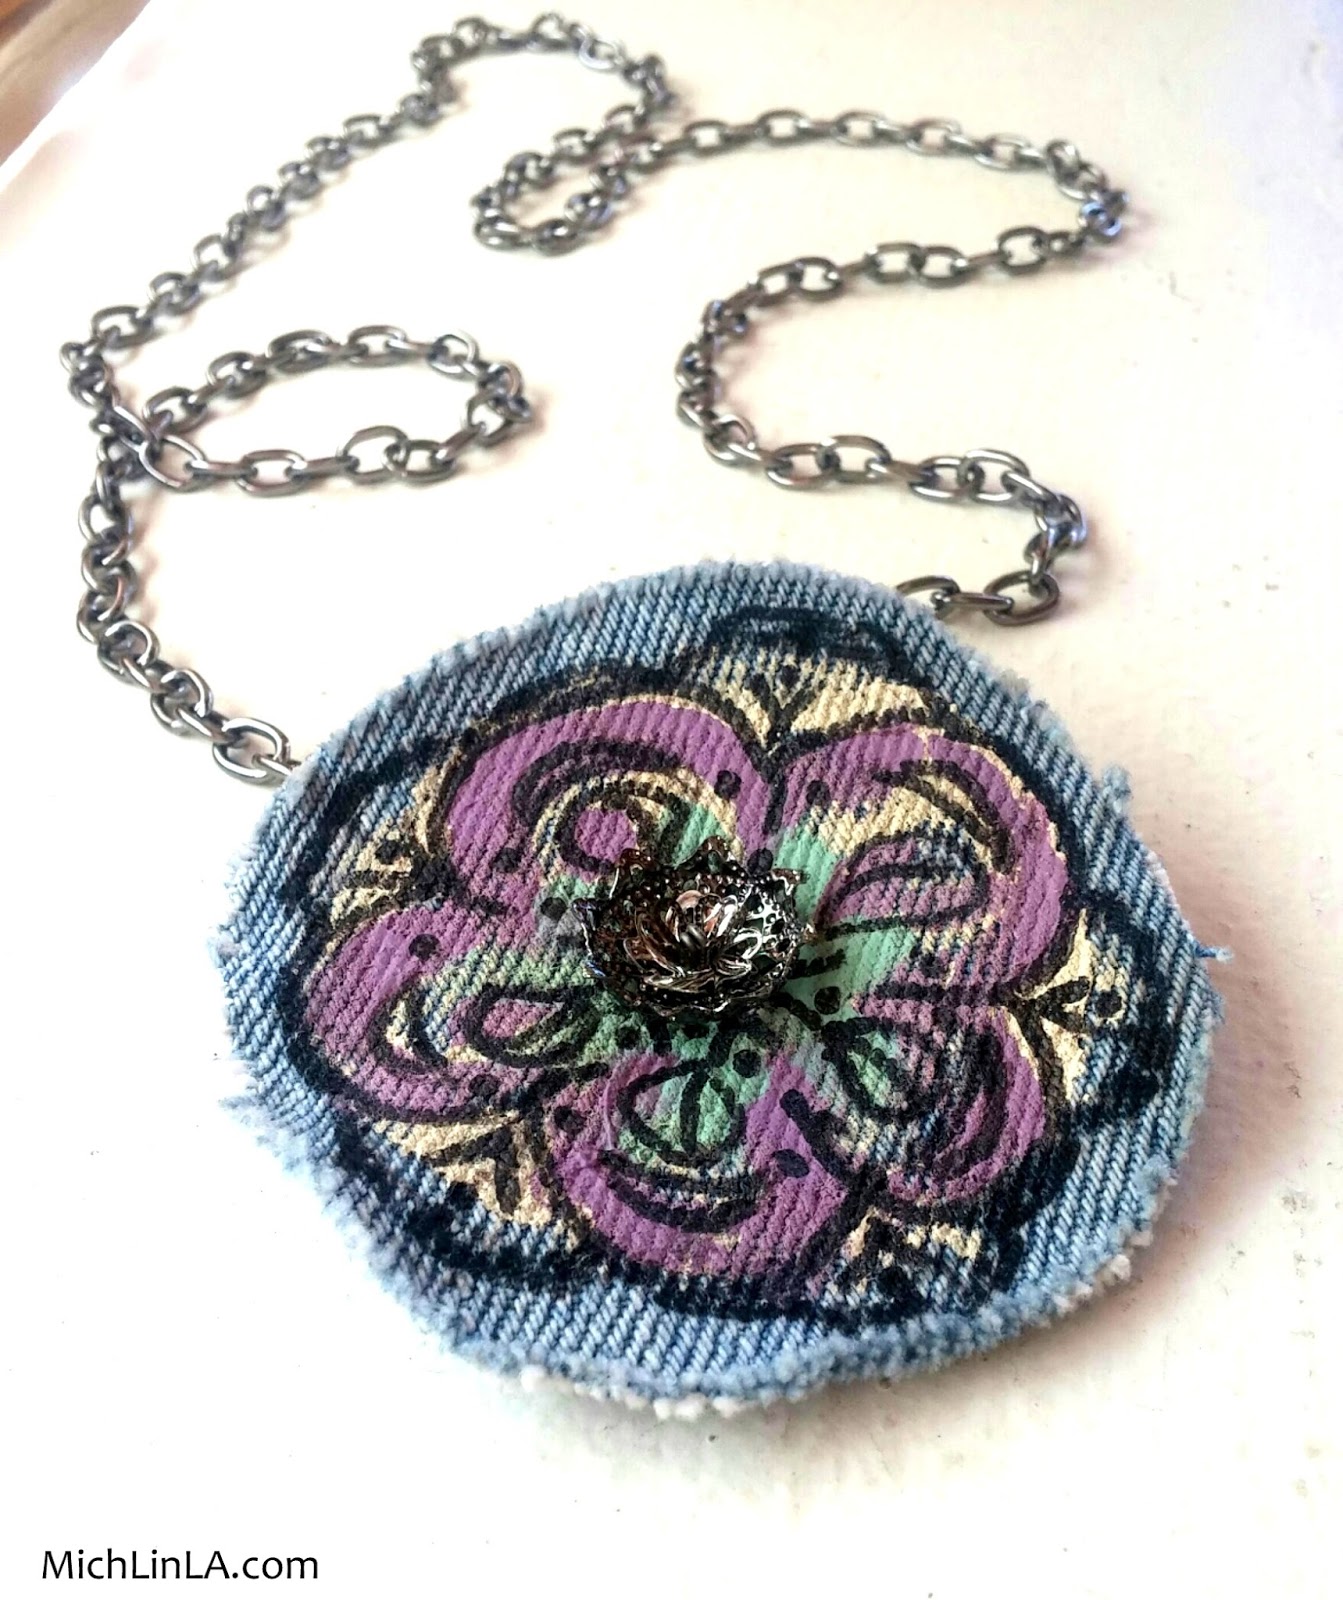
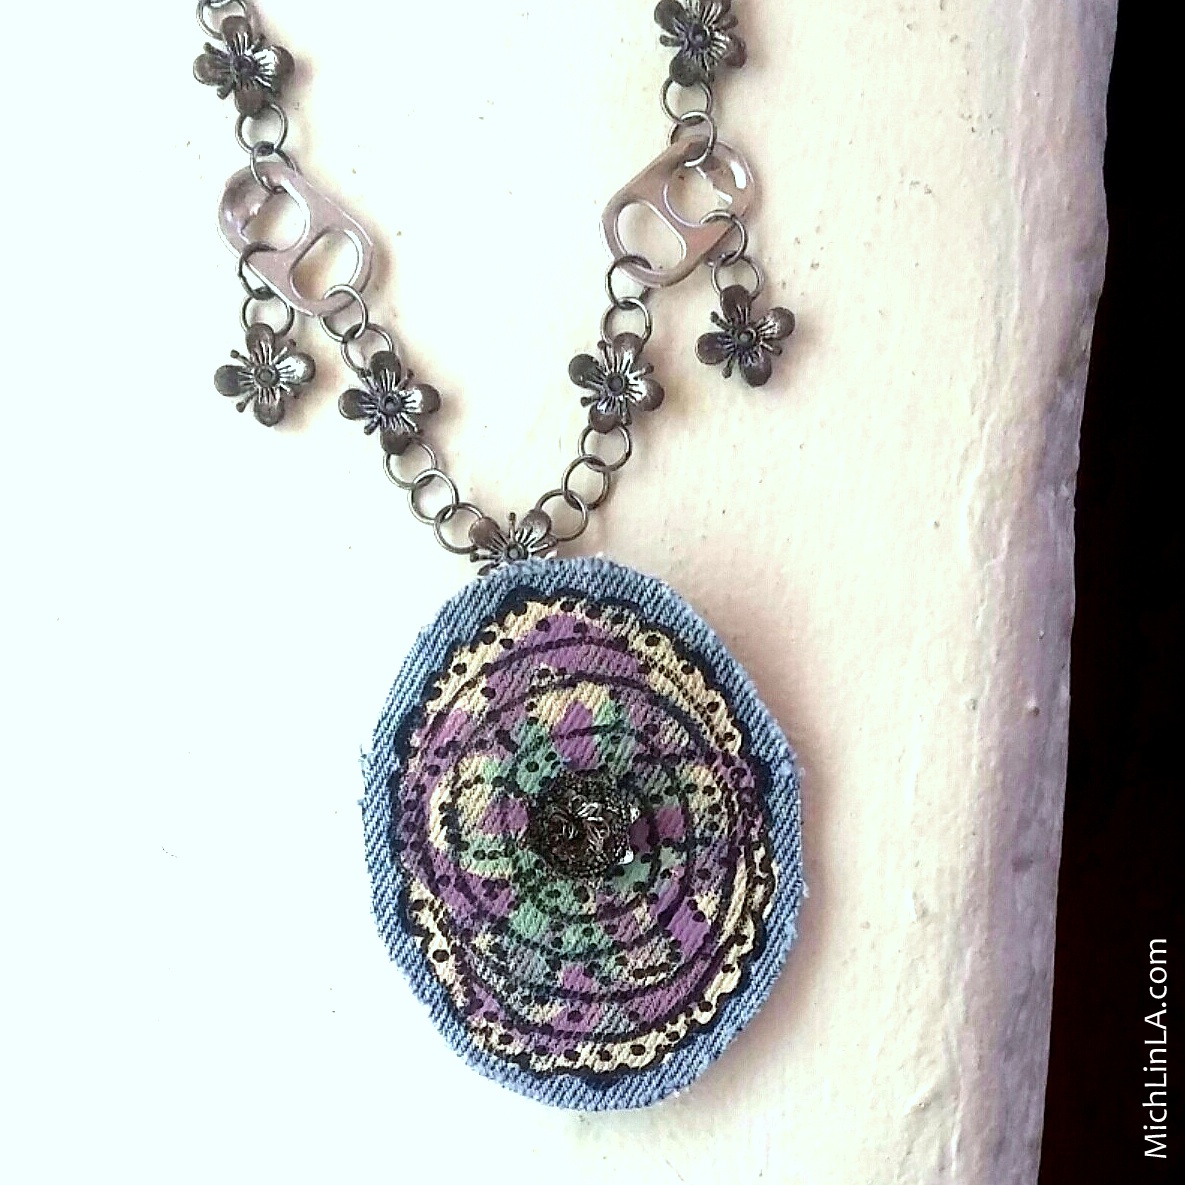
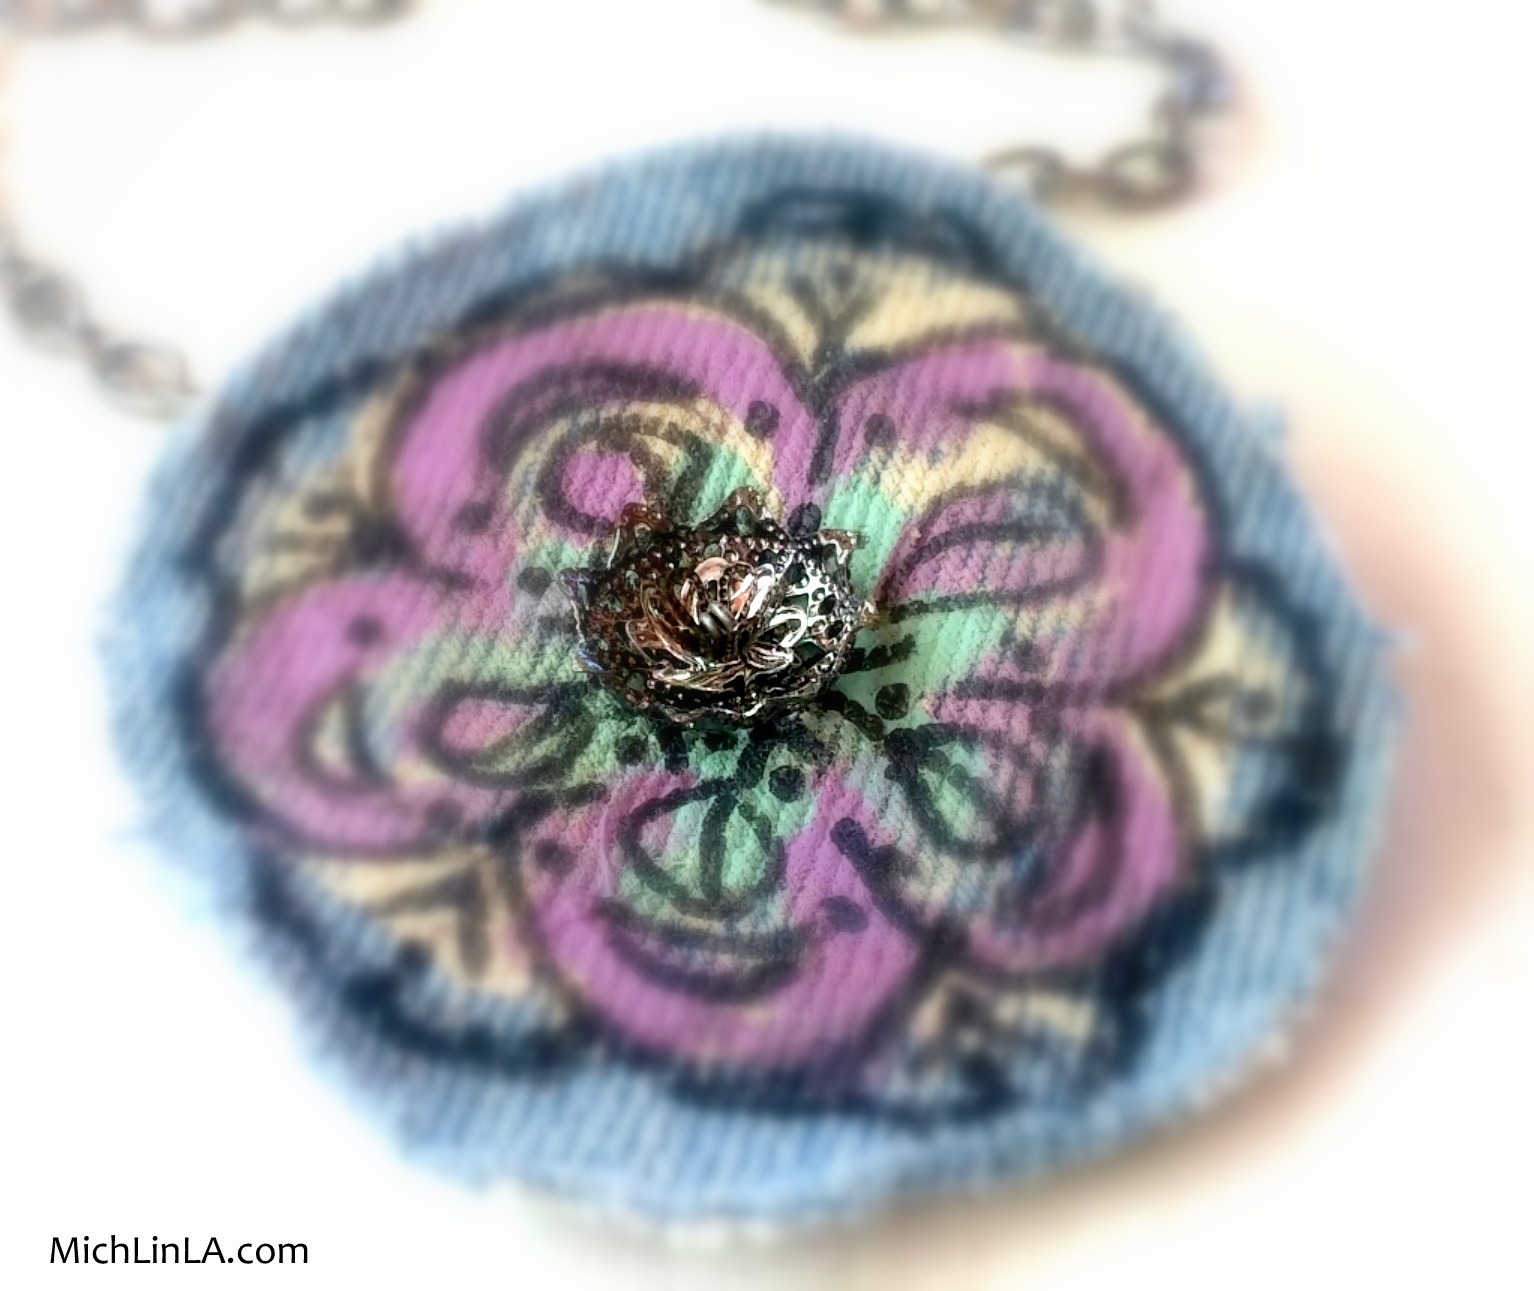
The updated method allows for a fancier, flowery center...
I punched up the look with metallic necklaces, to echo those mixed-metal centers.
Okie dokie! I hope you get inspired to grab your denim scraps and play.
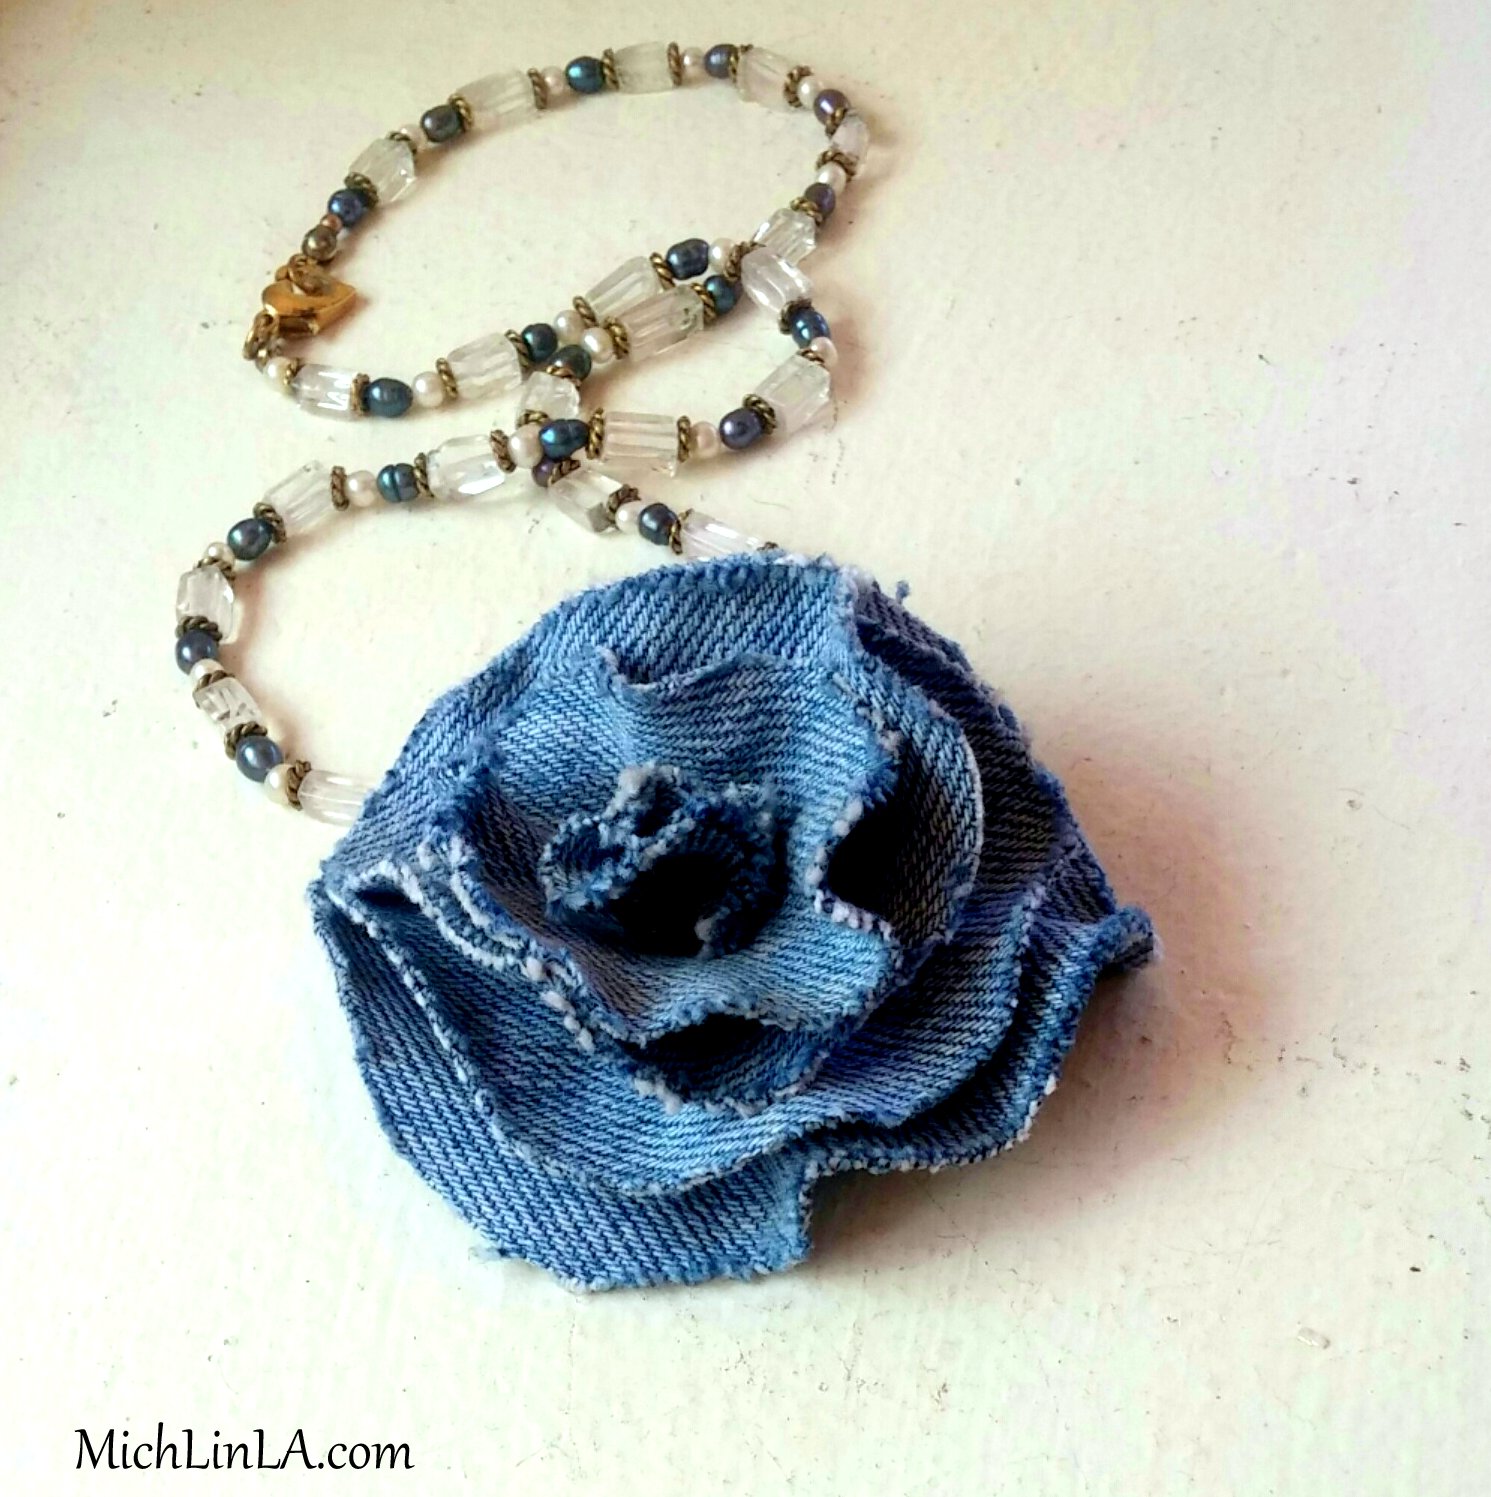
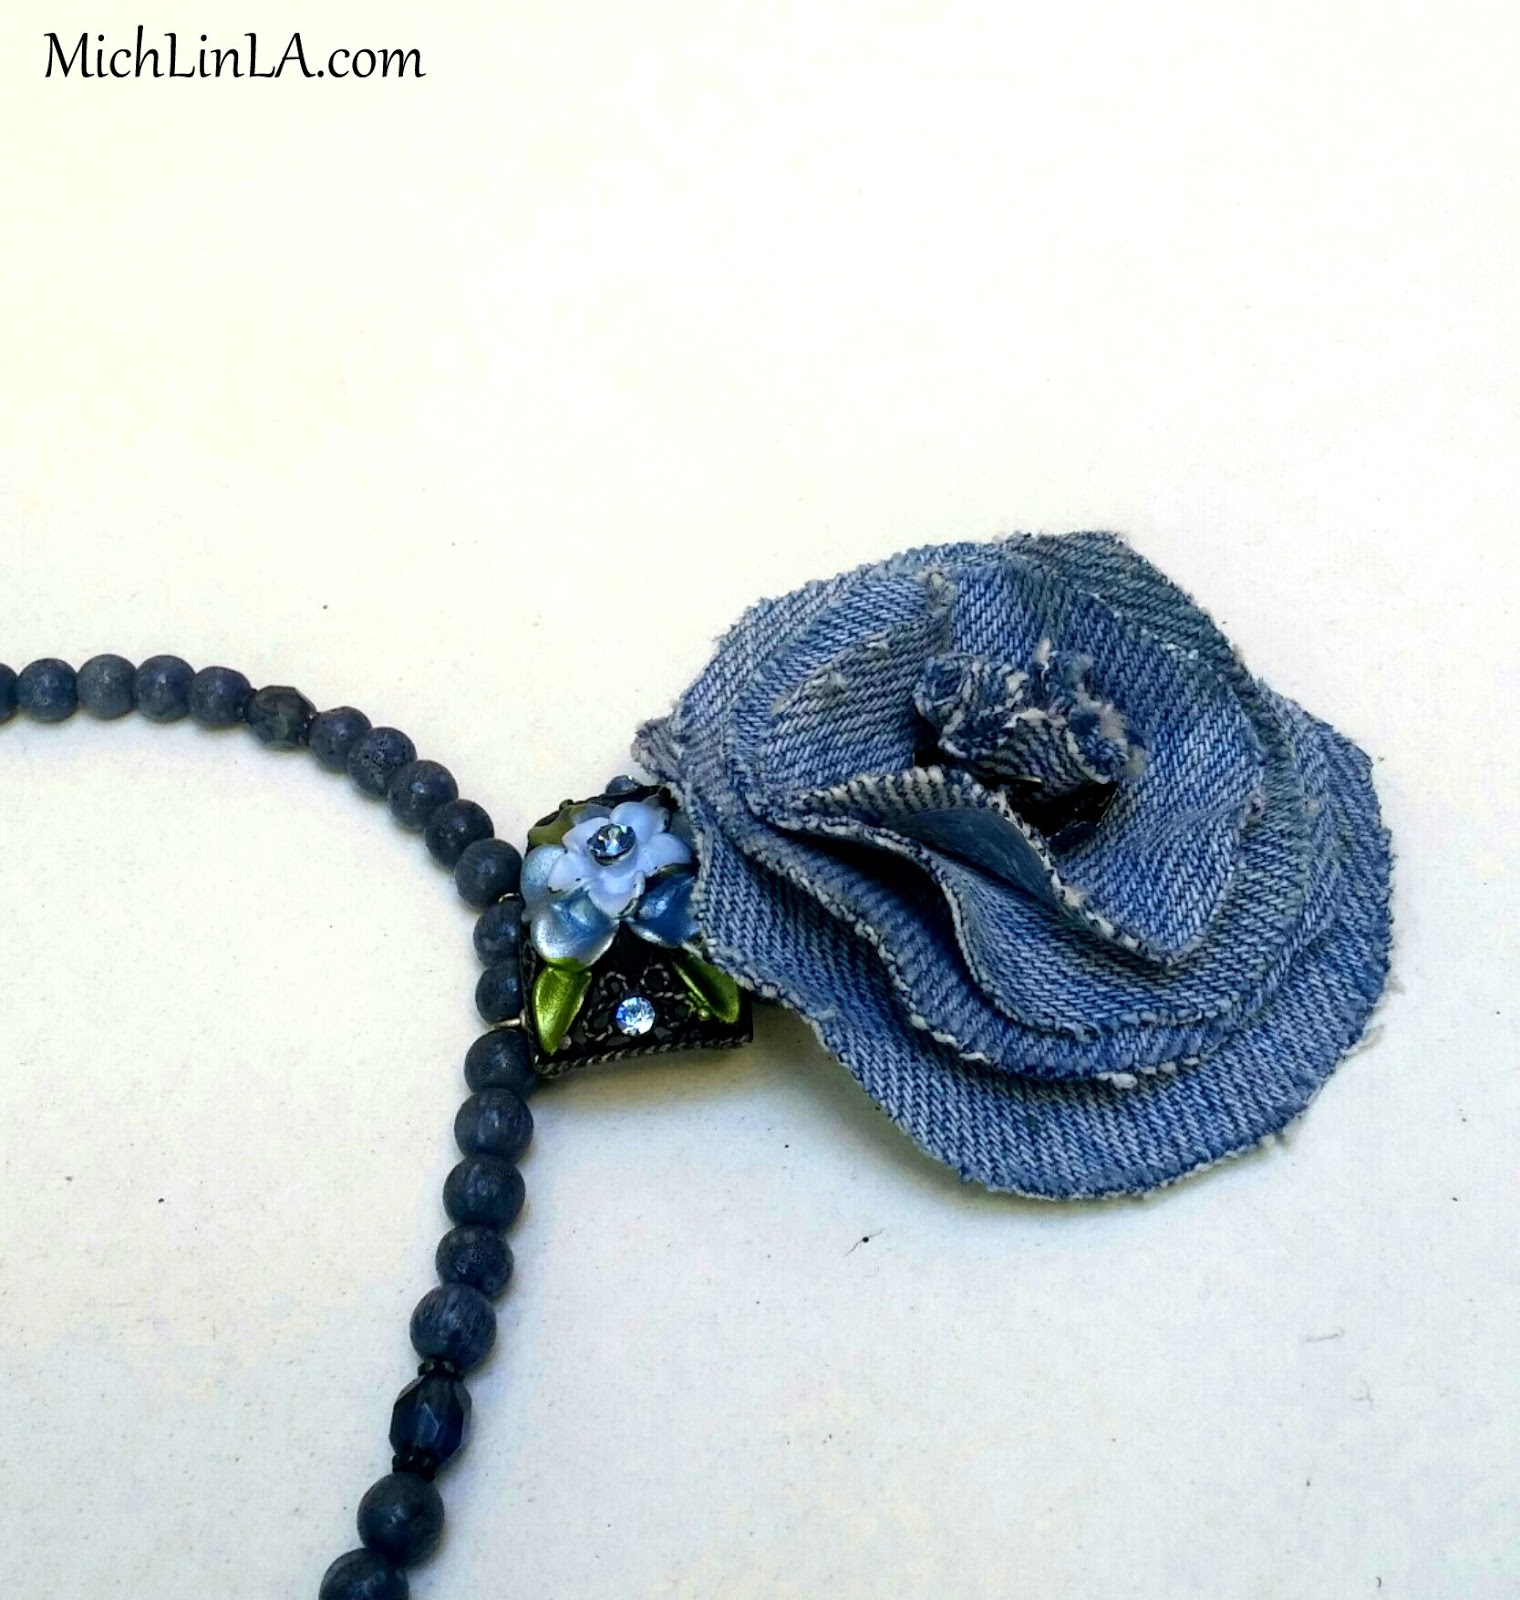
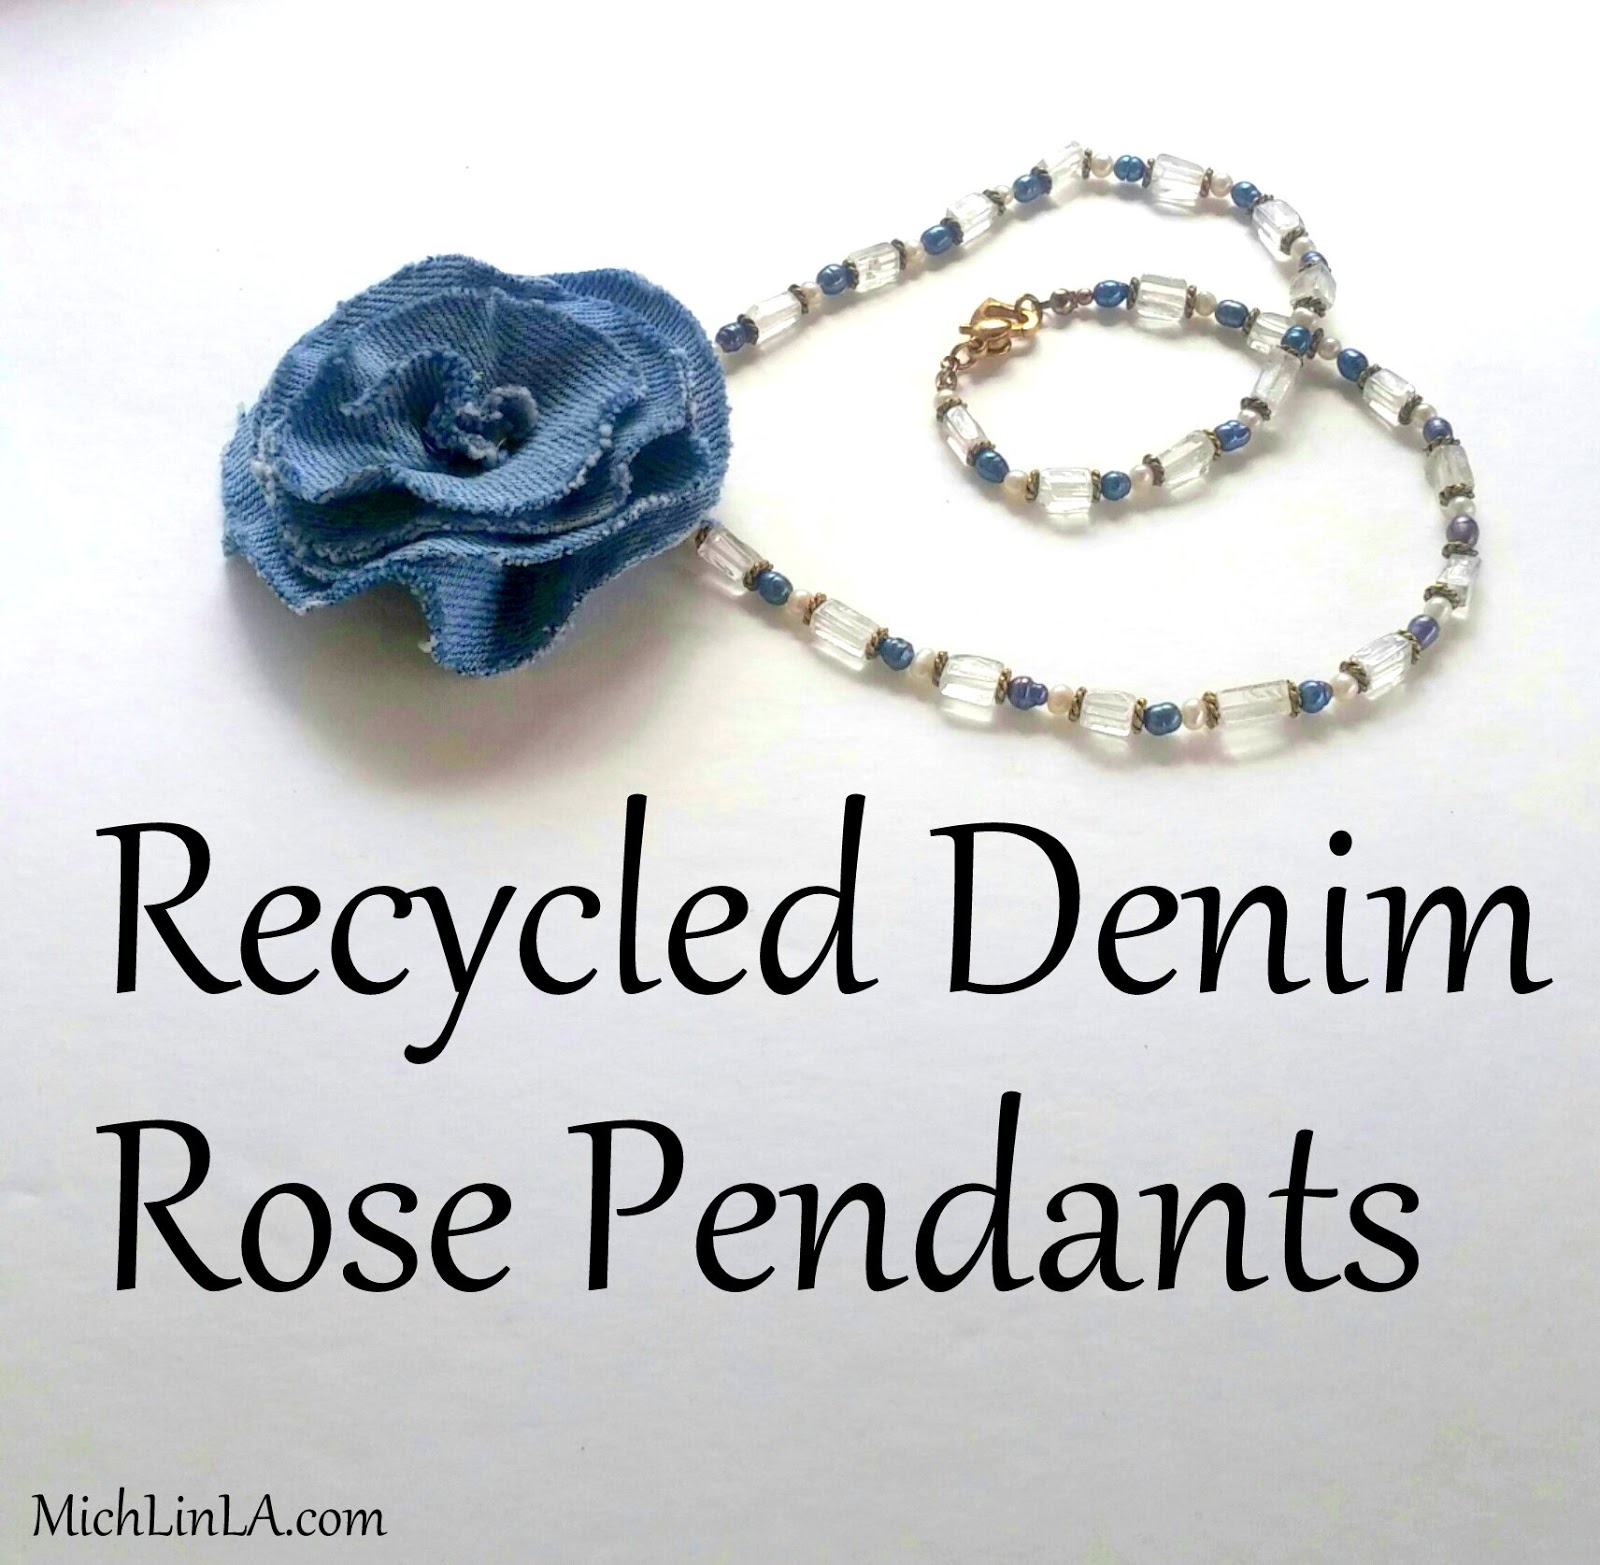
Hello, my friends! Today I have a fun and flowery upcycled jewelry idea to show you. Denim rose pendants!
The unique thing about these roses: a secret metal structure underneath, that keeps the petals from drooping. Just like an underwire bra!
Not that any of us know anything about underwire bras...no, no. No droopy petals here. We are all naturally perky. But I digress.
The DIY
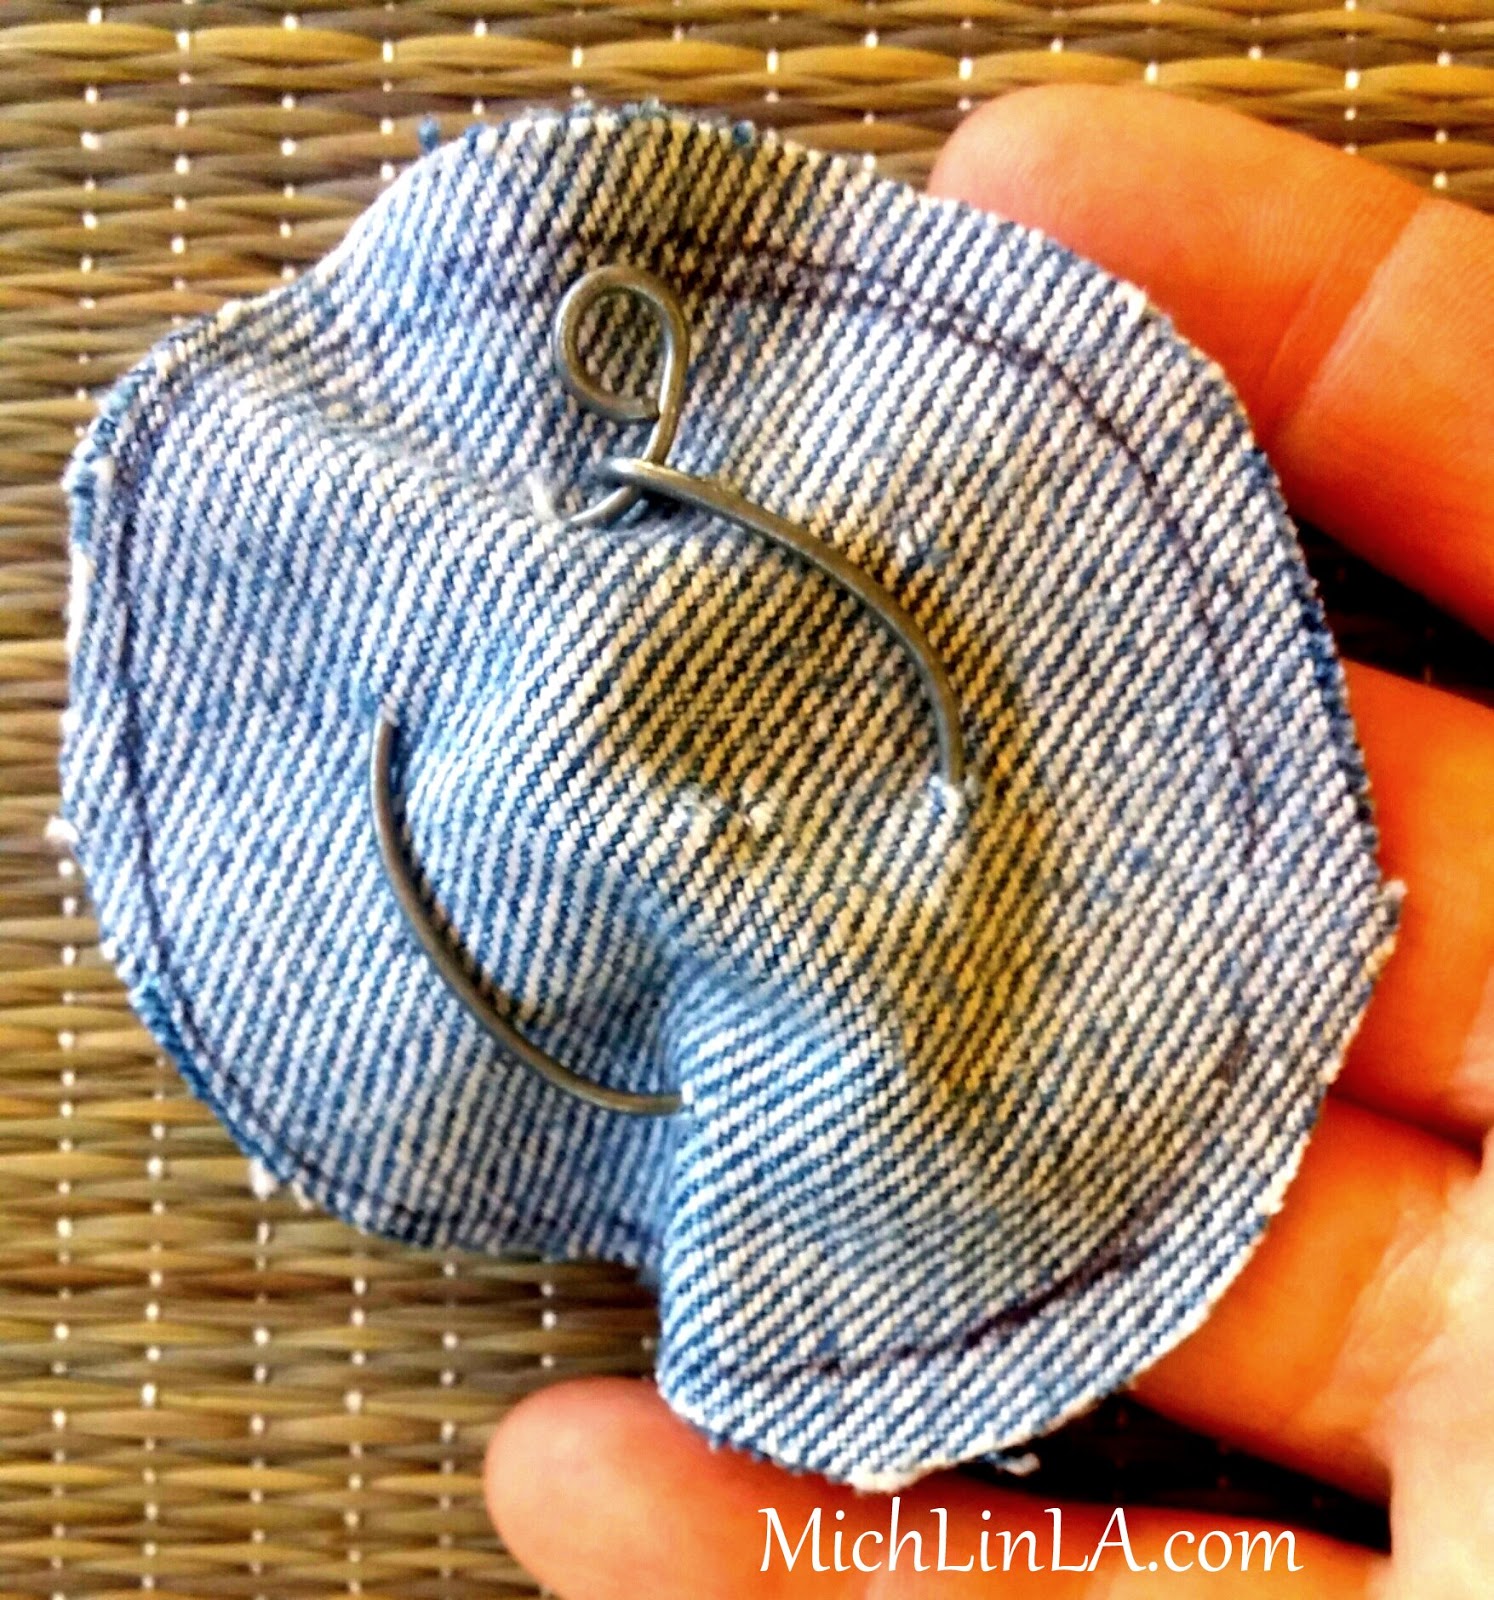
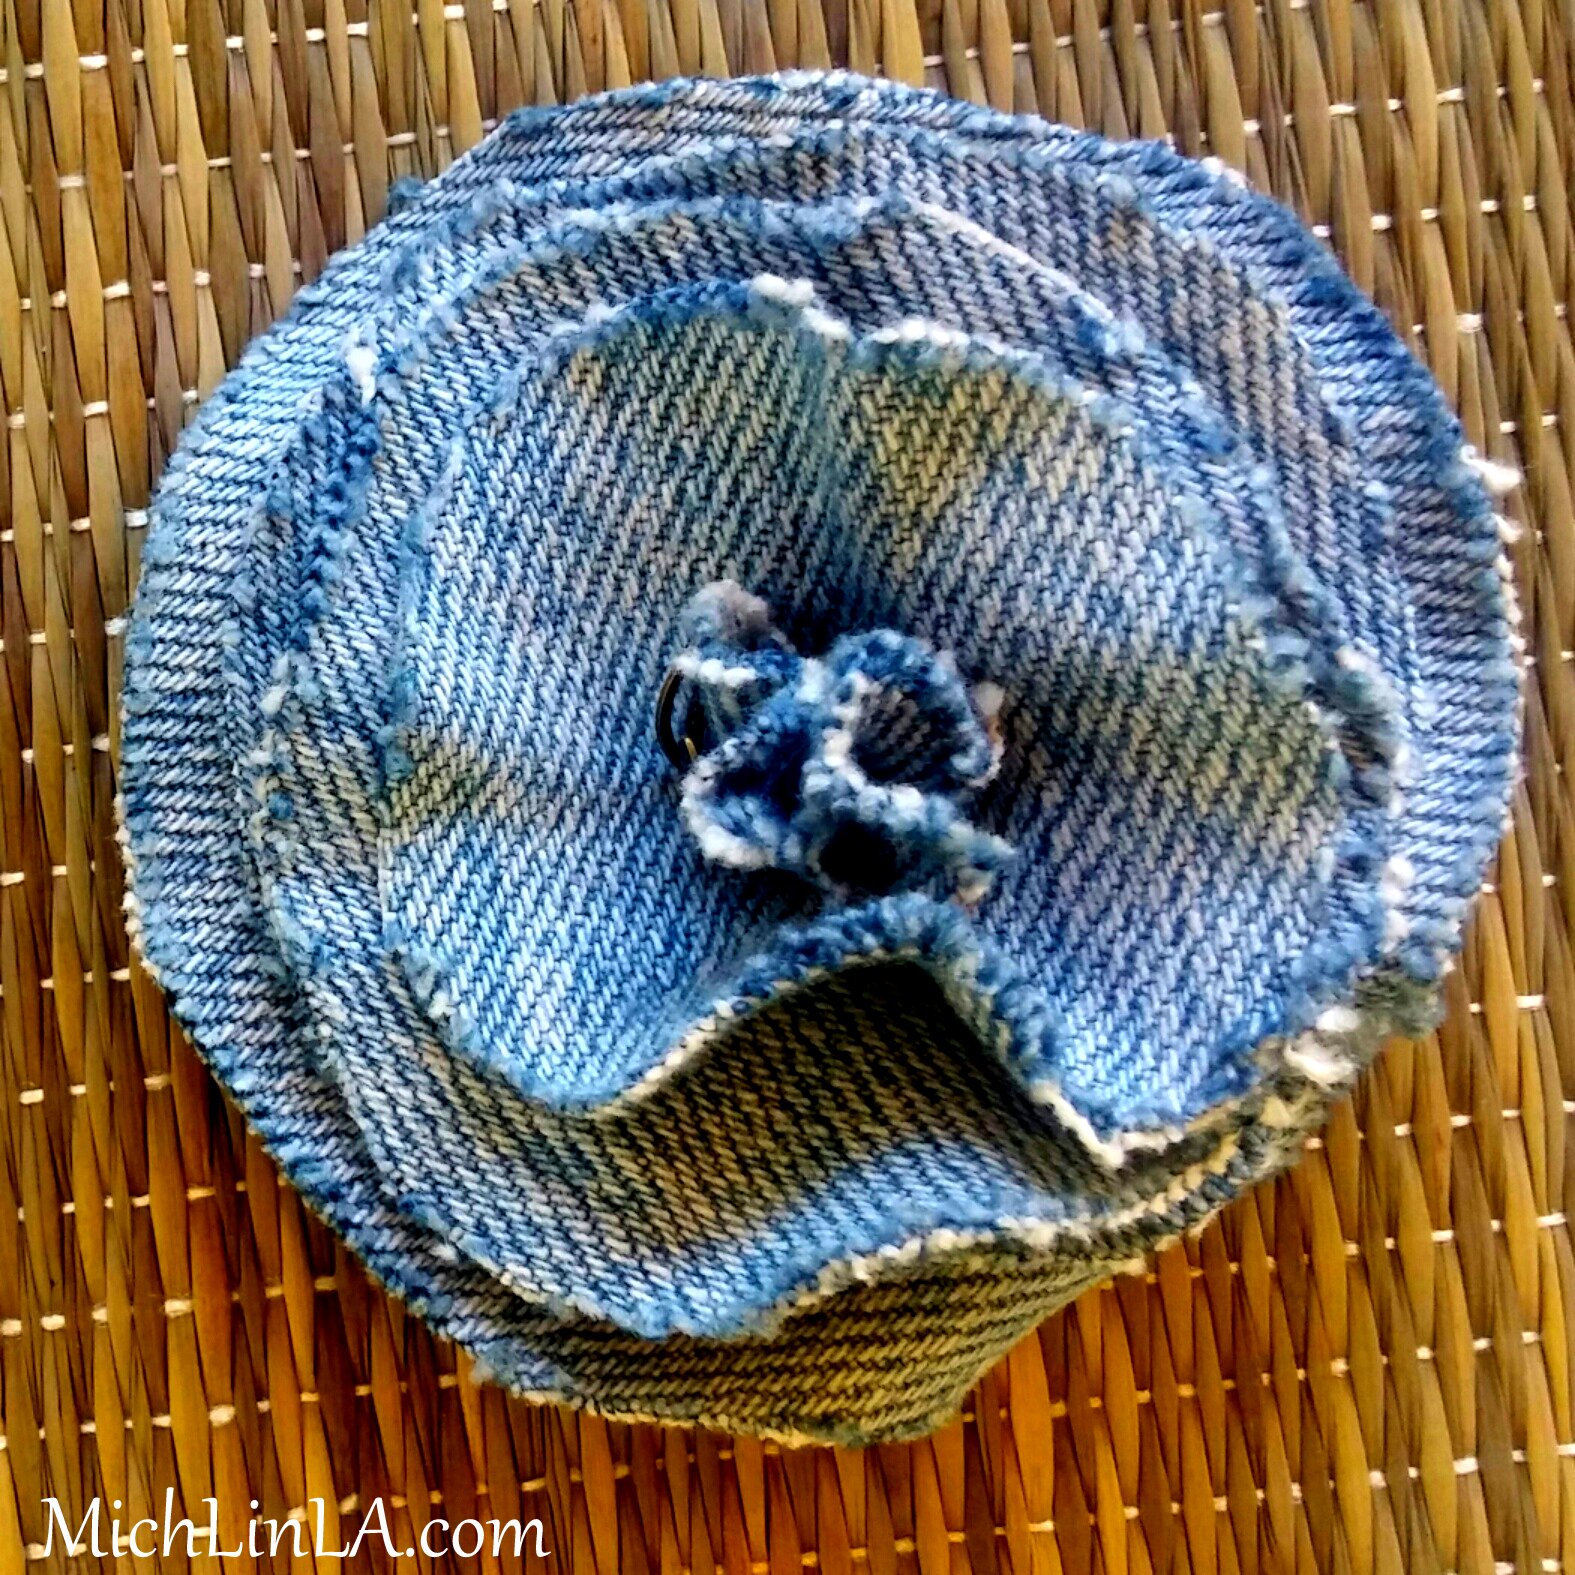
My rose has four graduated circles as the main petals. There are two hidden metal components to the structure. Ready to learn the secret? OK!
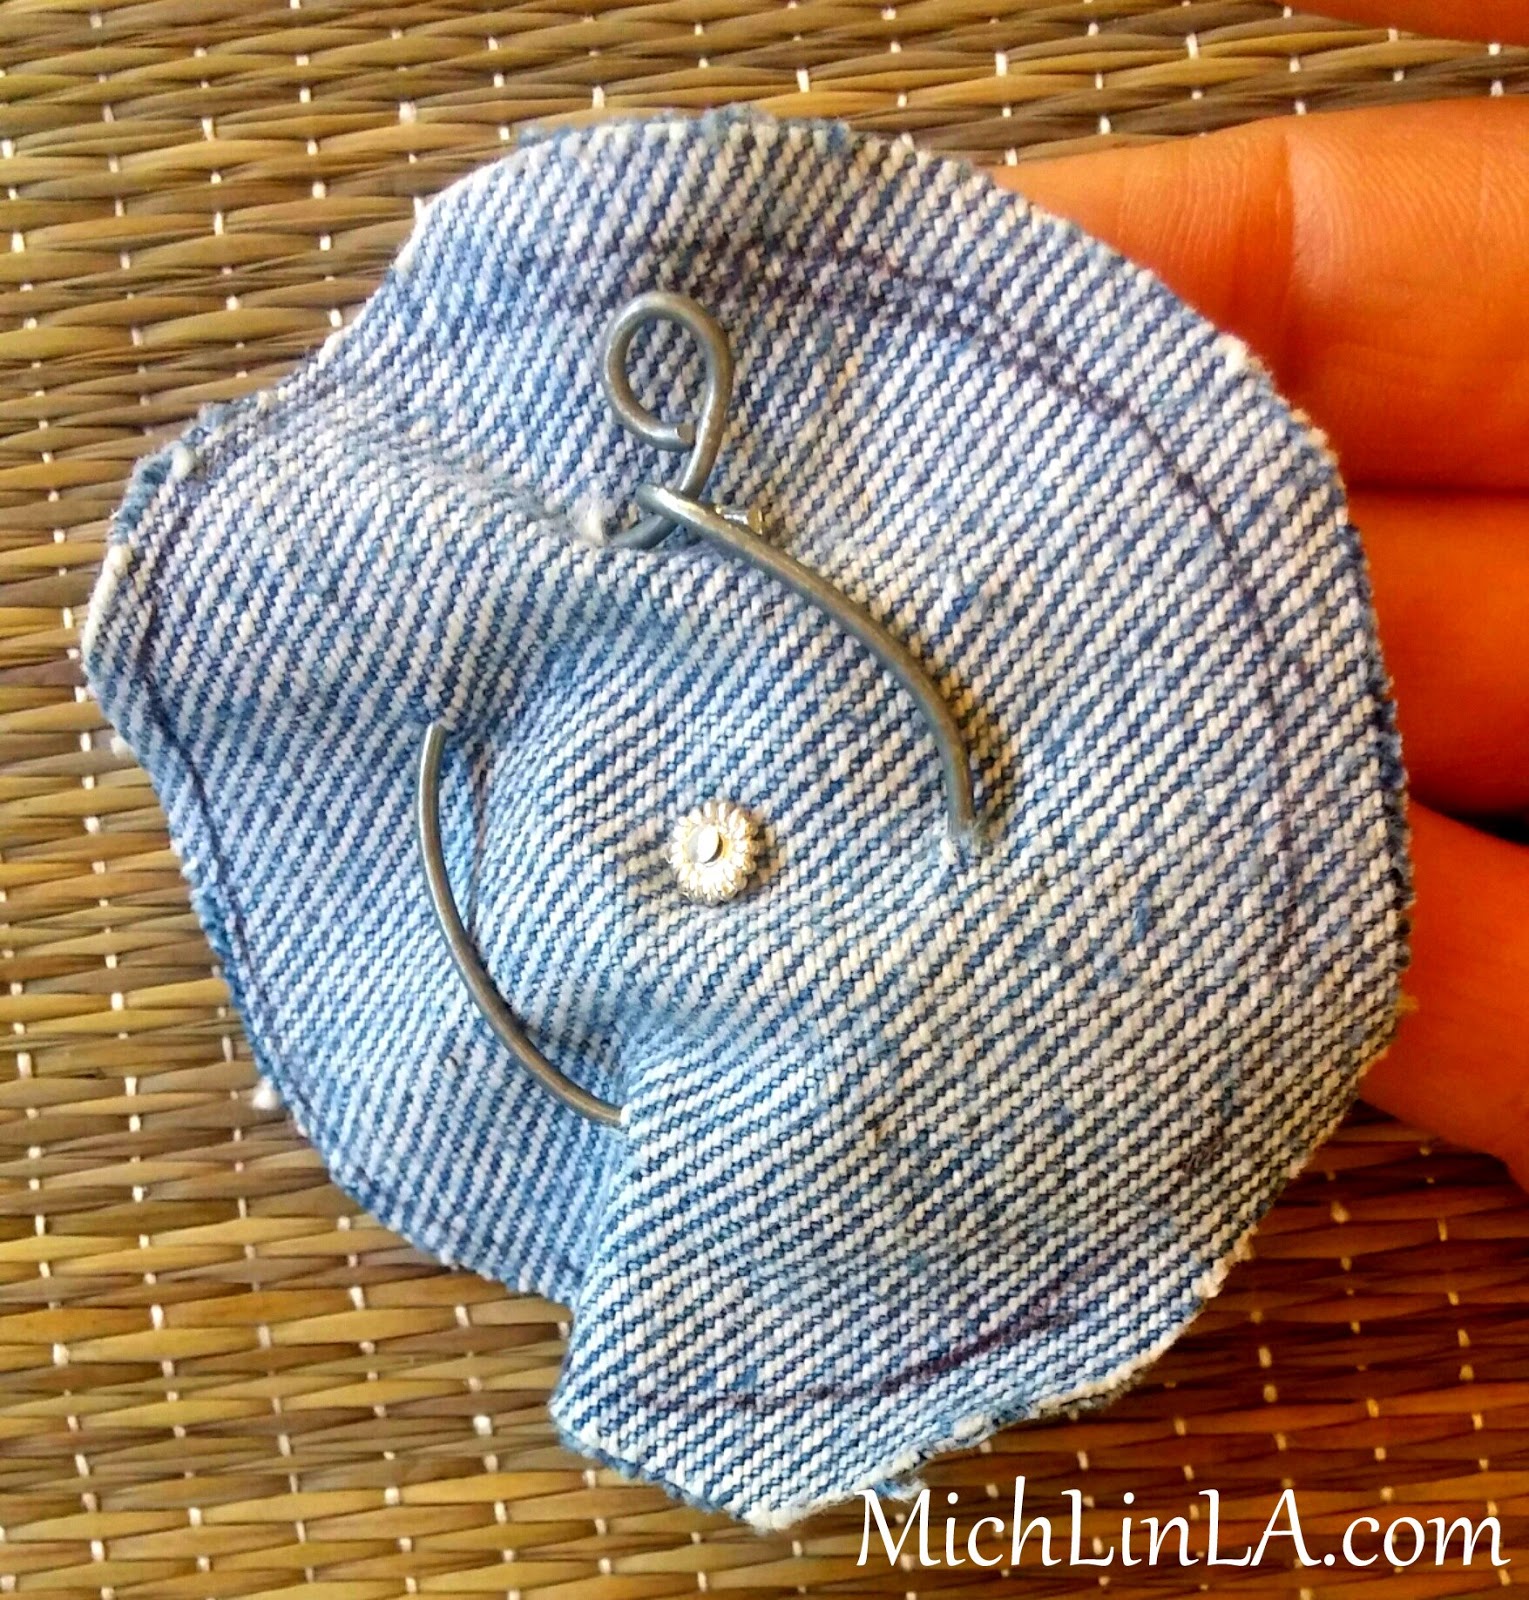
Support secret number one: the largest petal has an actual underwire.
To make it: referring to the photo above, poke four holes in your largest circle. Thread craft wire through the holes. Form a loop so the denim is slightly gathered. Pinch one end of the wire tight to secure. On the other wire end, make a small loop.
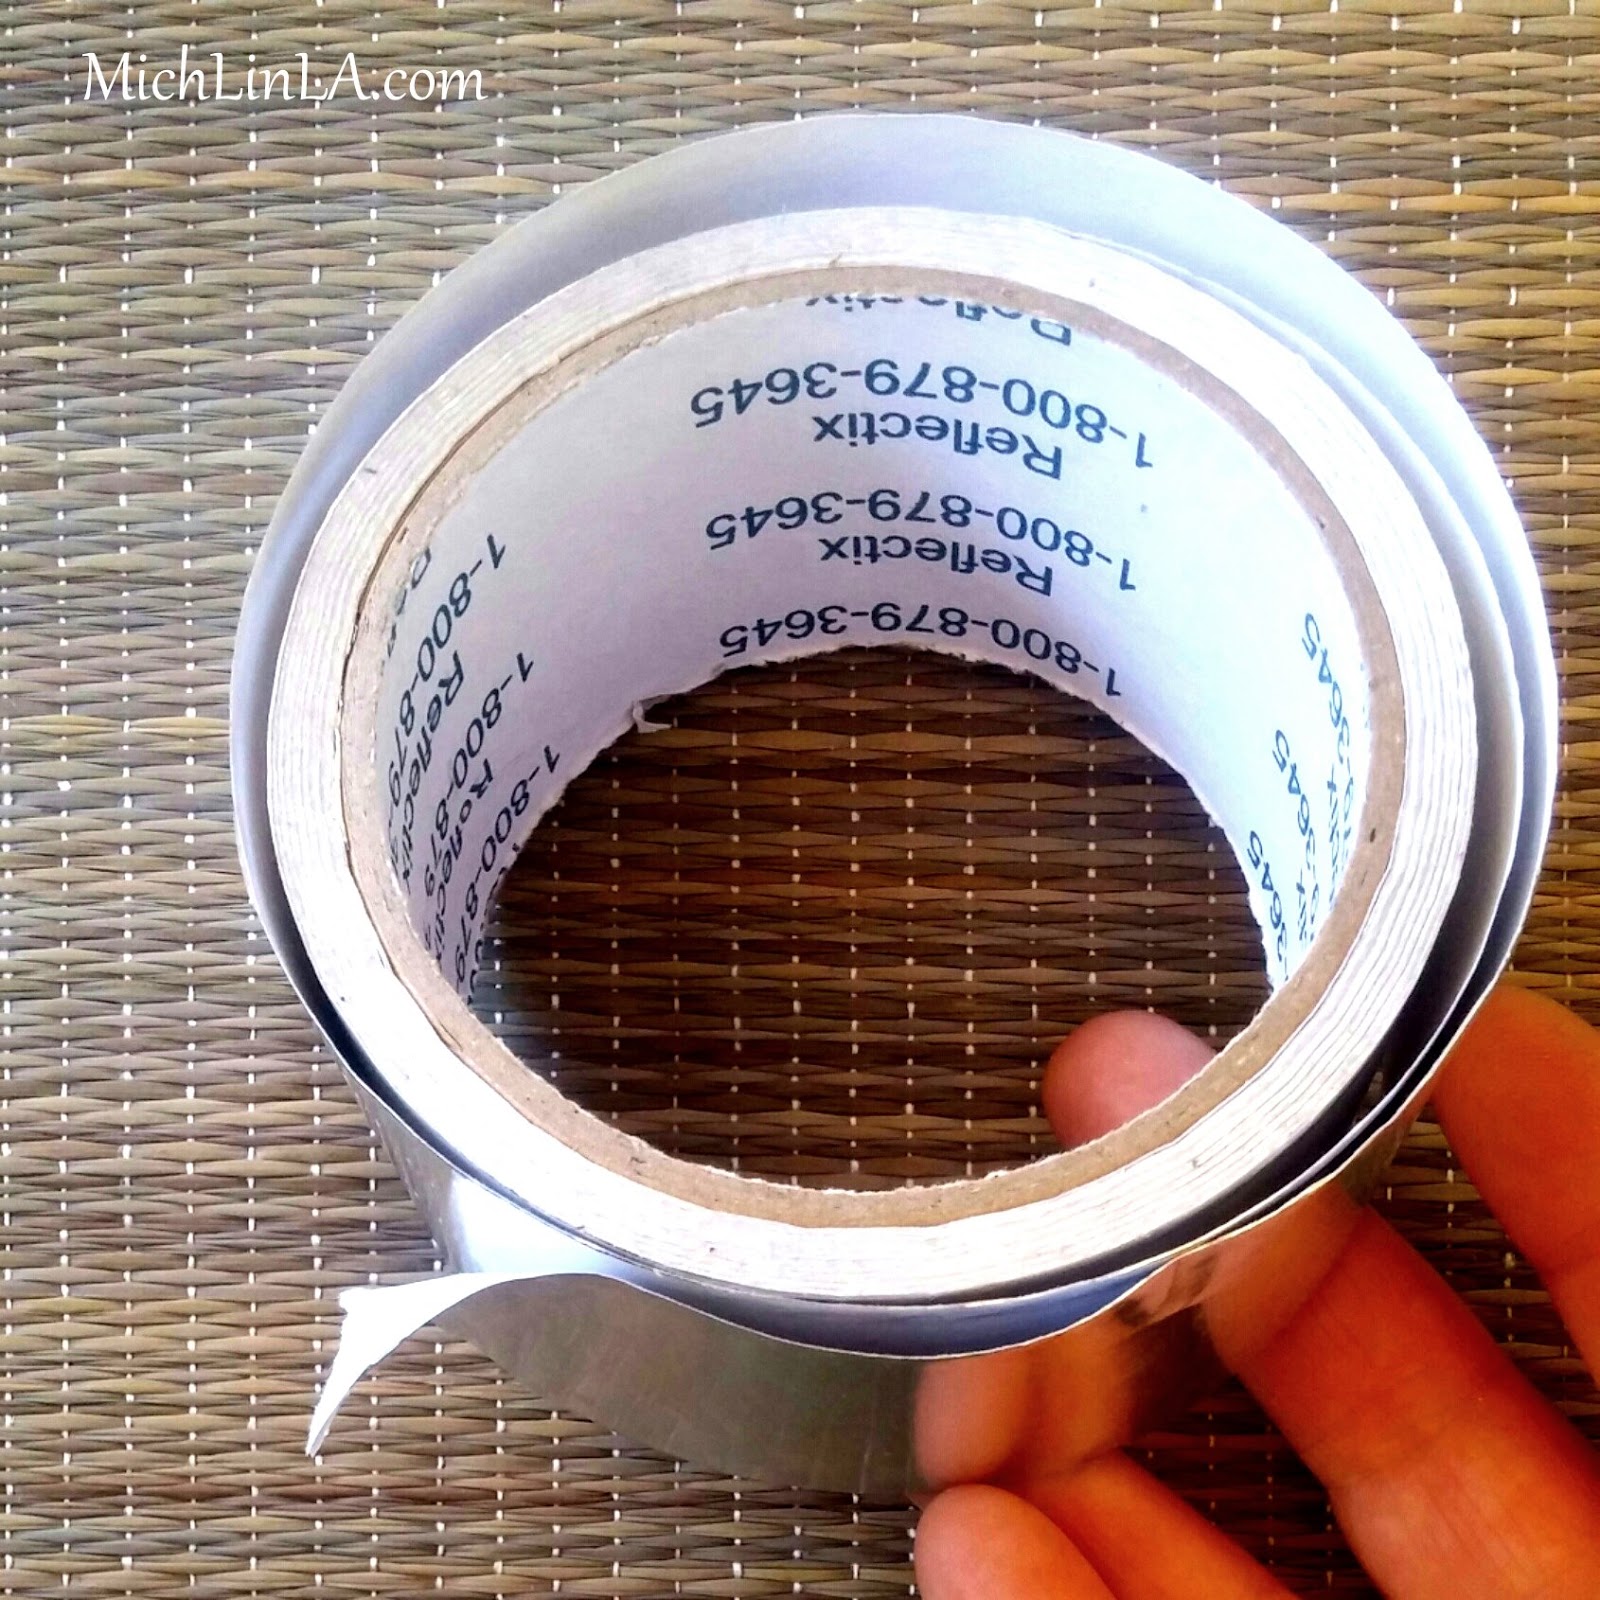
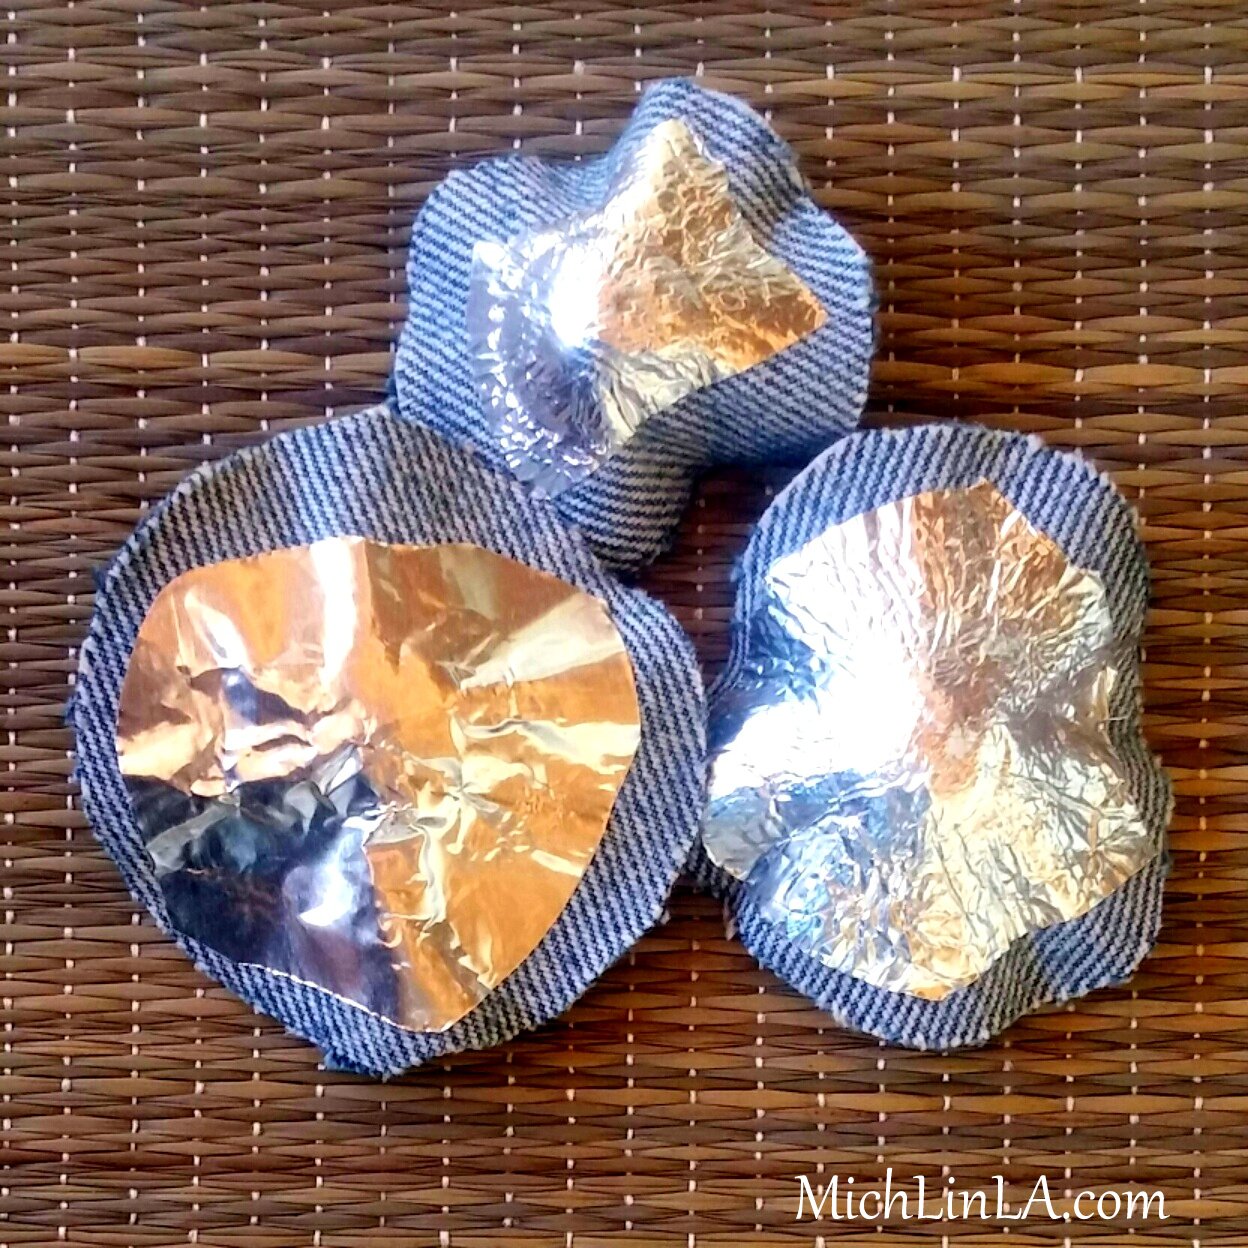
Support secret number two: stiffen the three smallest circles with my favorite stuff - aluminum duct tape.
Add a piece of tape to the back of each denim petal, then pinch them up in the center.
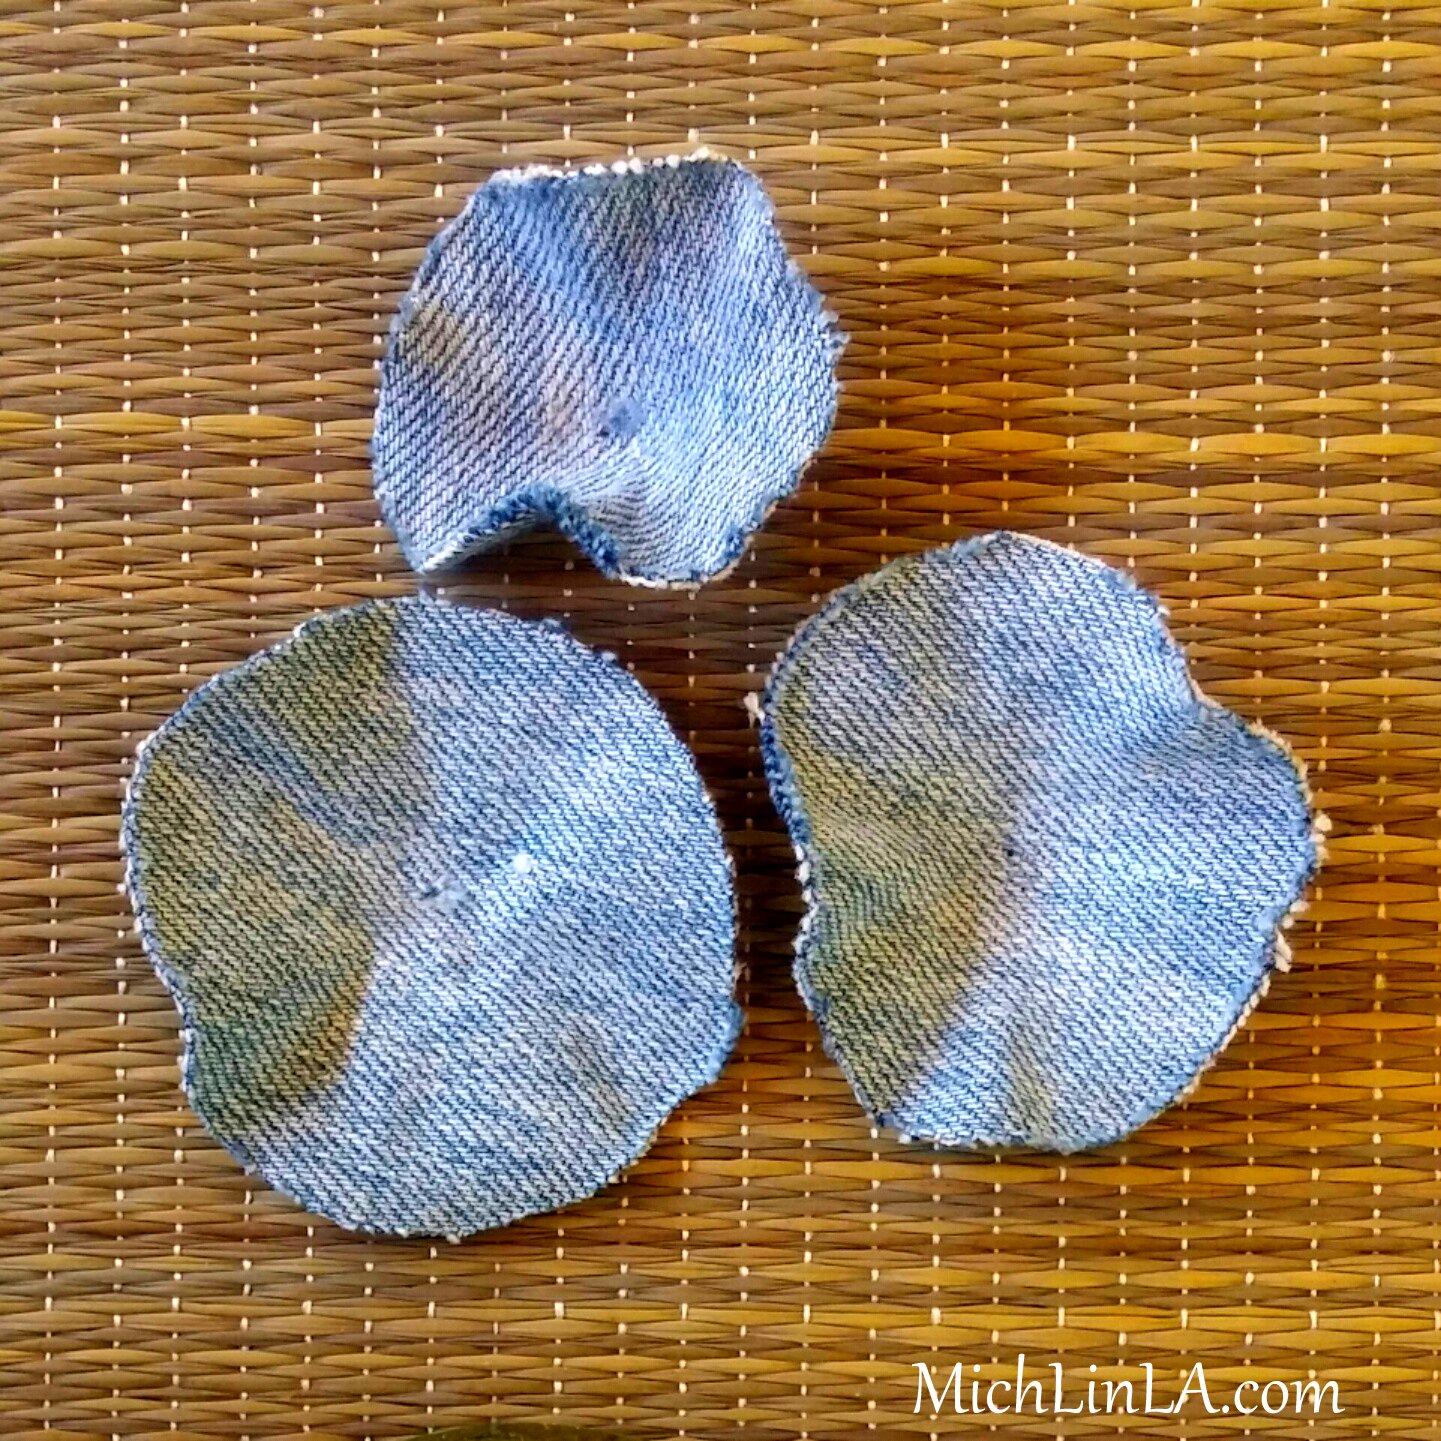
Flip them over and they now have subtle ruffles! See?
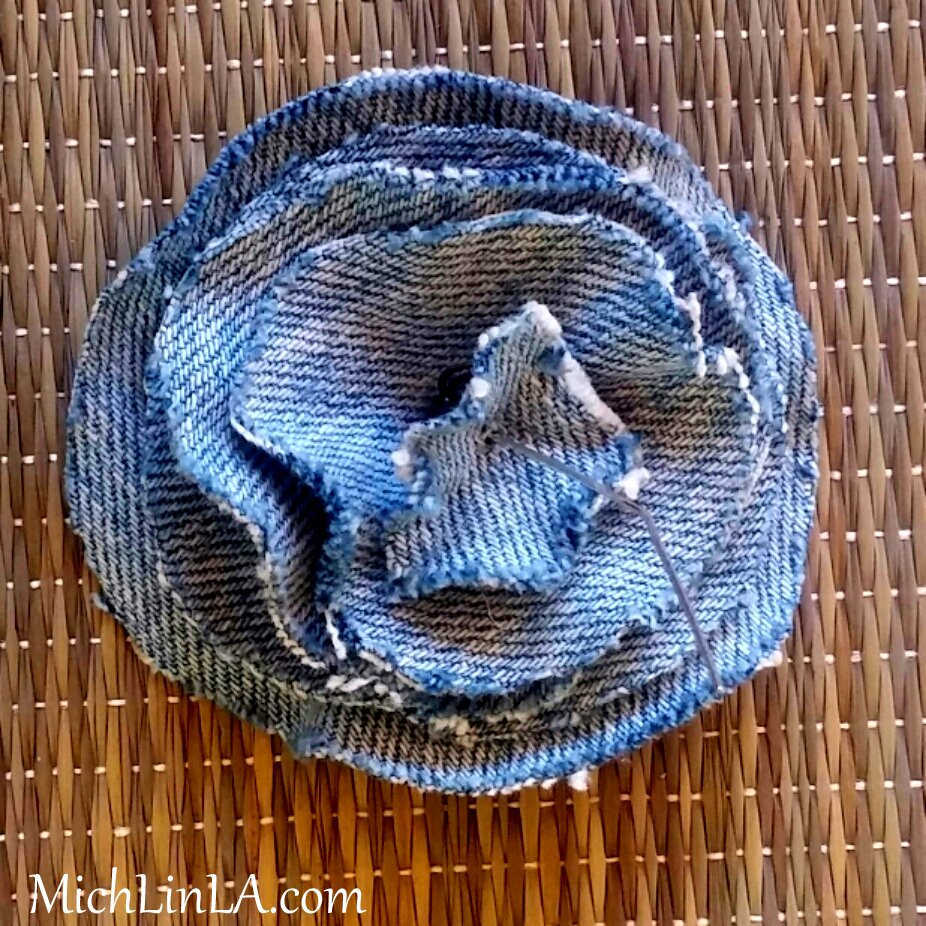
To assemble the rose, first put a small flat spacer on a headpin.
Poke a hole in each petal and stack them onto the headpin. Add a bead cap.
Add a scrap of denim, which will be the tiniest center petal.
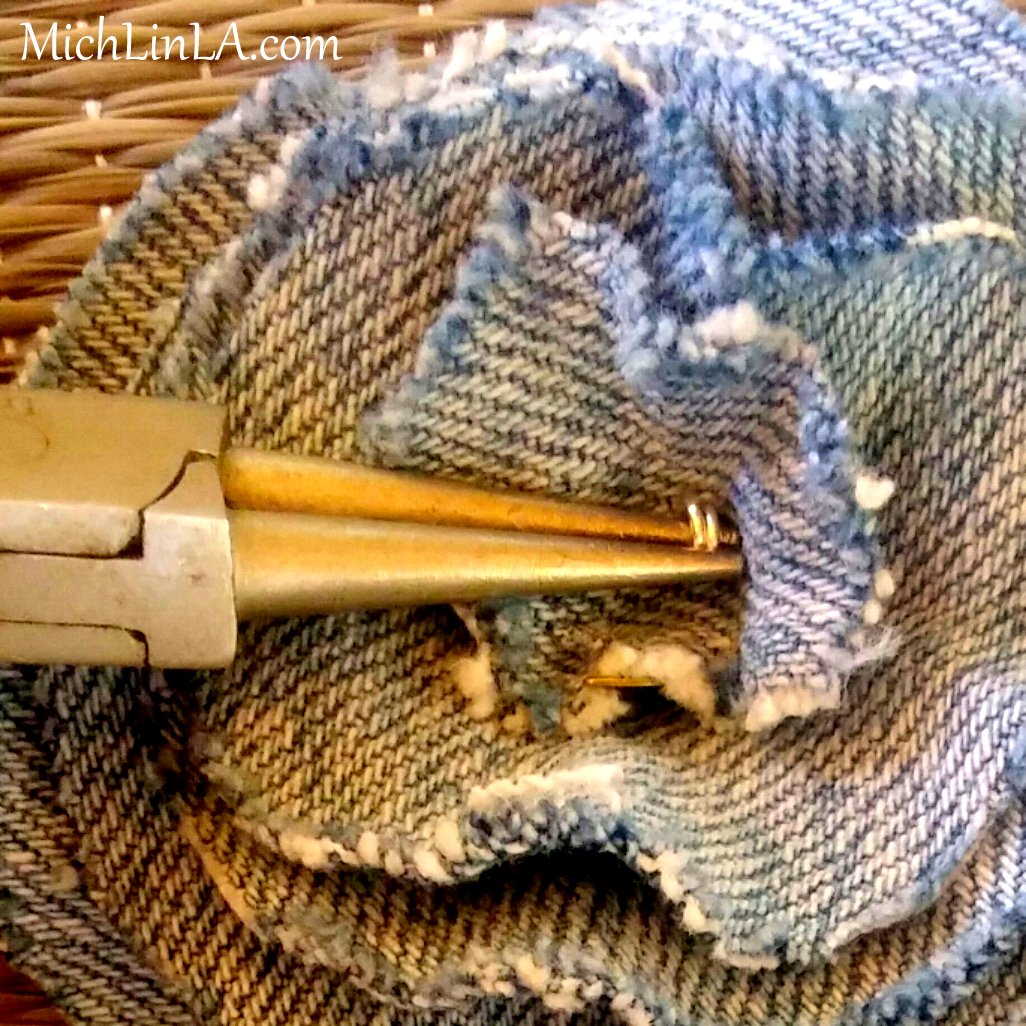
Trim the headpin short. Use round-nose pliers to twirl the wire down into the center. Twist it as tight as it will go!
And huzzah, that is your finished underwired rose.
Here is the back.
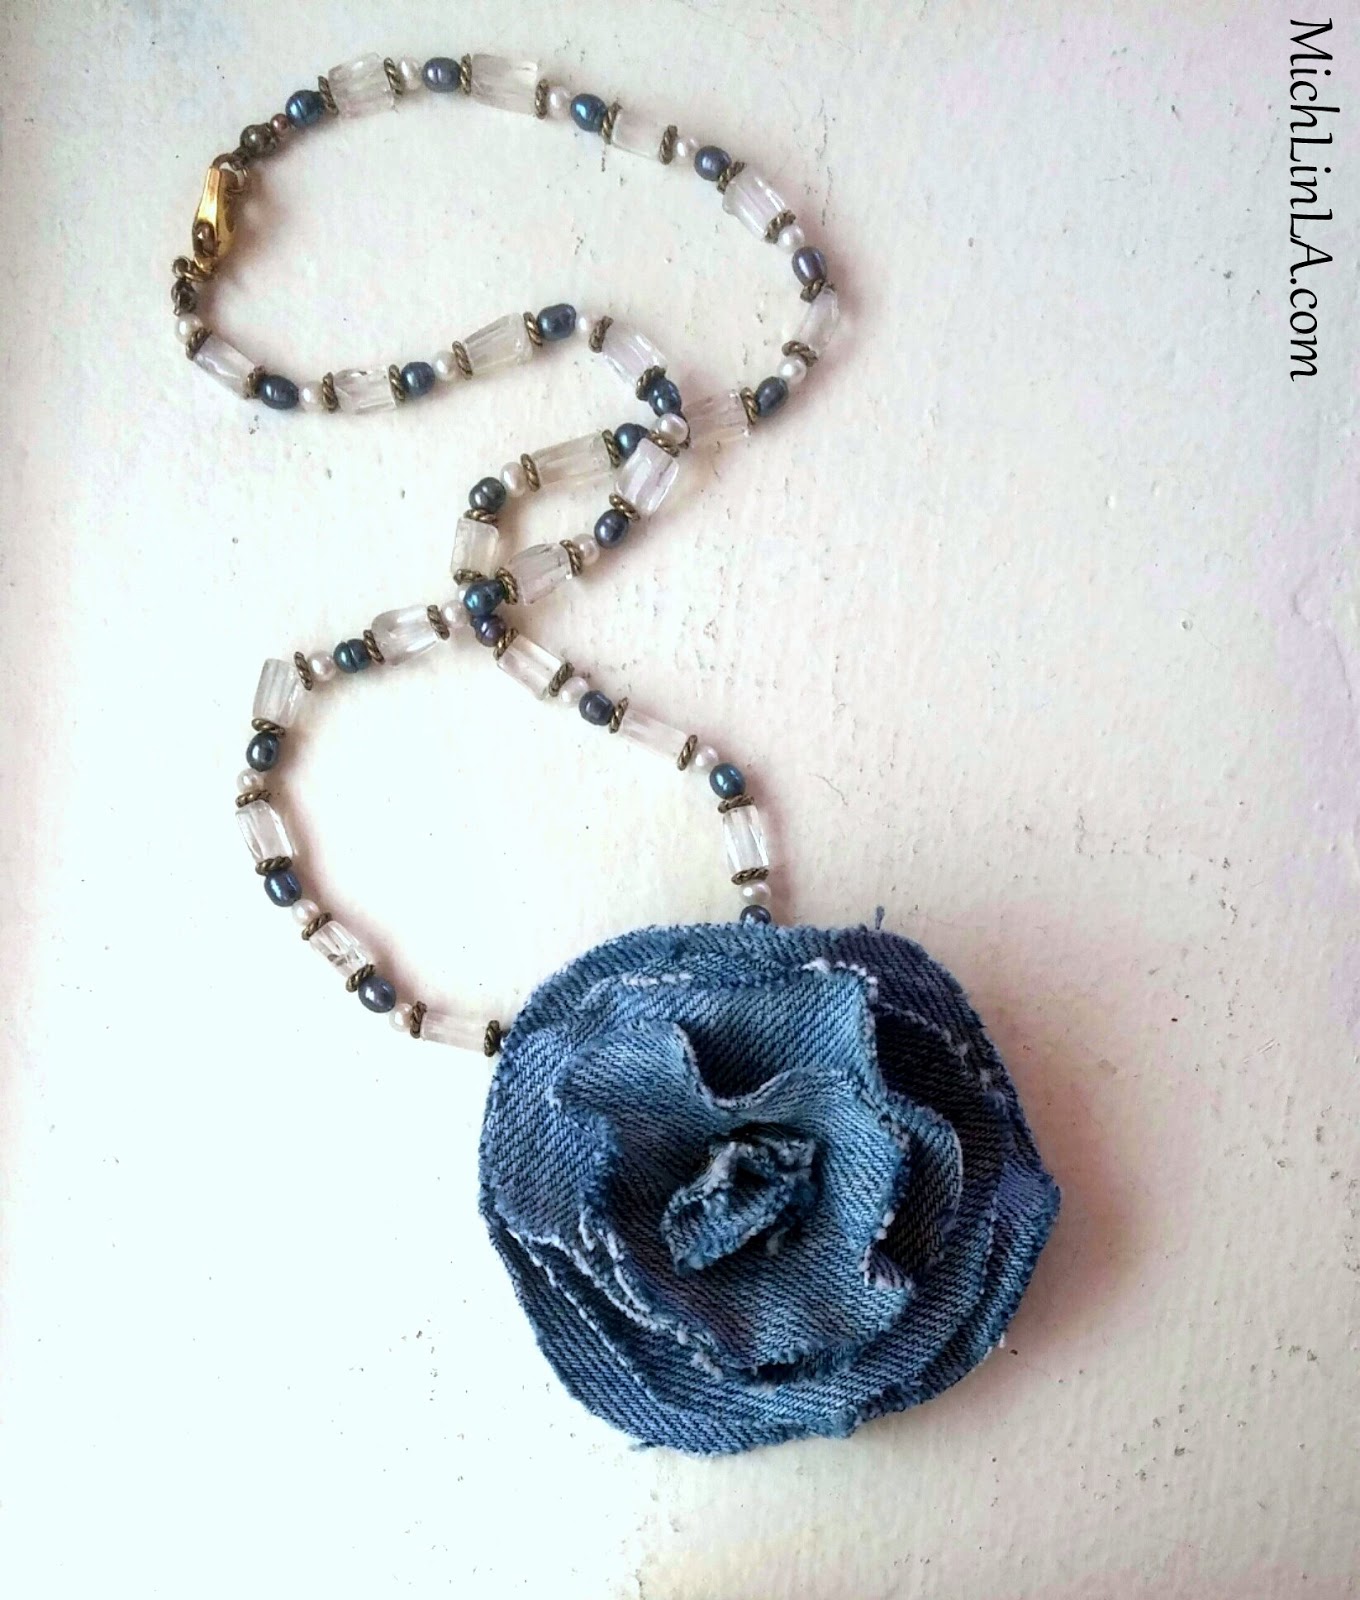
Use that small wire loop as a built-in bail, to hang your pendant from a strung necklace.
My concept was to contrast the rustic denim pendants with elegant semiprecious stones. These are strung with natural quartz crystals, Czech crystals, lapis beads and freshwater pearls.
They look amazing dressed up or dressed down. Aw, go on, you know you want to make one...and wear it like the natural-born Blue Jean Queen that you are.
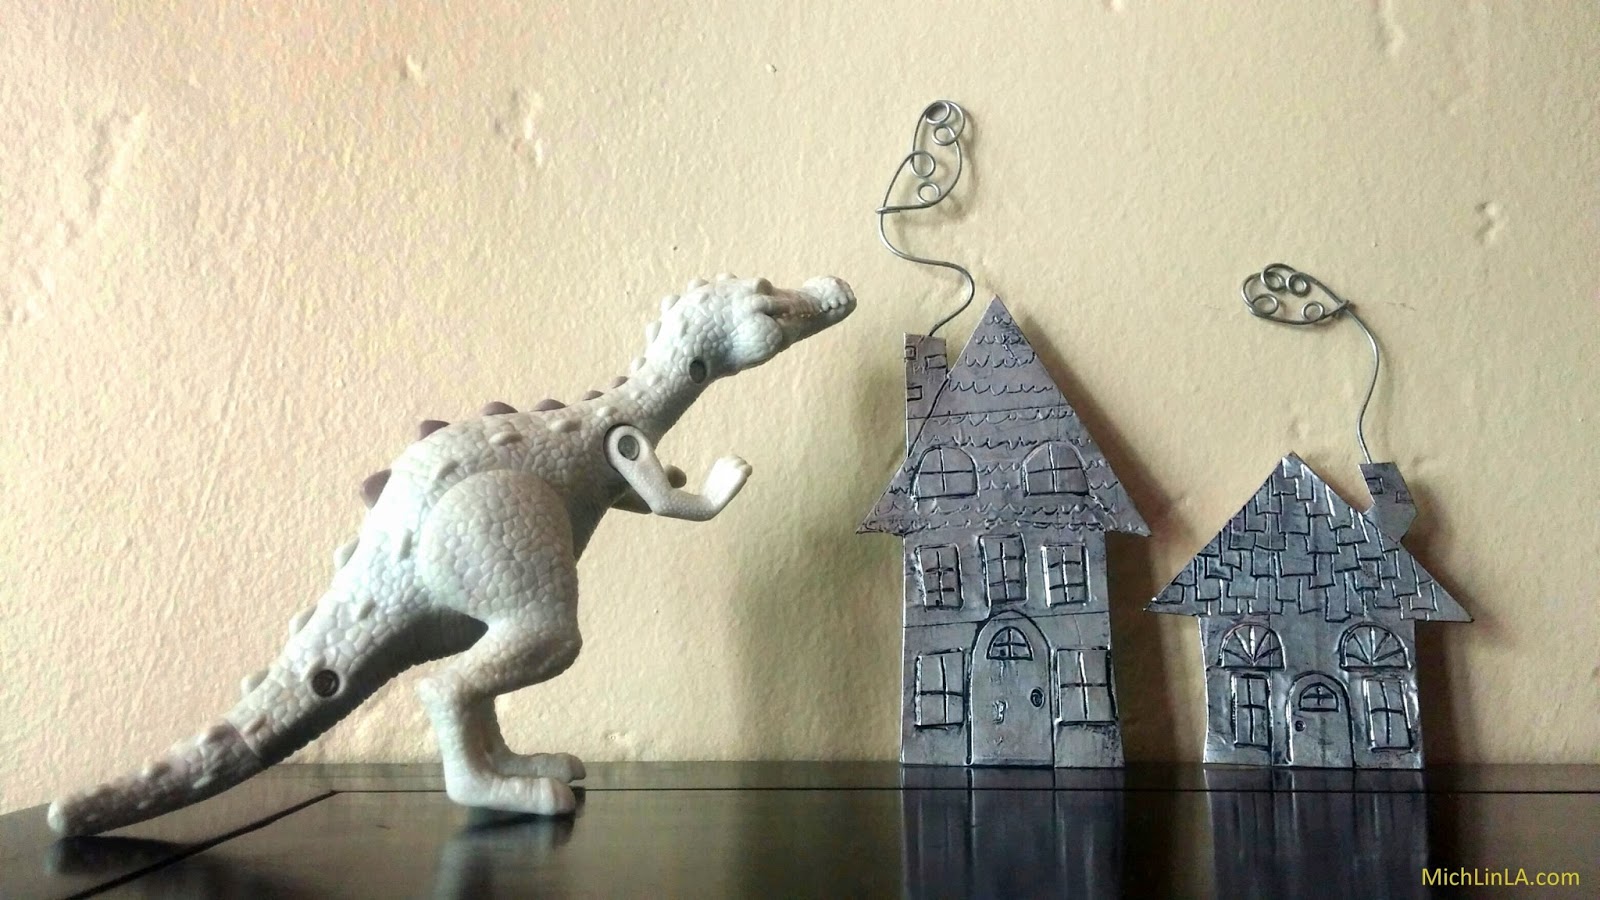
Once, long ago, I made some teeny little silver house ornaments, using recycled cardboard. These new ones are a bit bigger, with a fresh technique and several different uses. And...antiqued!
They can still be used as ornaments, but they are also fun turned into fridge magnets...
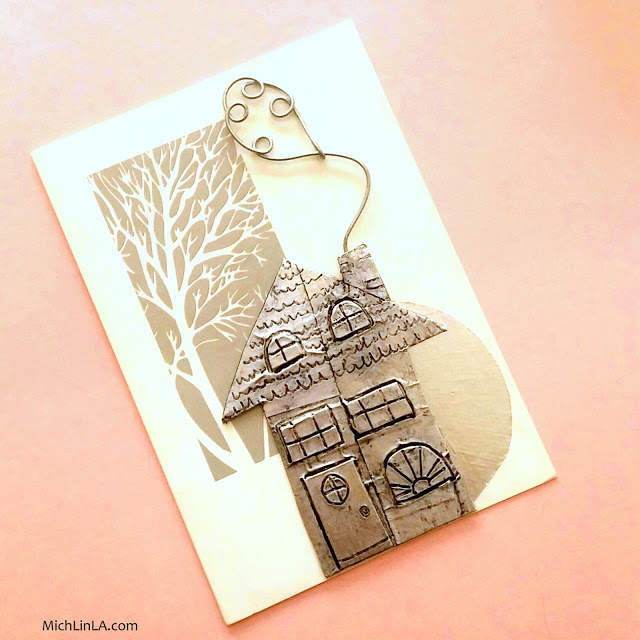
...or greeting cards...
...or standing up anywhere: your mantel, a side table, even the kids' room, hee hee.
They are eco friendly and so fun to make. For tools, all you need are scissors, a pencil and wire cutters. Materials:
-cardboard scraps
-aluminum duct tape
-double-stick tape
-shoe polish
-craft wire
Ready? Here comes the DIY!
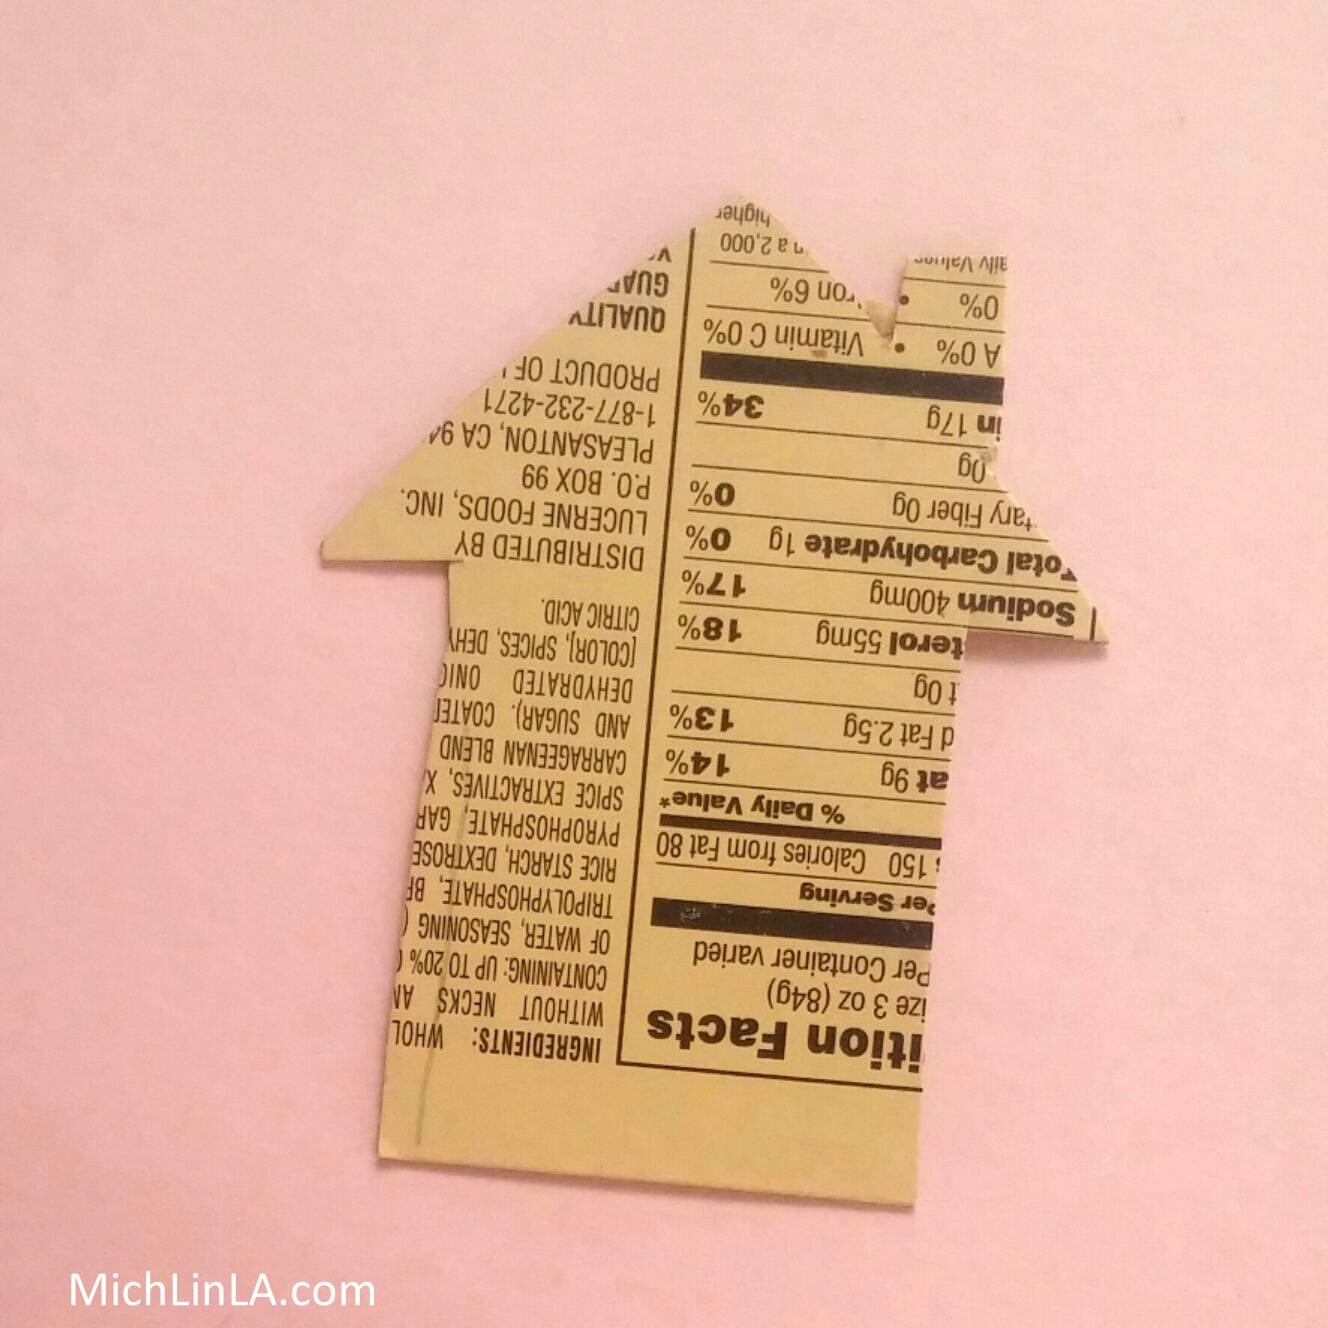
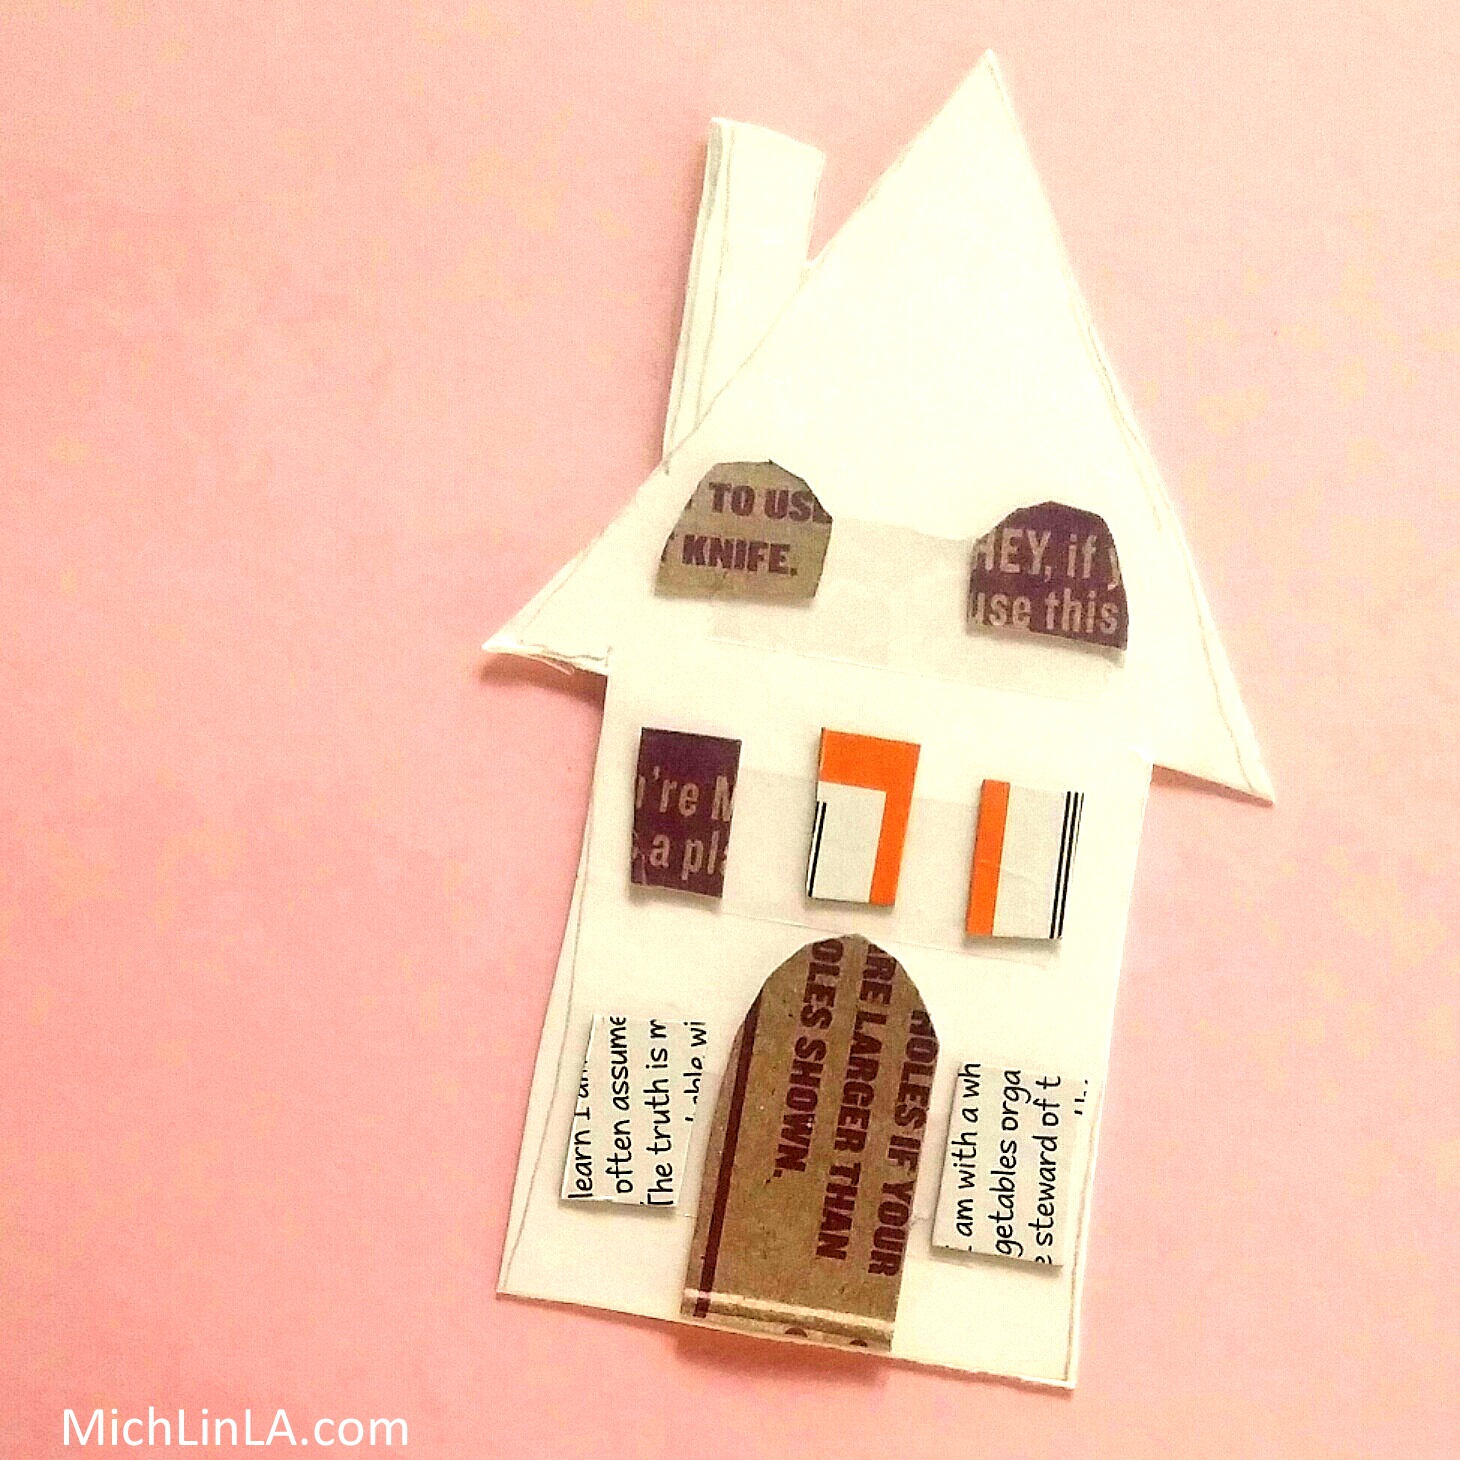
Cut a little house from scrap cardboard.
Roughly cut out a tiny a cardboard door and some windows. They don't need to be straight or the same size! Lay down short strips of double stick tape, then stick down the doors and windows.
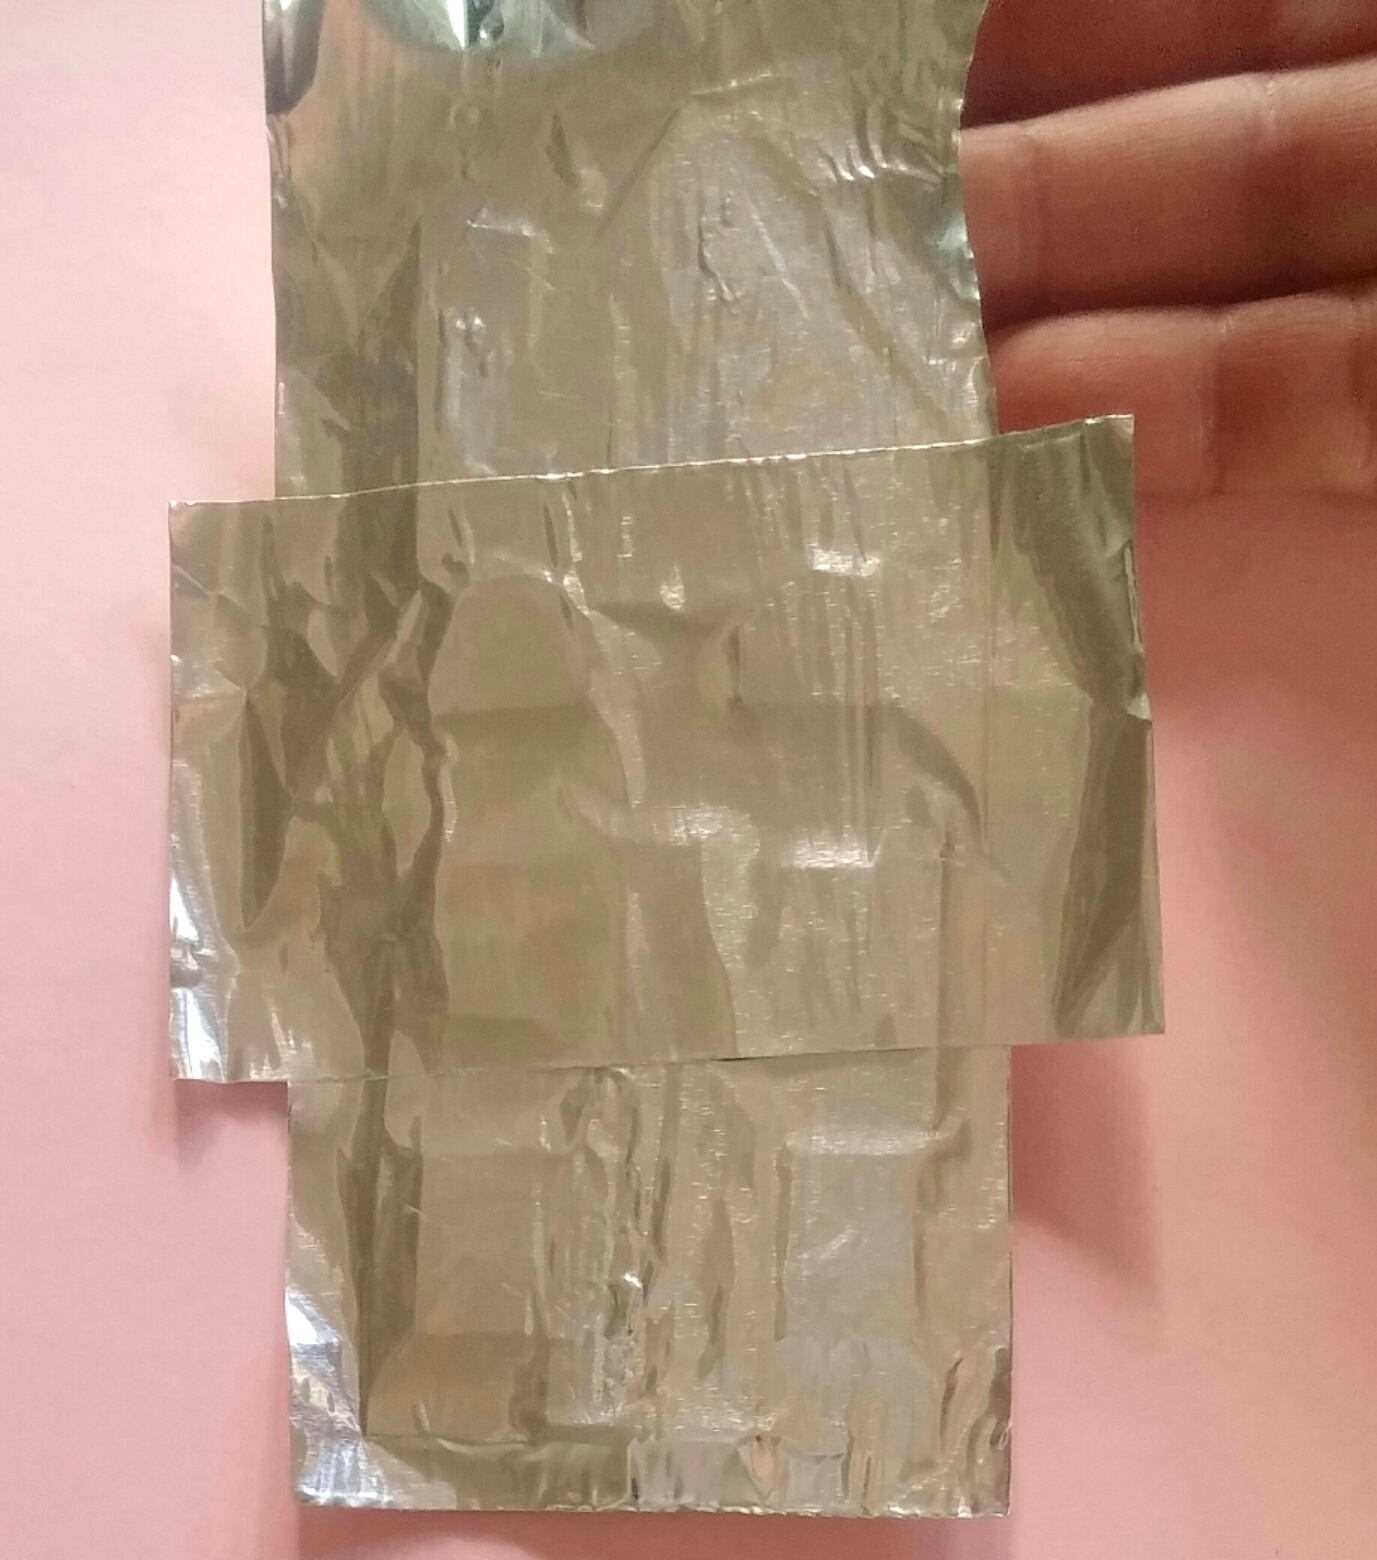
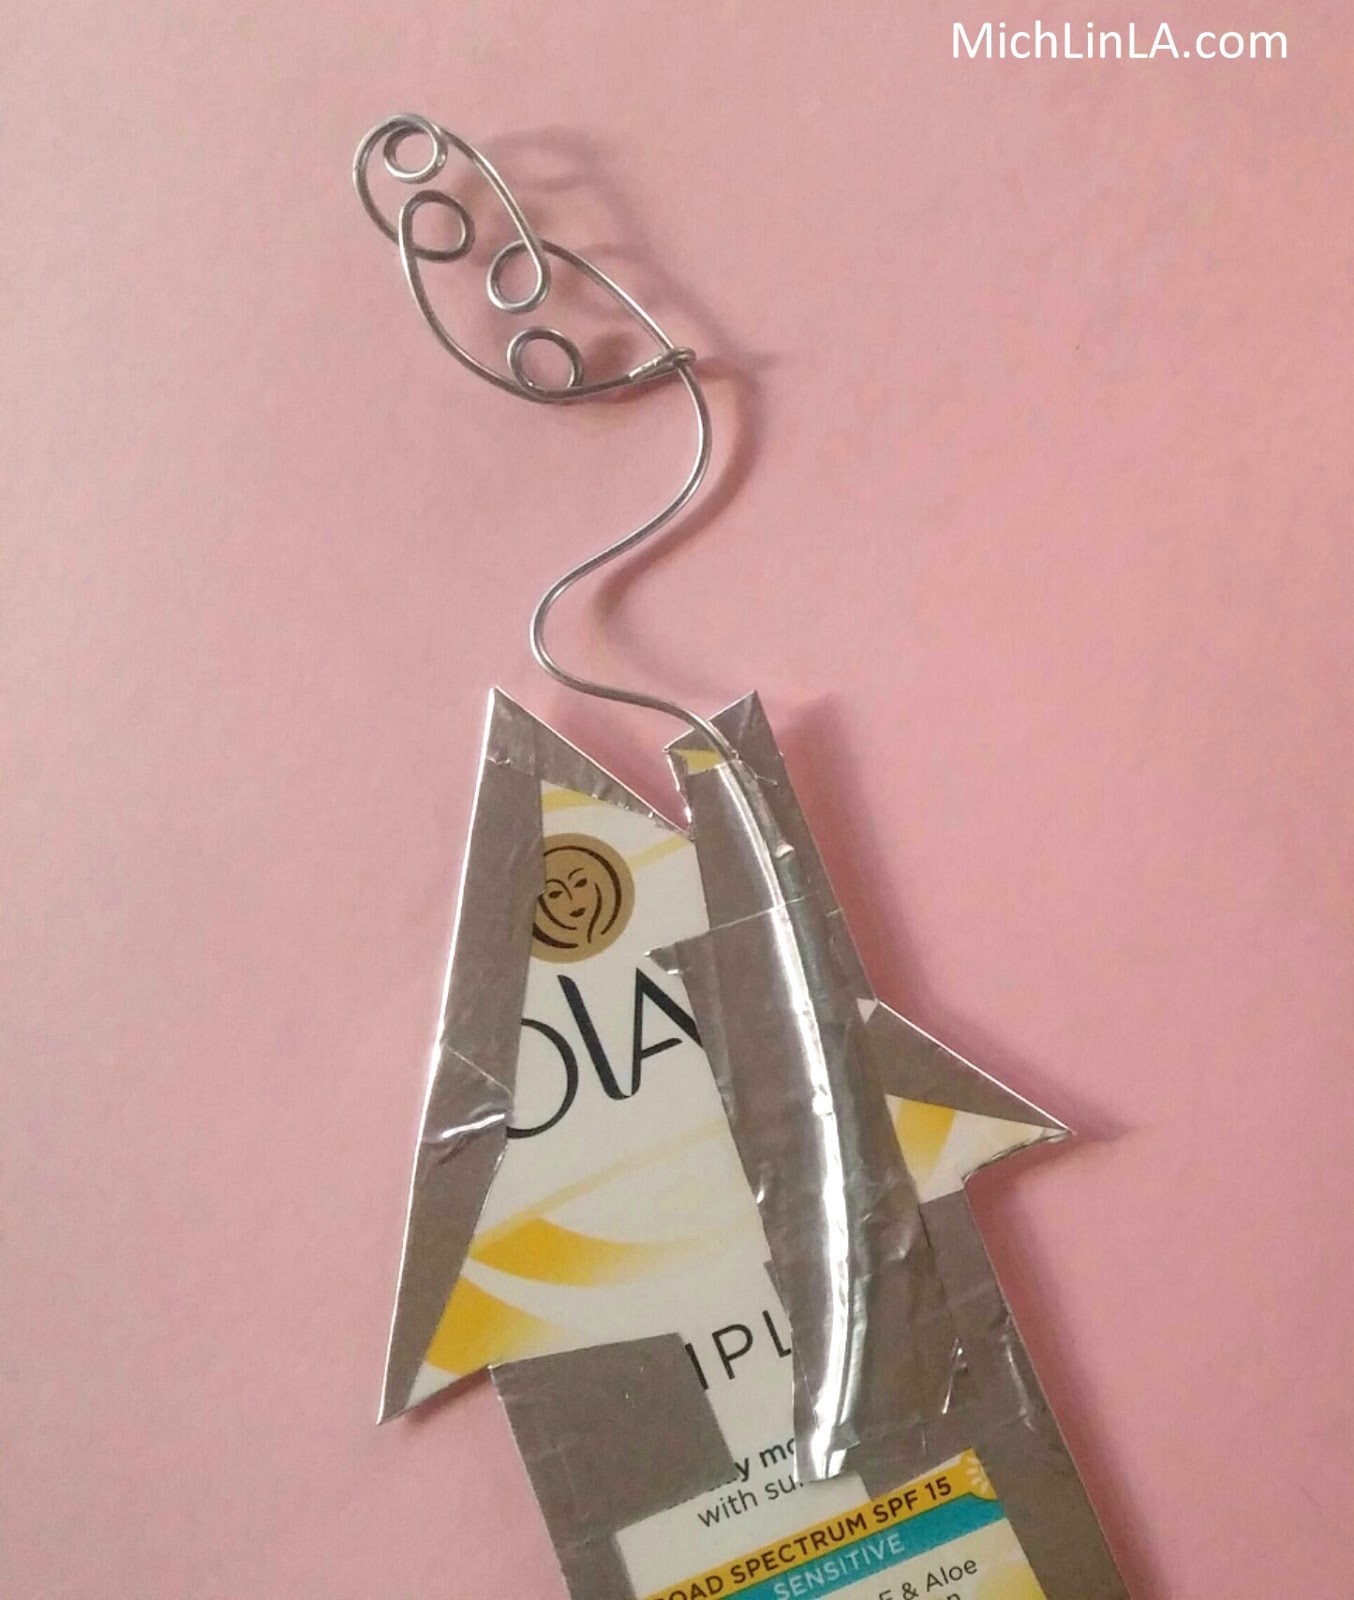
Cover the front with duct tape.
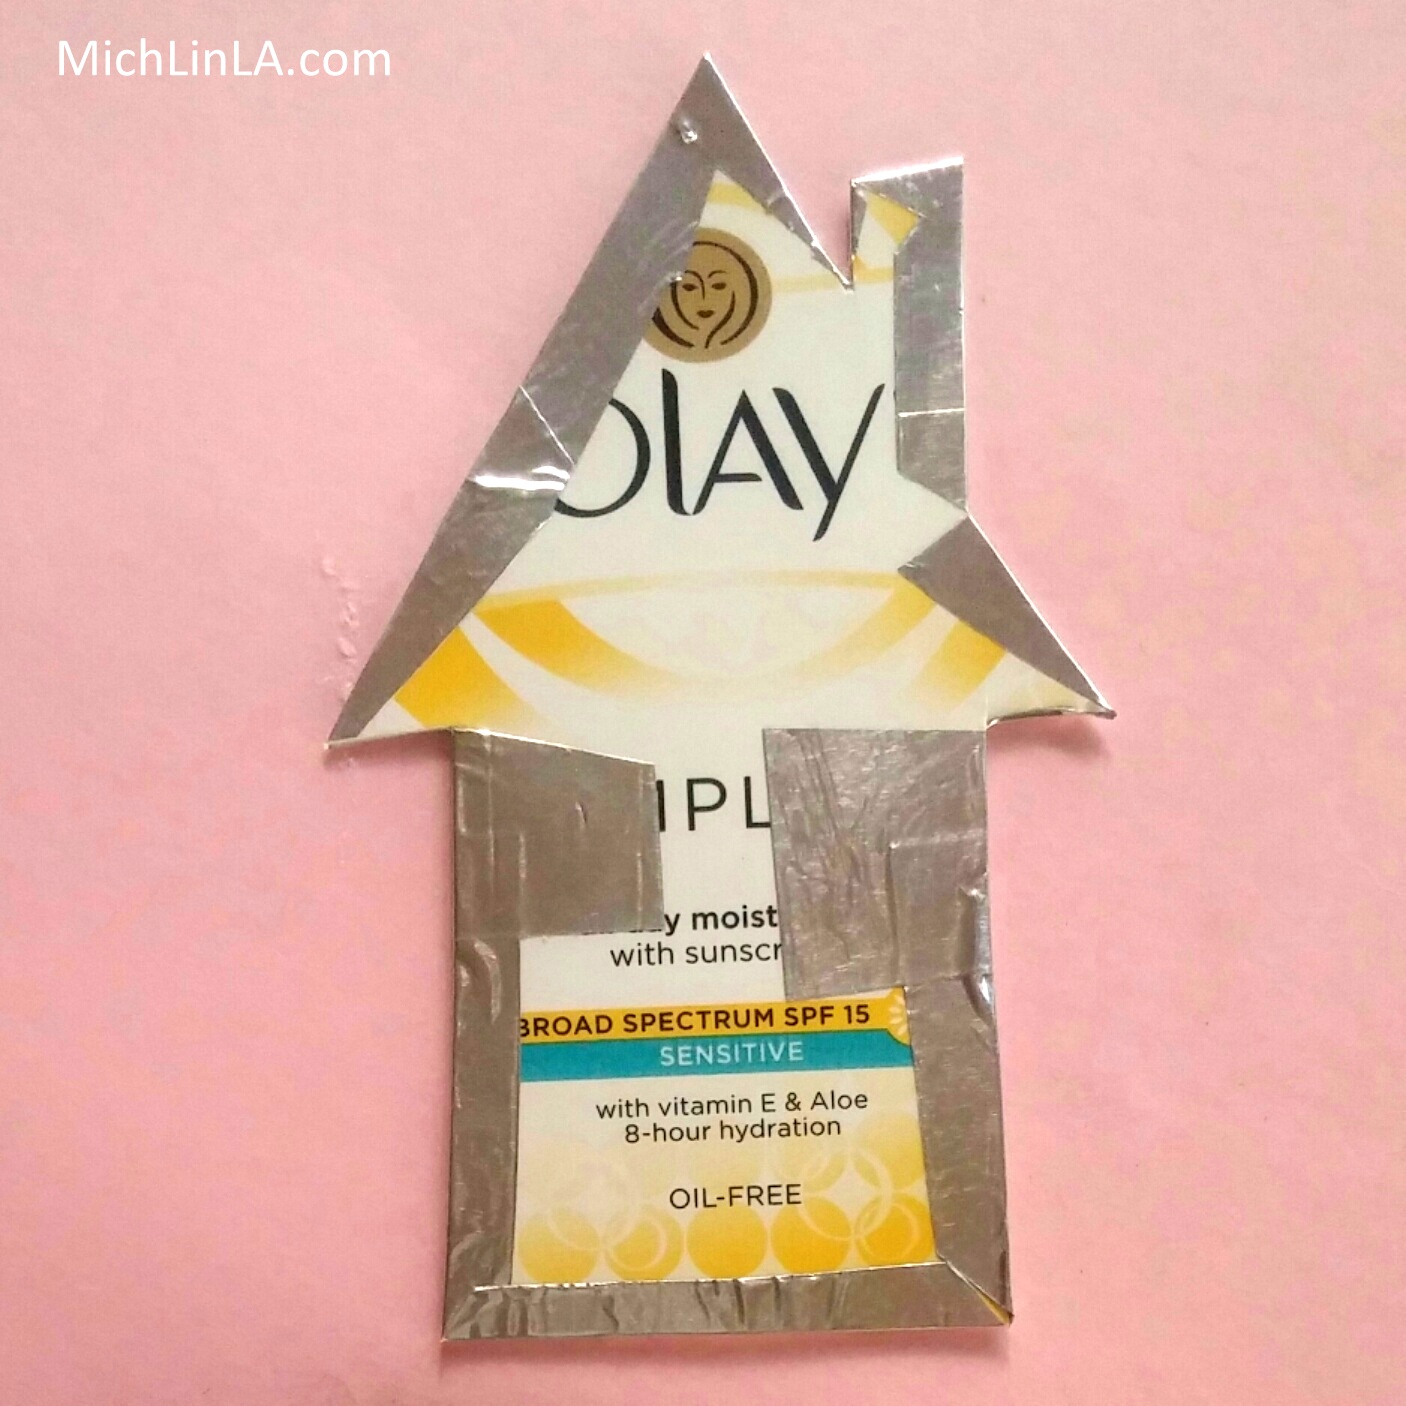
Trim away most of the extra tape. Cut slits at the corners so you can fold down the excess in back. It will probably look something like this:
You can cover the exposed cardboard with more tape - but only if you plan on seeing the back.
Lightly burnish down the tape around the cardboard cutouts, using something rounded like a pen cap (or just your finger.)
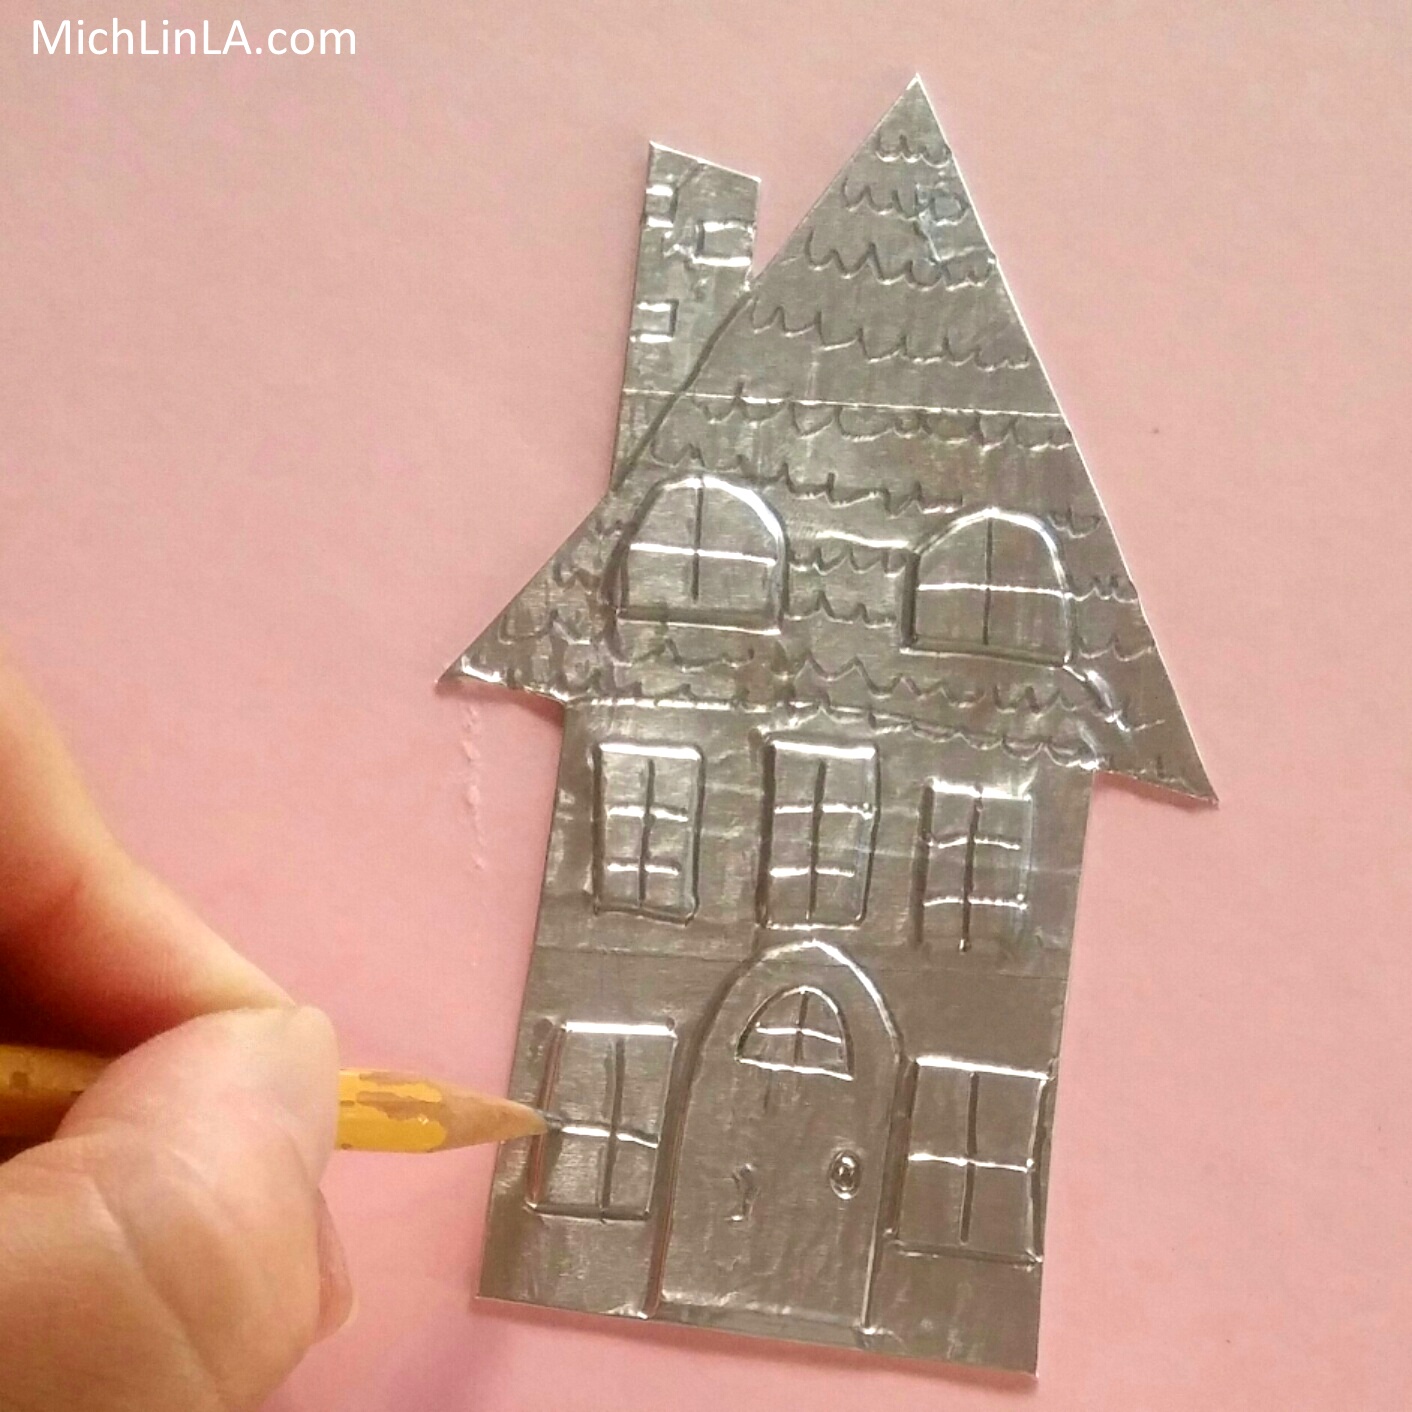
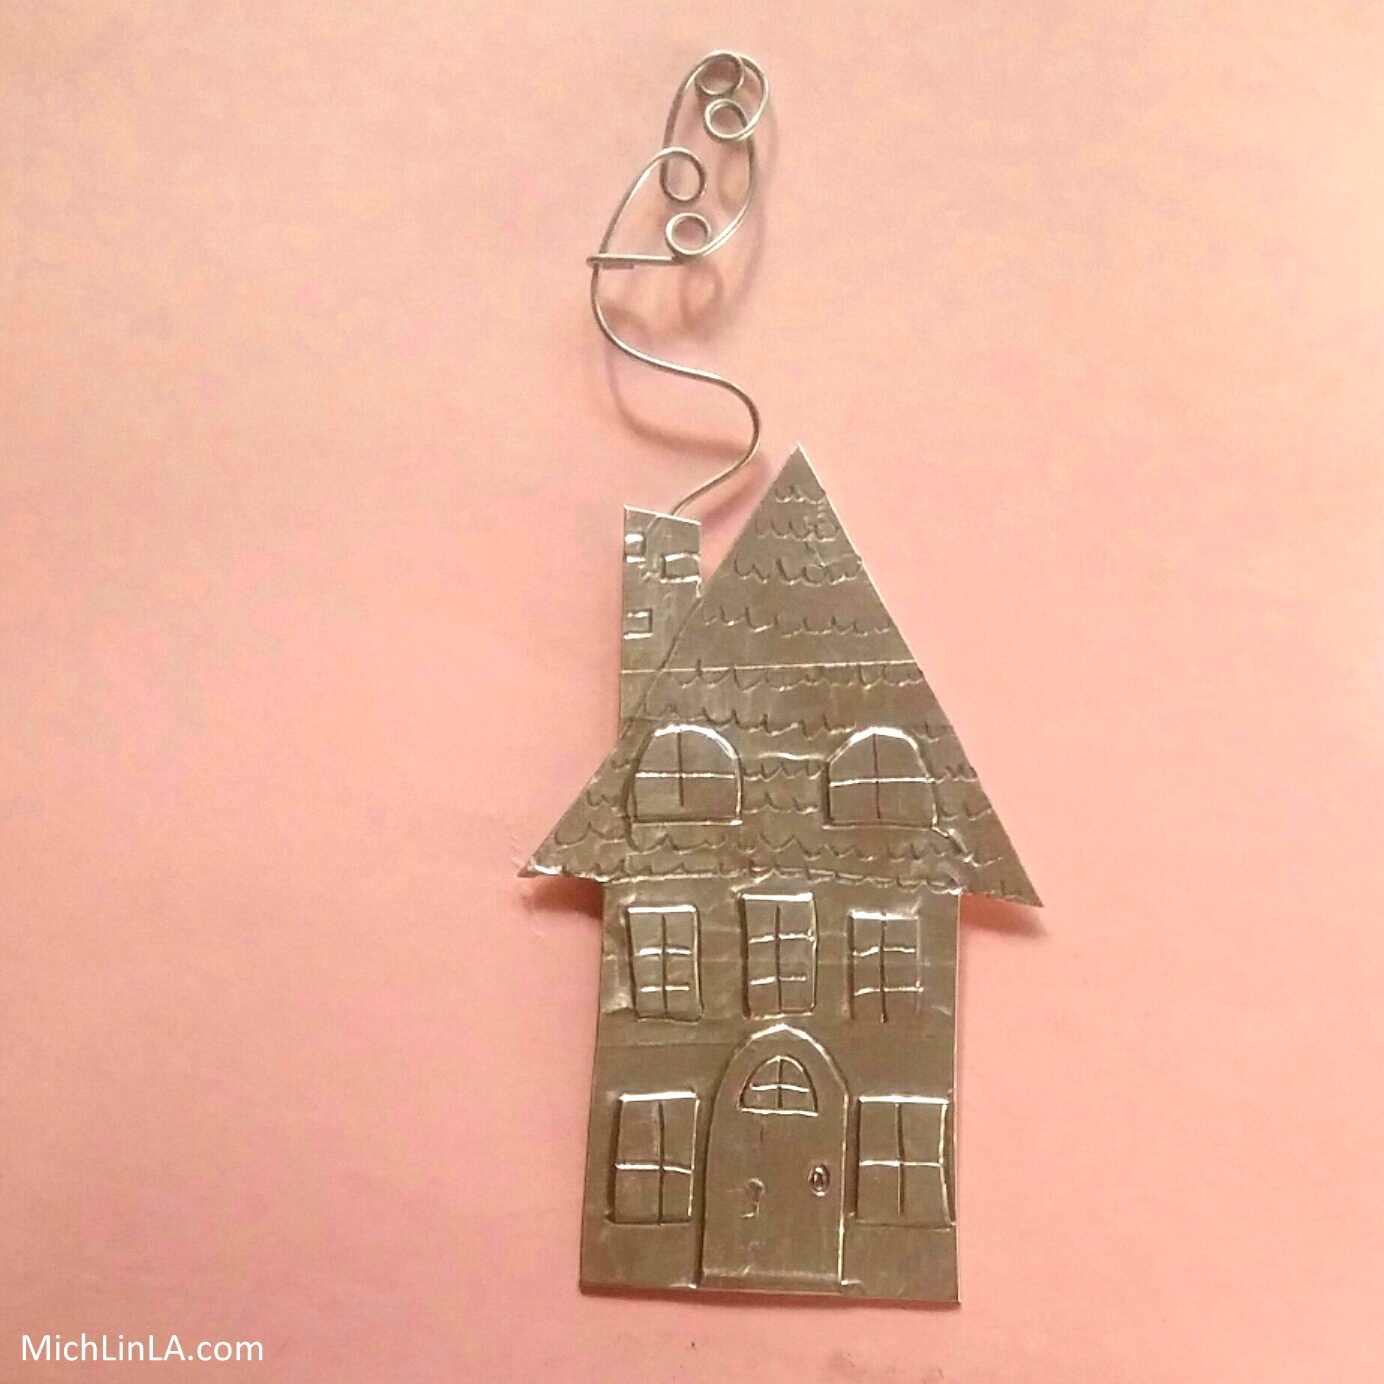
Now to etch in the details. Use a blunt pencil or a ball-point pen - very sophisticated tools, eh? Outline the raised door and windows first. Then add cross-hatched windowpanes, a doorknob and roof tiles. Maybe a few bricks on the chimney.
Remember, you are going for cute and rustic, not precision architectural drafting. Mistakes are okay.
Make a wire smoke plume, to look something like this:
(For the detailed smoke plume tutorial, go here.)
Bend some curves in the wire stem, and tape it to the back of your chimney like so:
And that, my dears, is a super cool shiny silver house! Adorable.
If you like, you can stop right there. I actually love the shiny silver version as-is.
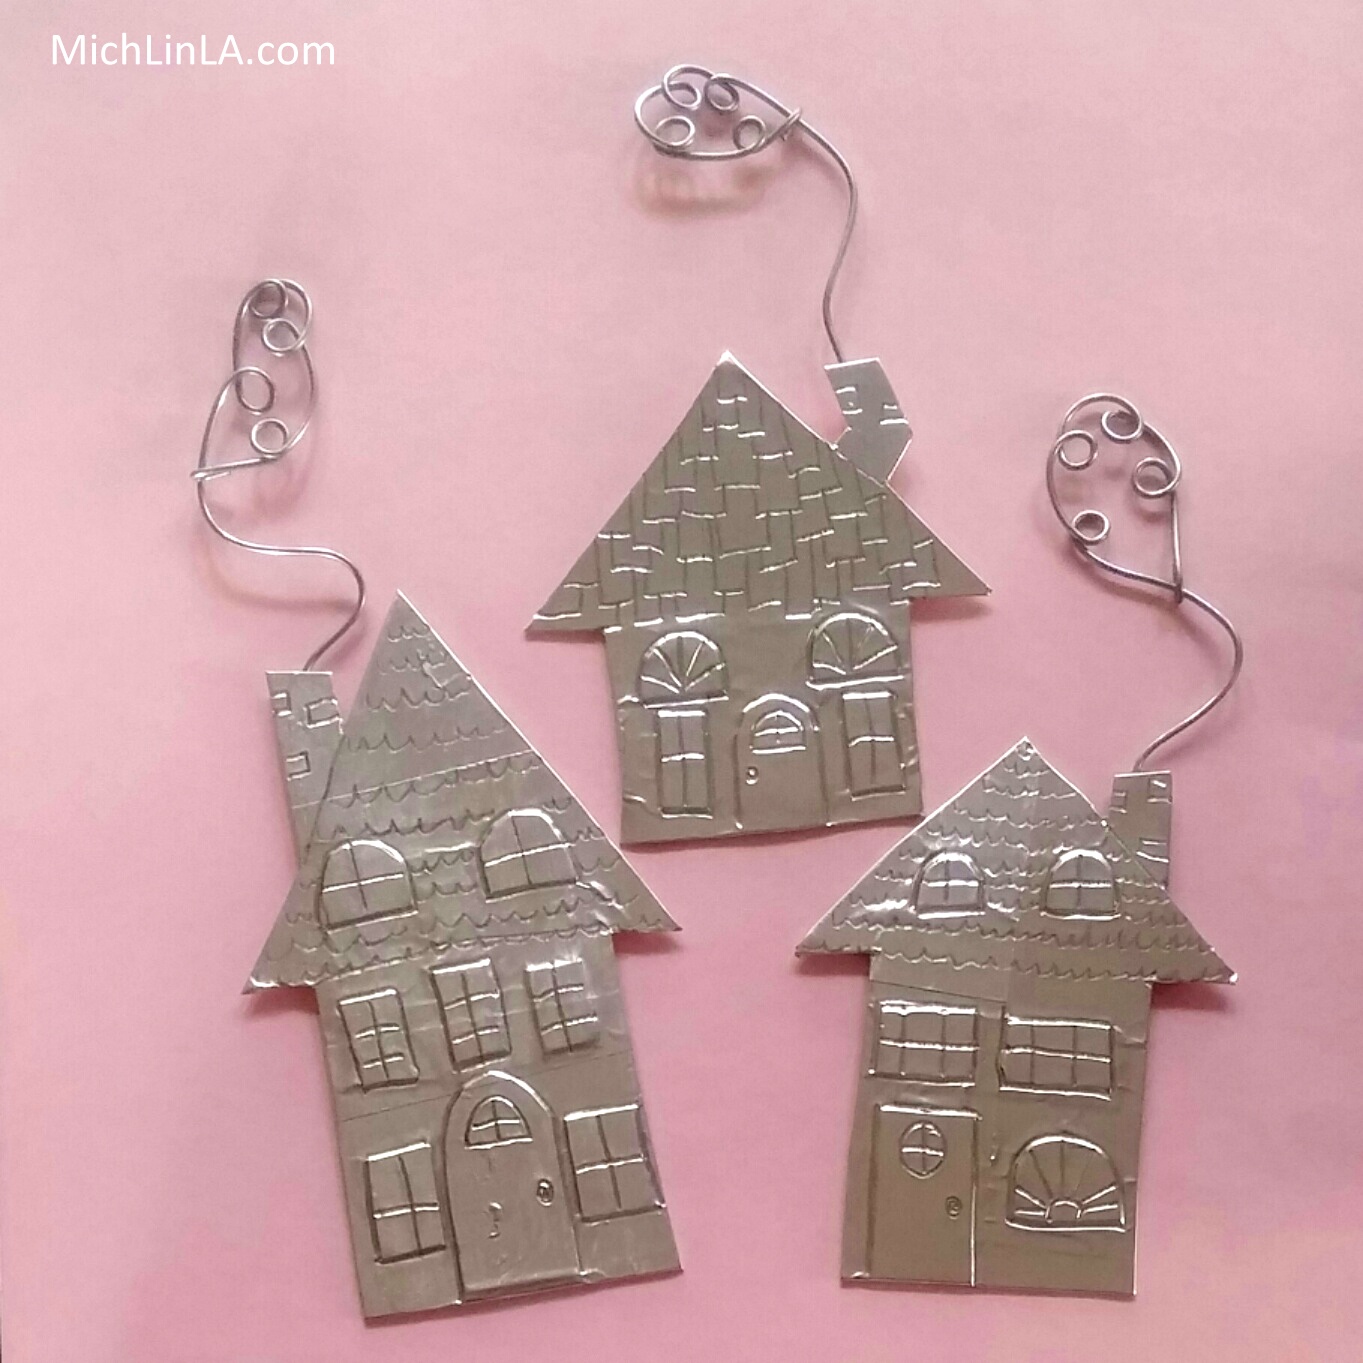
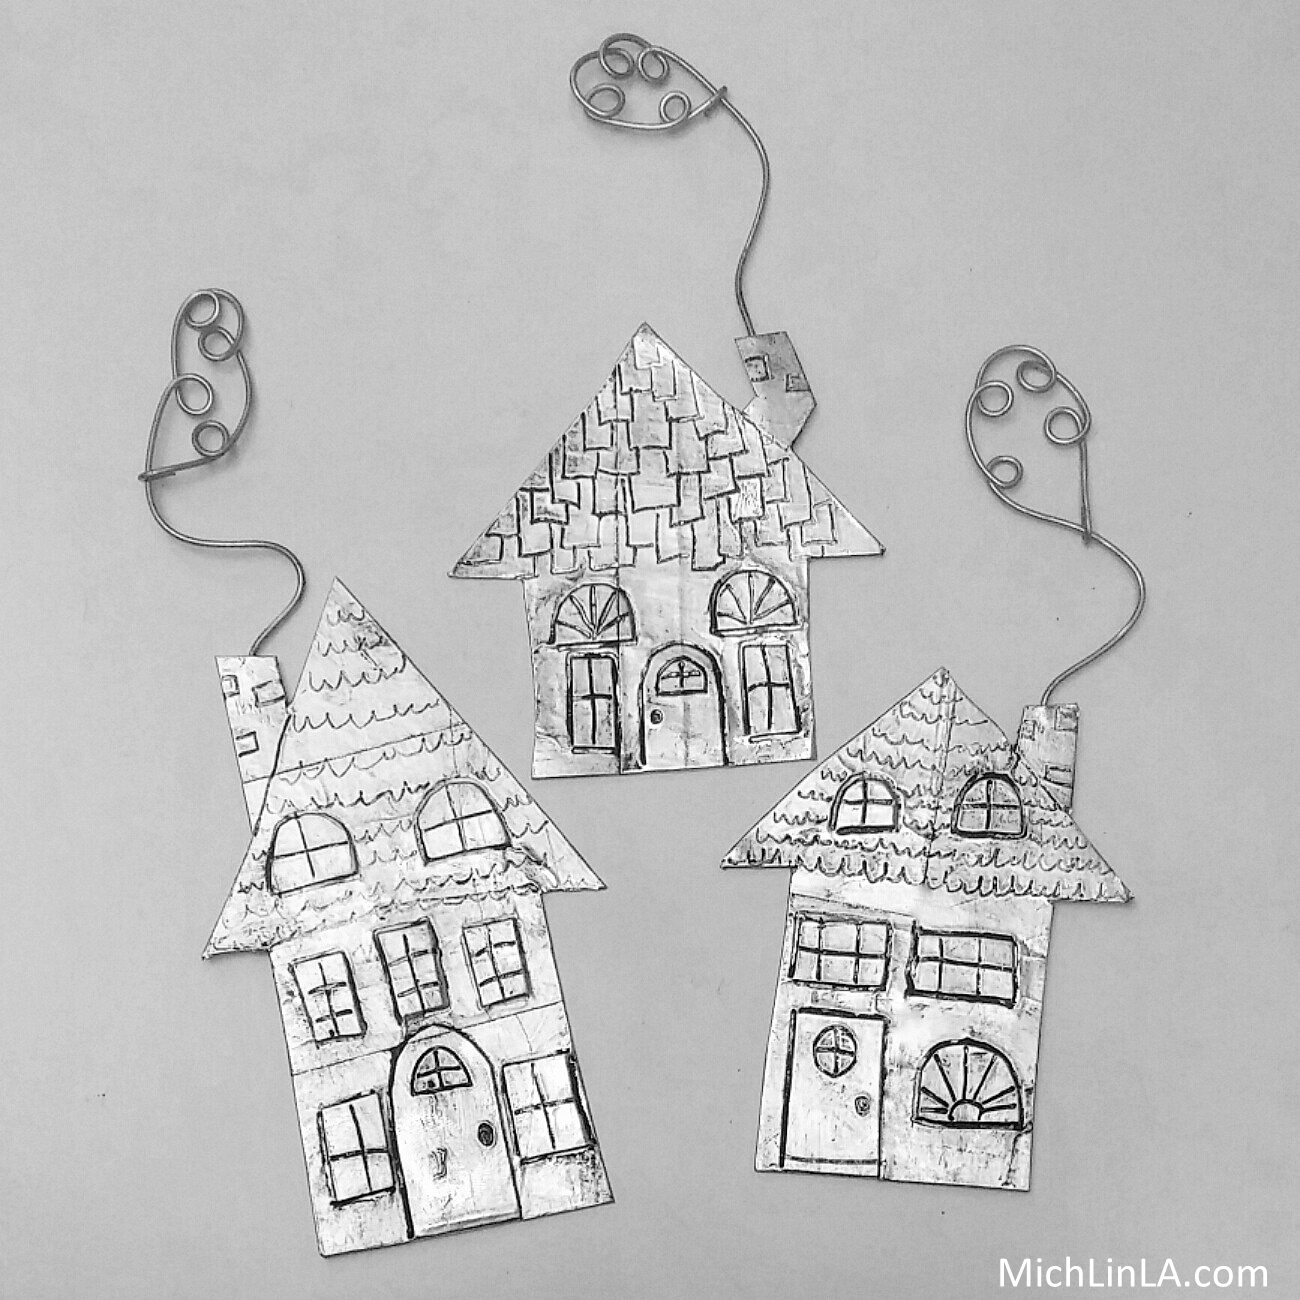
But wait, there's more. The antiquing step is next, and it's so simple. Just rub on some solid shoe polish, then buff it out until you have the amount of antique finish you like. See the difference:
To make an attached stand, cover a scrap of cardboard with silver tape, then attach it to the house with more tape forming a hinge. Here you can see the stand in the mirror:
Here's one more thought I just have to share: a wonderful gift idea. Make a replica of a real house, and present it to the owner! Wouldn't it be awesome for someone moving into a new home? Or a senior who is moving to a smaller place? Yes, it would.
To make a replica house, refer to a photo of the house front, and approximate the main features with your cardboard cut outs. Then proceed as above for a custom mini house!
Well, that's the dealio! Hope you like it.
Thanks for coming by, friends; see you another day.
P.S. If you made one, what would you do with your mini house?
Mich