Showing posts with label pretty much free. Show all posts

Friday, June 30, 2017

Colorful Spray Paint Sun Hats!

Here's a five minute craft for summer!  Something fun and creative from the brain of my husband.  A psychedelic painted sun hat!


The story: for 4 years, he has been wearing the same mesh sun hat for working outside.  Even though it went through the washing machine regularly, it was stained and unsightly and, well, take a look at what I mean...


Ew, right?

A few days ago I spotted him heading for the back yard, clutching three cans of spray paint and the hat.  I grabbed my camera and followed.

Hijinks ensued.


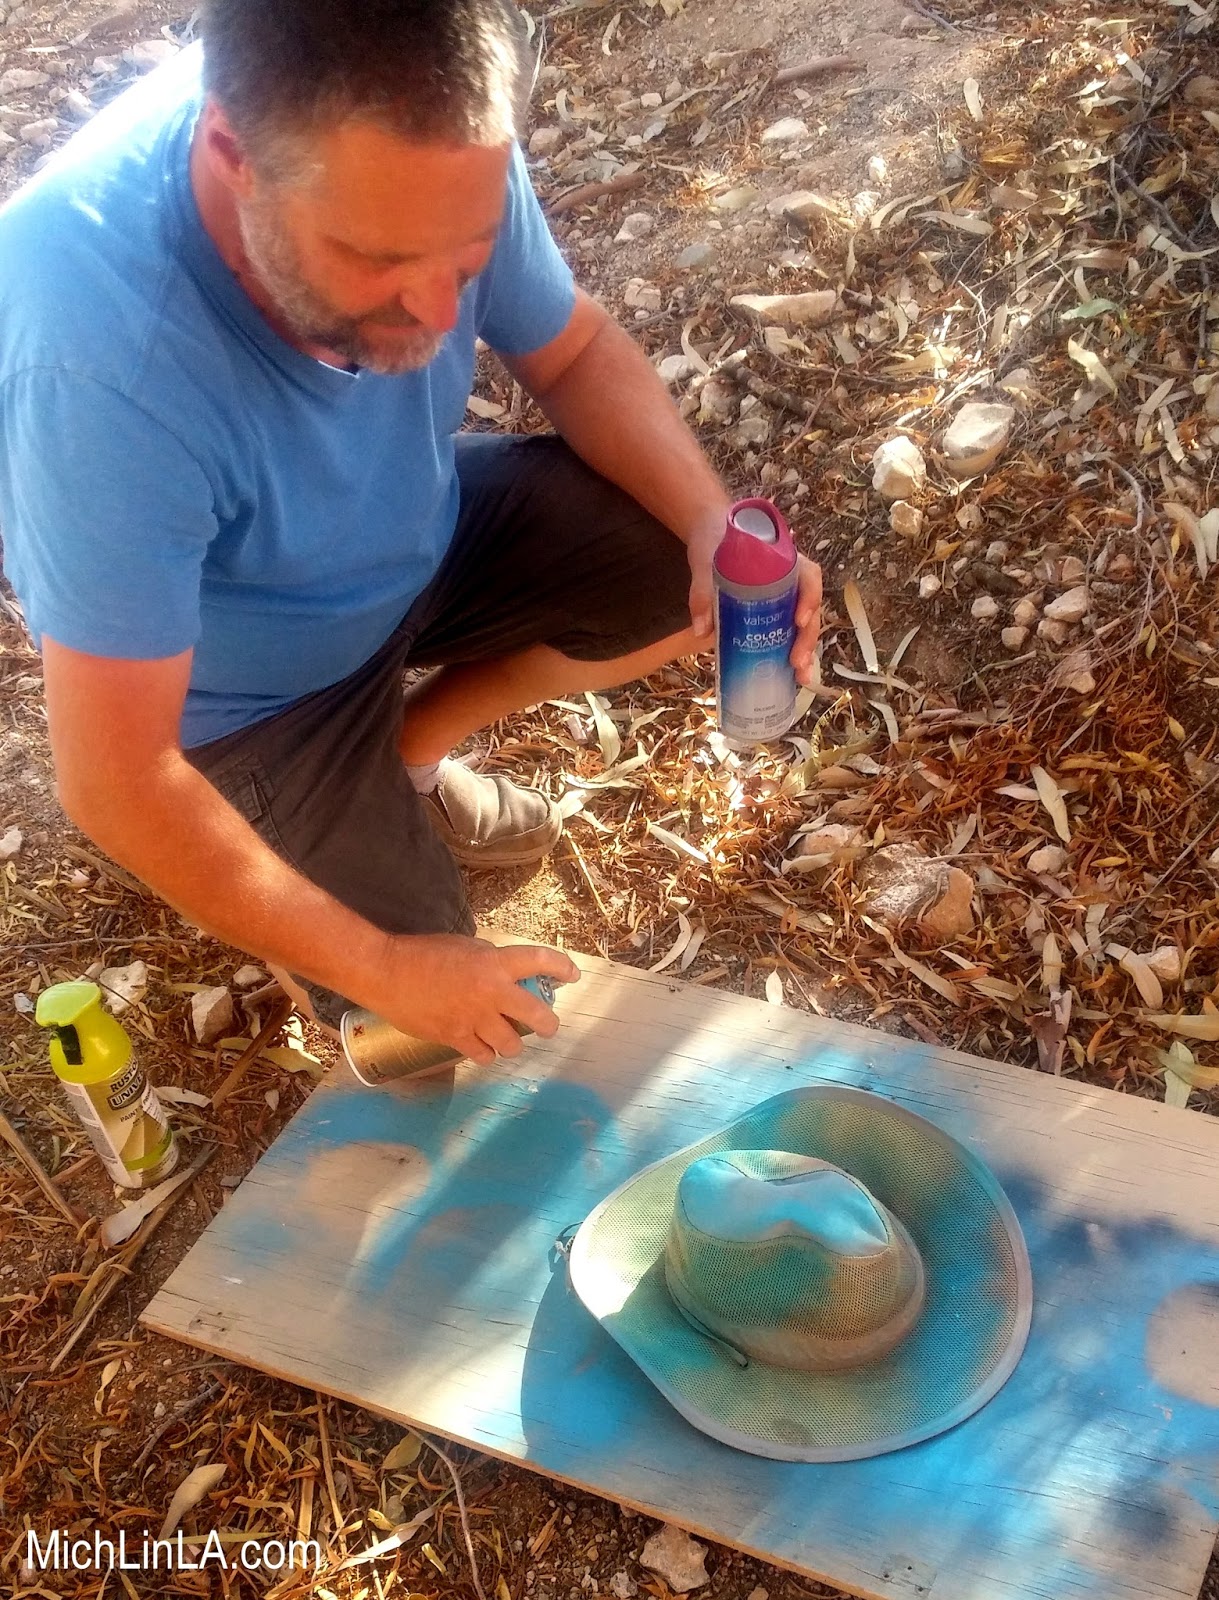
Isn't it awesome?  His colors: teal, purple and bright chartreuse.


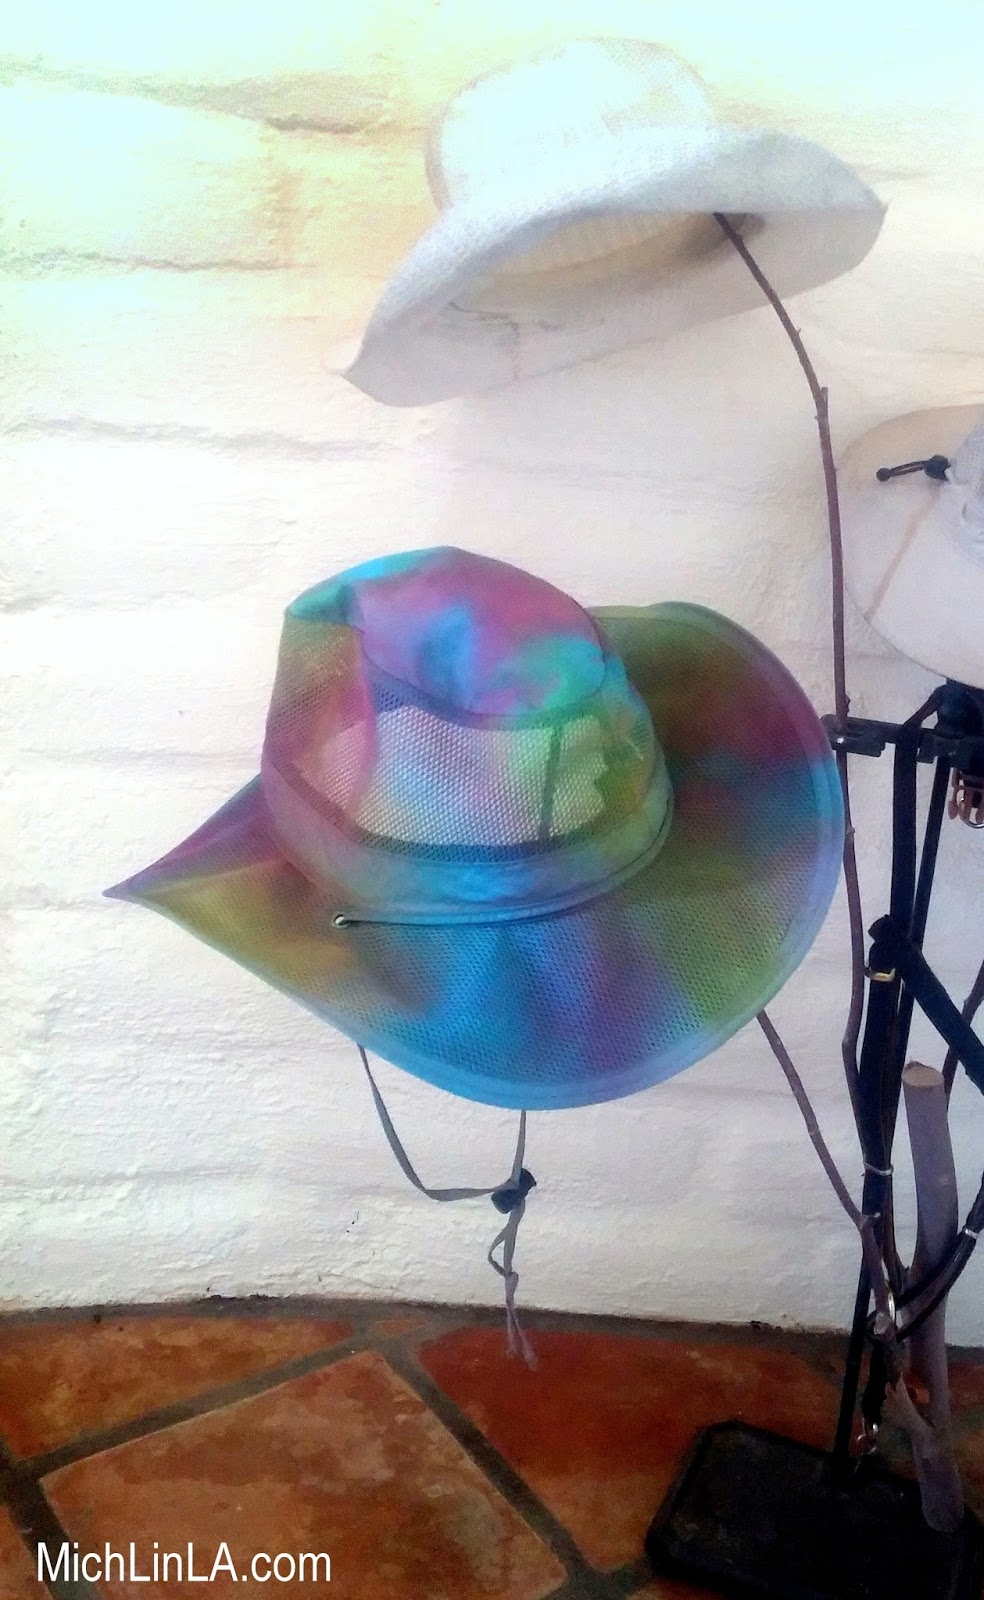
I loved it so much, I made one for me.  They only take a minute, you guys!  I started with this dollar store straw hat:


I went with a slightly different color scheme - I kept the teal and chartreuse, but added touches of bronze and antique silver.


The paint dried in 10 minutes and the hats were ready to wear.


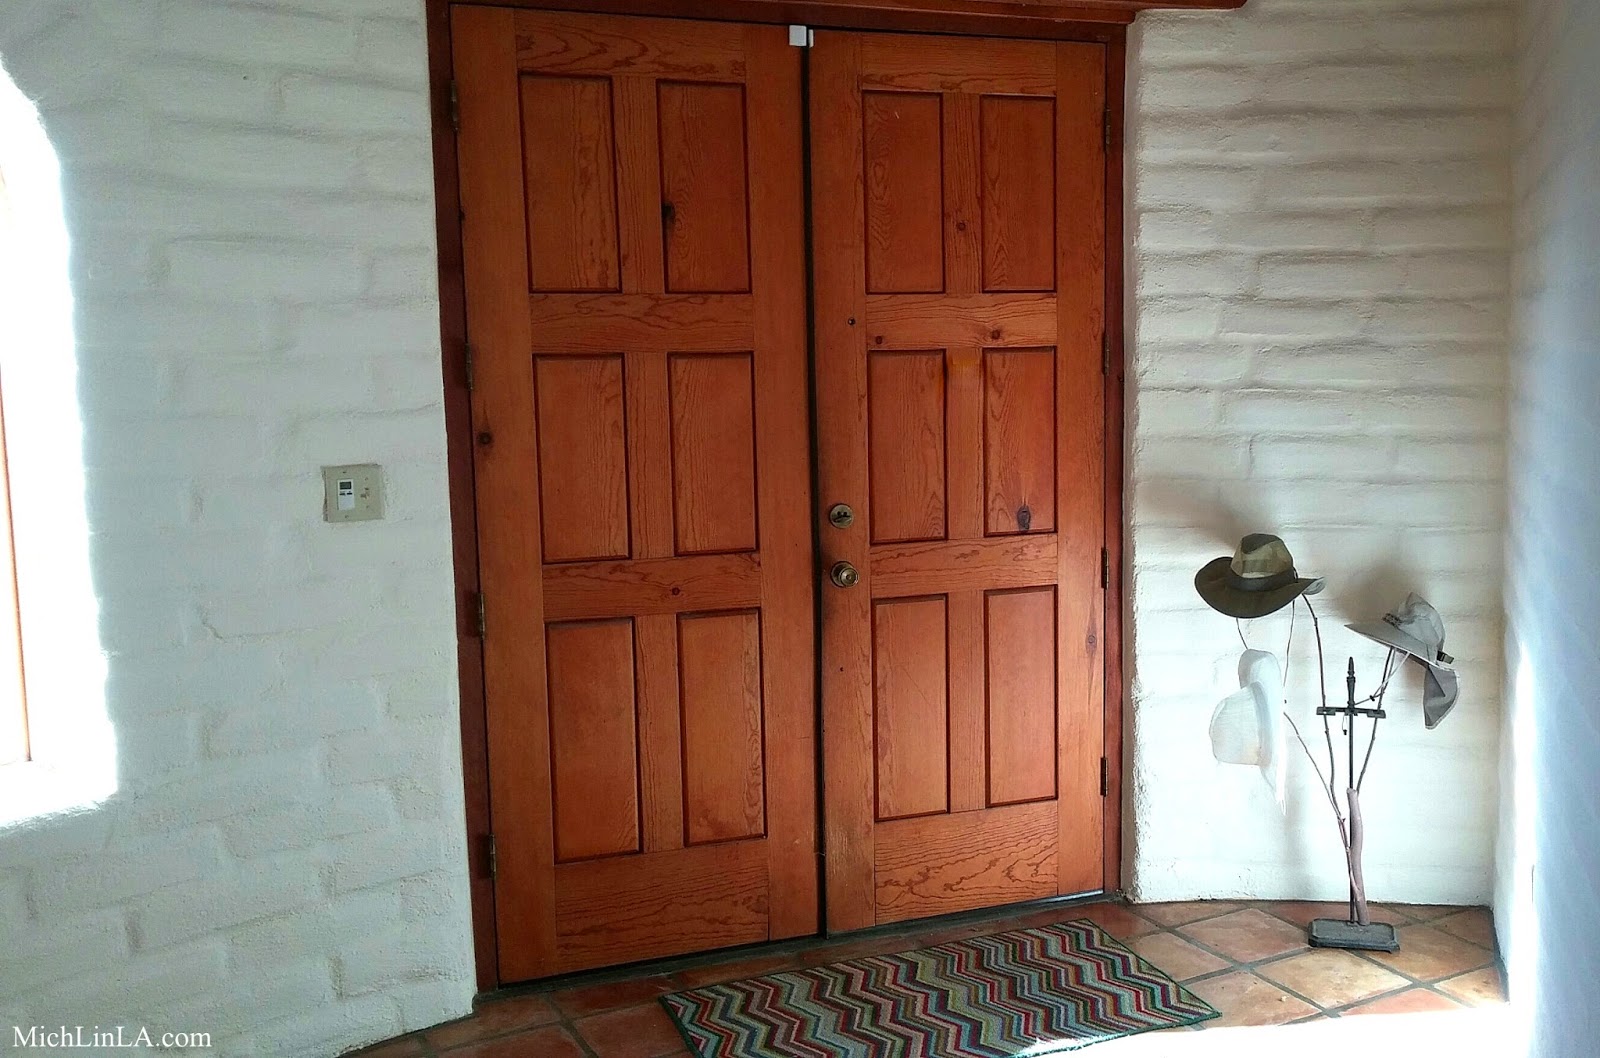
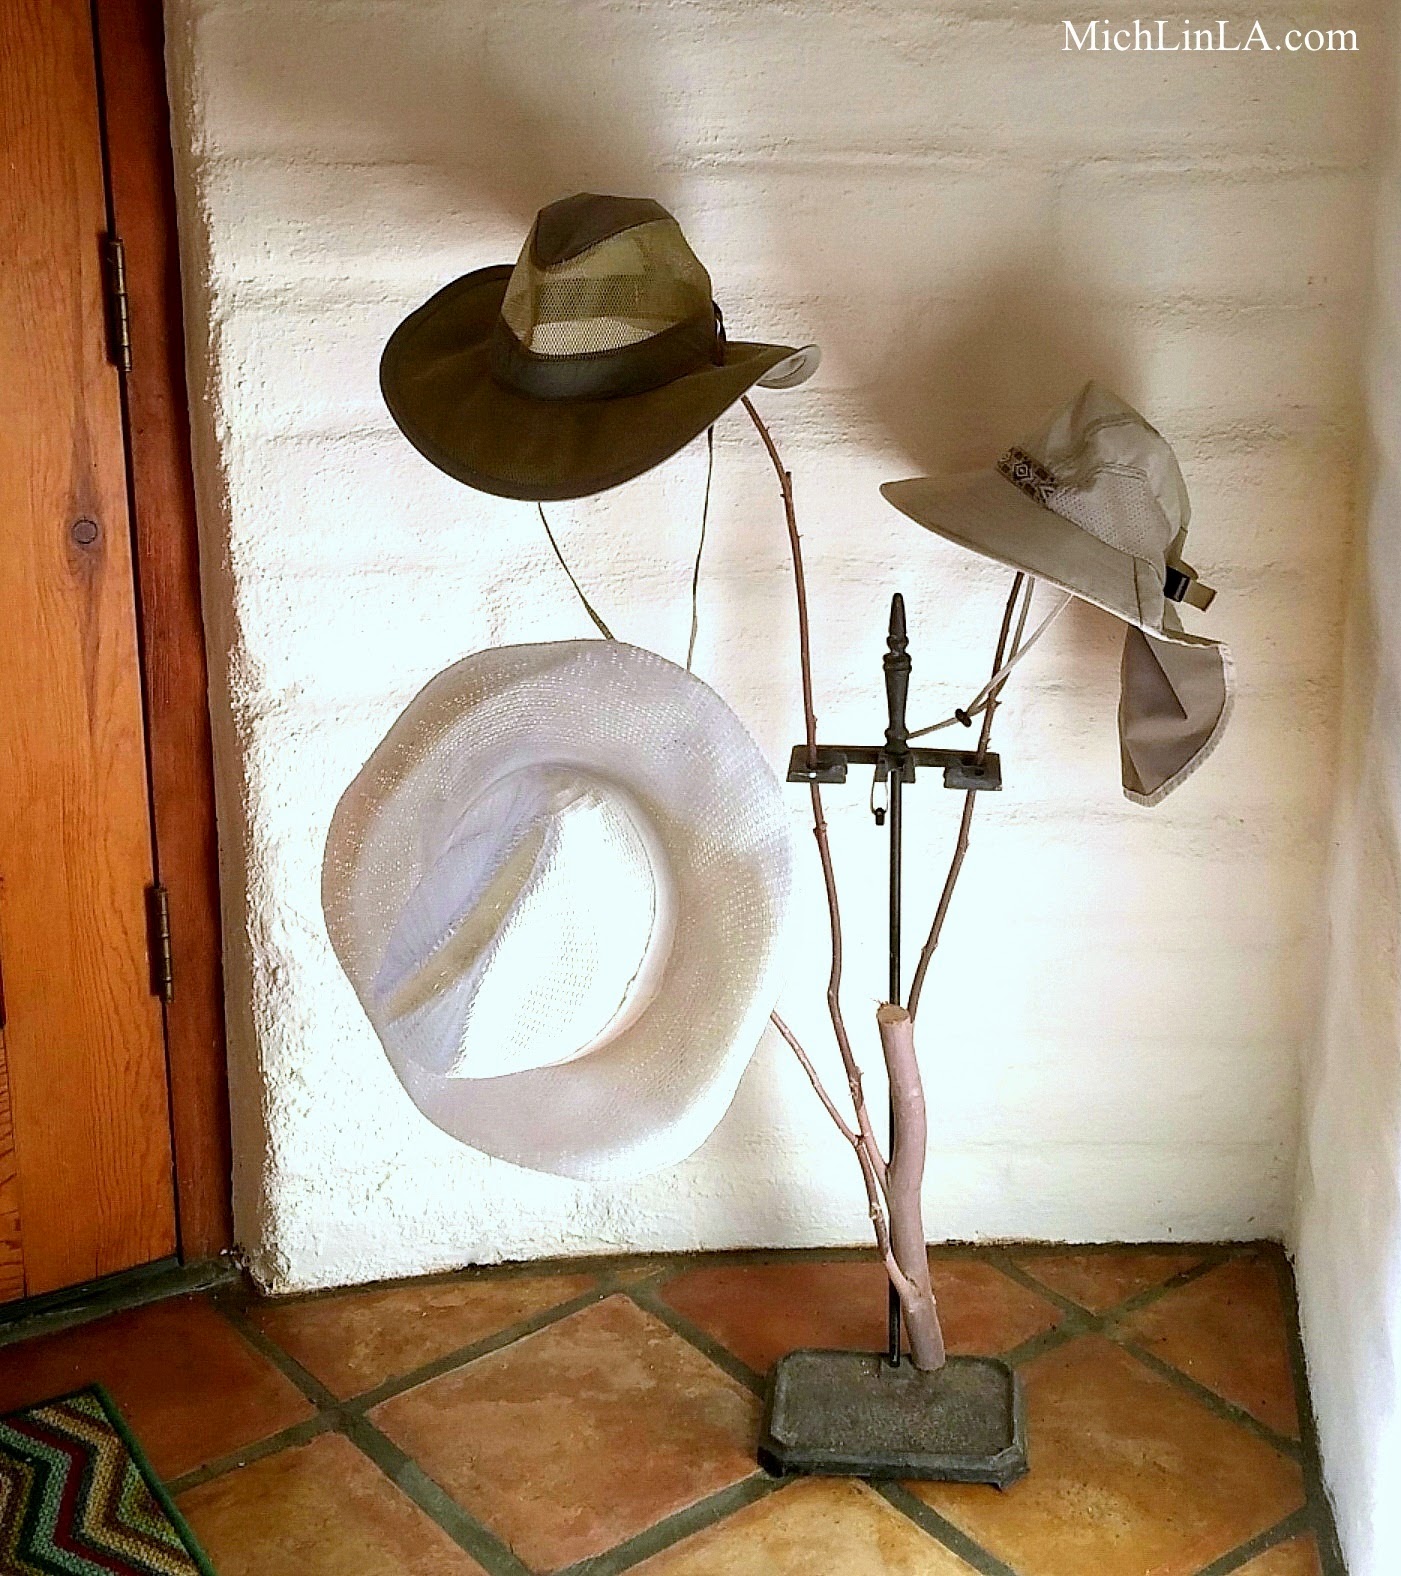
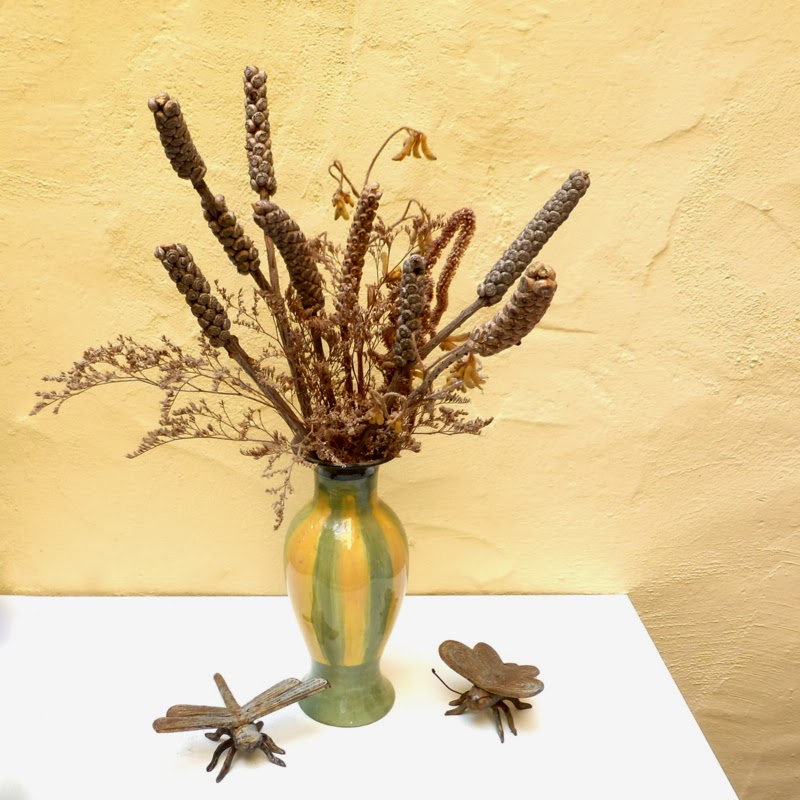
They look super cute hanging in your house, too.


Tips:

*Start with just a light spray, don't blast on heavy coverage.  (That way the hat will still breathe.)  If you want deeper color, add one or two more very light coats.  

*Don't paint the underside - you don't want to wear spray paint against you hair or skin.

*These won't go in the washing machine, but cloth hats can still be spot cleaned on the inside.  (Maybe even hand washed in the sink; I have had good luck with hand-washing spray-painted fabrics.) 

Okie dokie, I hope you liked Jeff's quickie idea.  Try it, have fun!  Give a sad old hat a whole new attitude.


Friday, January 20, 2017

Sweet Earring Display Frame Made From A Recycled Tissue Box

Hey, here's something I've been meaning to show you for a while.  I have a lot of these ranged around my studio.  Penny-pinching, earth friendly, practical jewelry displays...and they do brighten everything up!


Can you picture the top of the tissue box and how I used it?  Got 5 minutes, scissors and a stapler?  Here's the ridiculously simple DIY.

Cut the top and sides from a square tissue box, like so:


Cut a piece of scrap cardboard to cover the opening.


Glue or tape the cardboard to the inside; I use packing tape because it's a strong hold.  Then poke a couple of holes near the top.  Here's how it will look when flipped right-side-up:


Now staple together the two sides - one staple at the top, one at the bottom.  And that's it!  Here's your 3-D frame seen from the back:


Hang earrings inside and stand it up.  So darn cute!  And it's fun to match the earrings to the frame.


Tissue boxes are so pretty nowadays.  Find one you like and give it a second life.


Later, gators.


Saturday, January 14, 2017

The Five Minute Scrappy Fleece Flower Ring

Today's craft: a DIY ring made from scraps of fleece and felt.


A five minute craft for any age and skill level.  I like it plain...


And I like it patterned.


Aw heck, I just like it.


The How-To is particularly fun, and involves a dog biscuit.  So now you have to try it, right?  Ready?  Here goes!

You will need some floppy scrap fleece (the green stuff) and some slightly-stiffer felt. You will also need scissors and a tiny piece of string.


Cut a fleece leaf and a felt petal.  (The petal can be a simple circle or a more flowery shape if you like.)  Poke a hole in each as shown here:


Now make a dog biscuit out of fleece, like so:


Fold the biscuit in half and insert the string at the fold.


Stack the leaf and petal, then use the string to pull the folded biscuit through the holes.


Pull until the biscuit ends are bunched in the center of the flower and you can't go any further.


Done and done.


For the fancy version, I just Sharpied the heck out of both the felt petal and the fleece leaf (or leaves).  Here you can see some potential different shapes for both elements:


And that, you guys, is my Scrappy Fleece Flower Ring.  Sure hope you like it!  

Oops, gotta go, someone has been waiting patiently while I wrote this post.


Thank you for coming by!


Friday, December 5, 2014

My Future Repurposed Entryway: In Search Of Ideas!

Hi, guys!  I haven't said much about this, but I am working on a very cool house renovation project IRL.  (IRL = In Real Life.  You're welcome, mom!)

It's an old adobe house in the desert Southwest (just outside Tucson).  You might call it a mini-mini-ranch.  A mini slice of cactus-studded ranch land, where the original owner raised miniature horses.


We have finally gotten all the beautiful adobe walls painted a nice creamy white, so at last it's time to decorate!  Here's the inside of the foyer, showing the decor so far:


Yep, one rug and a hat rack.  About that hat rack...want a closer look?


It's made from a fireplace-tool caddy I found on the curb, and a tree branch from the yard.  Total cost: $0.00

I want everything in my entry to be repurposed, upcycled, rustic and funky.  I assembled a clipboard of ideas from Hometalk, which is sort of like Pinterest but more project-oriented, and exclusively for house and home.  (It's also a fun forum where you can pose technical or design questions, and get lots of friendly advice.)

Just click on the graphic to check out some great upcycles that caught my eye.  Let me know your thoughts, 'cause I am open to ideas!  If you were me, how would you furnish the entry?

http://www.hometalk.com/b/6013157/17-repurposed-entryway-storage-ideas


Thursday, November 7, 2013

Ornamental Bead Sticks! Part Four: Mother Nature Made Me Do It

Hi!  Welcome to Part Four of my fun little tutorial series, Stuff On Sticks.  Today's entry: beautiful natural branches that make their own beaded embellishments every fall!

Take a peekie at these purty arrangements:


Those dimpled pods on sticks actually came from two different types of trees in my garden.  I had to do a teeny bit of tweaking to get the ornamental sticks, but really these are more like found objects than a craft project.

First, meet my no-longer-in-bloom bottlebrush tree.


 After blooming, the branches form strange seed clusters that - at first glance - don't look terribly decorative.


But with a snip and a rip, you can turn them into 'beaded' ornamental sticks.


Choose a branch with an attractive seed cluster on a long-ish stem.  Snip off the little tuft on top.


Strip off the leaves, and voila!


Add them to arrangements, weave some into a wreath, or use your imagination for ways to use them in your nature-inspired decor.  (Check out a whole bunch of great ideas from my readers in Part Two of Stuff On Sticks!)


(Do you like the vase?  My husband painted it.  A multi-faceted dude.)

I have another tree called a Showy Honey Myrtle.  Here's what she looks like right now:


Snip, snip!


Aren't the naked seed clusters beautiful?!


Don't neglect to consider the nearest Sycamore tree.  To me, these mini-branches always look like something out of Dr. Seuss.


Maybe you don't have a Bottlebrush, Honey Myrtle or Sycamore?  Go outside and hunt the winter landscape for other trees that form Stuff On Sticks.  Post pics in the comments if you find some good ones!

Hope you enjoyed my I-didn't-really-make-anything-because-Mother-Nature-got-there-first tutorial.  More Stuff On Sticks coming soon!

To see the rest of the Stuff On Sticks:
Part One
Part Two
Part Three
Part Four
Part Five
Part Six 

Part Seven