Showing posts with label paper projects. Show all posts

Saturday, October 28, 2017

Make A Matchbox Pendant With Hidden Compartment

Greetings, friends!  I propose that it's time to start thinking about handmade gifts.  This recycled necklace gift can charm nearly anyone: a simple matchbox turned into a secret-compartment pendant.


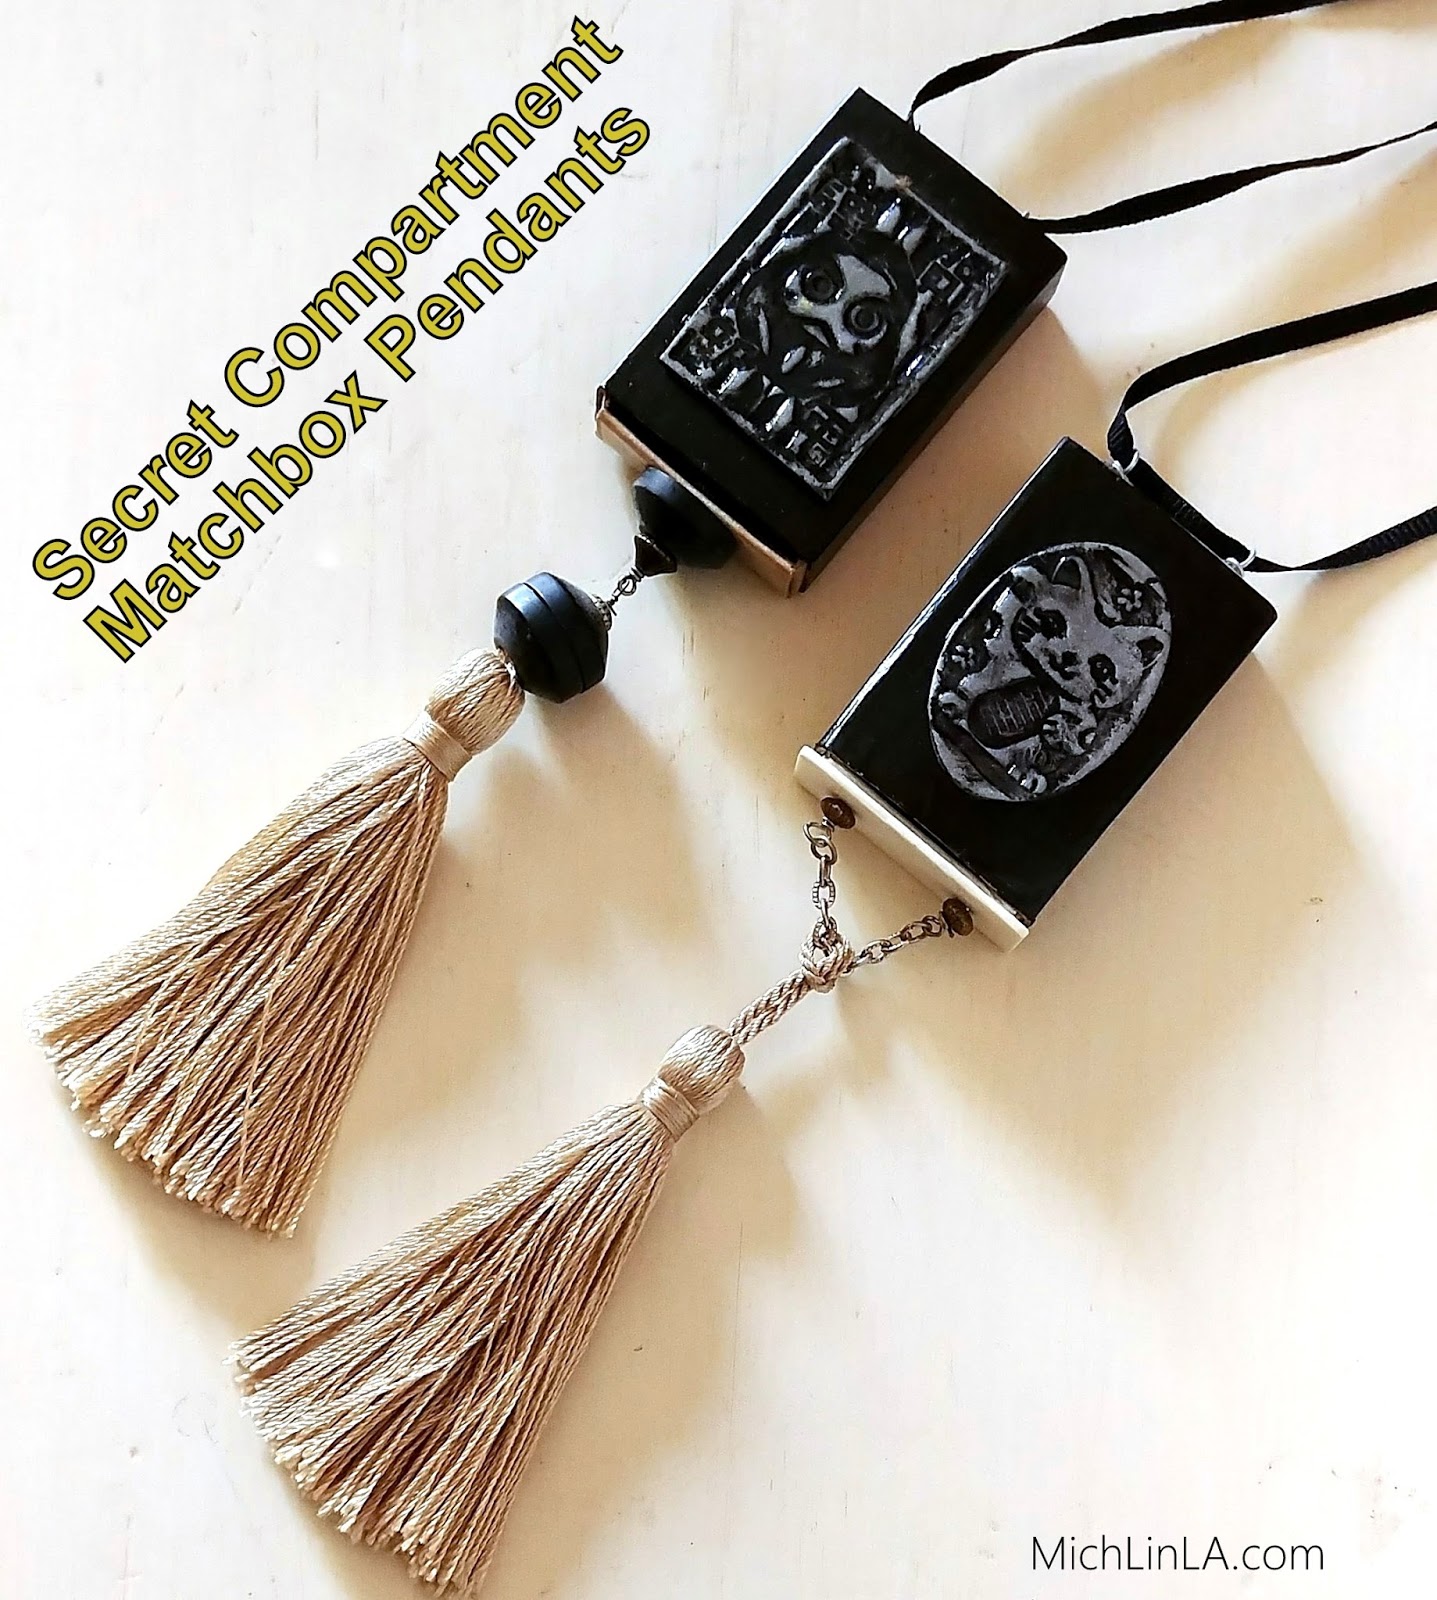
The awesomeness is threefold.  1.) It's simple and eco friendly.  2.) Customize the art to your loved one's style and interest.  3.) Because there's a tiny secret compartment, you can include an additional mini-gift inside!  Here's the secret drawer:


Aren't they fun?  Want to make one?  Here's how.

Tools:
jewelry pliers
wire cutters
something pointy for poking holes

Materials:
a matchbox
clear packing tape
acrylic craft paint
craft wire
1 or 2 headpins
a tassel
glue or mod podge
1 or 2 accent beads OR a strip of recycled plastic
spacer beads
optional: a bit of chain

The DIY

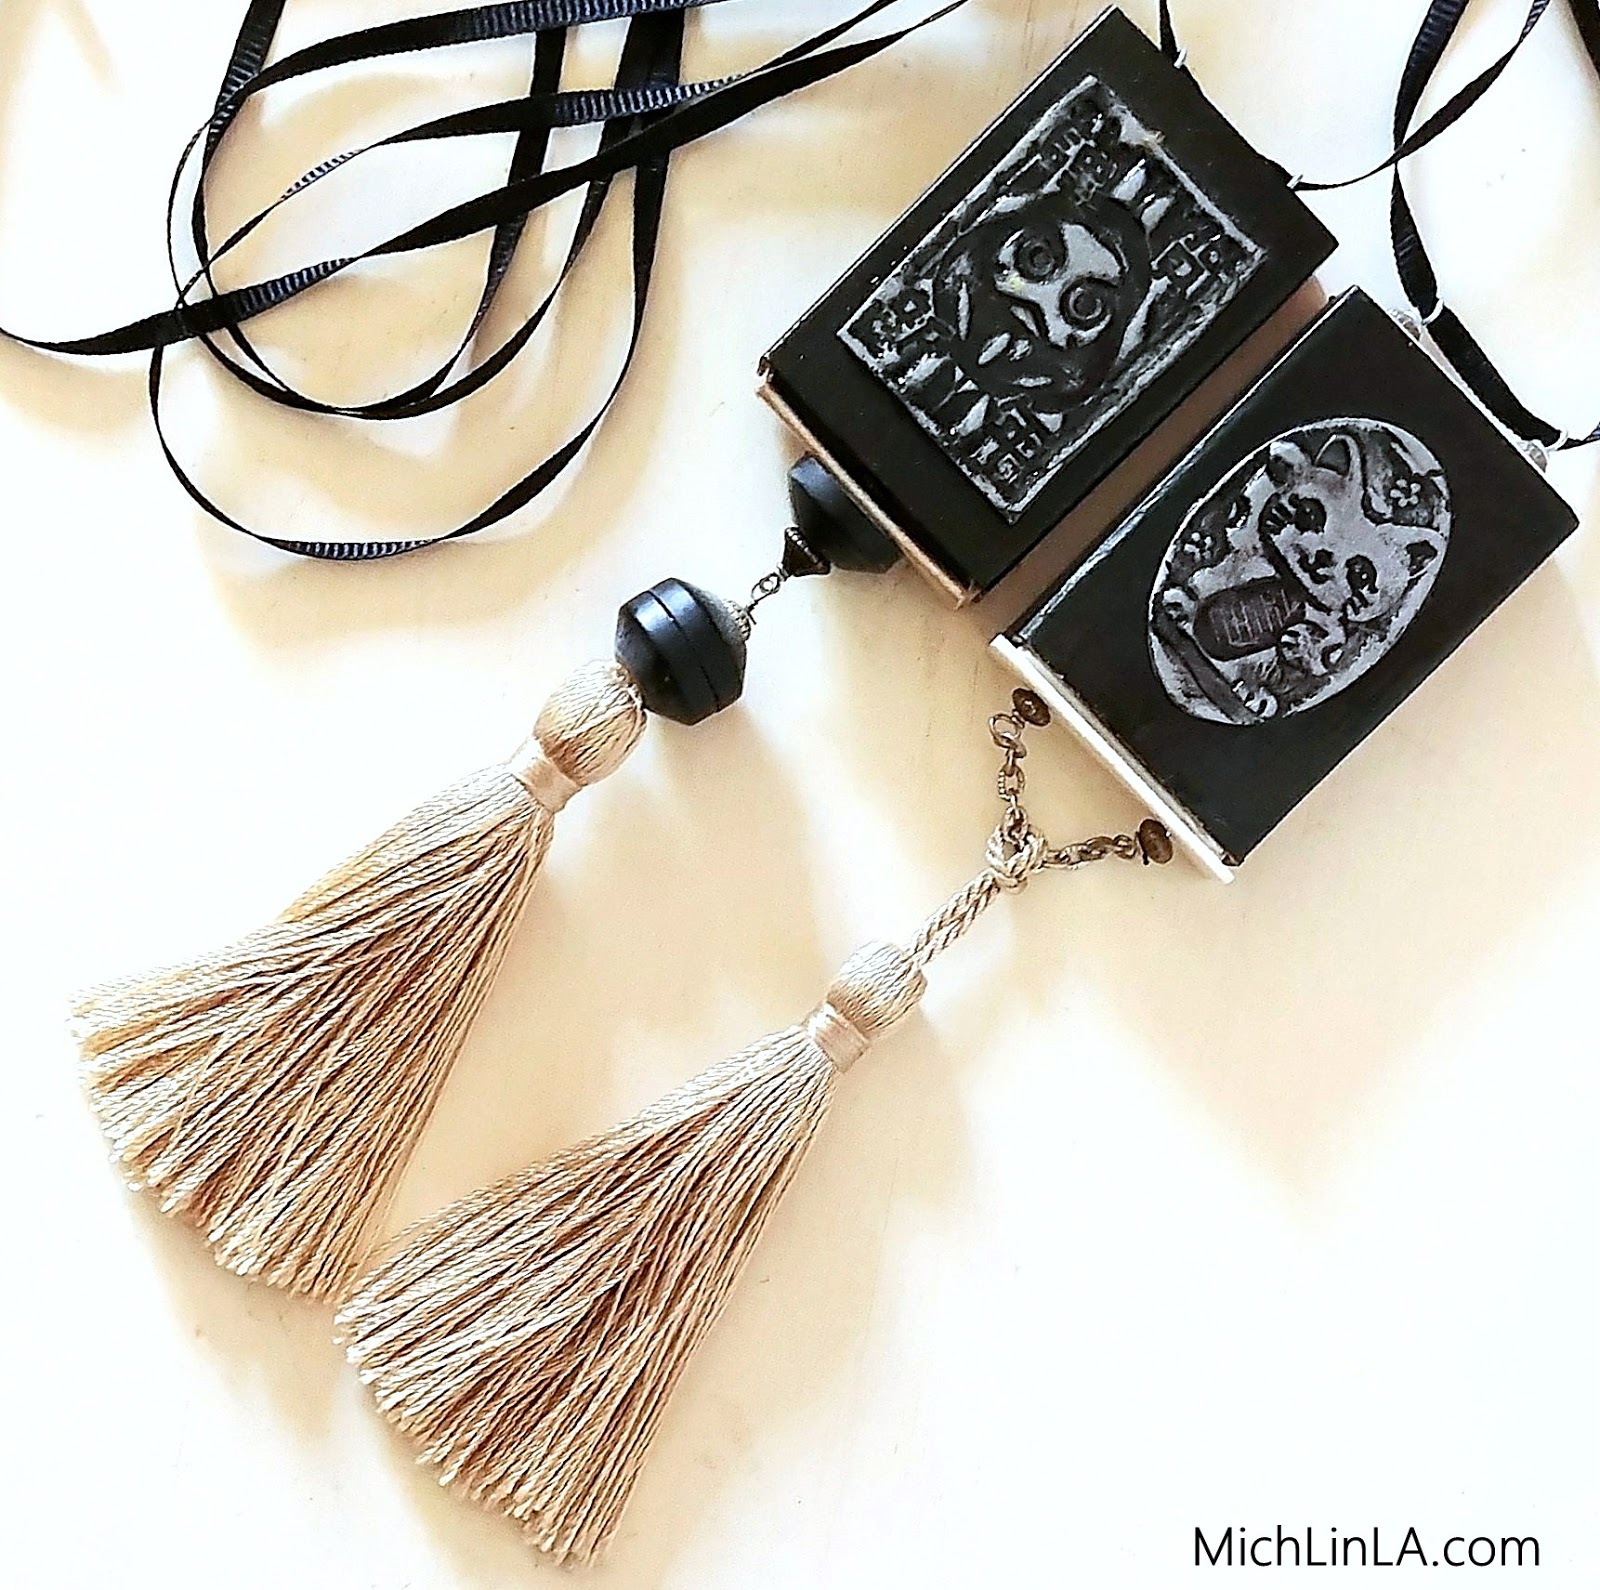
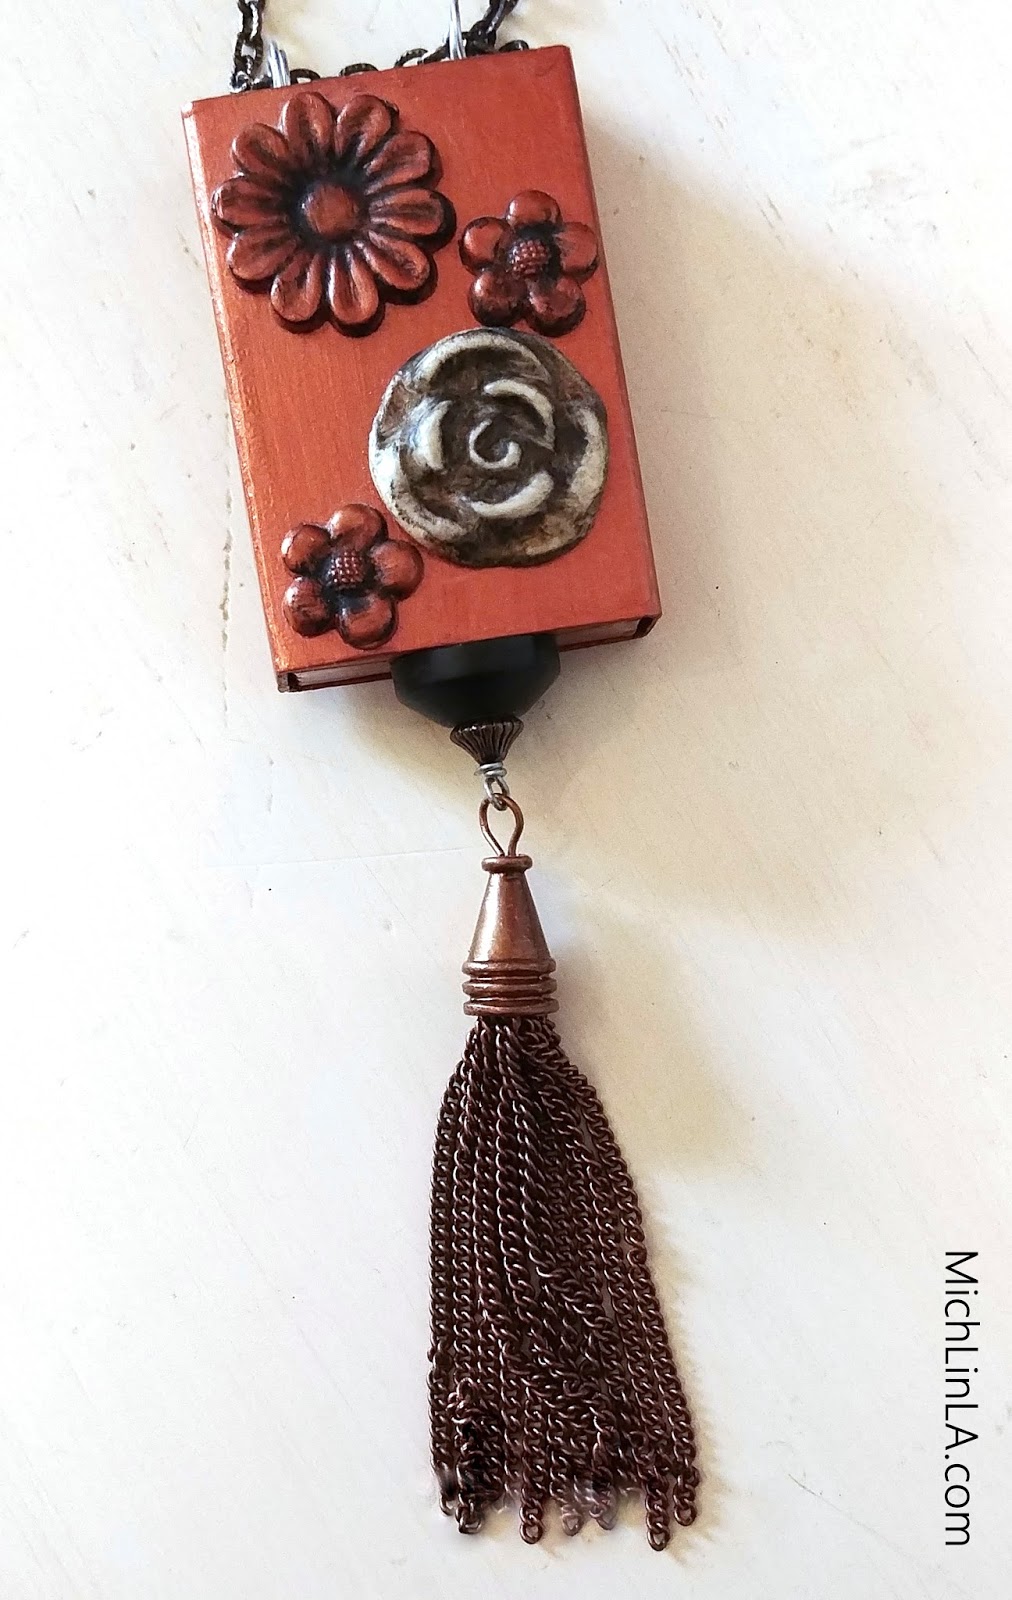
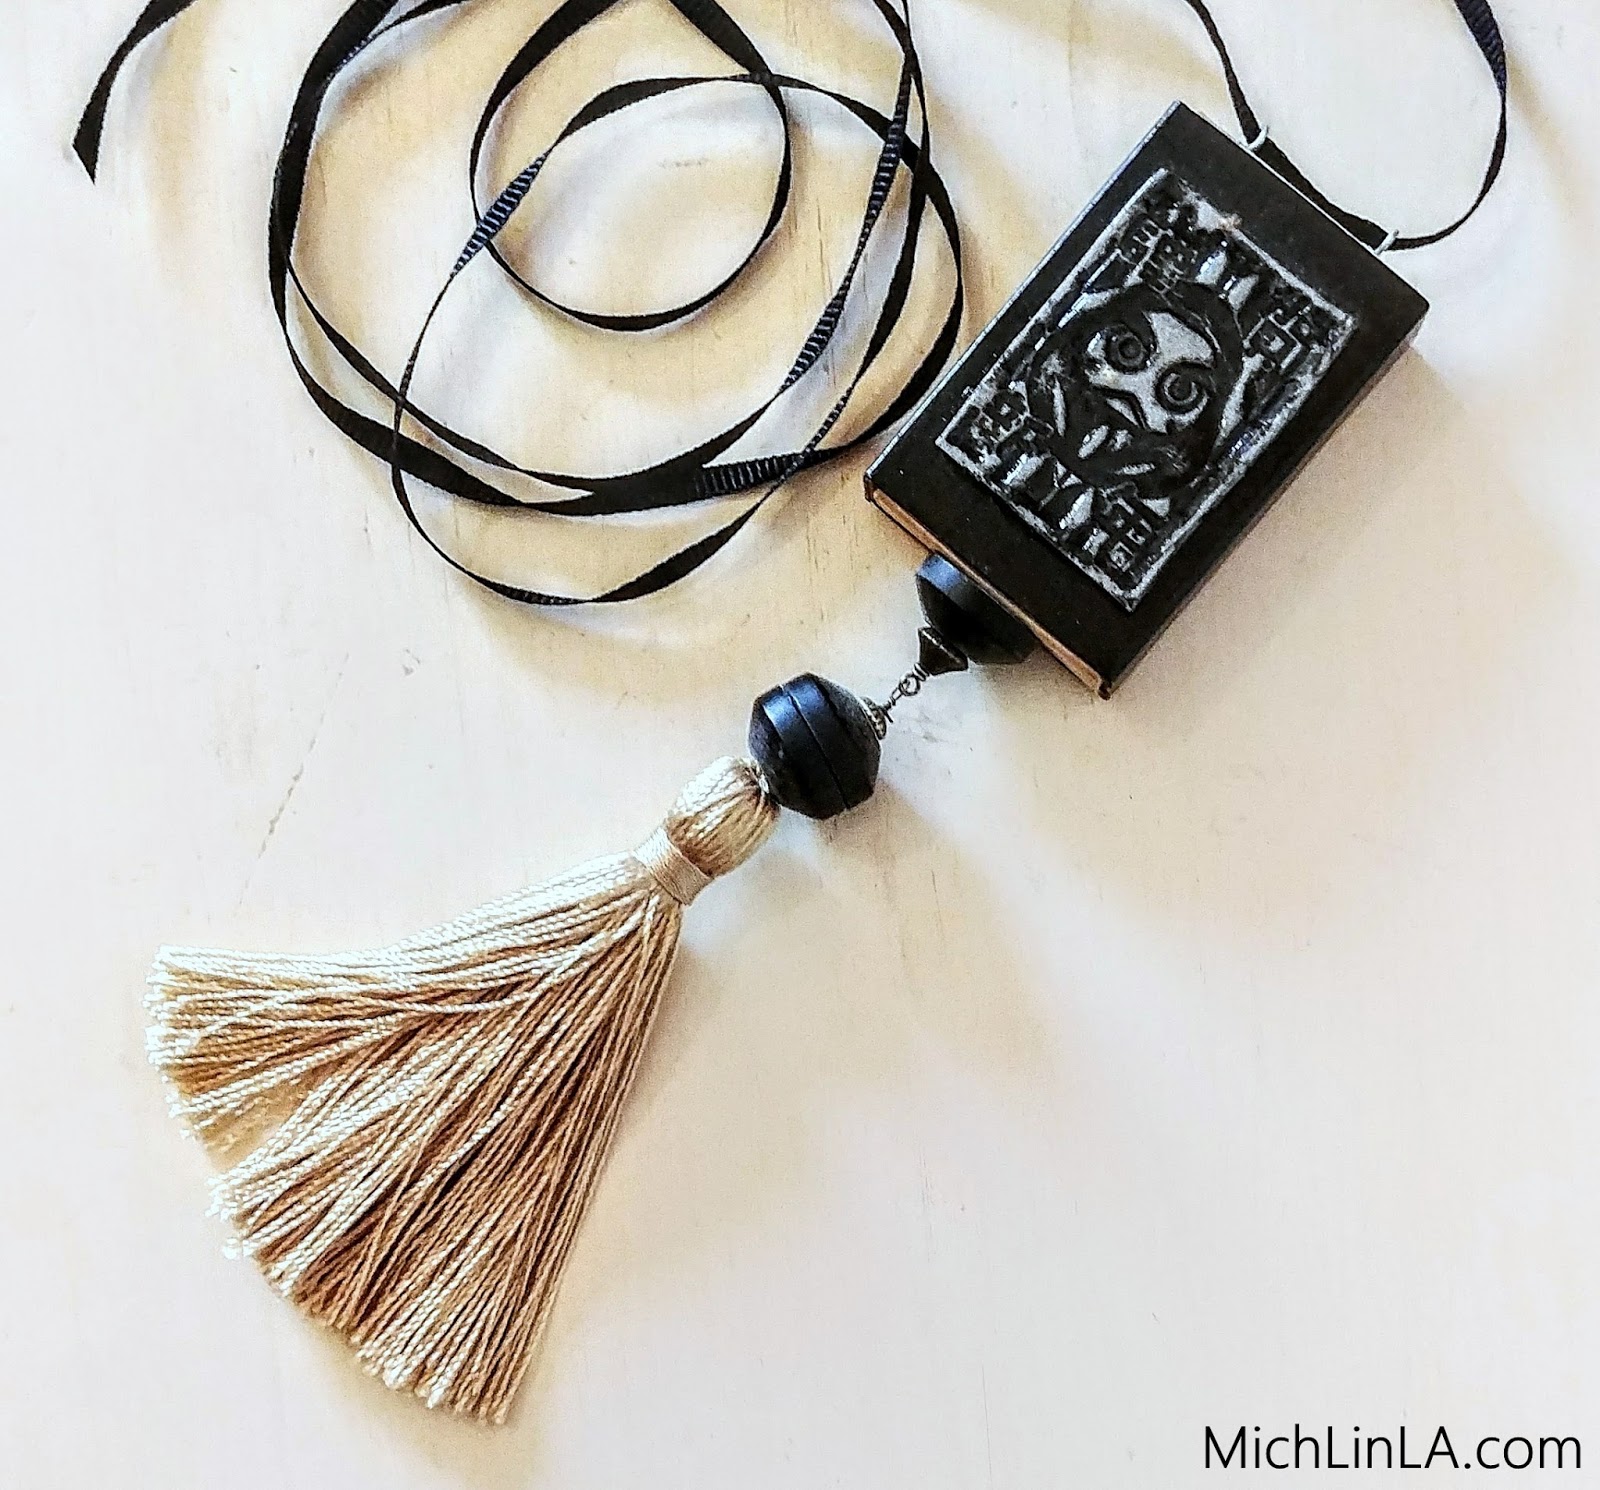
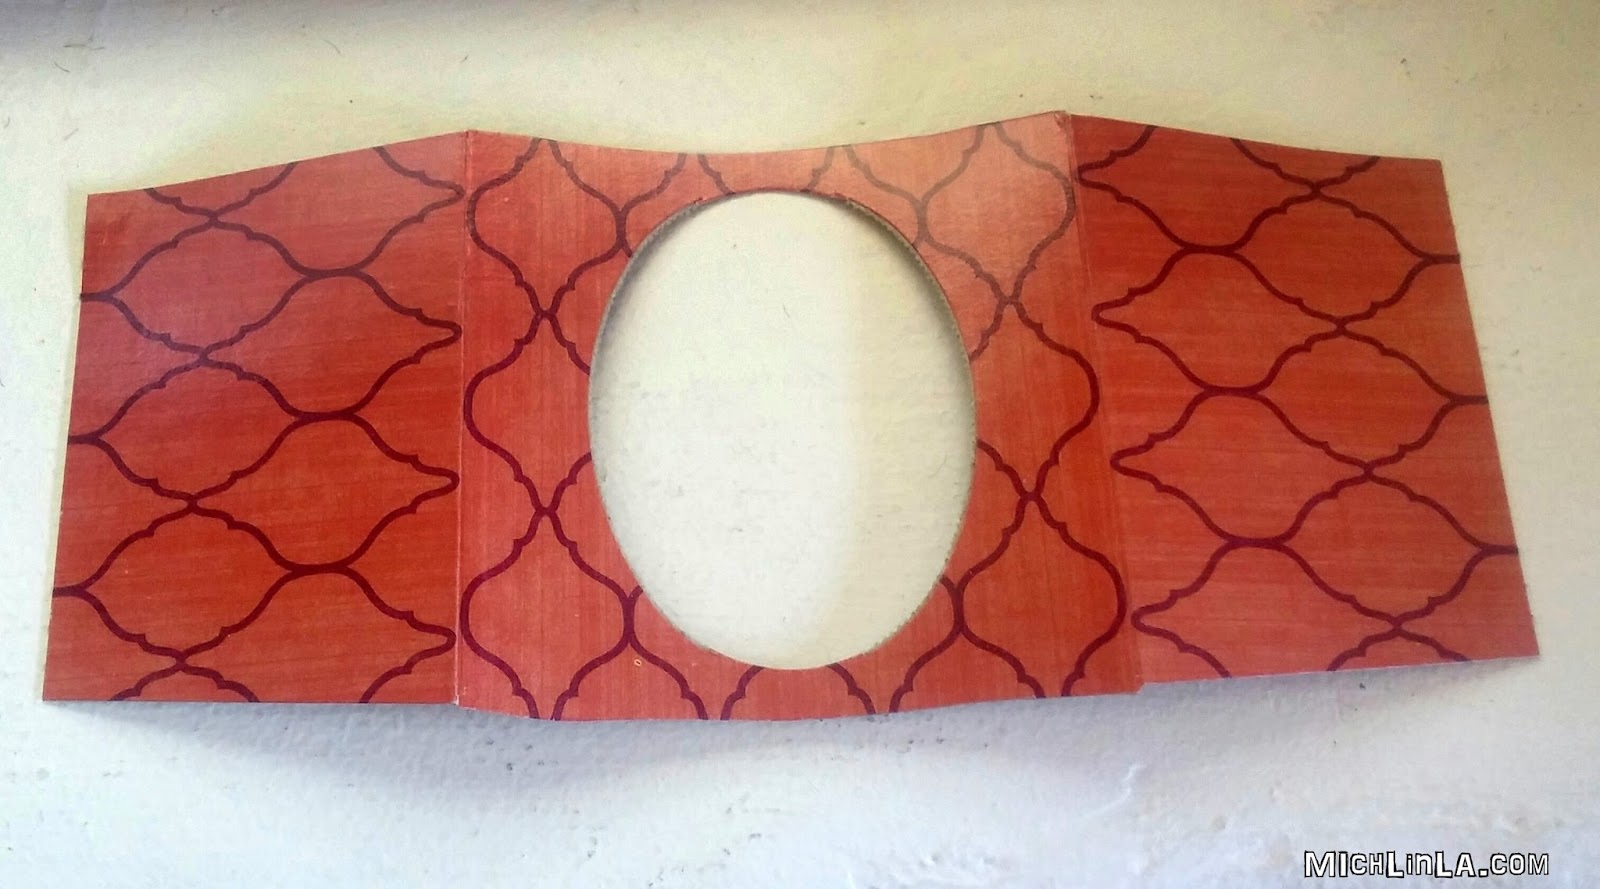
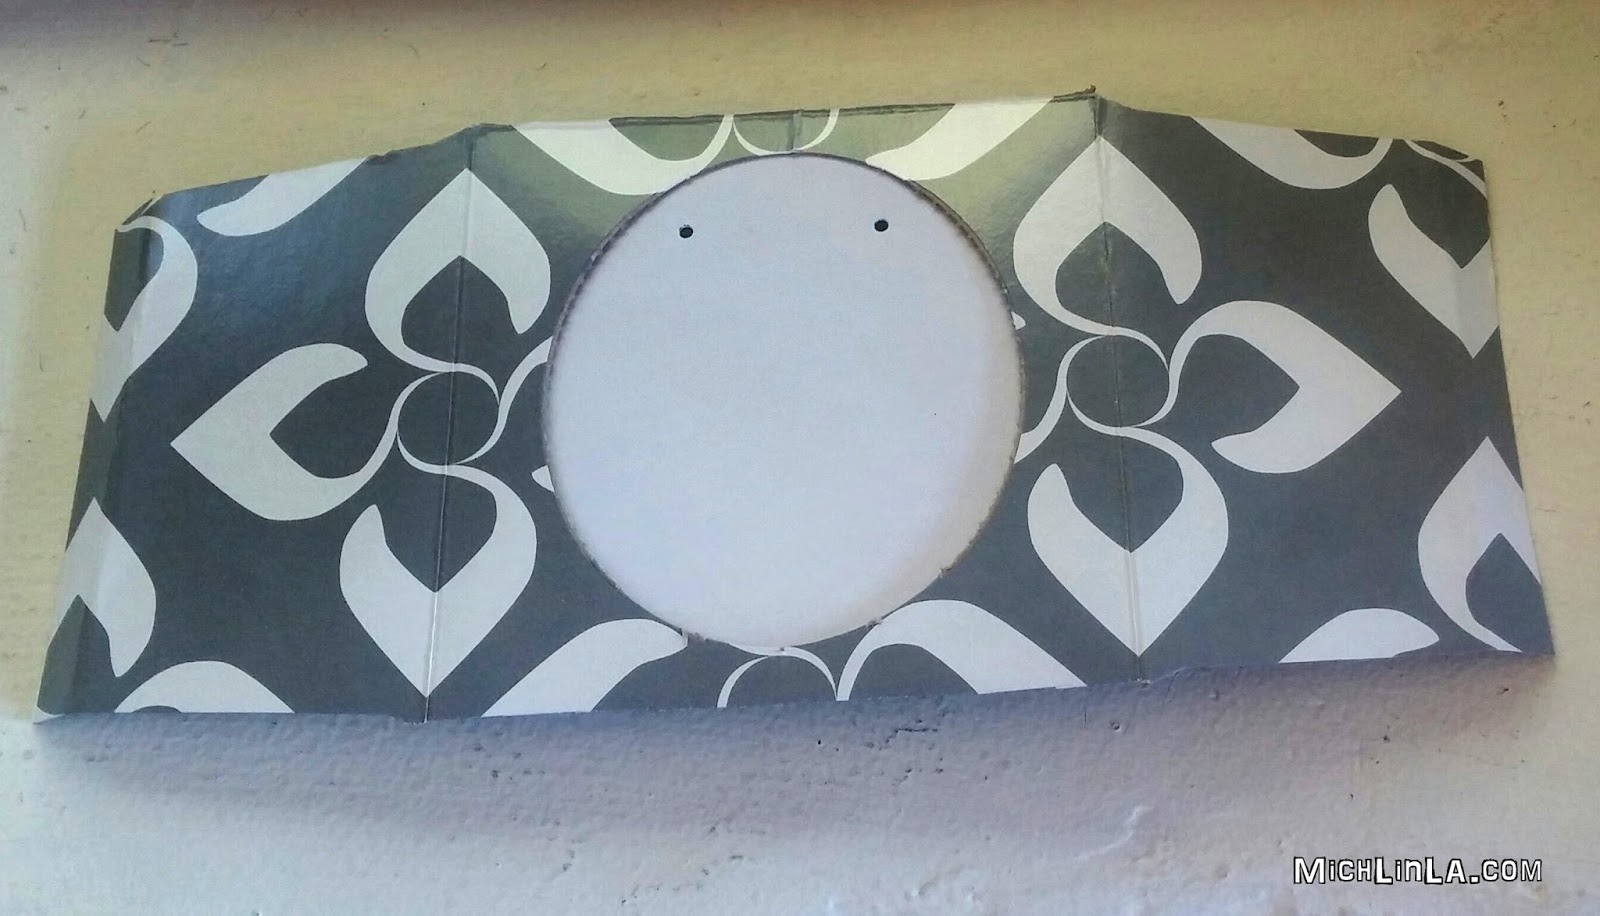
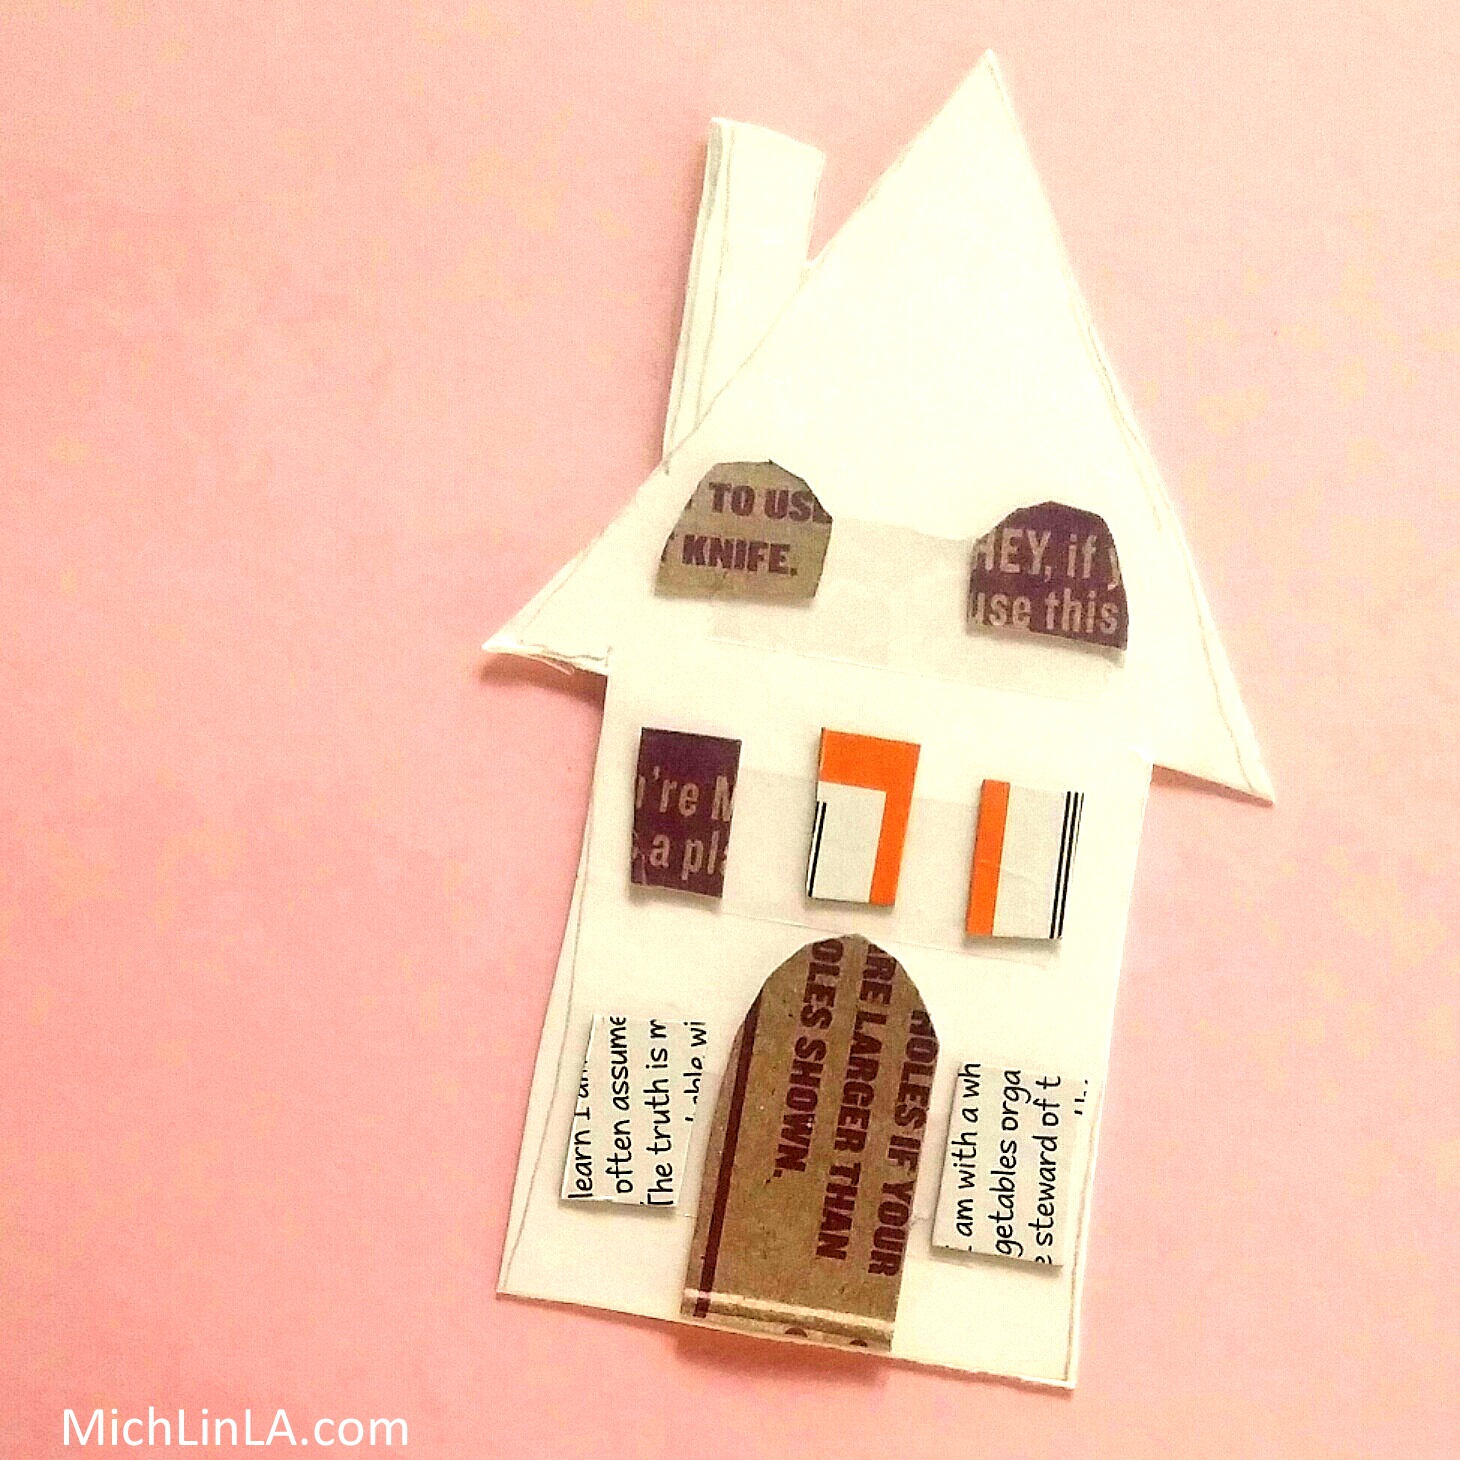
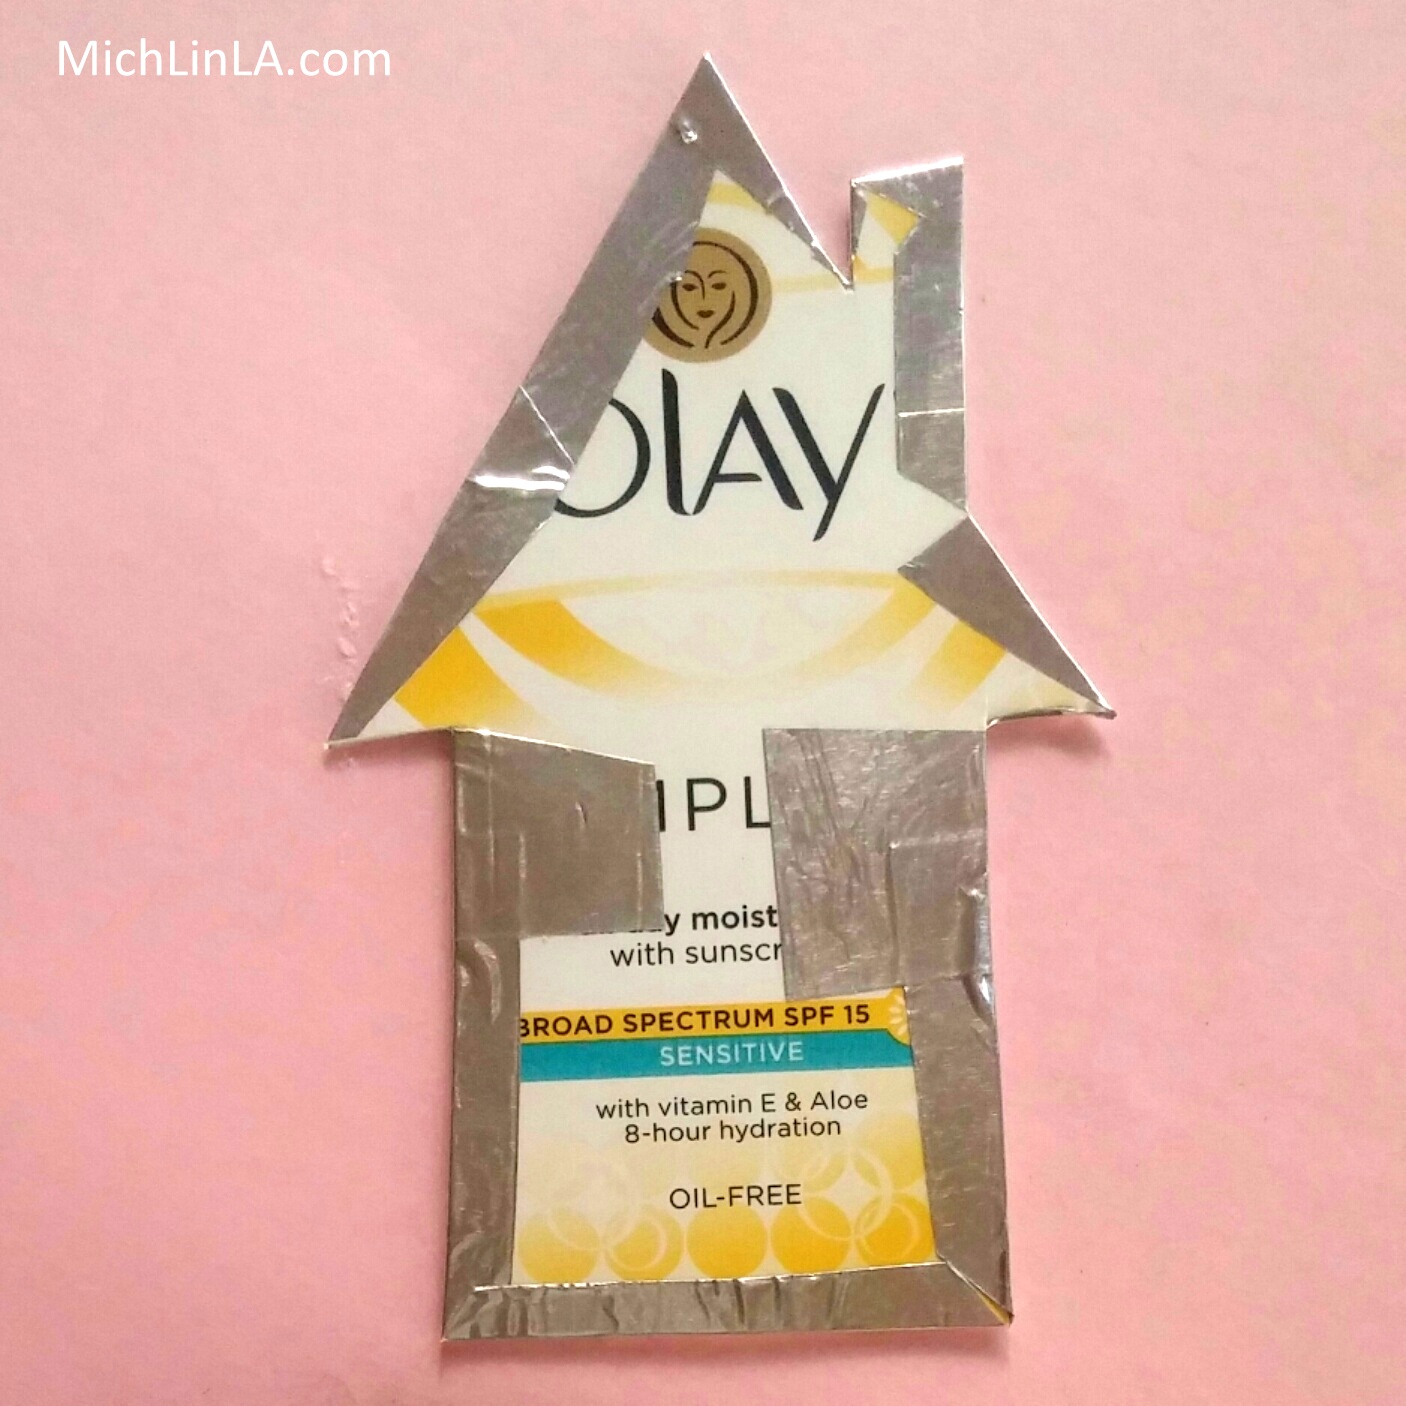
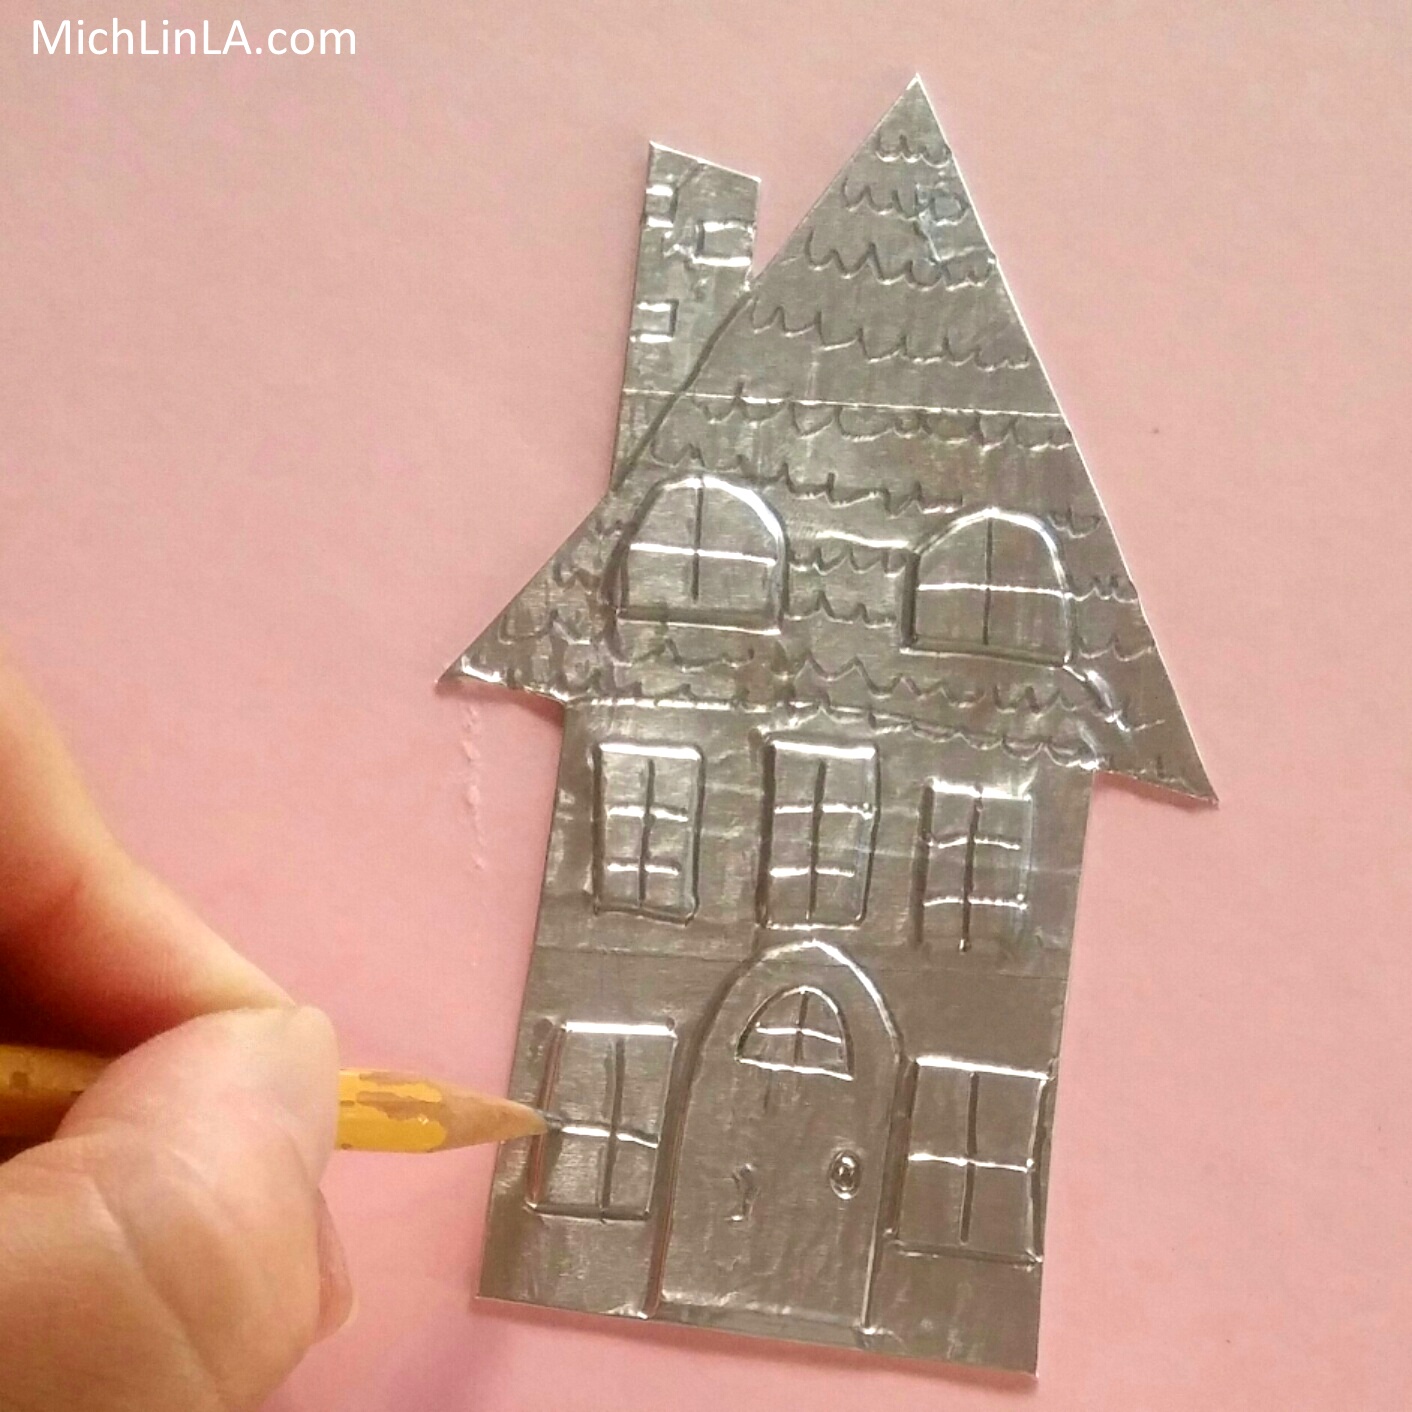
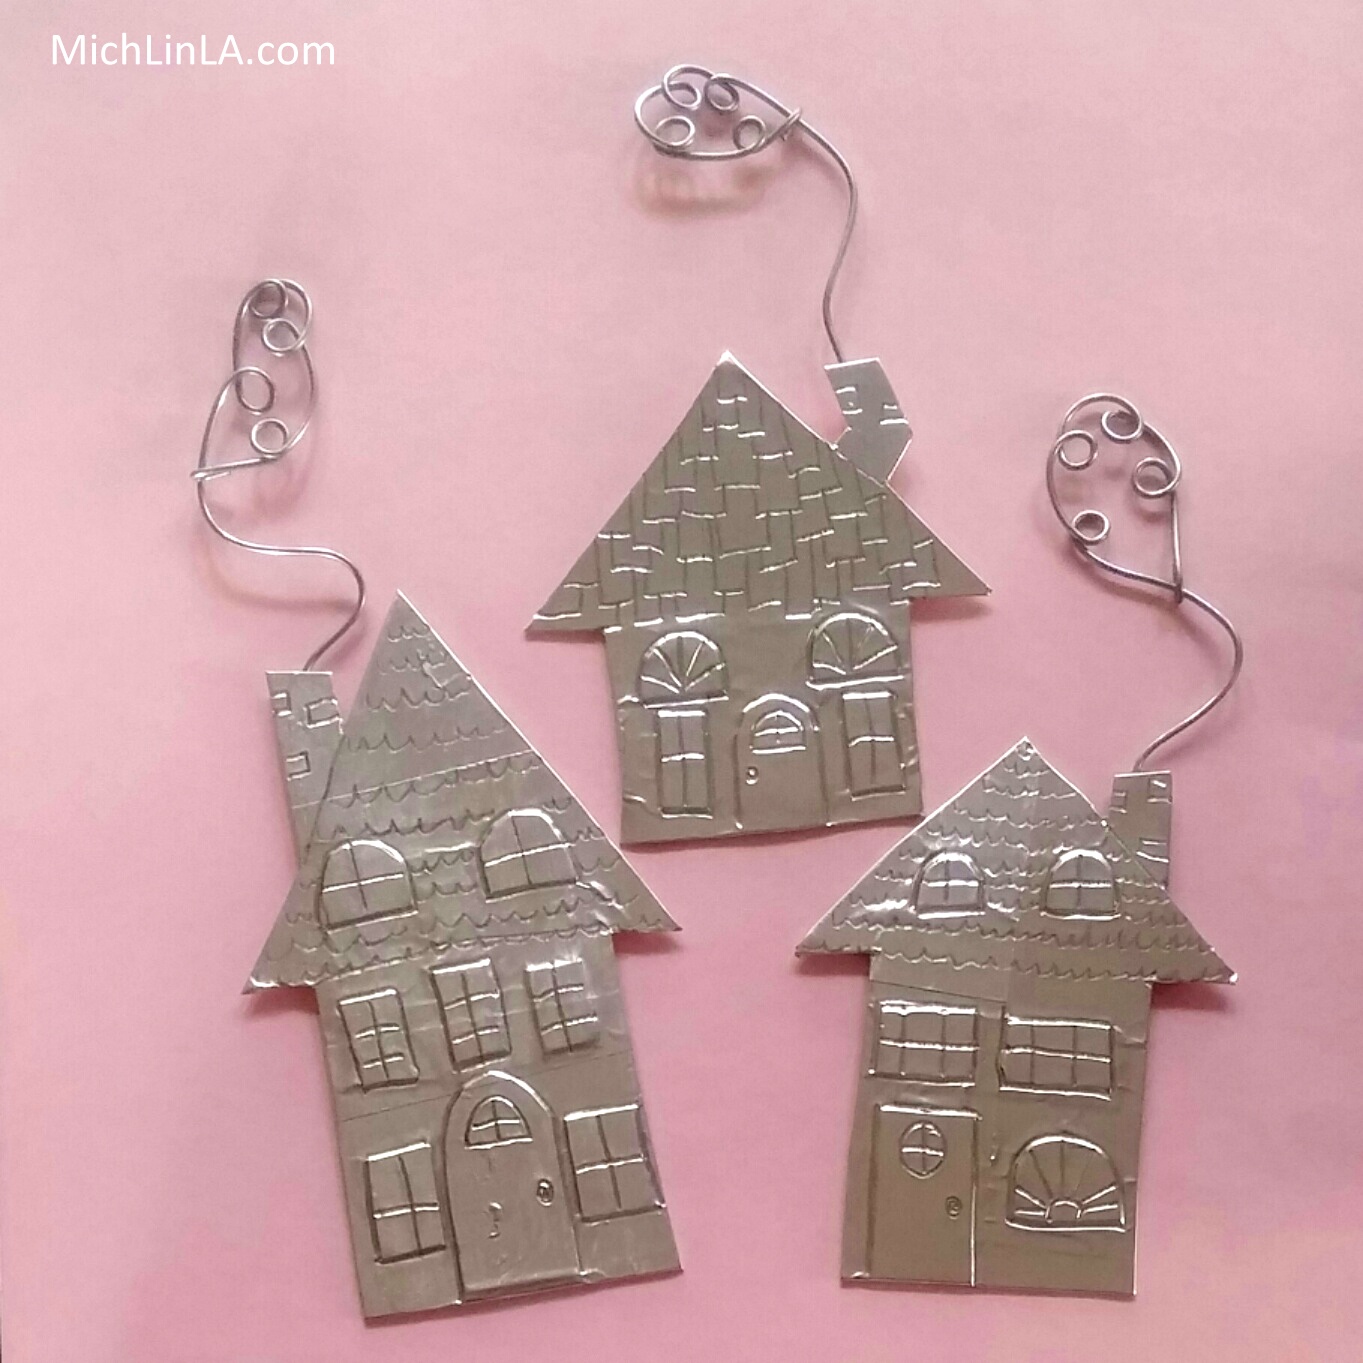
1. Embellish.  Paint the matchbox's outer sleeve.  If you like, paint the inner drawer as well.  Then embellish!  Adhere something delightful to the top of the matchbox - anything you like.  (A few ideas at the end of the post.)

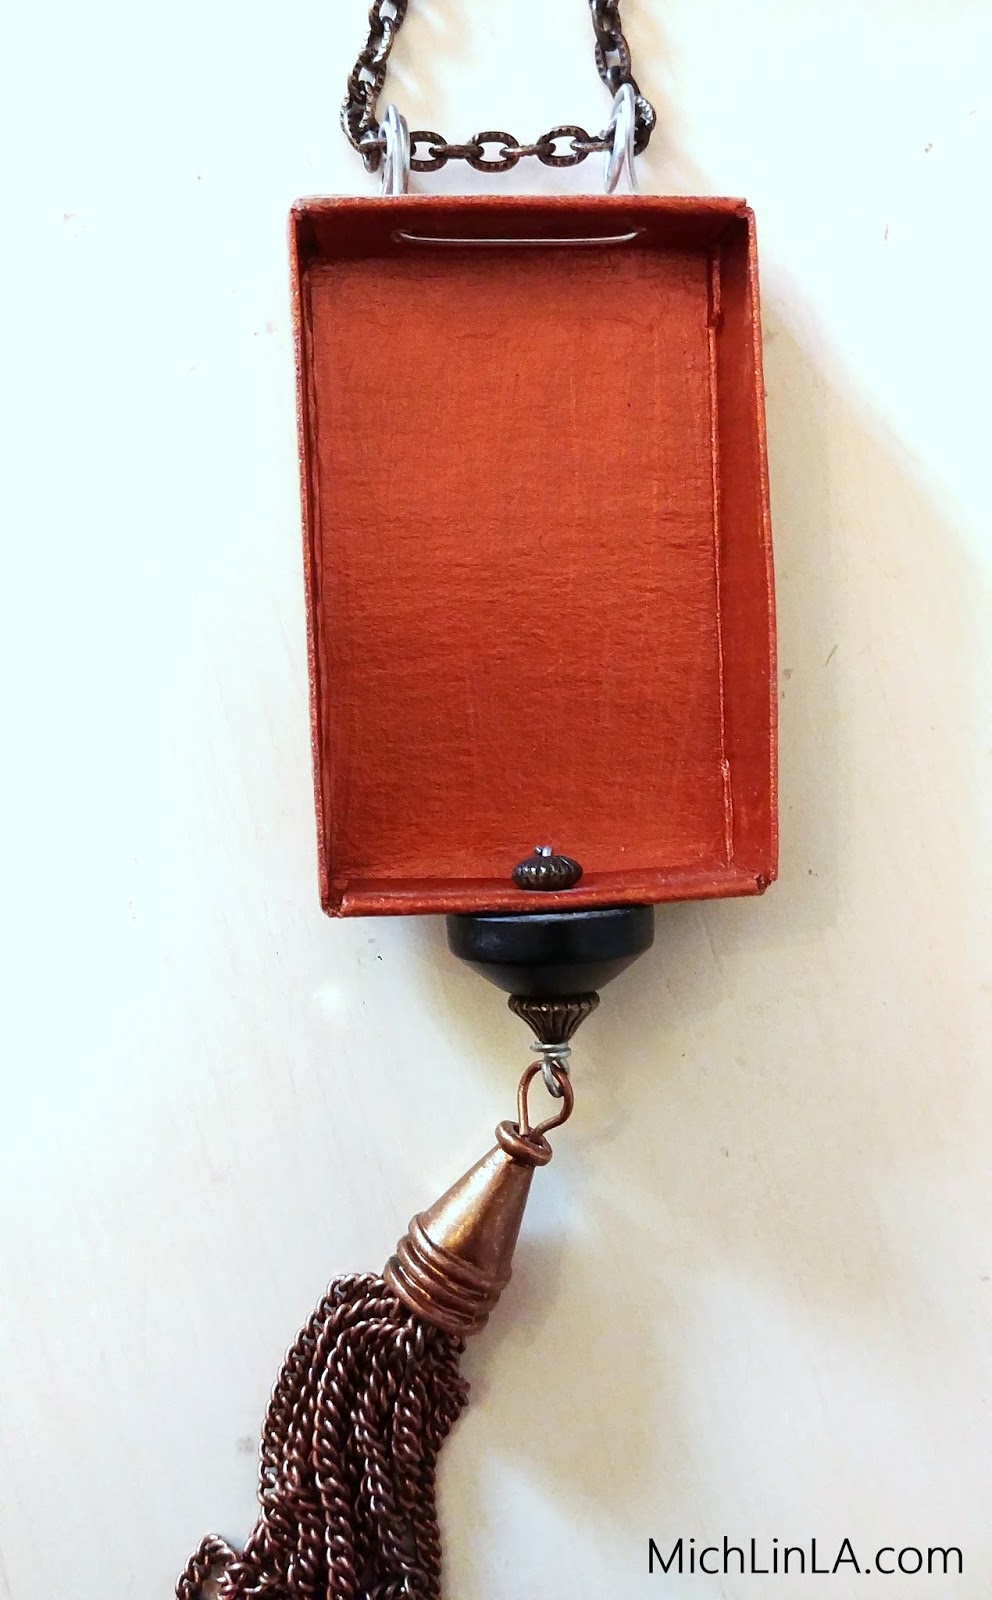
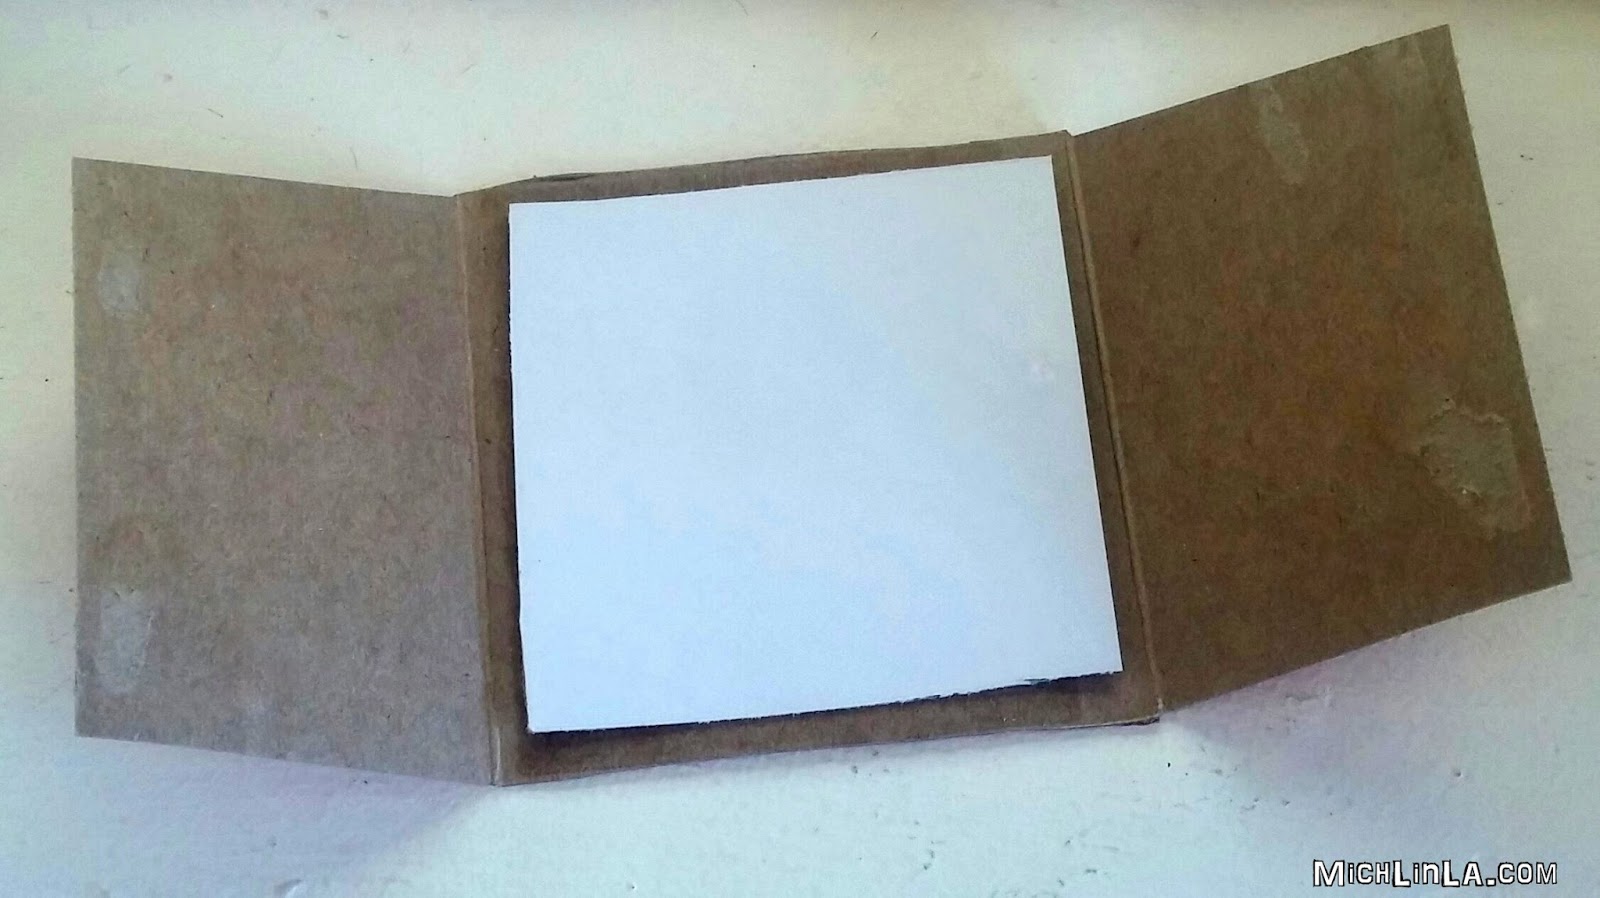
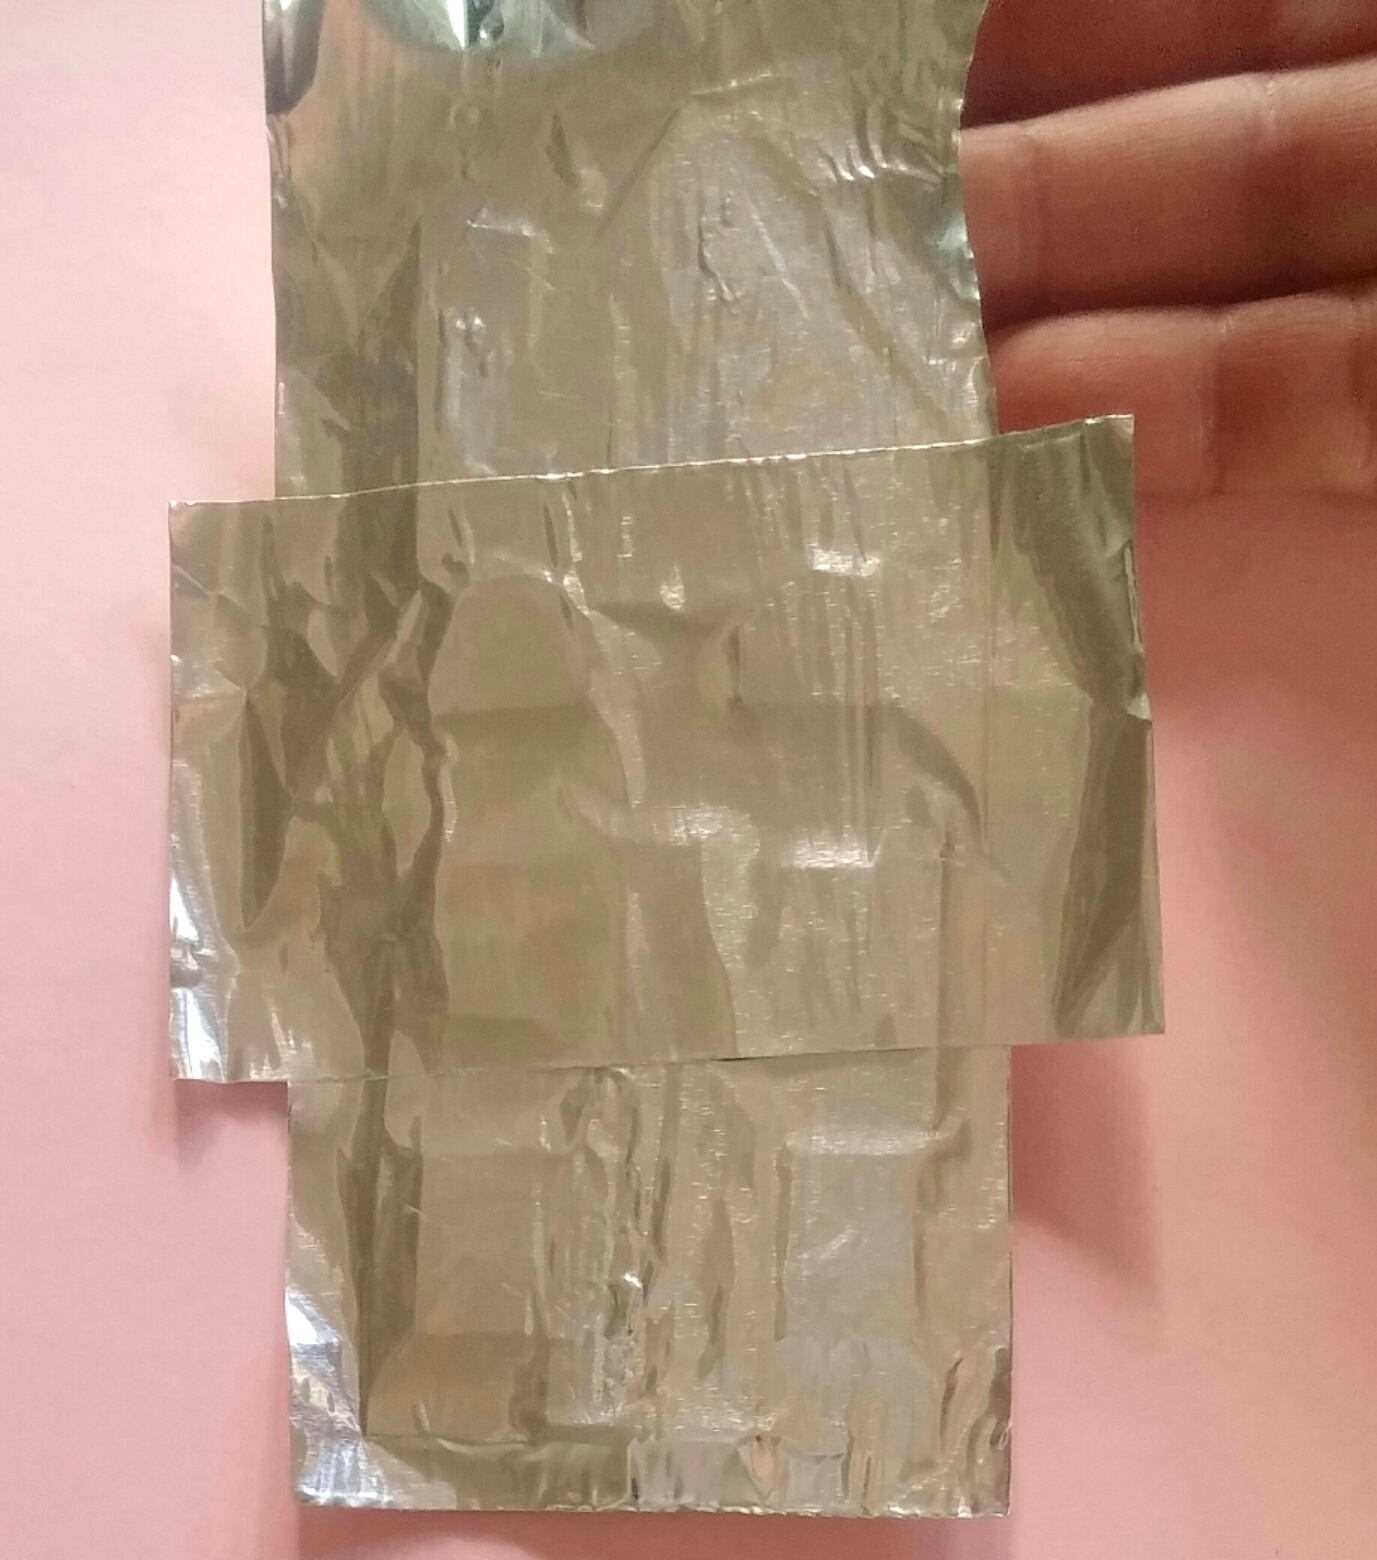
2. Reinforce.  Reinforce the matchbox drawer with clear packing tape: cut 2 strips and crisscross them in the back, wrapping the tape over the edges and into the inside of the drawer.  Reinforce the inside of the matchbox sleeve with a bit more hidden tape (that you tuck inside and smooth down).

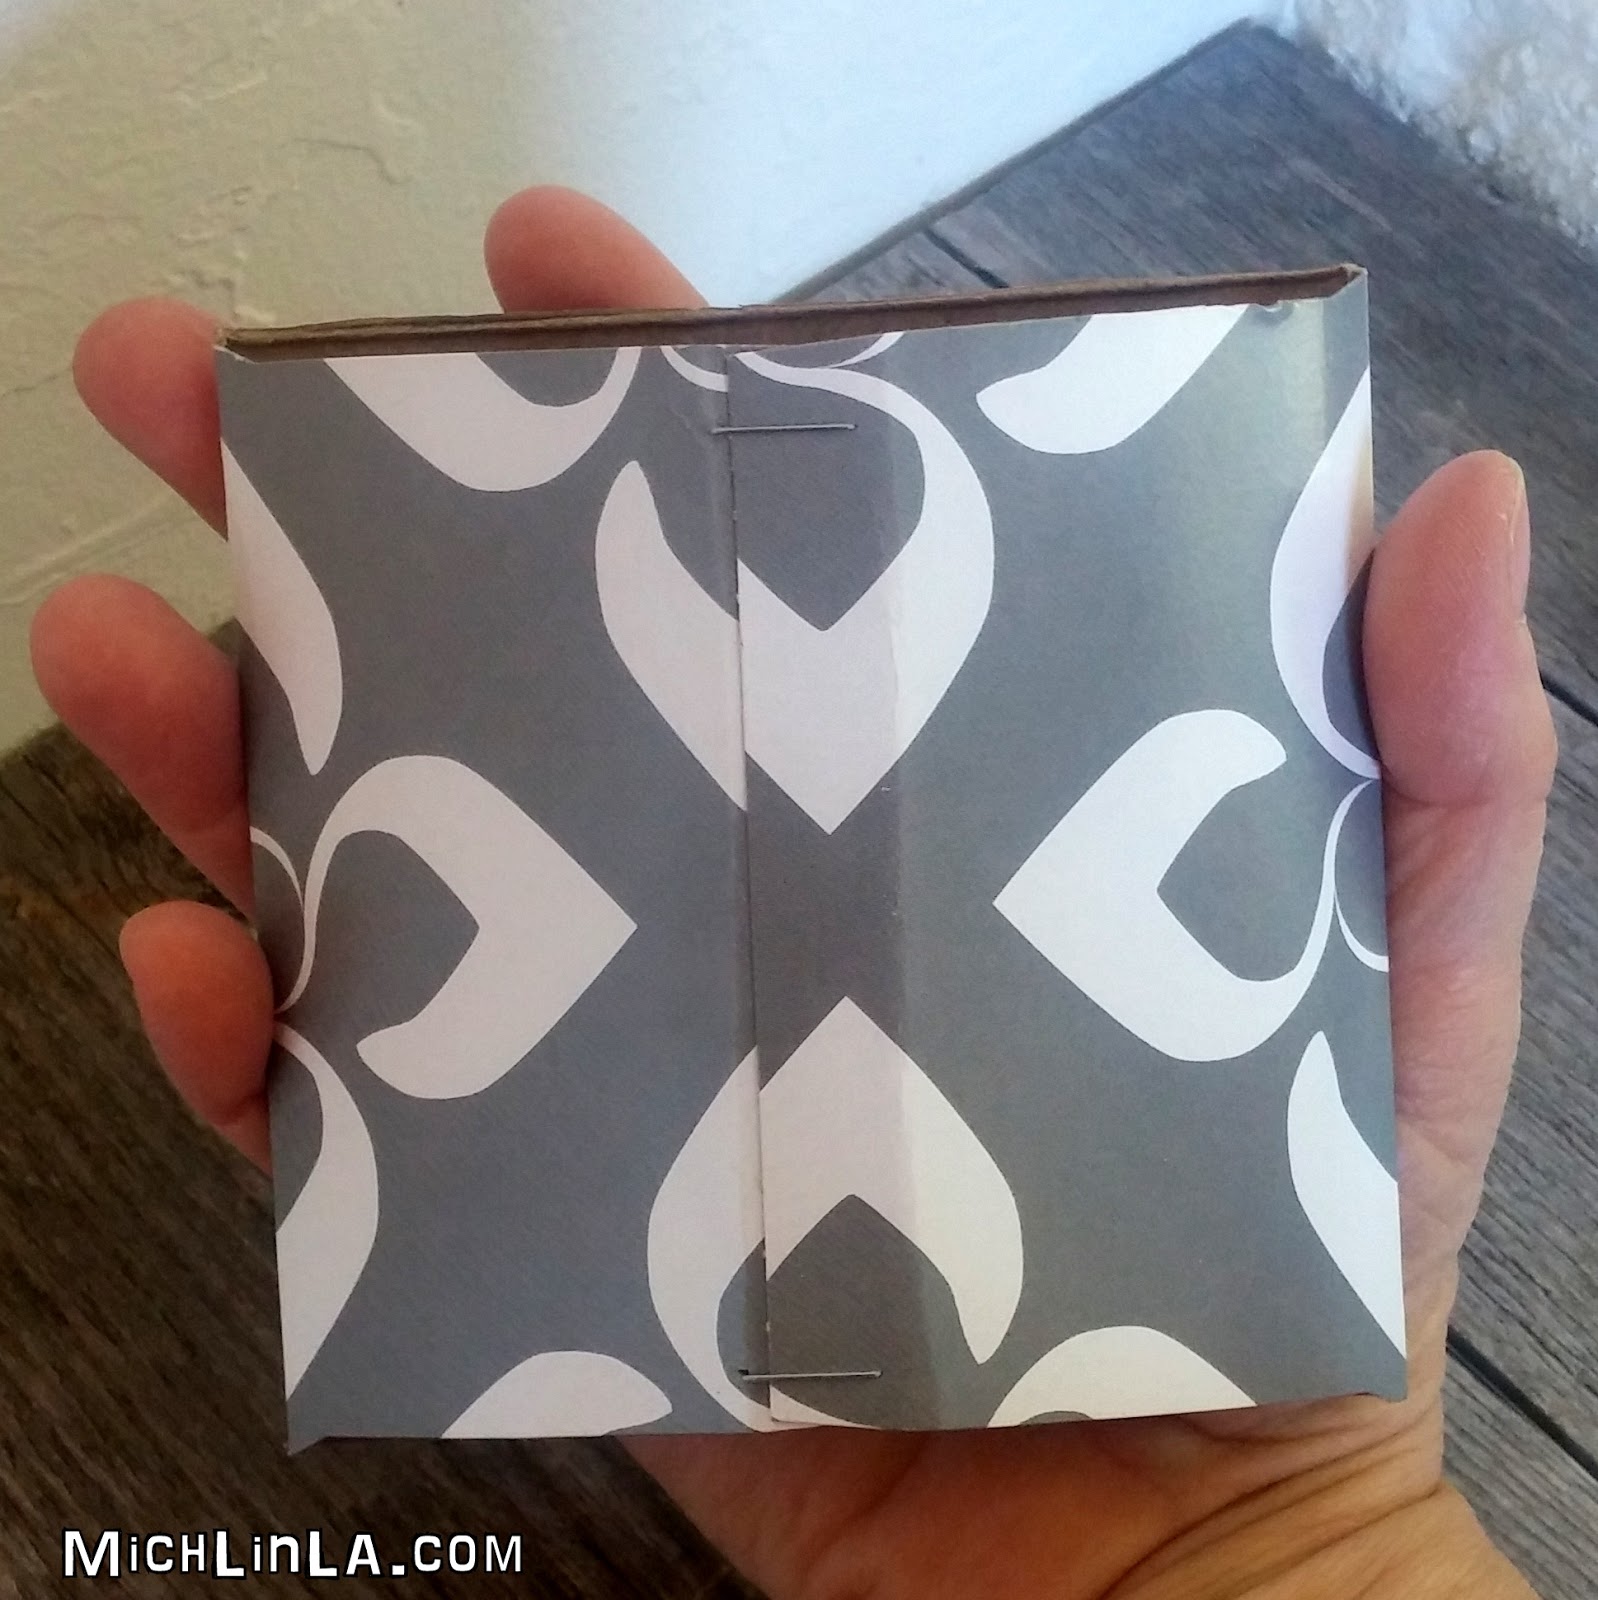
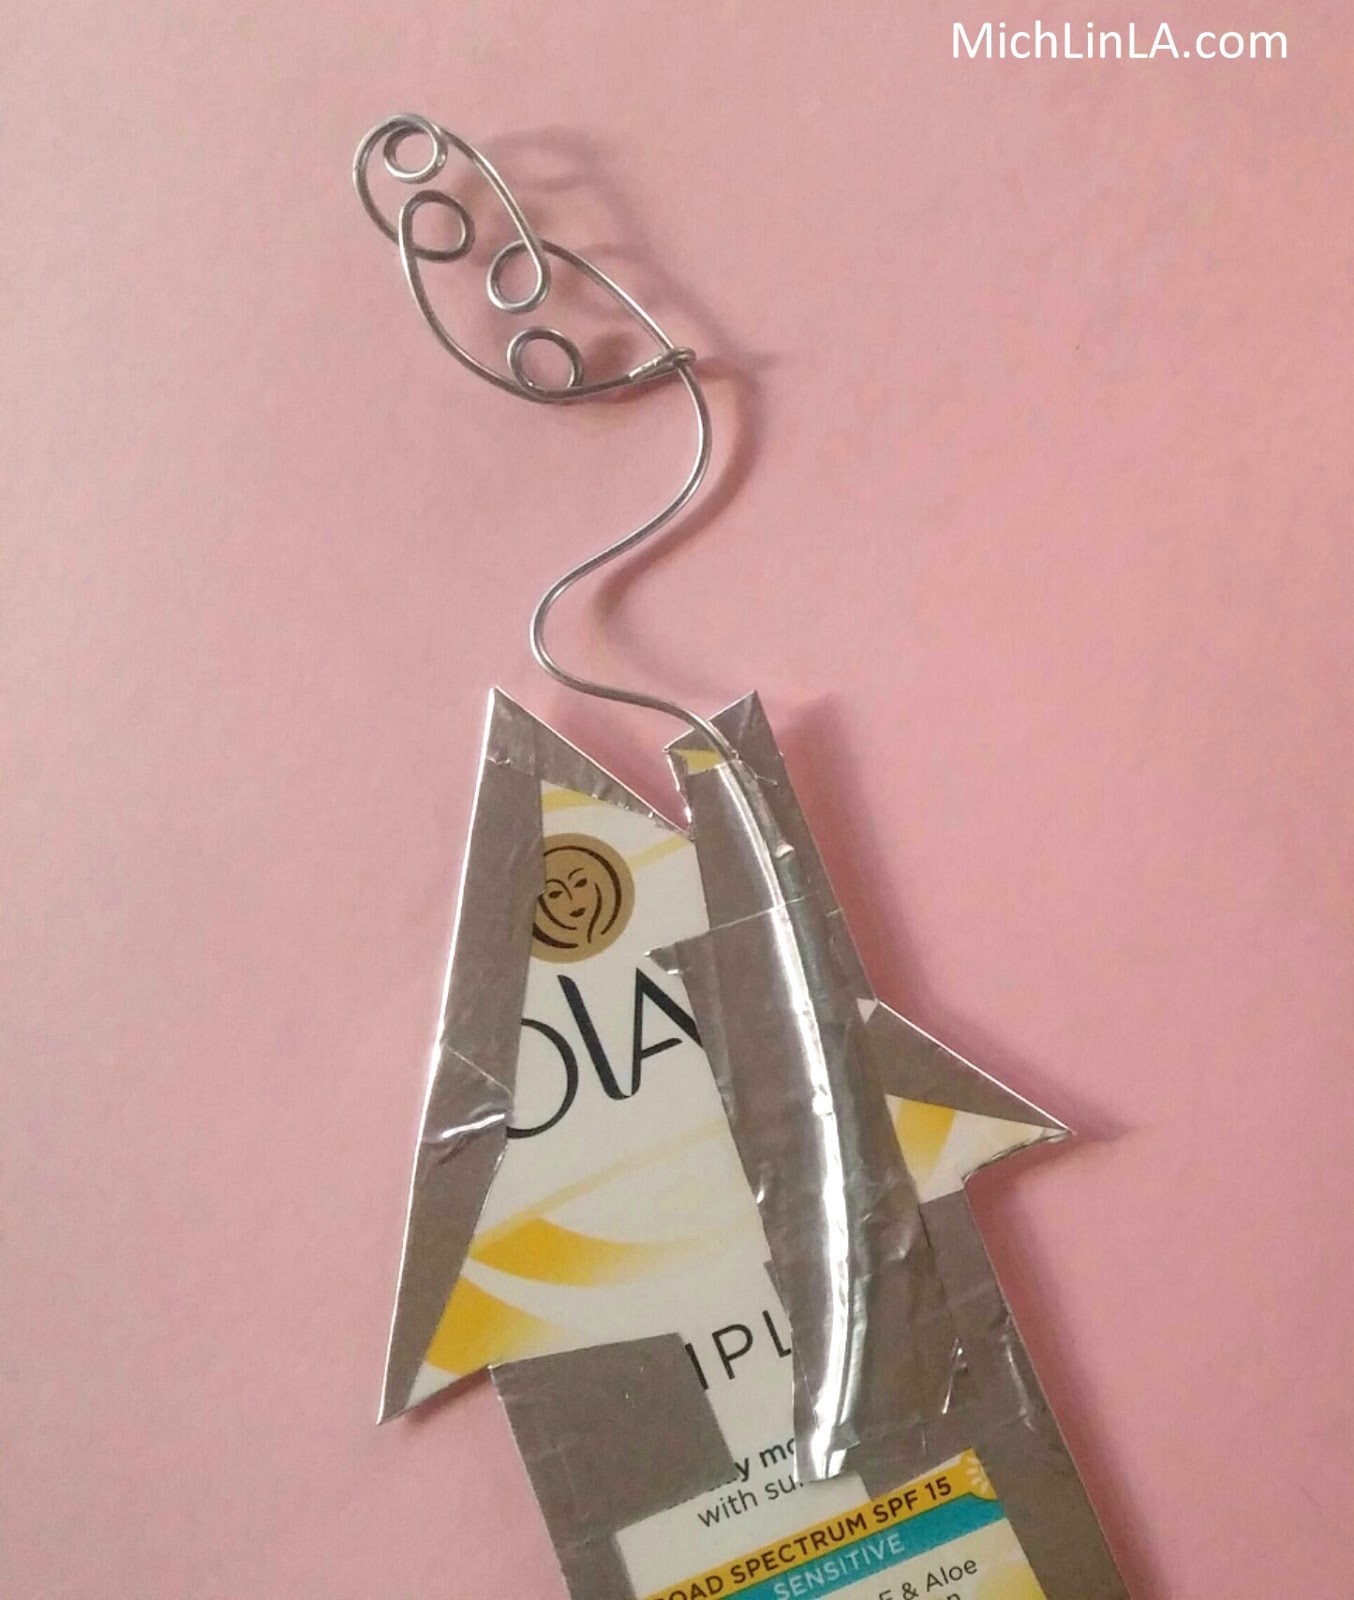
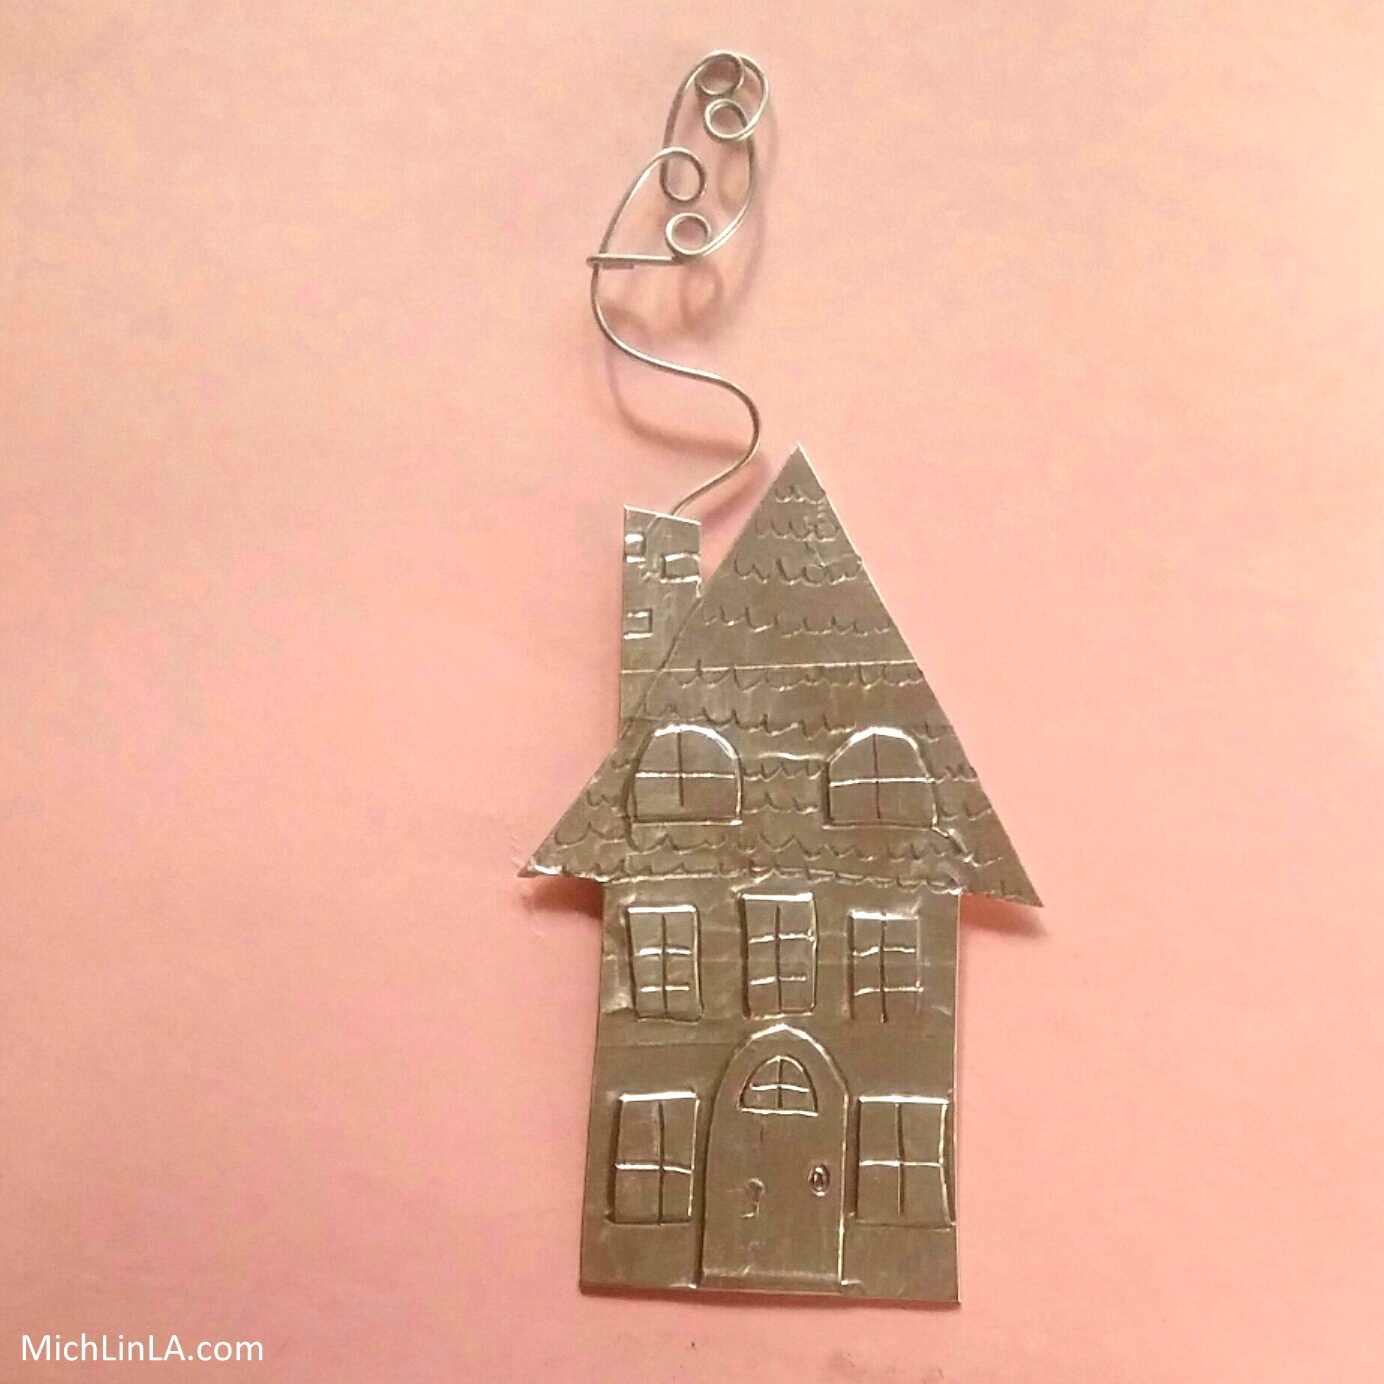
3. Turn it into a pendant.  First, poke two holes in the top of the inner drawer.  Thread craft wire through the two holes and make two loops at the top.  It's easy!  Like this:


To finish the bottom, there are two versions.

ONE HOLE VERSION: At the bottom of the inner drawer, poke one hole in the center.  Add a spacer bead to a headpin, thread it through the hole, add an accent bead and make a loop.  Add a tassel.  It will look like this:


TWO HOLE VERSION: At the bottom of the drawer, poke two holes.  Using the same headpin method as above, add either two accents beads or, as in the Lucky Cat version seen below, a rectangle of plastic with two matching holes.  Make two loops underneath.  Add a bit of chain, with a tassel suspended in the center.  Like this:


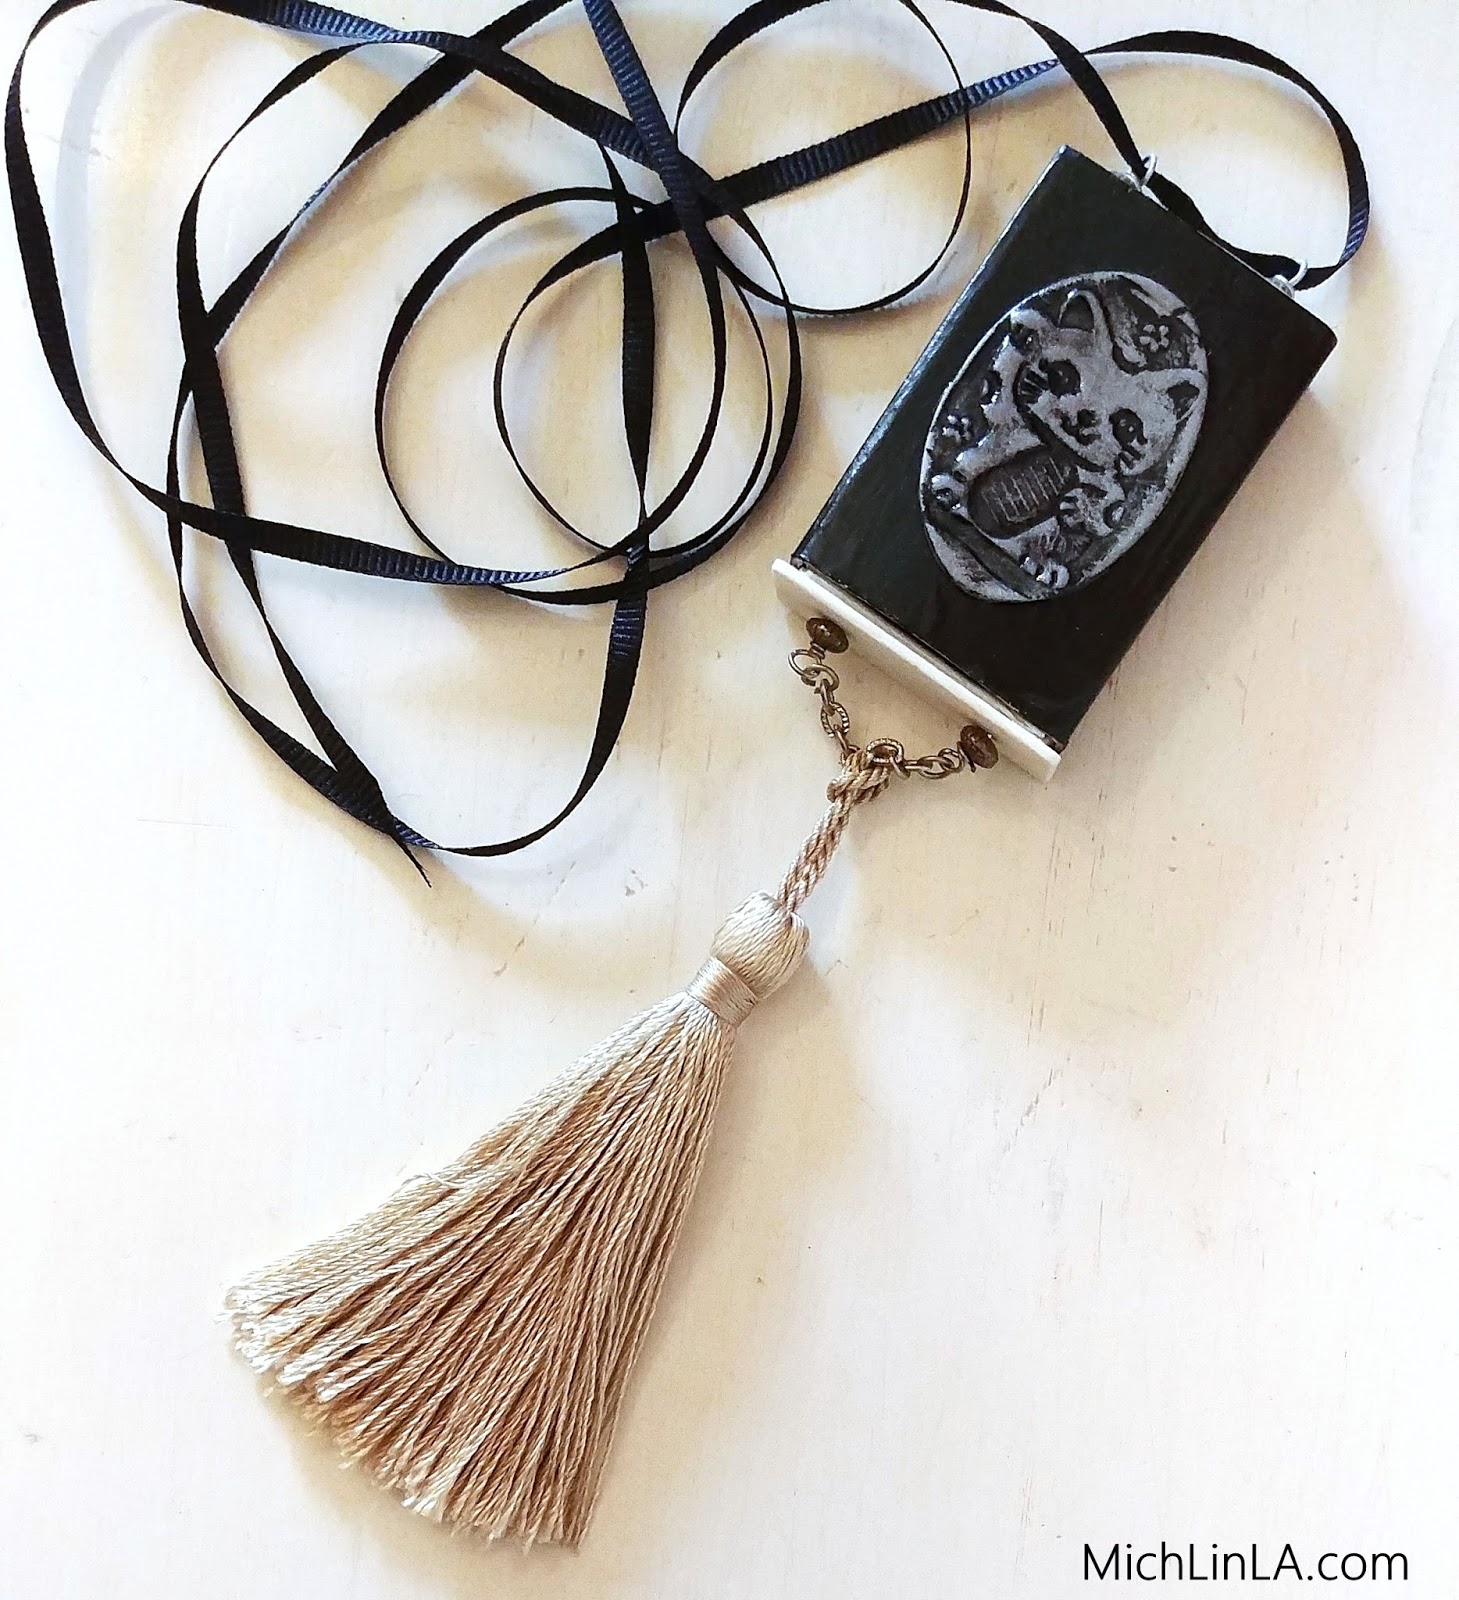
Functional Note: the accent beads or plastic strip should be just a bit wider than the matchbox.  This prevents the sleeve from sliding off.  (My accent beads in these examples were repurposed rubber washers, because I liked how they looked.  But any bead is just fine.)

Ideas for how to embellish the pendant:
Modpodge some original or found art.
Paint it, glitter it, doodle it.
Glue stuff on, like charms or buttons.
Add a polymer clay panel. (I made my Japanese-themed panels from polymer clay, impressed with rubber stamps I bought at a 100 yen store in Tokyo.)

Ideas for mini gifts inside the matchbox:
Photos
Love notes
Funny coupons to be redeemed
Candy
3 carat diamond earrings
Ca$h

Who can suggest some more tiny gifts for inside?

Alrighty, you guys - thanks for visiting, hope you enjoyed this one!


Friday, January 20, 2017

Sweet Earring Display Frame Made From A Recycled Tissue Box

Hey, here's something I've been meaning to show you for a while.  I have a lot of these ranged around my studio.  Penny-pinching, earth friendly, practical jewelry displays...and they do brighten everything up!


Can you picture the top of the tissue box and how I used it?  Got 5 minutes, scissors and a stapler?  Here's the ridiculously simple DIY.

Cut the top and sides from a square tissue box, like so:


Cut a piece of scrap cardboard to cover the opening.


Glue or tape the cardboard to the inside; I use packing tape because it's a strong hold.  Then poke a couple of holes near the top.  Here's how it will look when flipped right-side-up:


Now staple together the two sides - one staple at the top, one at the bottom.  And that's it!  Here's your 3-D frame seen from the back:


Hang earrings inside and stand it up.  So darn cute!  And it's fun to match the earrings to the frame.


Tissue boxes are so pretty nowadays.  Find one you like and give it a second life.


Later, gators.


Thursday, August 18, 2016

Decorative Antiqued Silver Houses - From Recycled Cardboard

Once, long ago, I made some teeny little silver house ornaments, using recycled cardboard.  These new ones are a bit bigger, with a fresh technique and several different uses.  And...antiqued!


They can still be used as ornaments, but they are also fun turned into fridge magnets...


...or greeting cards...


...or standing up anywhere: your mantel, a side table, even the kids' room, hee hee.


They are eco friendly and so fun to make.  For tools, all you need are scissors, a pencil and wire cutters.  Materials:

-cardboard scraps
-aluminum duct tape
-double-stick tape
-shoe polish
-craft wire

Ready?  Here comes the DIY!

Cut a little house from scrap cardboard.


Roughly cut out a tiny a cardboard door and some windows.  They don't need to be straight or the same size!  Lay down short strips of double stick tape, then stick down the doors and windows.


Cover the front with duct tape.


Trim away most of the extra tape.  Cut slits at the corners so you can fold down the excess in back.  It will probably look something like this:


You can cover the exposed cardboard with more tape - but only if you plan on seeing the back.

Lightly burnish down the tape around the cardboard cutouts, using something rounded like a pen cap (or just your finger.)


Now to etch in the details.  Use a blunt pencil or a ball-point pen - very sophisticated tools, eh?  Outline the raised door and windows first.  Then add cross-hatched windowpanes, a doorknob and roof tiles.  Maybe a few bricks on the chimney.


Remember, you are going for cute and rustic, not precision architectural drafting.  Mistakes are okay.

Make a wire smoke plume, to look something like this:


(For the detailed smoke plume tutorial, go here.)

Bend some curves in the wire stem, and tape it to the back of your chimney like so:


And that, my dears, is a super cool shiny silver house!   Adorable.


If you like, you can stop right there.  I actually love the shiny silver version as-is.


But wait, there's more.  The antiquing step is next, and it's so simple.  Just rub on some solid shoe polish, then buff it out until you have the amount of antique finish you like.  See the difference:


To make an attached stand, cover a scrap of cardboard with silver tape, then attach it to the house with more tape forming a hinge.  Here you can see the stand in the mirror:


Here's one more thought I just have to share: a wonderful gift idea.  Make a replica of a real house, and present it to the owner!  Wouldn't it be awesome for someone moving into a new home?  Or a senior who is moving to a smaller place?  Yes, it would.

To make a replica house, refer to a photo of the house front, and approximate the main features with your cardboard cut outs.  Then proceed as above for a custom mini house!

Well, that's the dealio!  Hope you like it.


Thanks for coming by, friends; see you another day.

P.S. If you made one, what would you do with your mini house?

Mich


Friday, August 15, 2014

Monster Boxes! And A Great Dollar Tree Giveaway


Disclaimer: I was compensated for this post; opinions expressed are entirely my own.

So a few weeks ago I joined a thing.  It's called the Dollar Tree Value Seekers Club - basically a free-to-sign-up-for area on the Dollar Tree website, packed with crazy easy project ideas.  Seriously, I have already gleaned so many clever nuggets from the archives.  Not just crafts - some delightful life hacks as well.  (Example: DIY puppy popsicles, made with chicken broth!  My dog worships me now.)

Anywhoo, here's my version of one of the newest club projects.  Monster Boxes, rawrrr!  Funky, planet-friendly storage...what's not to like?  The DIY is the definition of basic.  1. a tissue box body and 2. paper monster teeth.  After that, embellish like mad with anything that makes you happy.

The project page has a great list of ways to use them for kids, teachers and parents.  Can't wait to make some with my little monster-loving nephews. 


Meanwhile, I made one for me, 'cause I like monsters, too. 


My twist on the idea is the lizardskin accents.  Using a realistic rubber lizard (also from Dollar Tree).


I cut apart my amphibian sacrifice with a pair of sharp scissors.


I used adhesive dots to attach the lizard bits.  (Hot glue would work as well.)  Plus a little duct tape reinforcement for that big floppy tongue.


I think he looks so cute.  I've already found a use for him - collecting crafting receipts in a corner of my workroom.


Pop over to the Dollar Tree Value Seekers Club website and check out the crafts, kid activities, home decor, clever tips and money savers.  The best thing about the projects is how madly simple they are.  Also easy to print out and take along for reference.  Every month they update it with fun new stuff.

BIG GIVEAWAY, YOU GUYS!


Once you sign up, come back, 'cause I am giving away a $50 Dollar Tree gift card to one lucky club member.  Dude.  Do you know how far FITTY BUCKS goes at Dollar Tree?

To enter, leave a comment with your email.  (Be sure it's the same email you used to sign up over at Dollar Tree, or the entry won't be valid.)  One random, lucky winner will be chosen a week from today

Oh, yeah, one last thing.  You didn't really think I was gonna let the rest of that lizard go to waste, did you?  Decapitated chameleon head backpack charm, anyone?


Hee hee.


UPDATE: THE GIVEAWAY IS NOW CLOSED - THANKS FOR ENTERING, EVERYBODY!  Congrats to the winner: entry #2 Lisa, chosen by random.org's super hi tech integer generator.  (Lisa, check for my email, coming soon.)


Wednesday, January 16, 2013

A Cute Valentine For Any Guy, Yay!

Do you have some boys or men in your life who are allergic to girly stuff?  To the dollar store with you!  Buy a pack of miniature playing cards!  Let's make a cool little valentine for a dude.  To wit:


Totally dudeworthy, right?


Also extremely cheap and simple to make.  Ready?  Here we go!


Tuesday, July 27, 2010

Feeling a little punchy today!

A playing card is a gift to crafters. Because it's pre-sealed art, all laminated and ready to go! Here is something cute I made: my Queen of Hearts pendant.


In close-up, you can see the lacy cut-out corners.


To make one like it, you will need a special tool, a type of paper punch that takes a lacy-looking bite out of a corner of your art. You can buy them at craft or paper stores - but I'm really hoping some of you might have one already, especially if you're a scrapbooker.

Just a few easy steps to this project. First, pick a card. (Any card.) I found this charming knight in a deck of Spanish playing cards:

Next, cut two squares from scrap playing cards or cardstock.

Two is usually enough; if your playing card is really flimsy, you can add a couple more layers. Use one as a template to cut out whichever pretty bit of the card you want to feature.
Now lace-punch the bottom three corners of each square:

Stack the squares, and try to get the lacy cutouts lined up. They won't be perfect!

What I usually end up doing is making several extra squares, and choosing the ones that match the pendant piece best. Then use a skewer, hole punch or other poky thing to make a hole at the top, for hanging your pendant.

Now you have two options: to glue, or not to glue. For the Queen of Hearts, I glued all the layers together. Then I added two jump rings - one for the beaded dangle, one for the necklace cord. Here's that closeup again:

But glue is optional. For my Spanish knight, I simply stacked the three layers, and allowed my jump ring and beaded embellishment to connect everything together.

It's sort of loosey-goosey, but it works. In a way, I almost prefer the slight jingle-jangle of the unglued layers.

Here is my punchy Spanish Knight playing card necklace:

I like him! Do you?

If you can lay your hot little hands on a lacy corner punch, perhaps you'll be inspired to find your own playing card (or other laminated art) and give this a try.