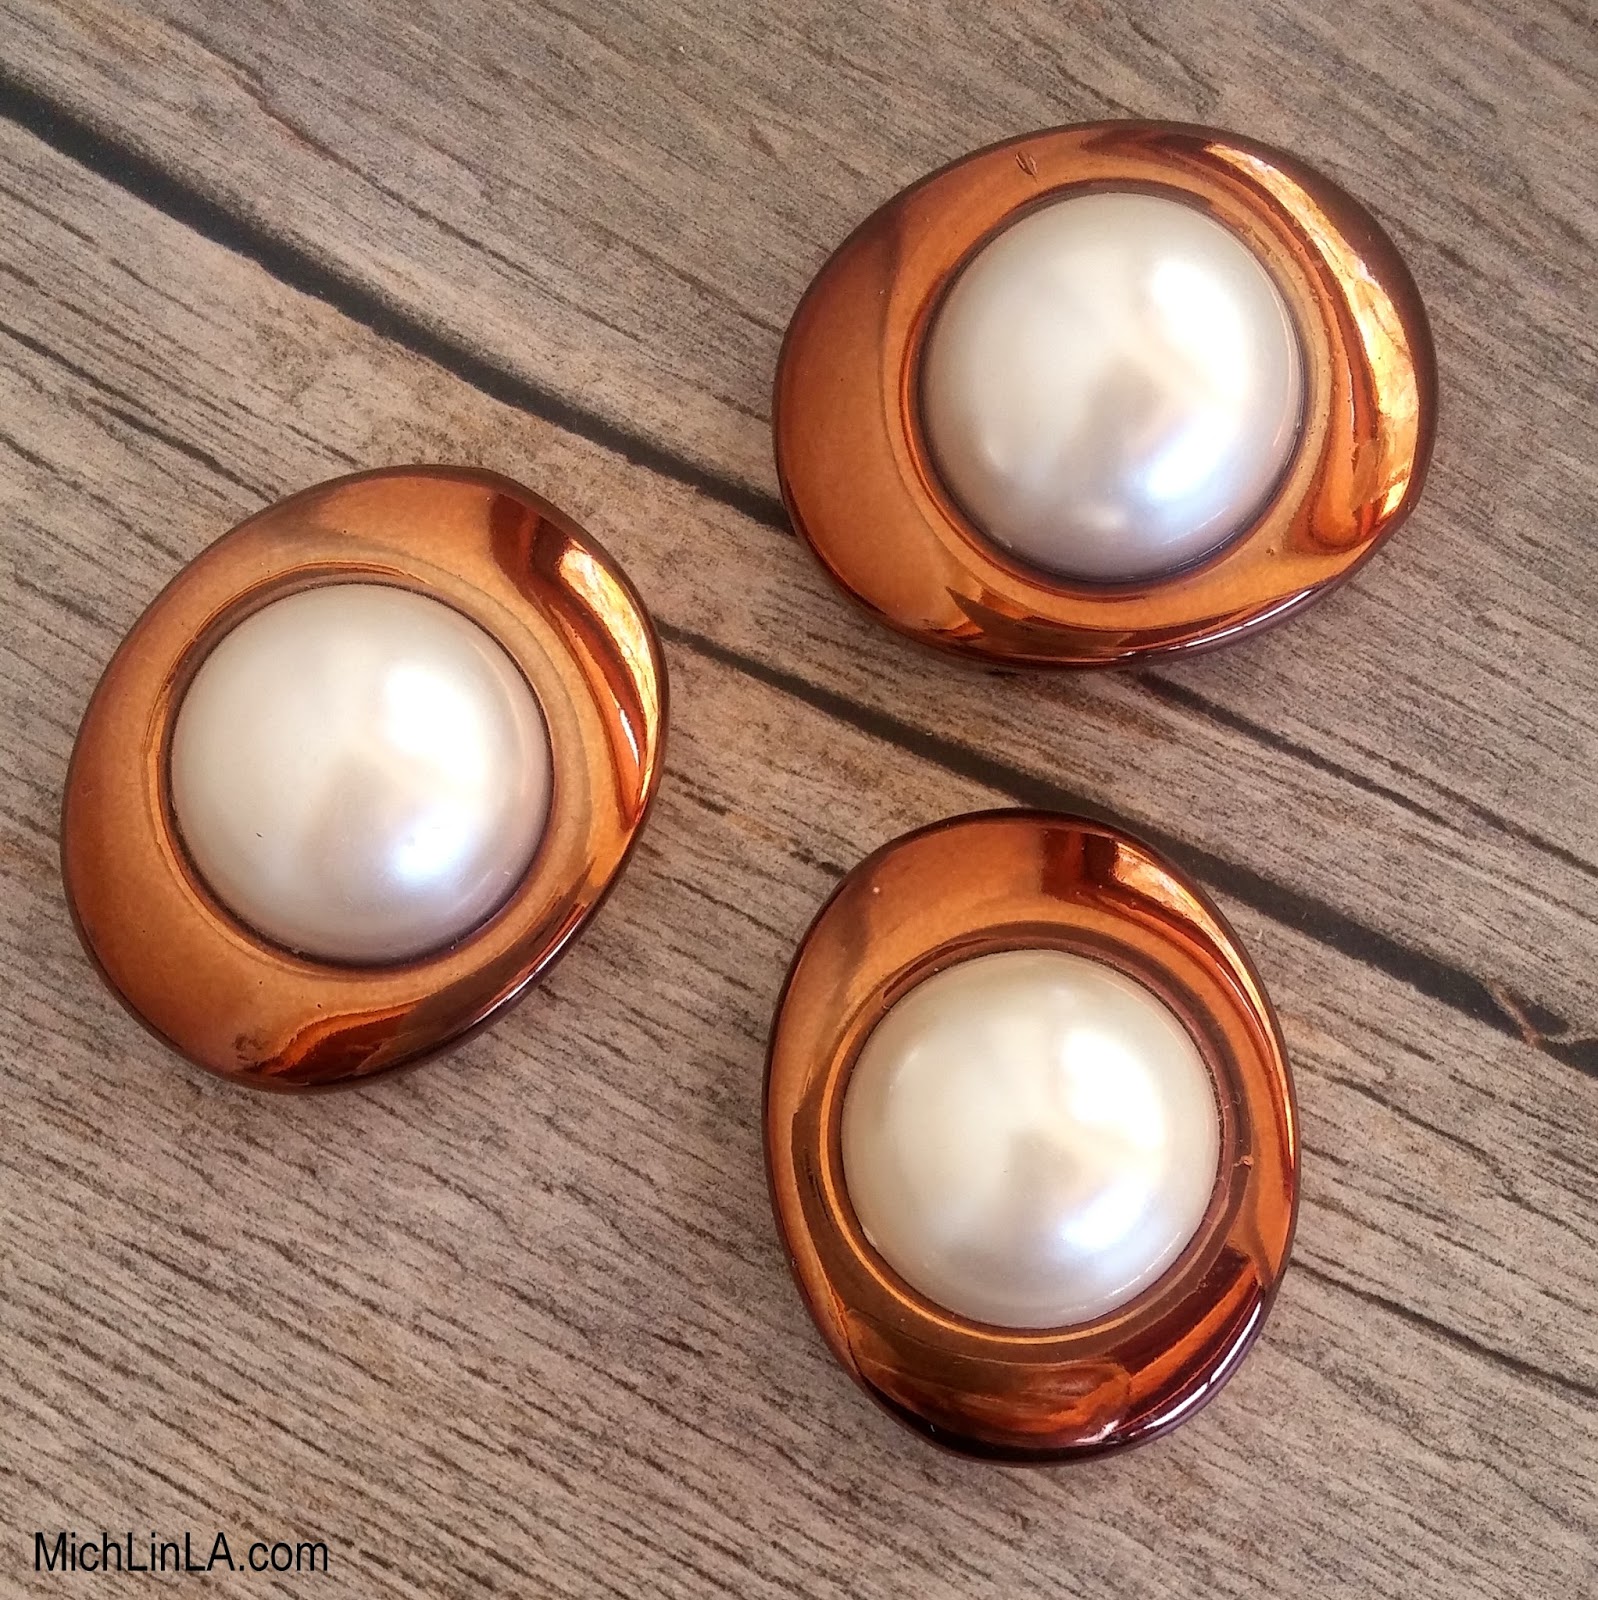
Hi! Today I have a frugal and easy makeover for you. First let me show you the end result: these pearly, coppery little necklaces.
I've been wearing them a lot lately - they are subtle, so simple and go with everything.
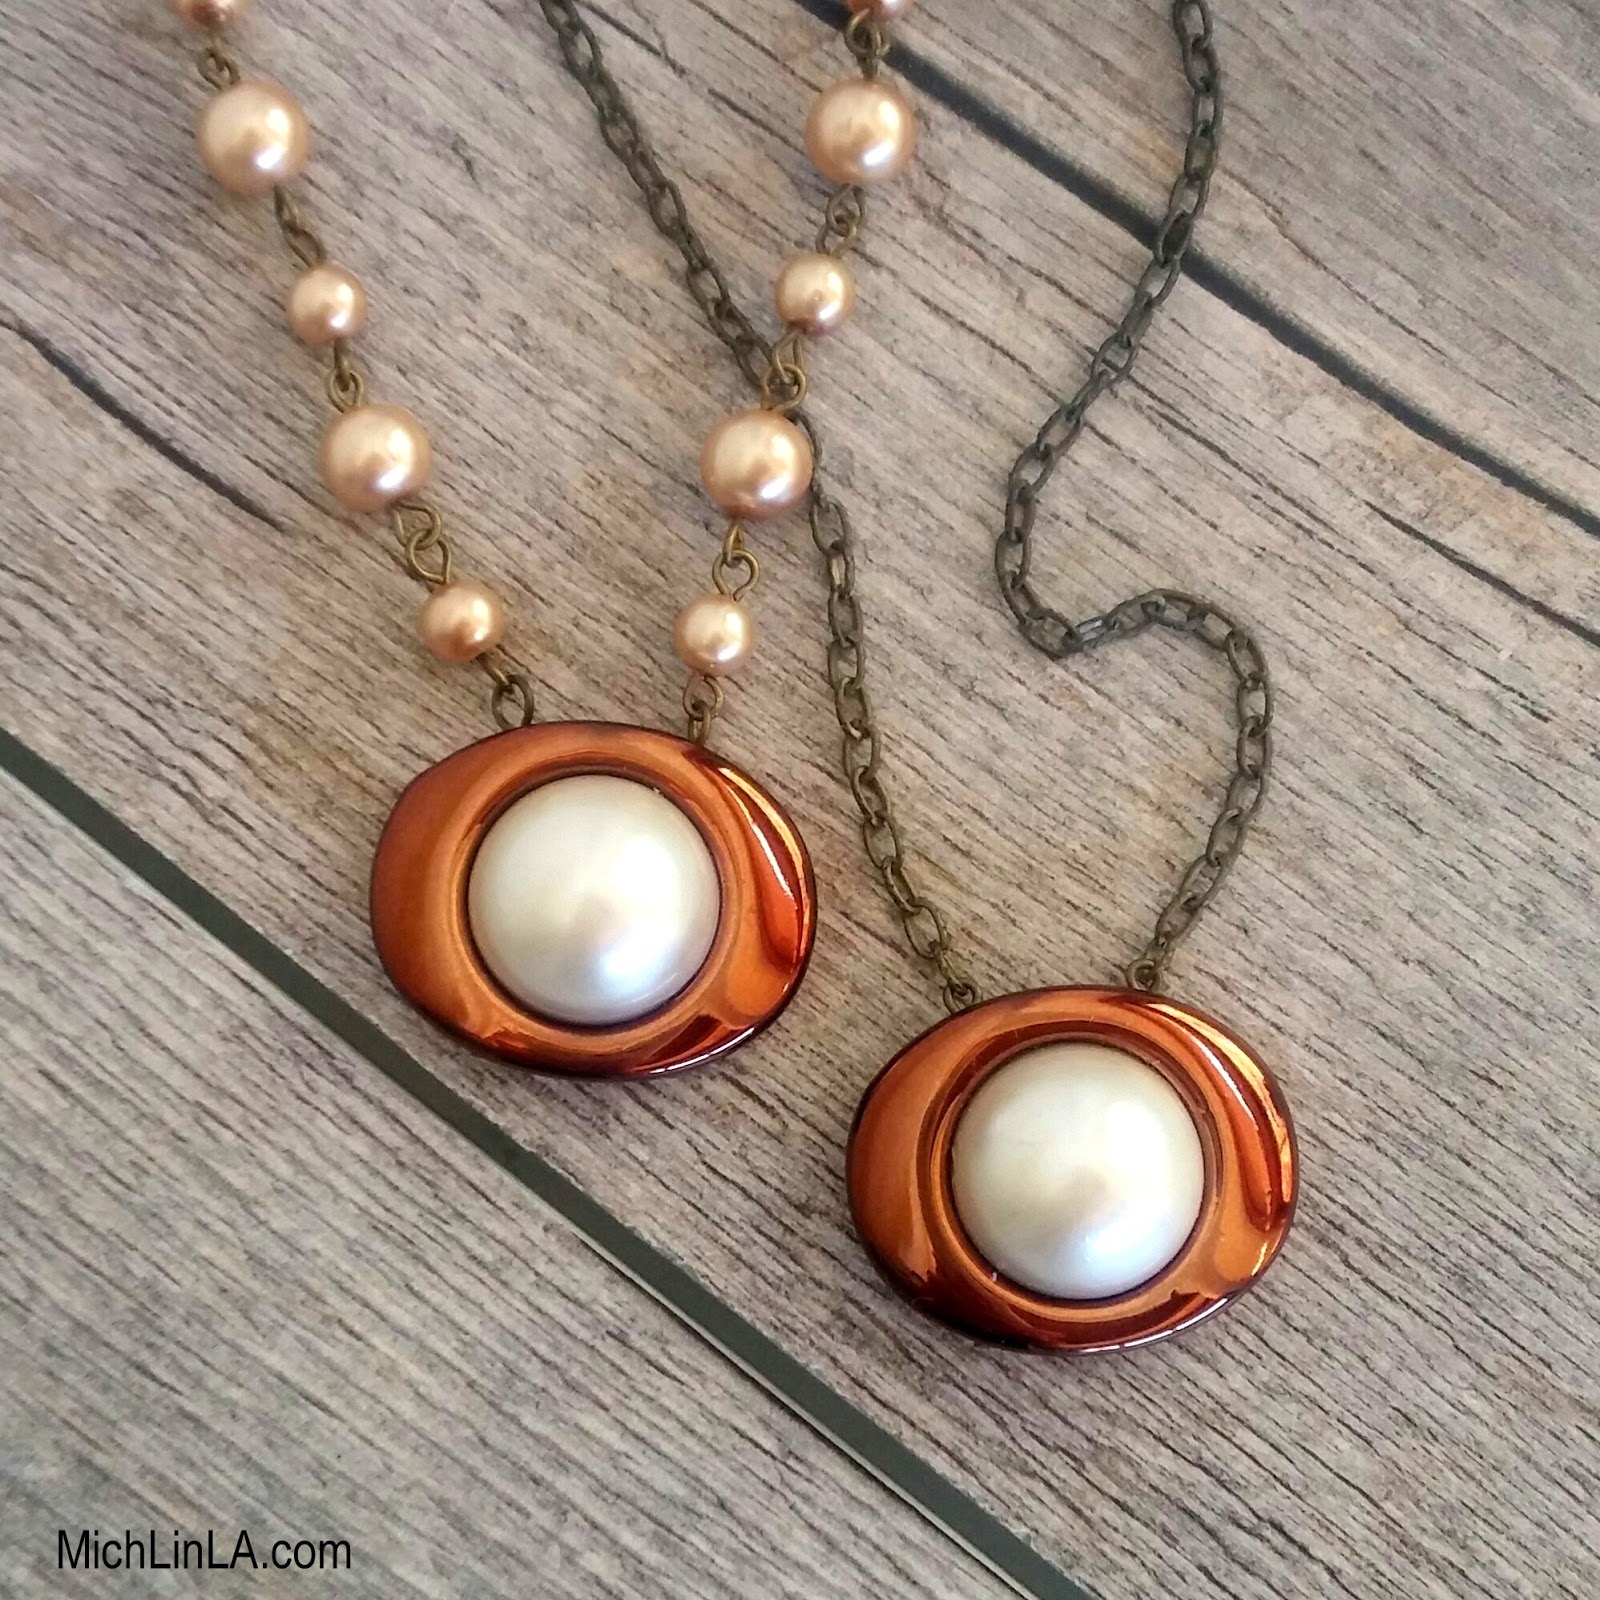
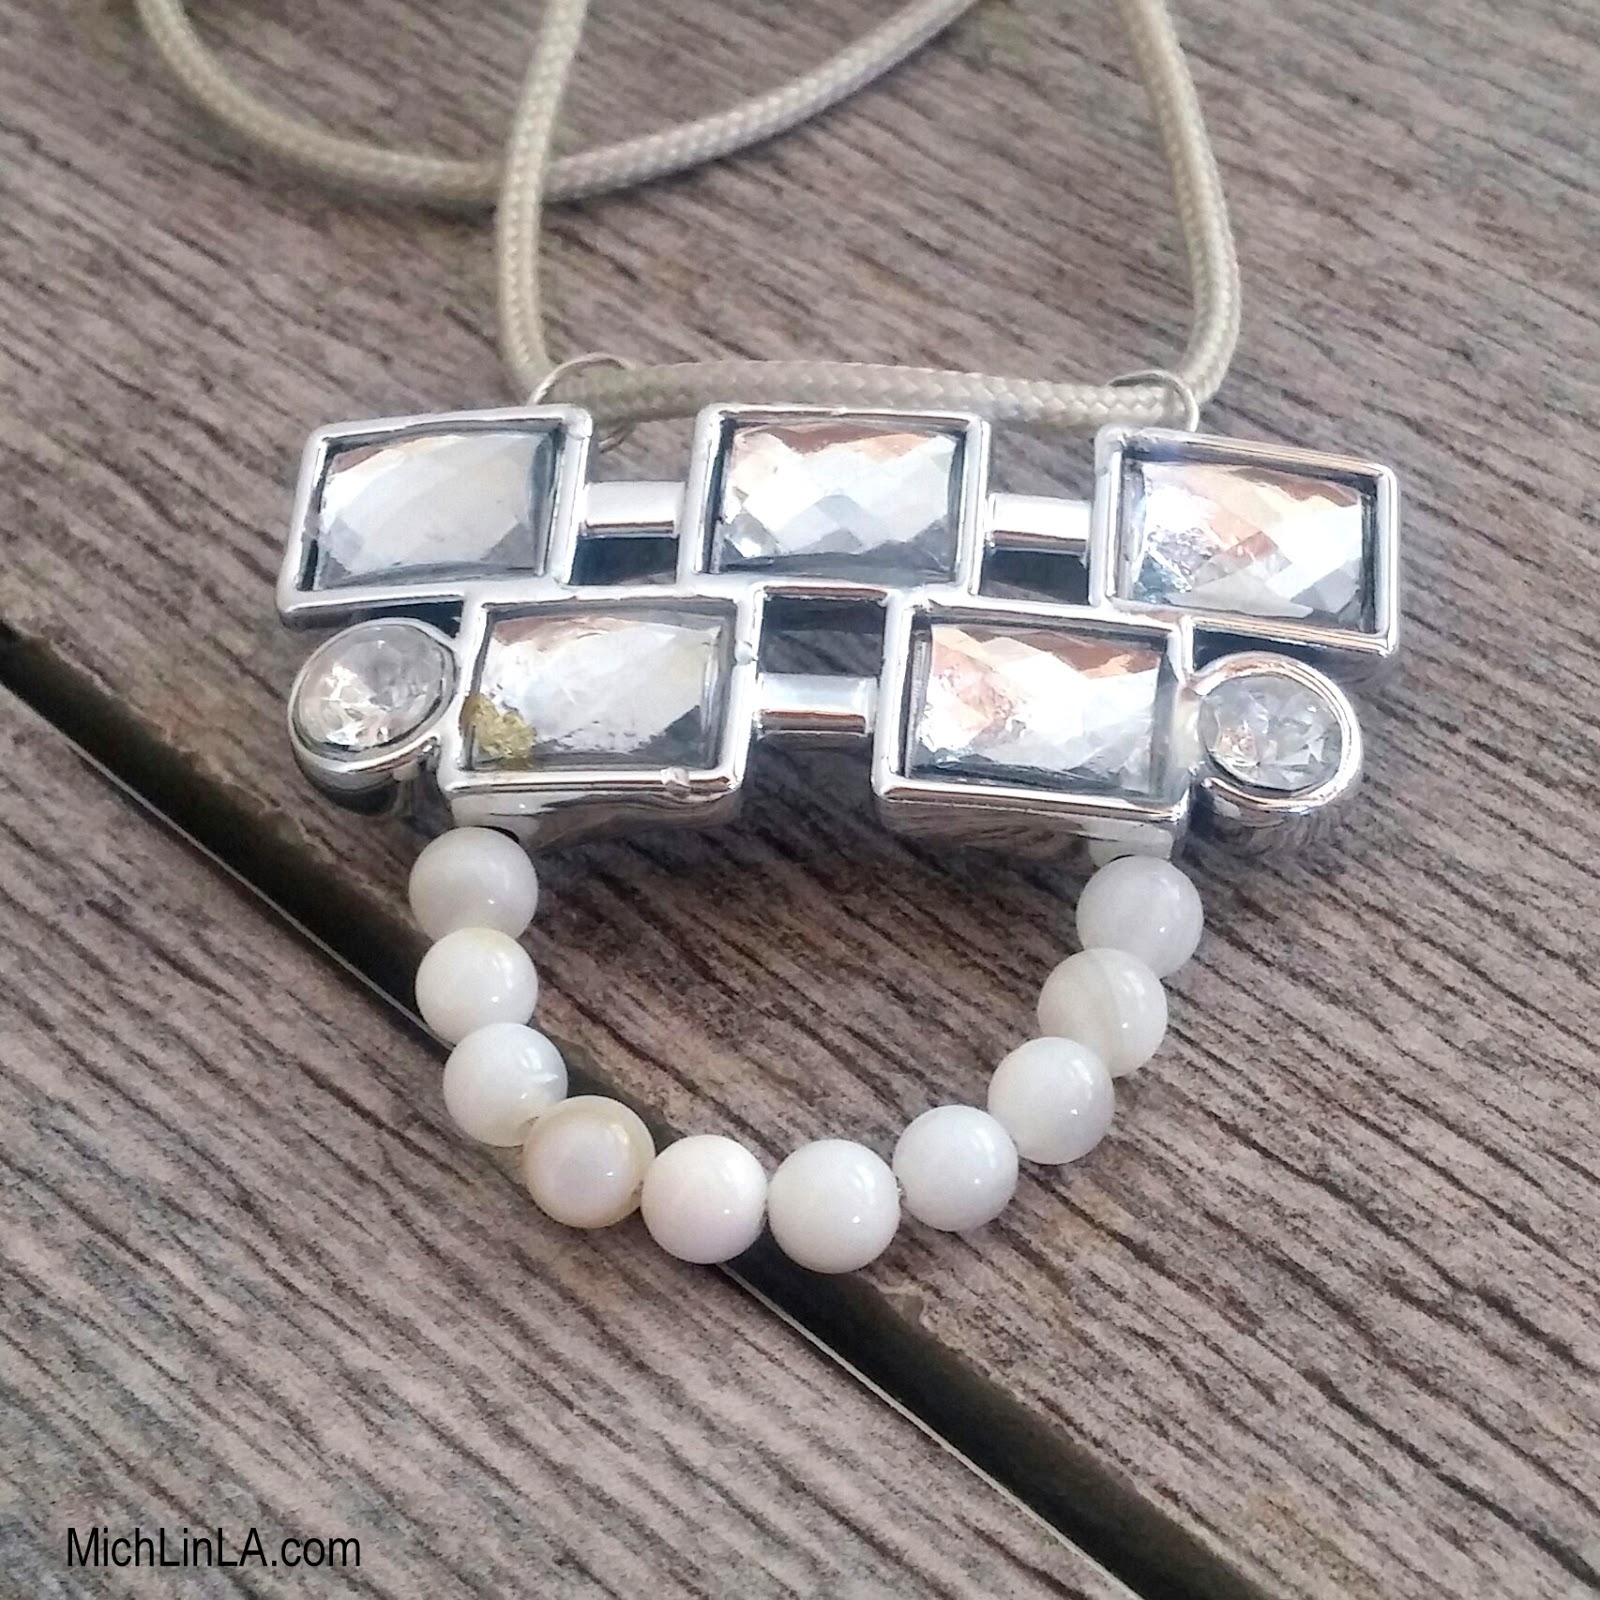
Here's another design, this one a bit more shmancy:
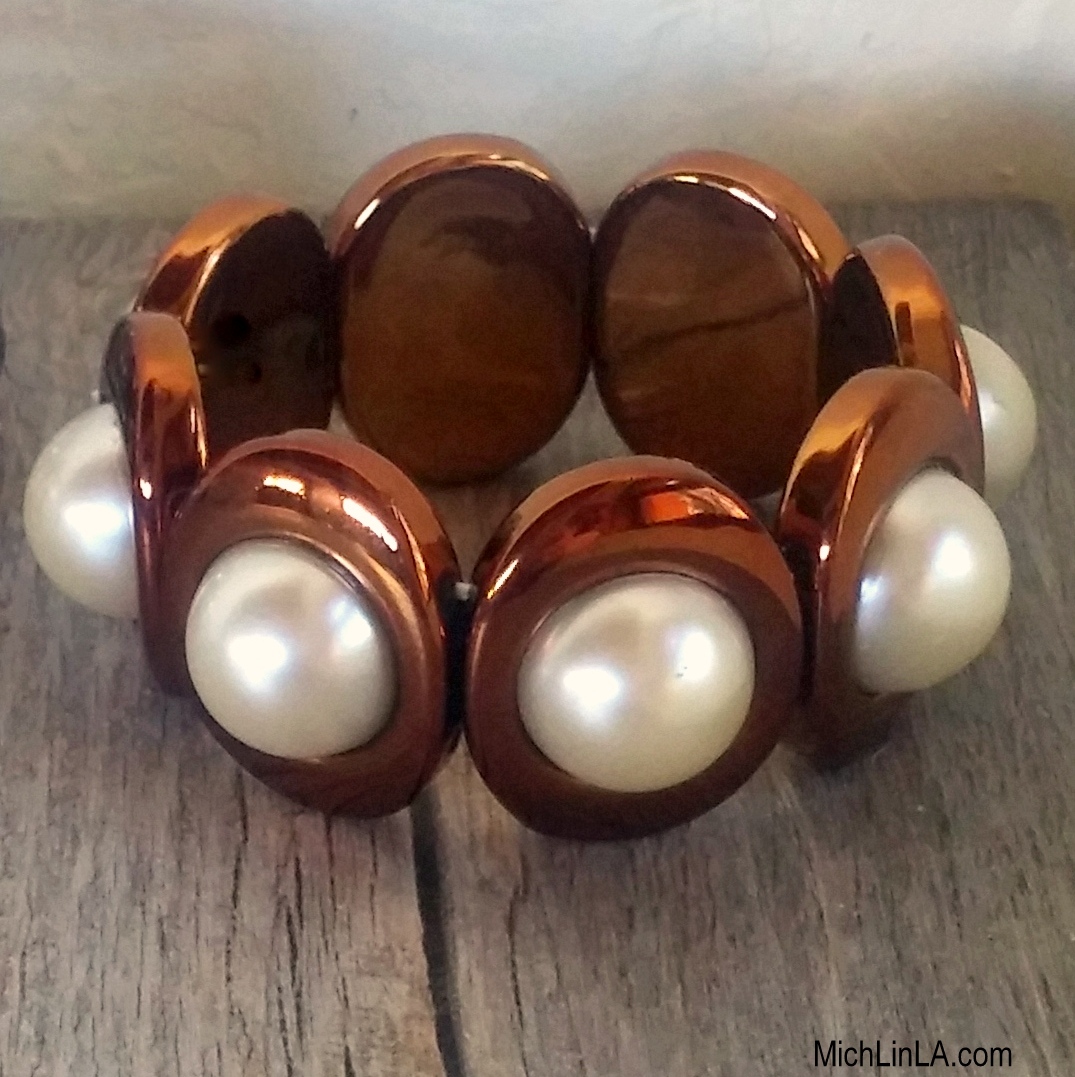
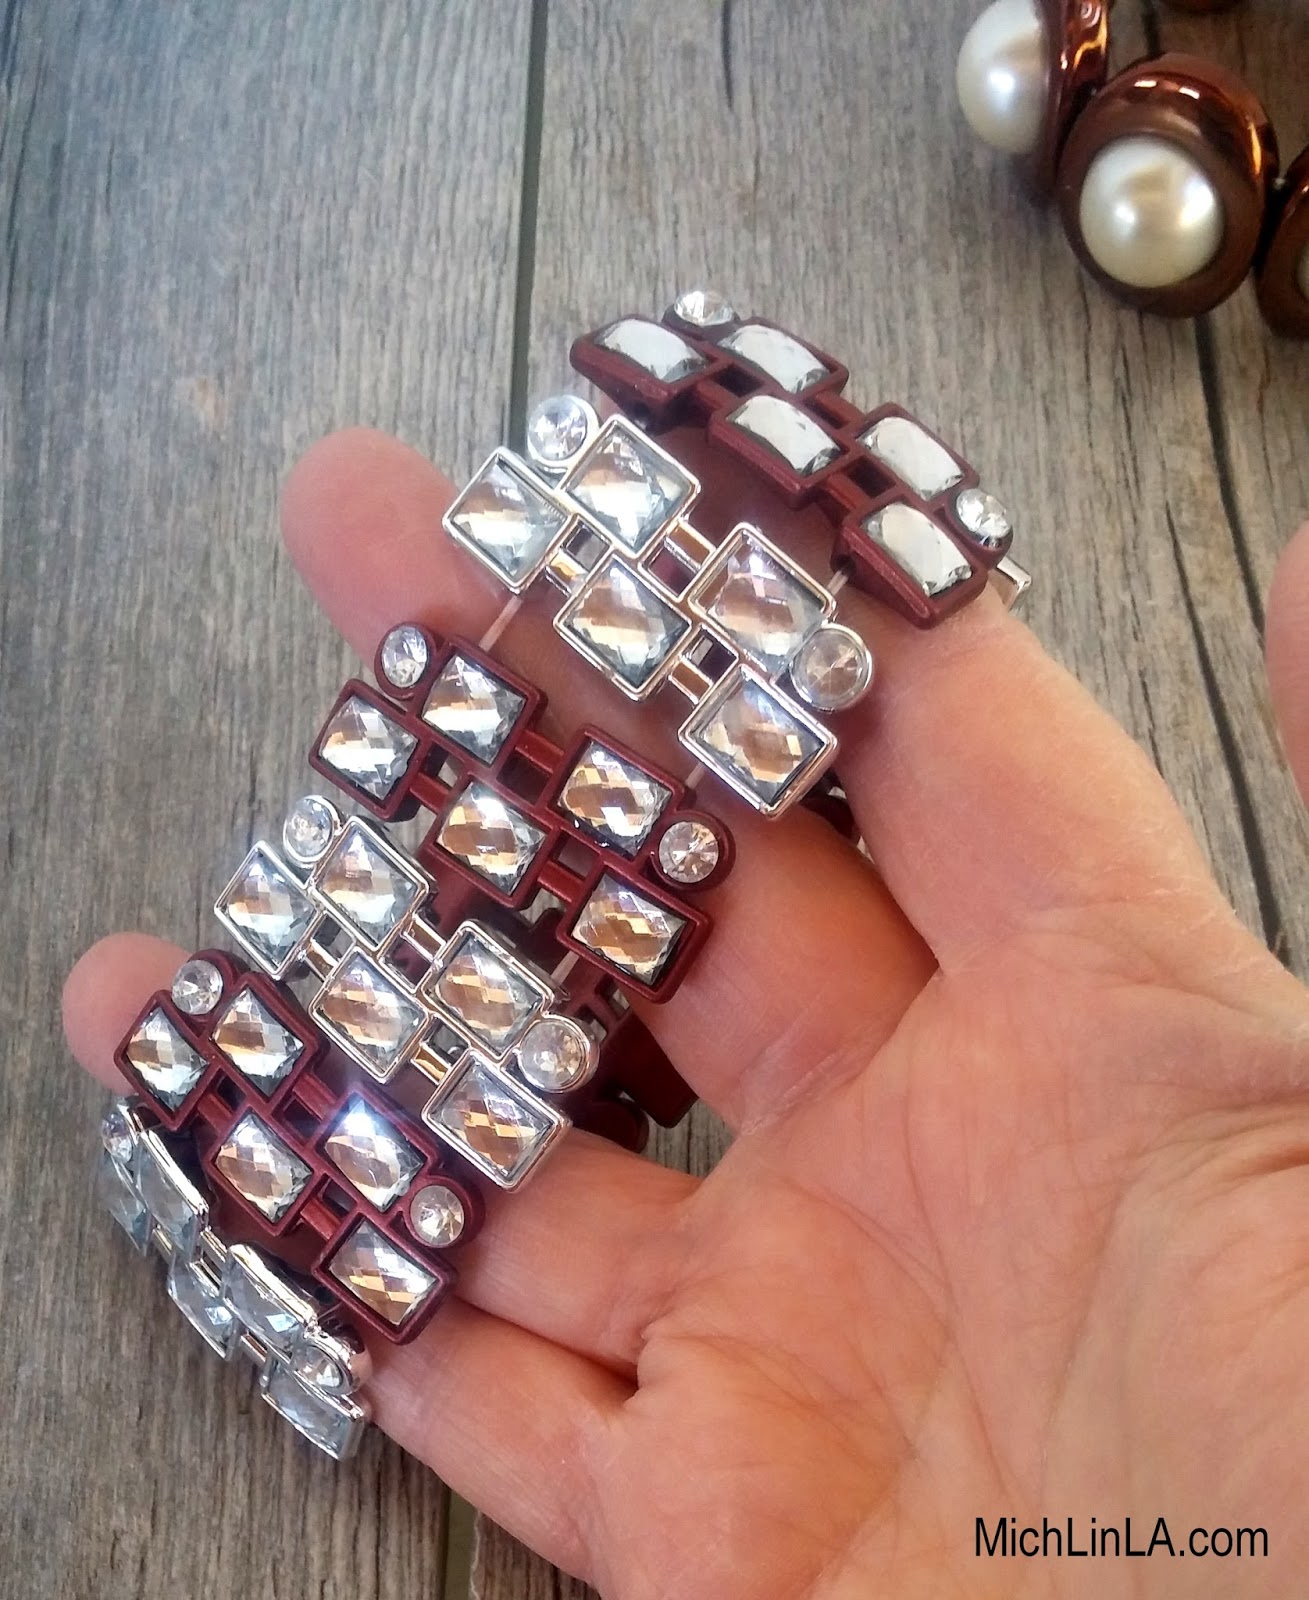
The makeover began with this (sorta, maybe, kinda) cute elastic bracelet...
...which I probably would never wear in real life. Not that it was awful, just not my personal style. But I do love the individual segments. Such a pretty dark copper color and a nice silhouette.
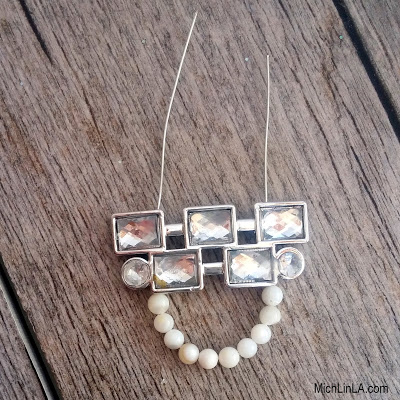
So I turned them into necklace focals.
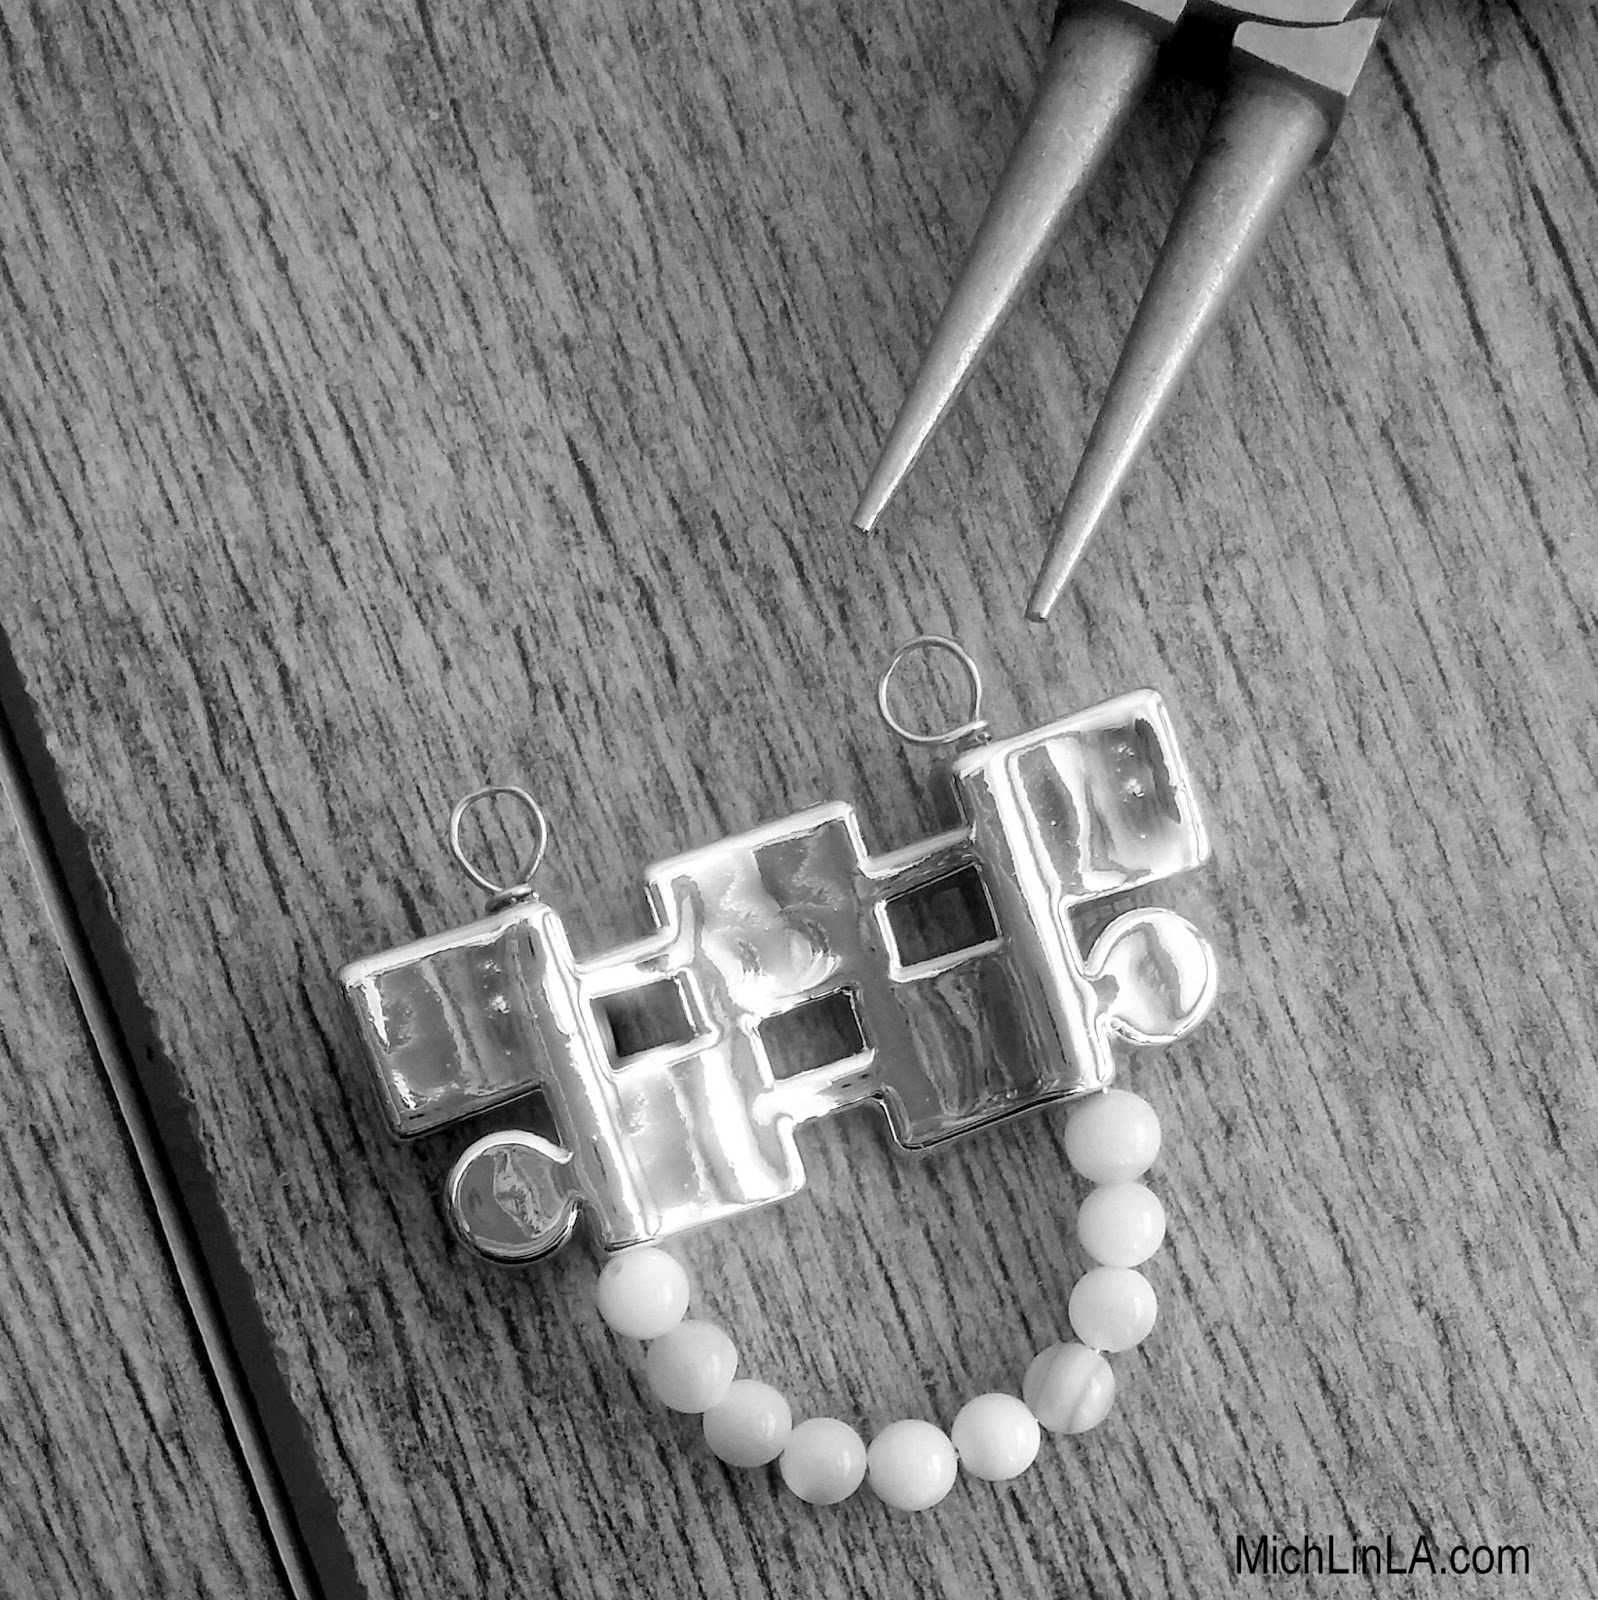
For the simple version, all I did was thread two headpins through the focal. At the top, I turned two small loops.
I added chain and pearls to complete the necklaces.
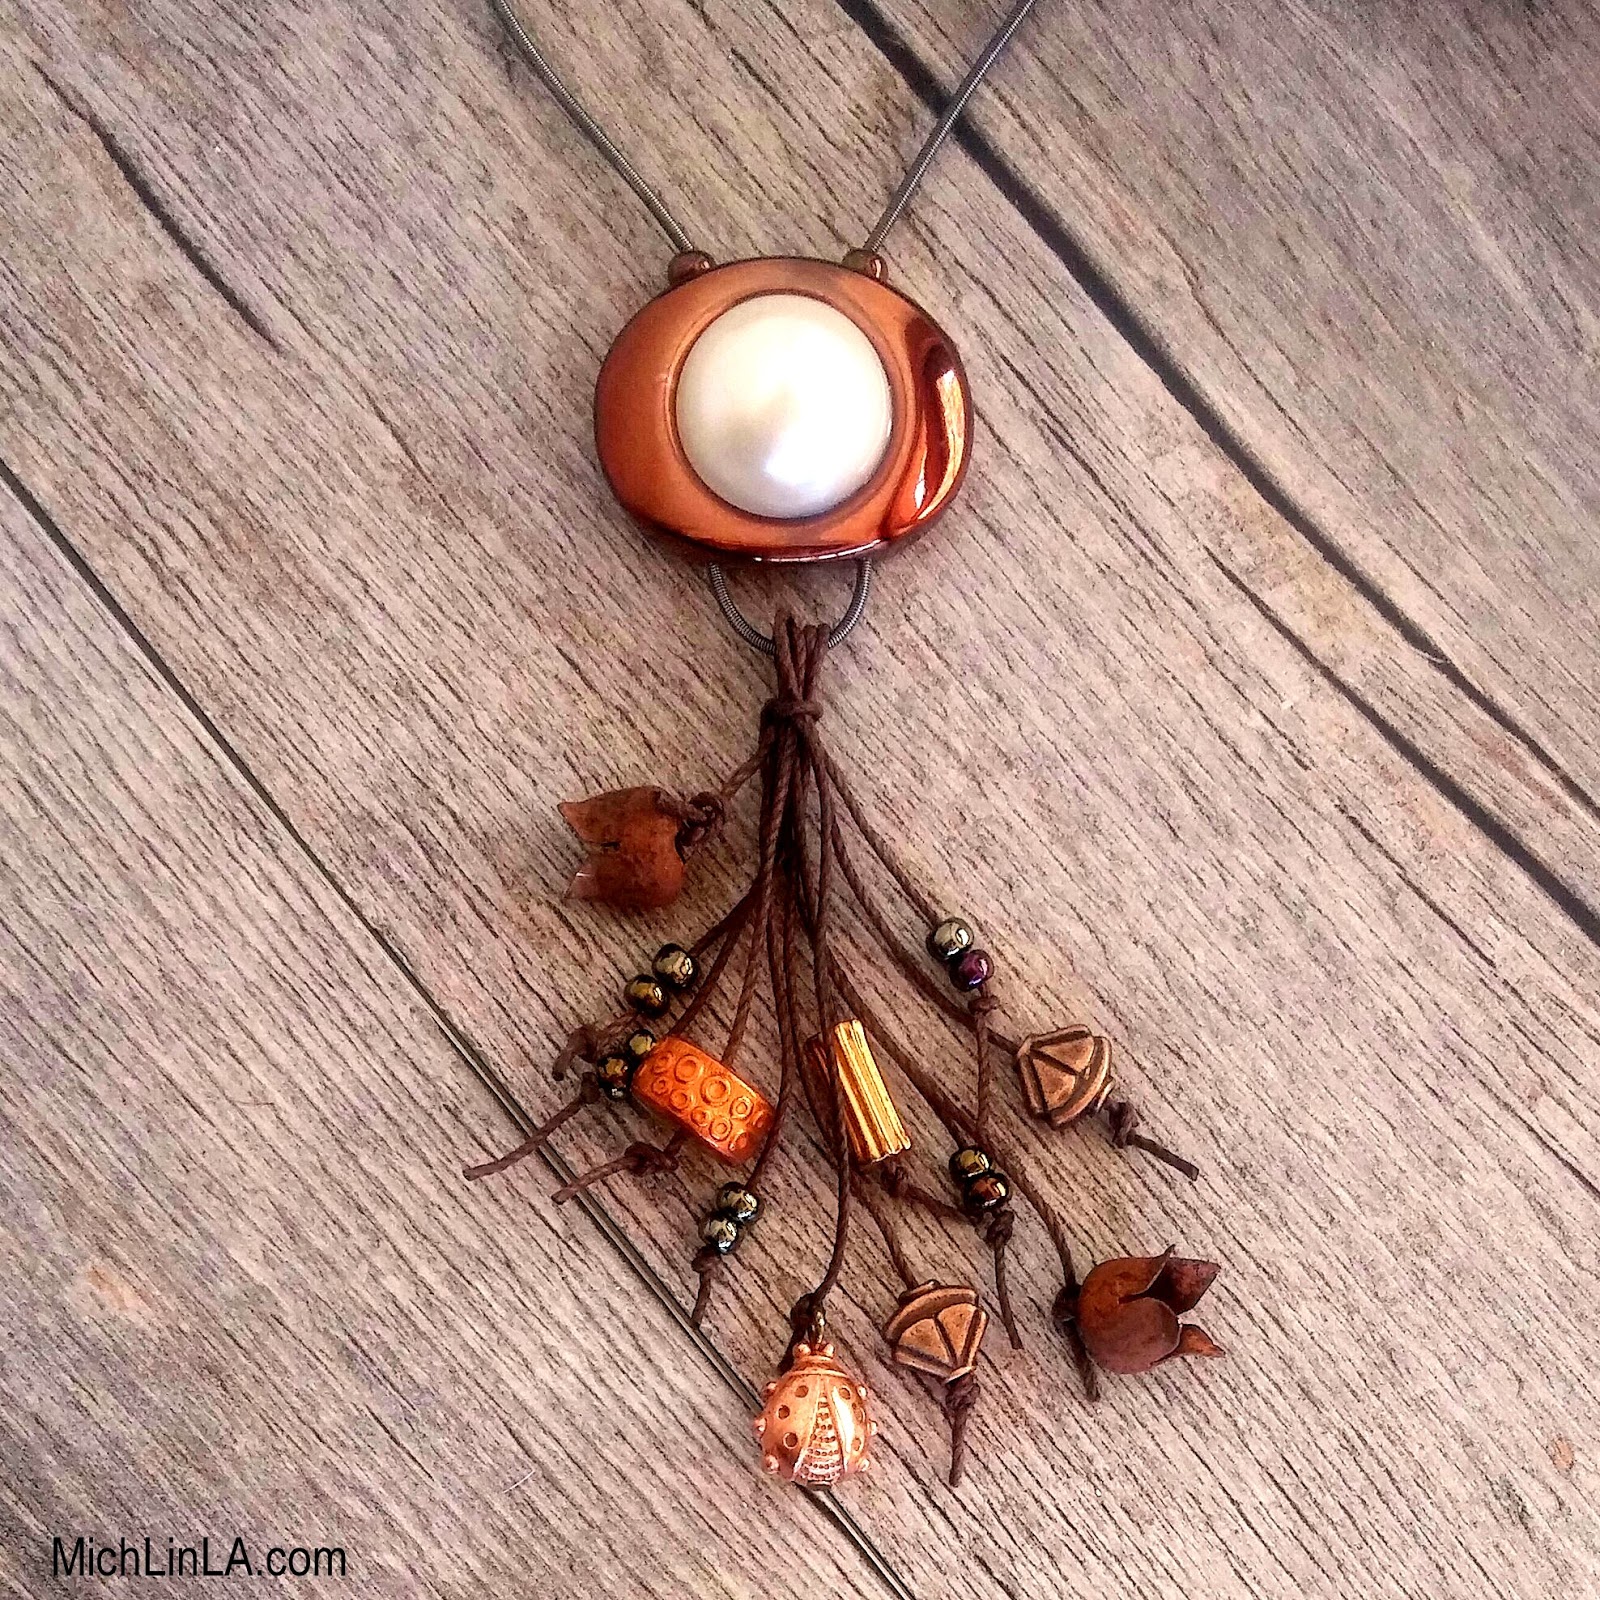
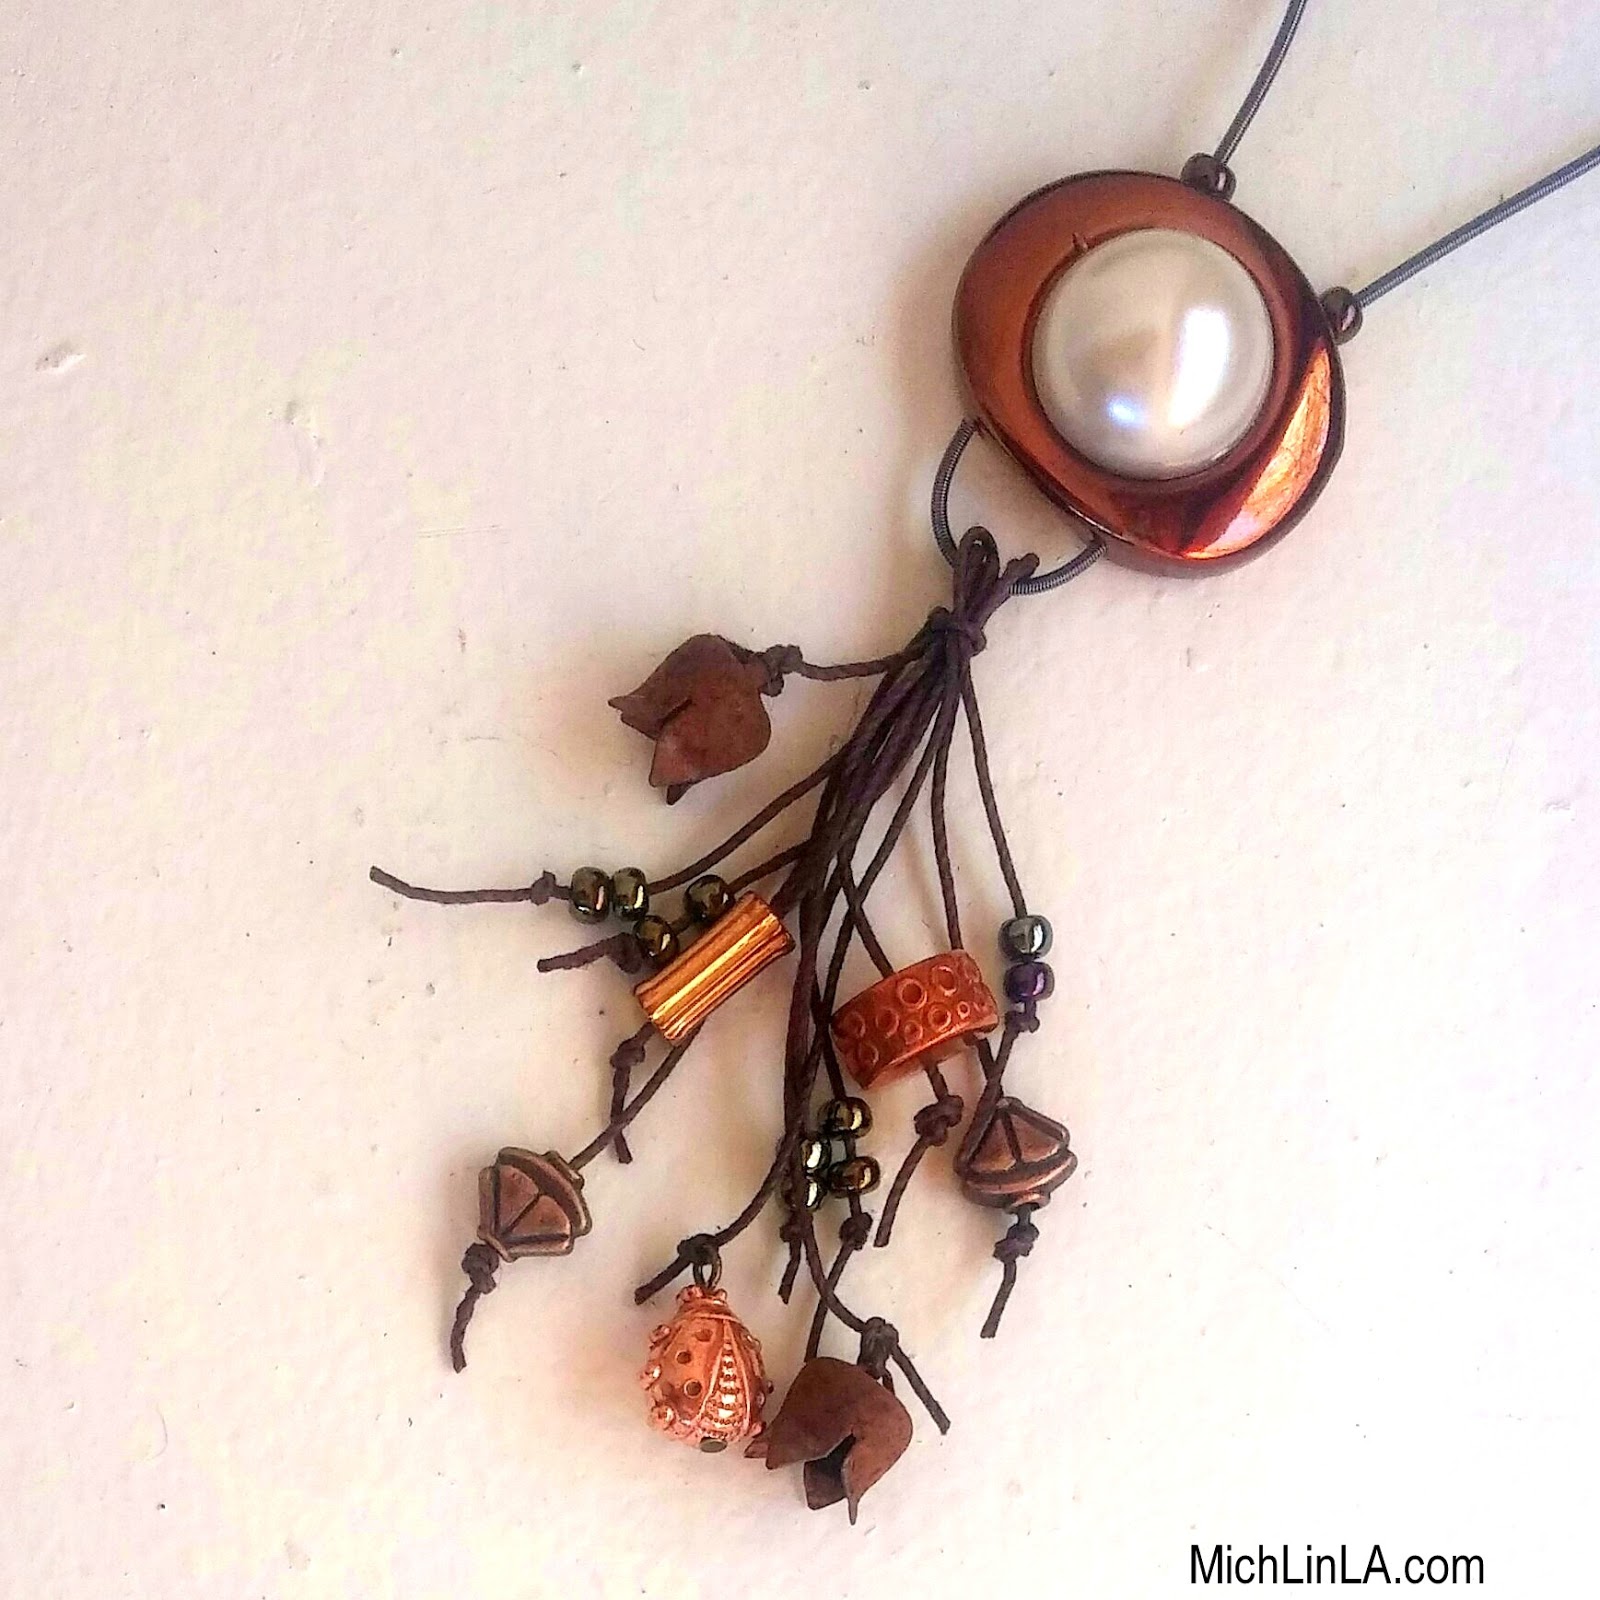
The fancier, tasseled necklace went together differently. It's created with flexible beading wire (tiger tail), covered over with hollow coiled wire. You can see this a bit better in the closeup:
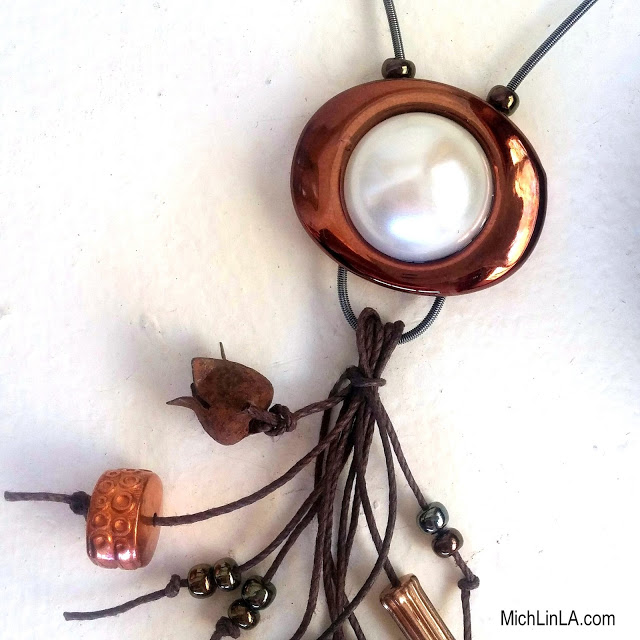
The coils are a cool way to disguise the plain tiger tail underneath, don't you think? (In case you're curious, here's where I bought the coil stuff.)
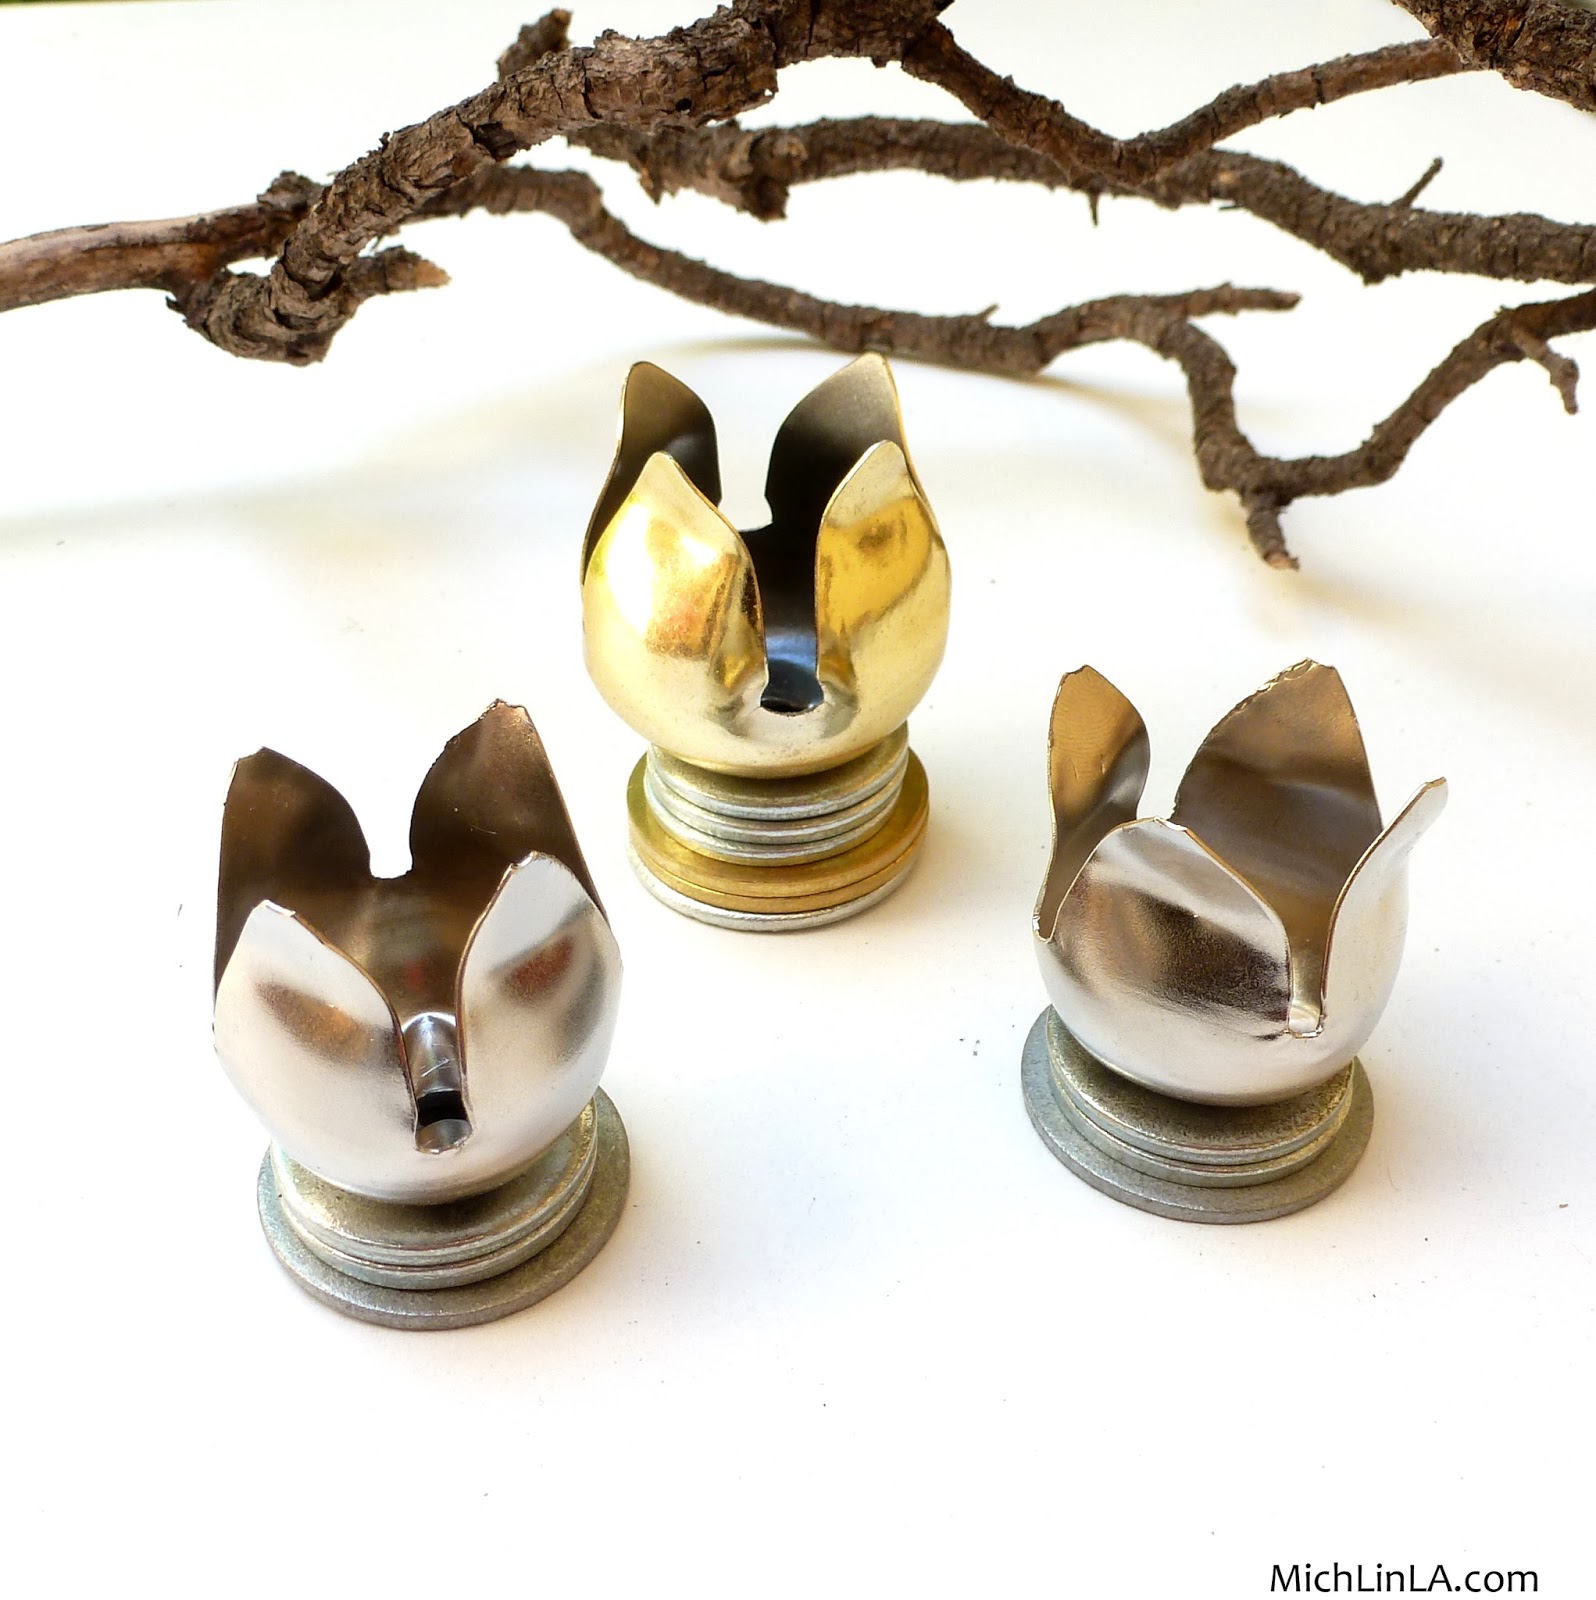
I had lots of fun raiding my stash for copper-toned treasures to tie onto the tassel.
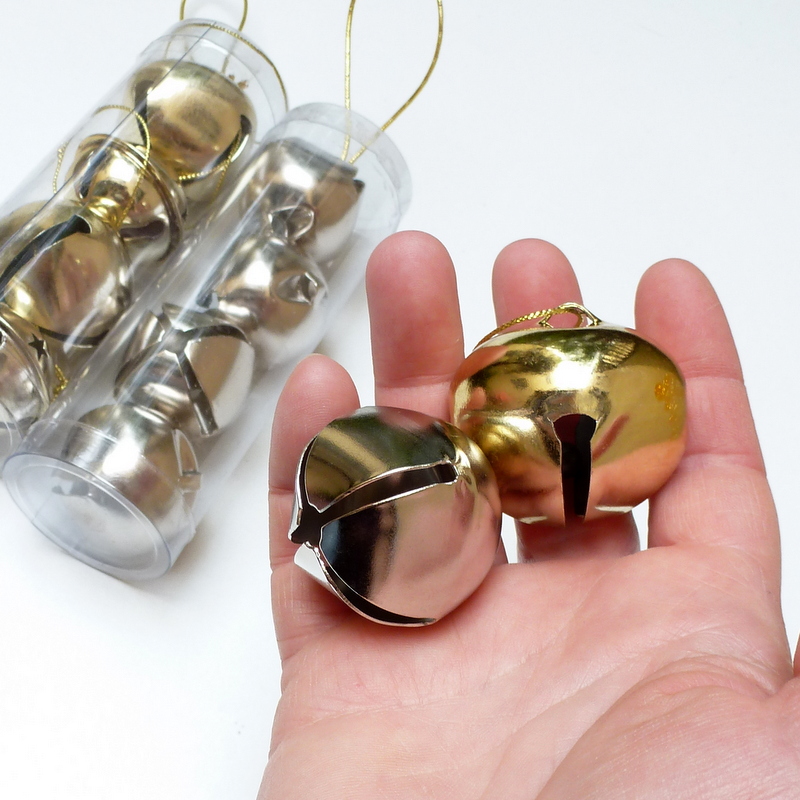
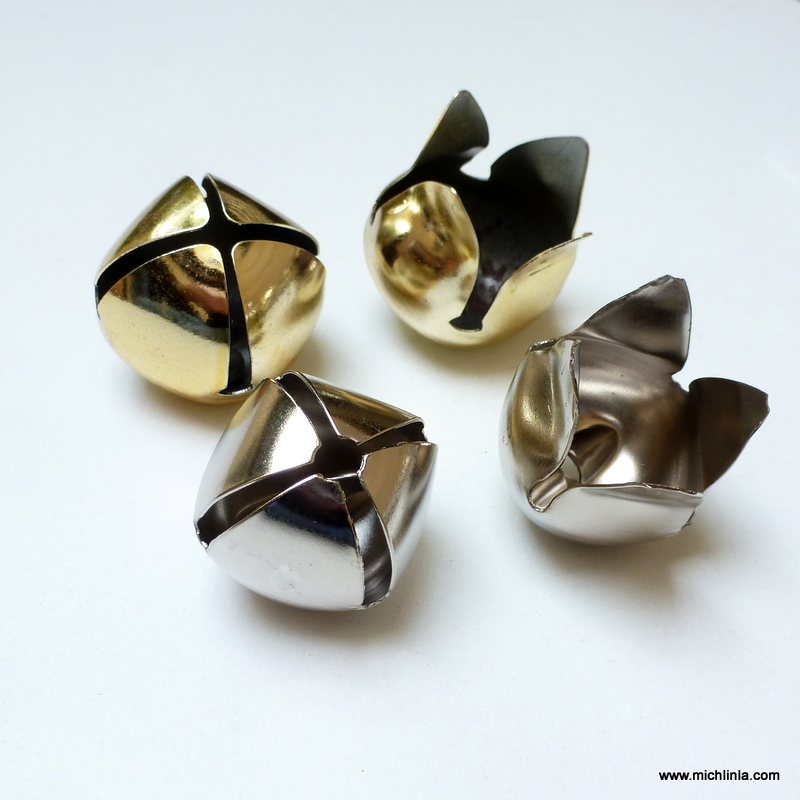
Btw, those tiny rusty flower buds began life as mini jingle bells - click here for the how-to.
Anyway, you get the idea - you can harvest eight (or more!) focal pieces from one bracelet, and go nuts coming up with various necklace designs.
As frugal as this is, it could be a great party project or craft night challenge: how many different ways can a bunch of people use the same focal?
Before I go, one more makeover to show you - and this time, the bracelet in question is genuinely ugly.
Yuck! No. Just...no. But maybe the individual segments had potential.
So here's what I did with one of them. Step one: string a few beads on craft wire, and thread the wire up through the two holes:
Make wrapped loops on top.
Add some ribbon, a chain, or a length of cord, like so:
And what is it? Why, this - an eyeglass holder necklace.
I definitely think it's an improvement on the dreadful original jewel! Not to mention useful as heck.
And hey - I have nine more sparkly segments to experiment with. Got any suggestions?


