Showing posts with label dollar store. Show all posts

Tuesday, July 18, 2017

Woven Wire Dreamcatcher Made From A Repurposed Strainer

Check out my latest little brainwave!  A cool metallic dreamcatcher that looks it's woven with wire.


I've always loved dreamcatchers, but never tried one before.  Probably because I didn't want to figure out the knotwork involved.  (Q: is there an award for laziest crafter?)

So I came up with a simple five minute hack for the 'web' part of the dreamcatcher.  After that, it was all embellishment - the part of crafting I really enjoy.

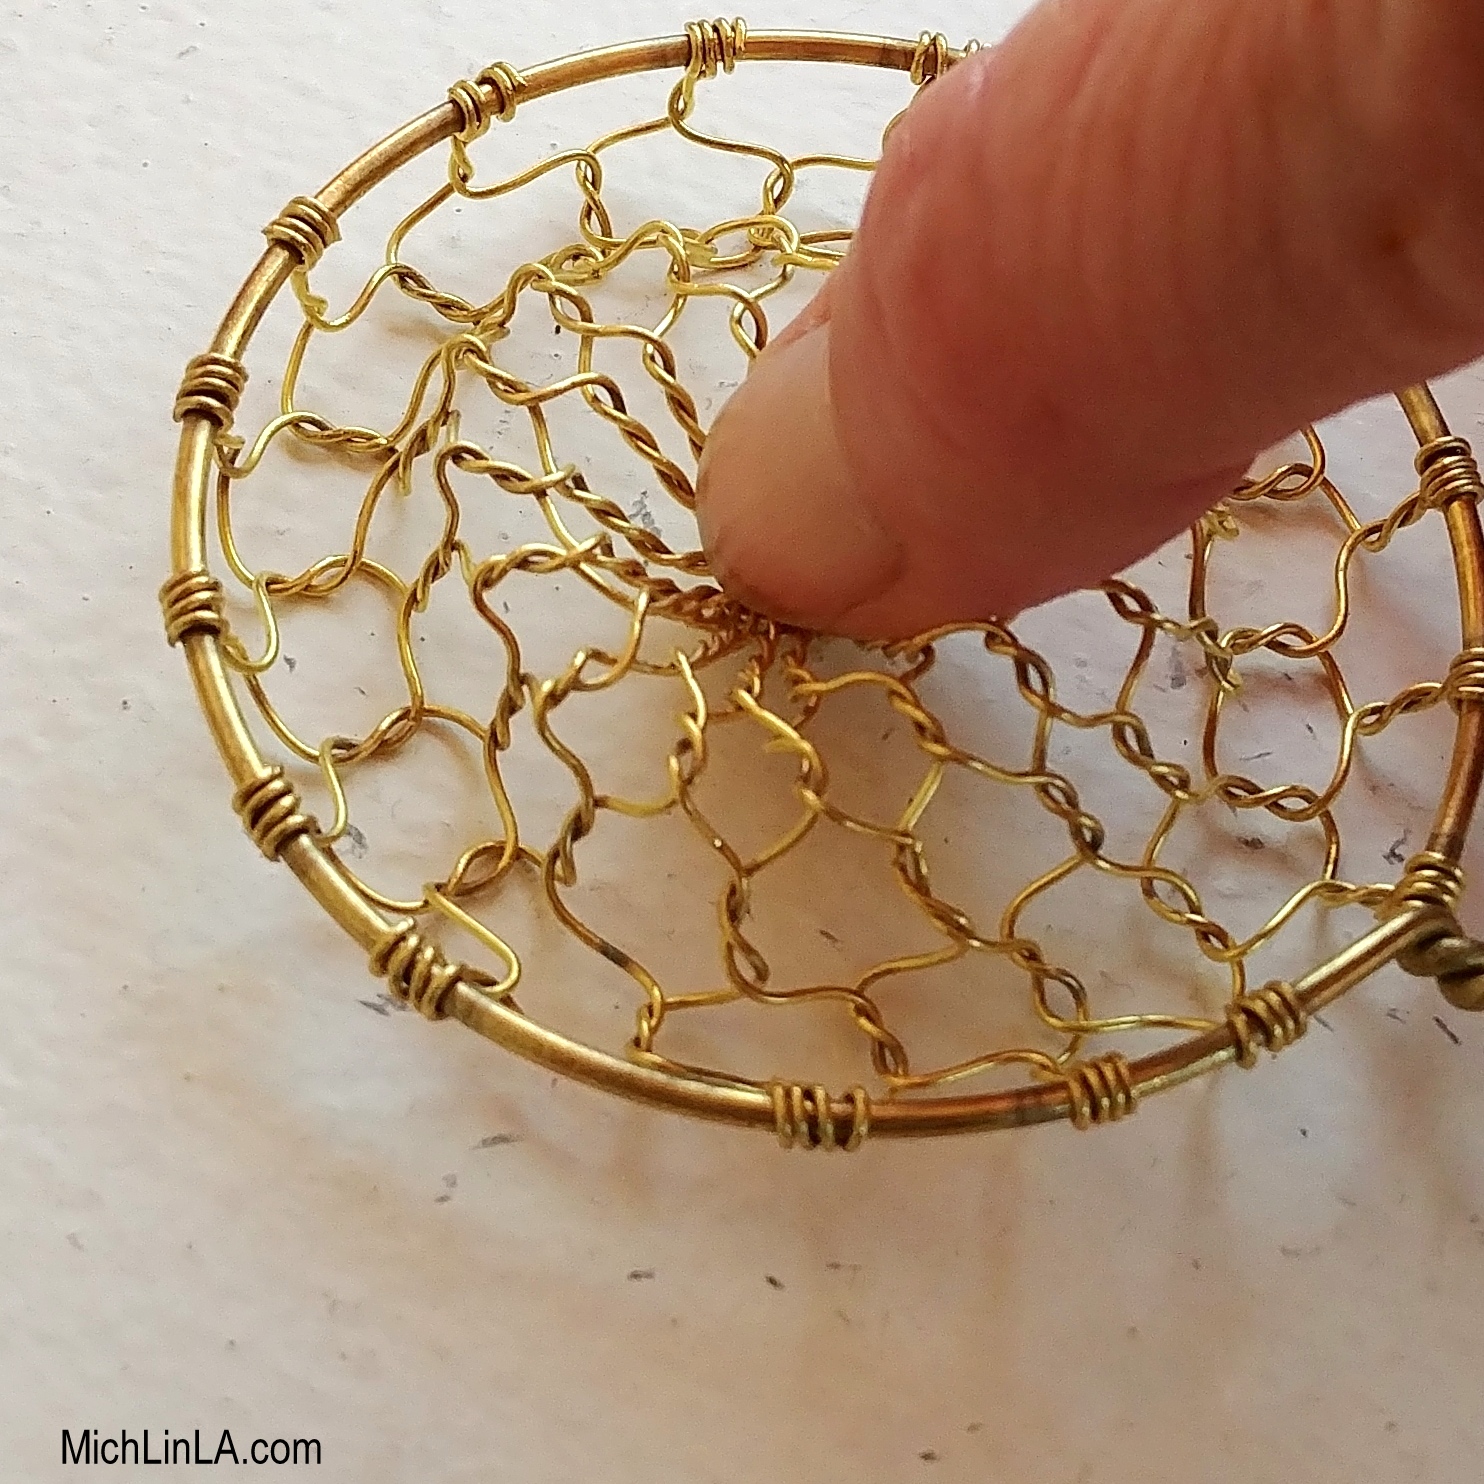
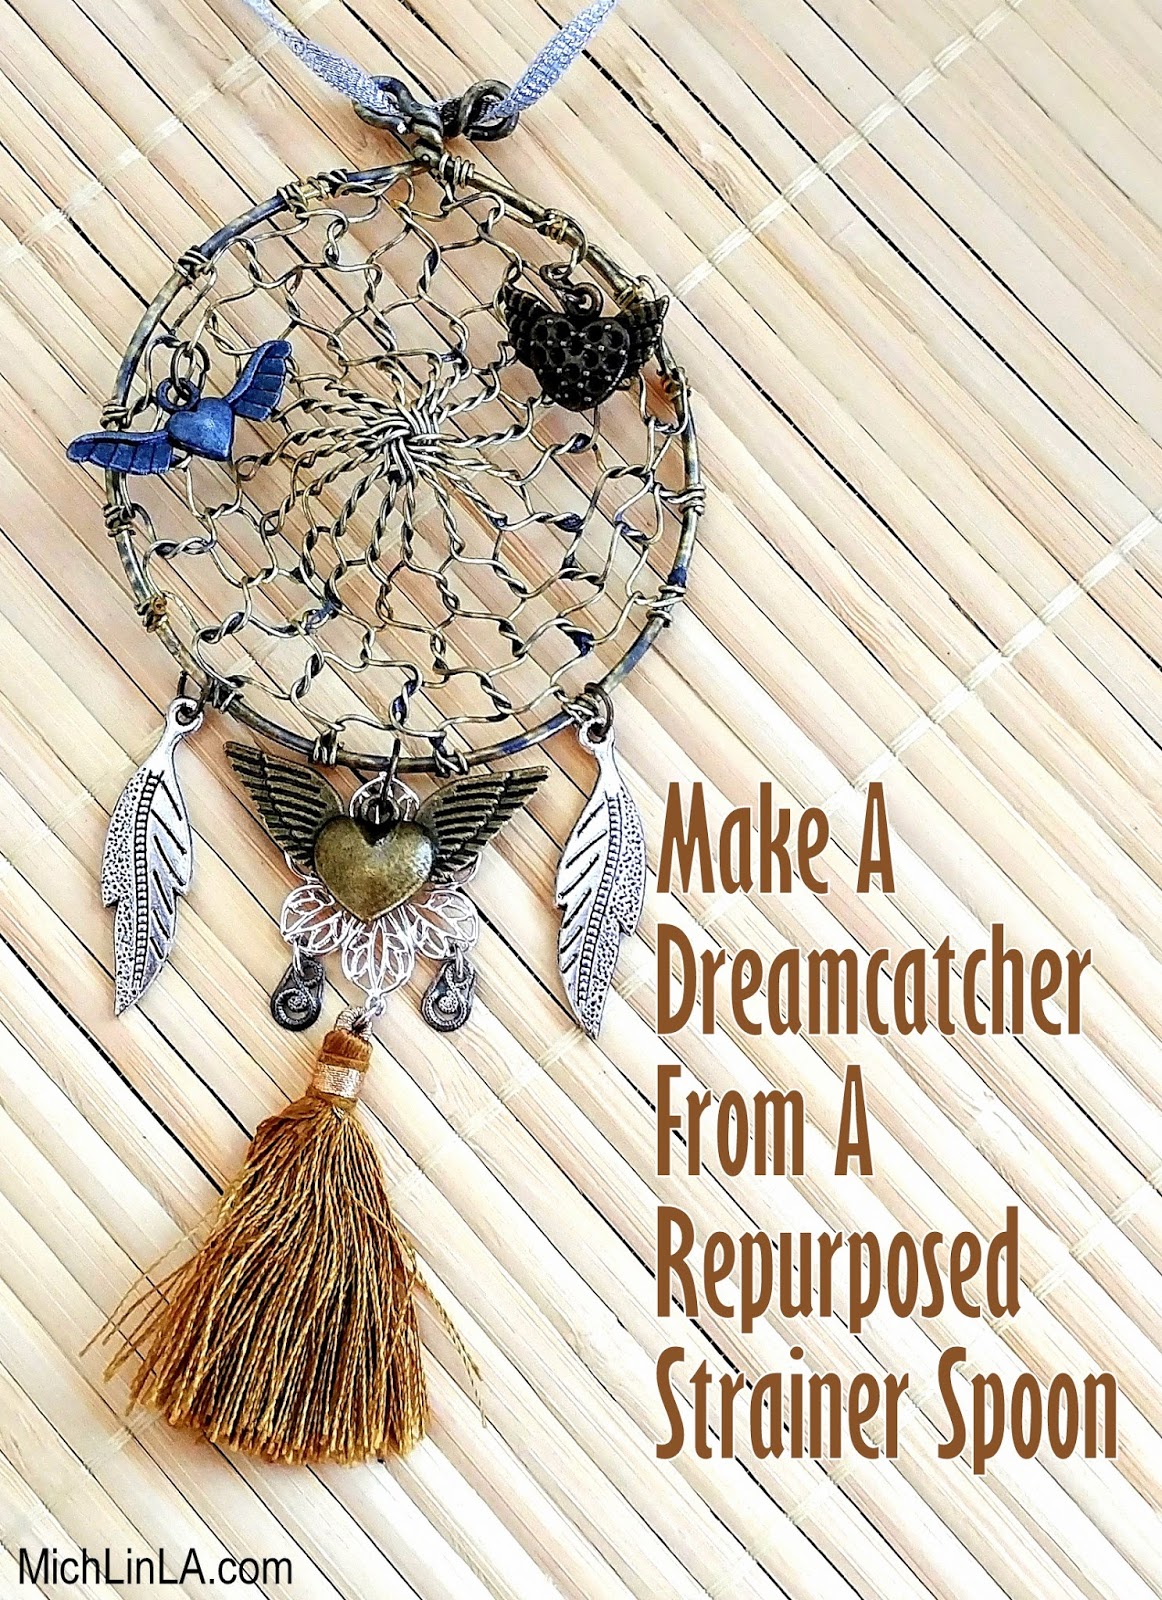
Here's the DIY.  I began with a loose-weave metal strainer spoon.  I found mine at an Asian market for less than two bucks.  Try your favorite kitchen shop or dollar store for something similar.


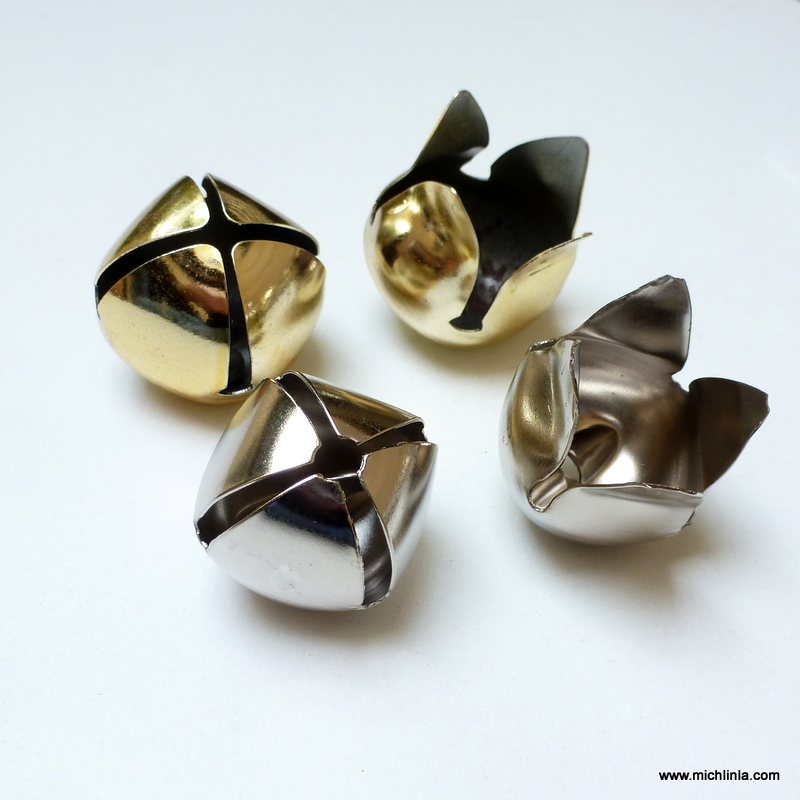
First I squished the center of the spoon inward.


Then I flipped the spoon over and squished again, flattening the small inner bump.  It created a pattern of concentric circles in the mesh.


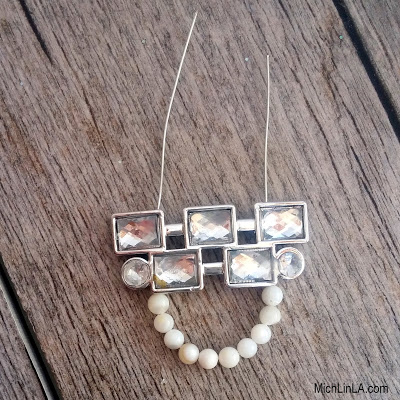
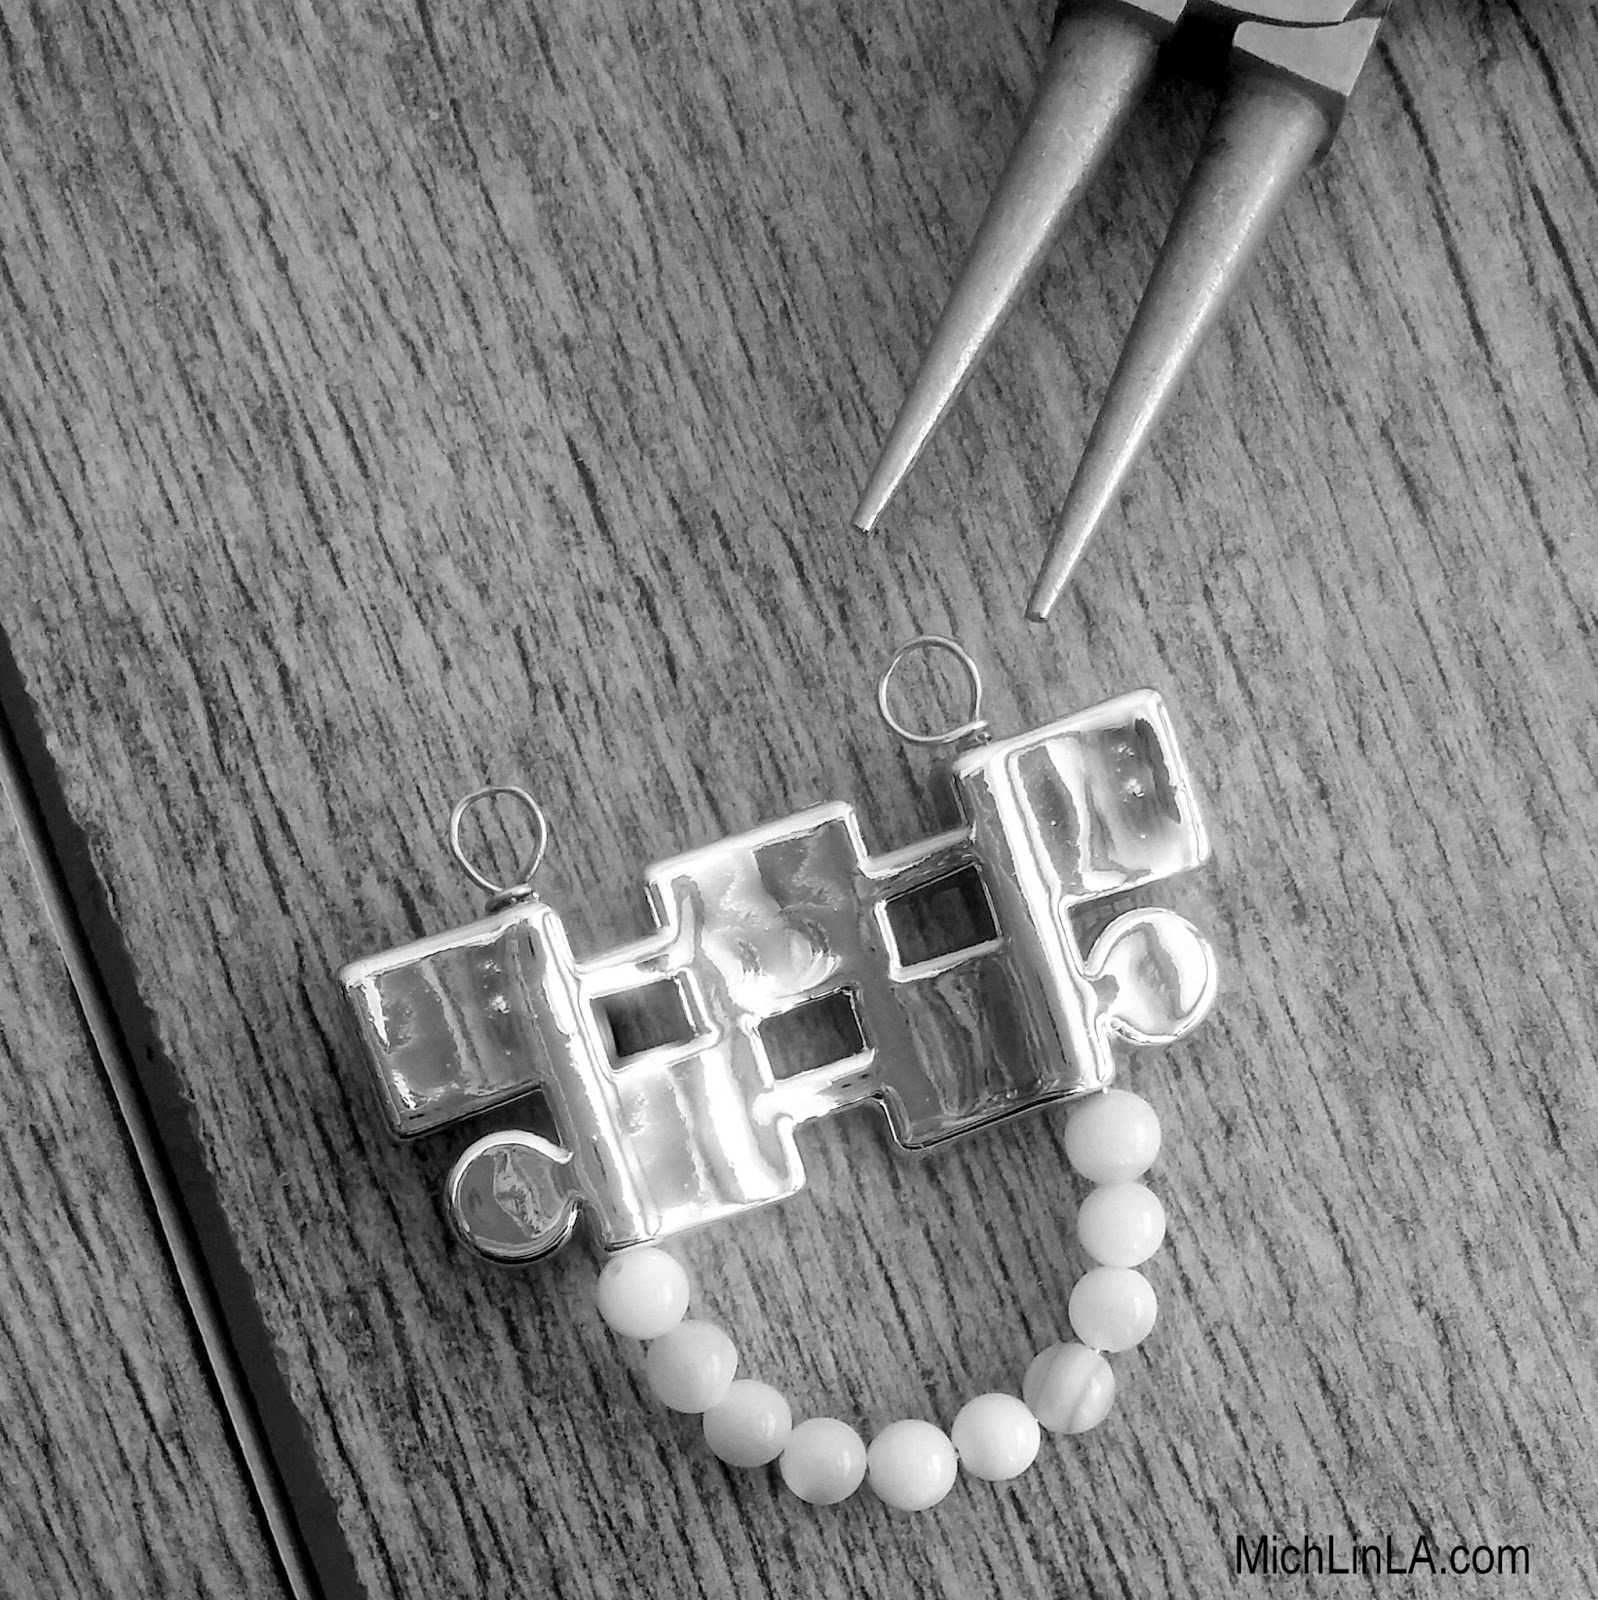
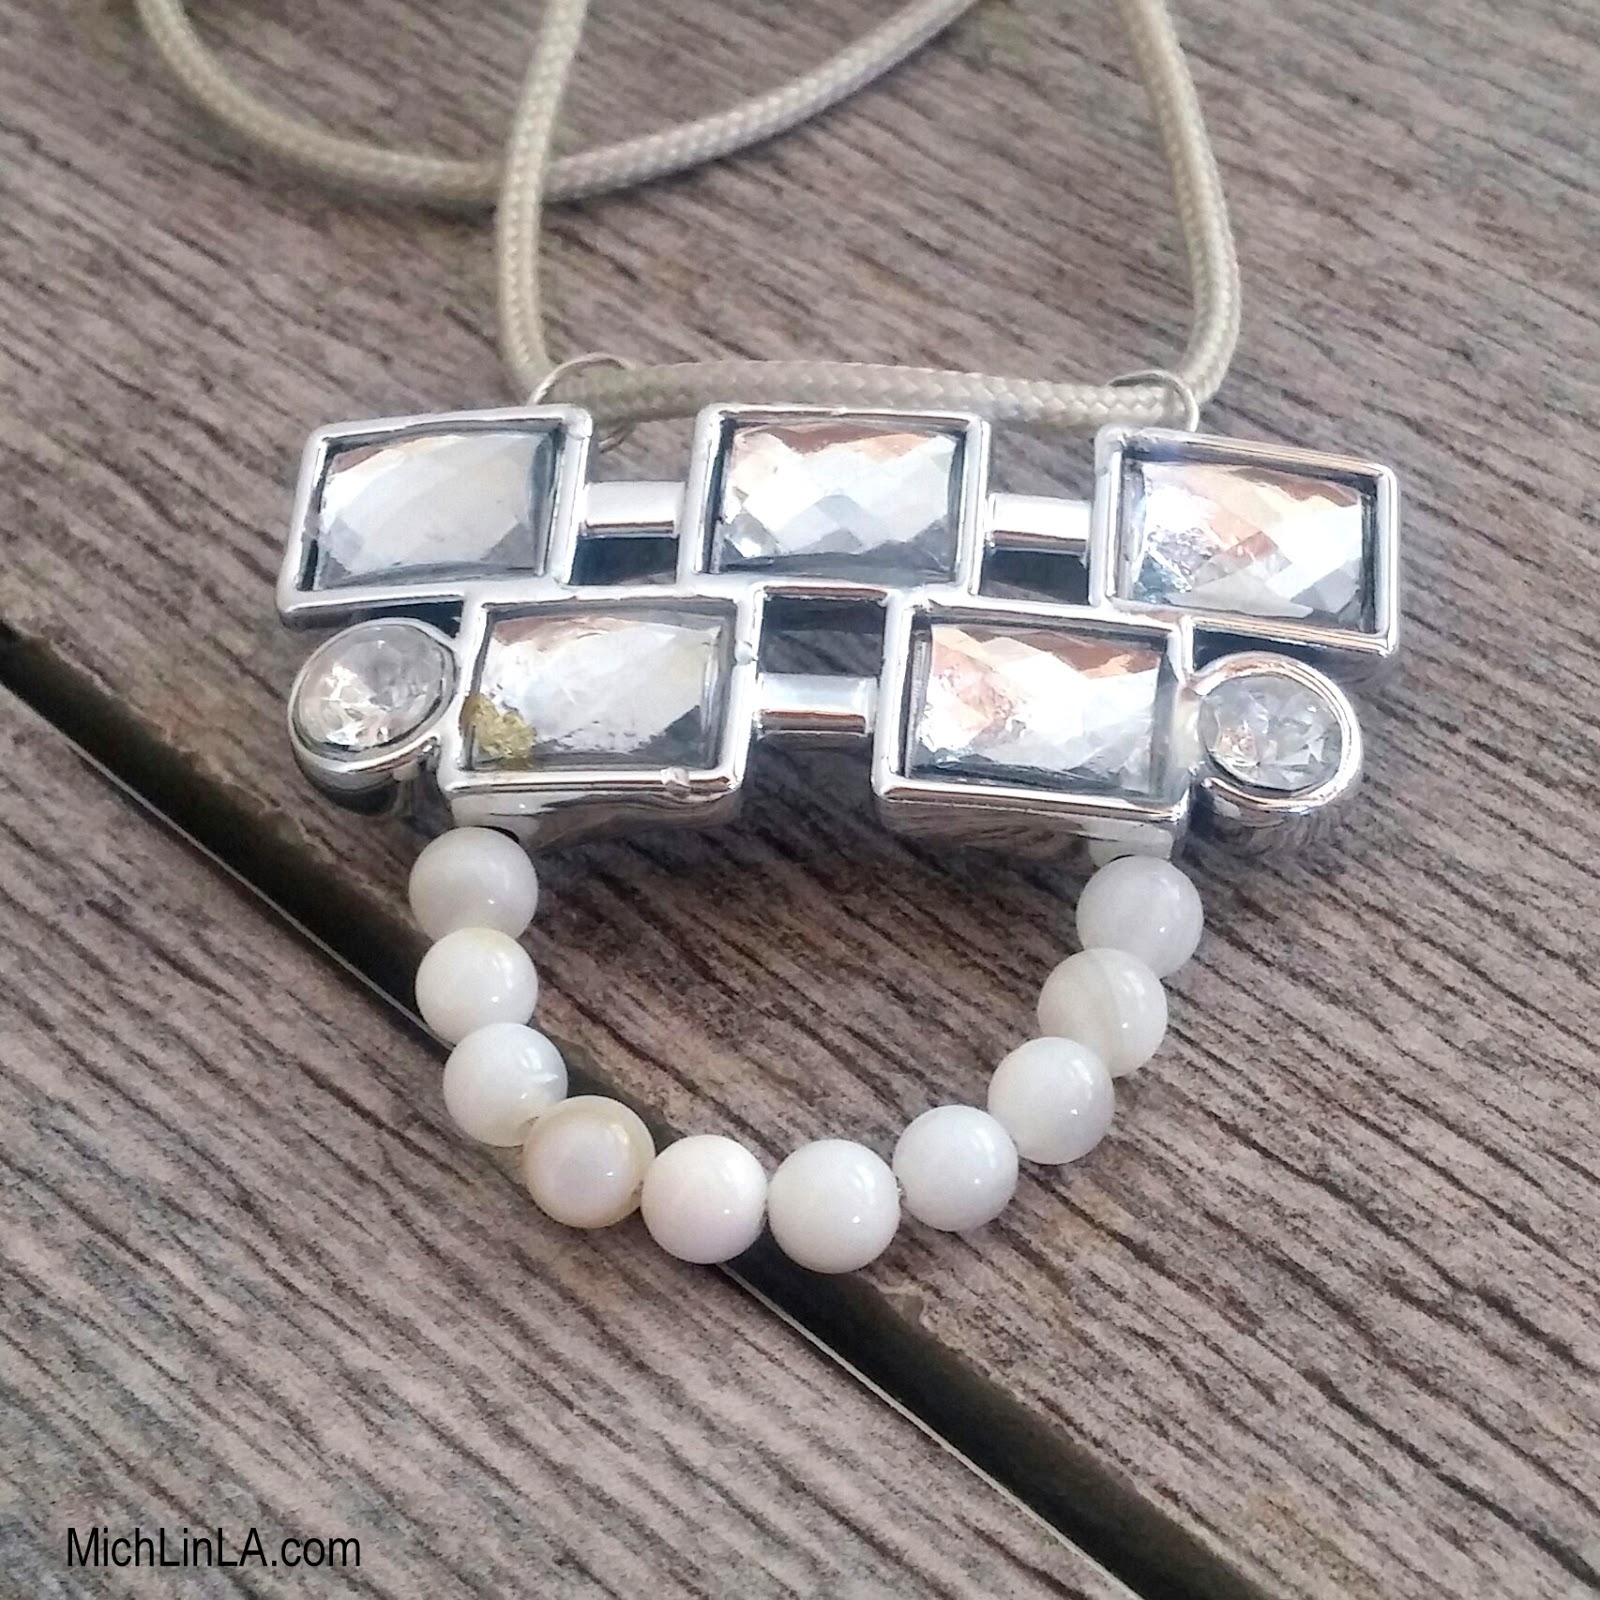
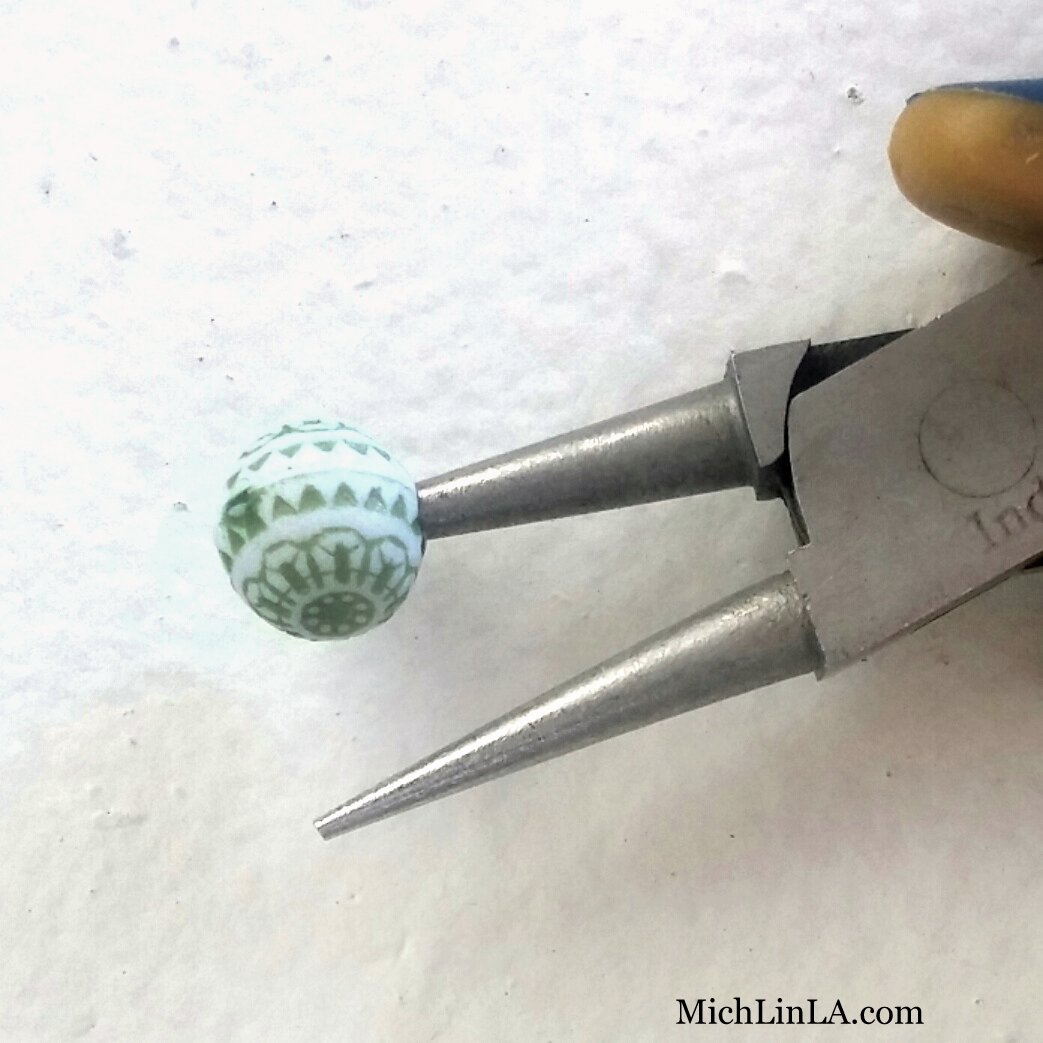
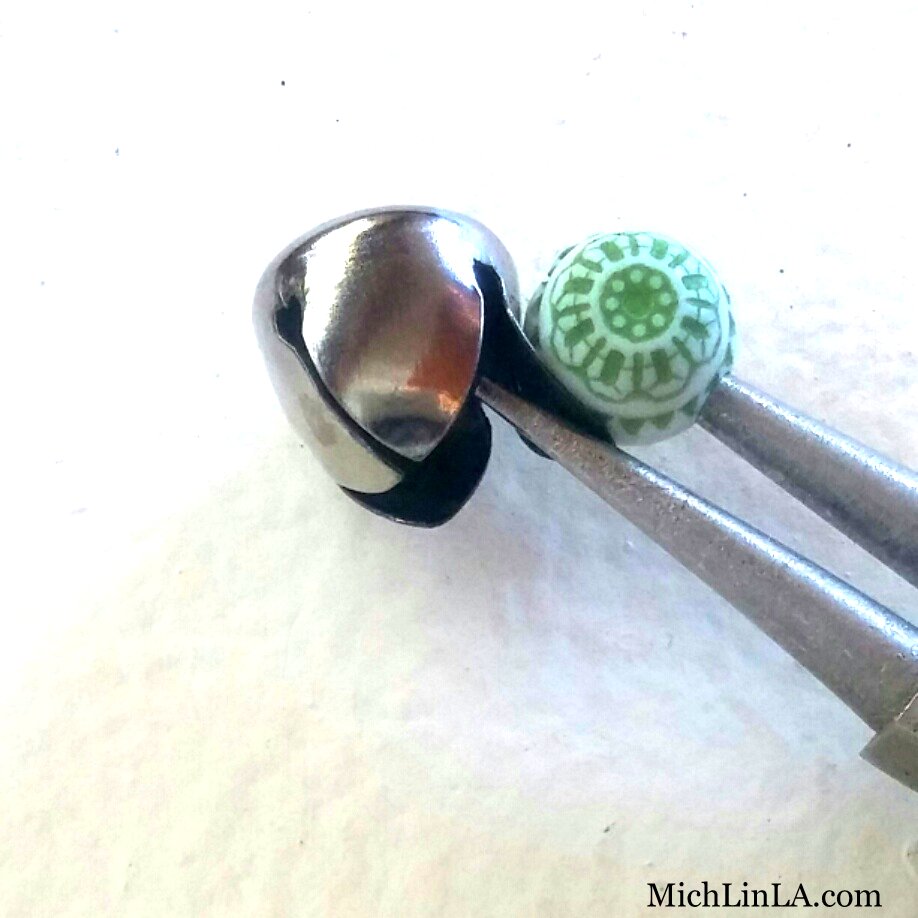
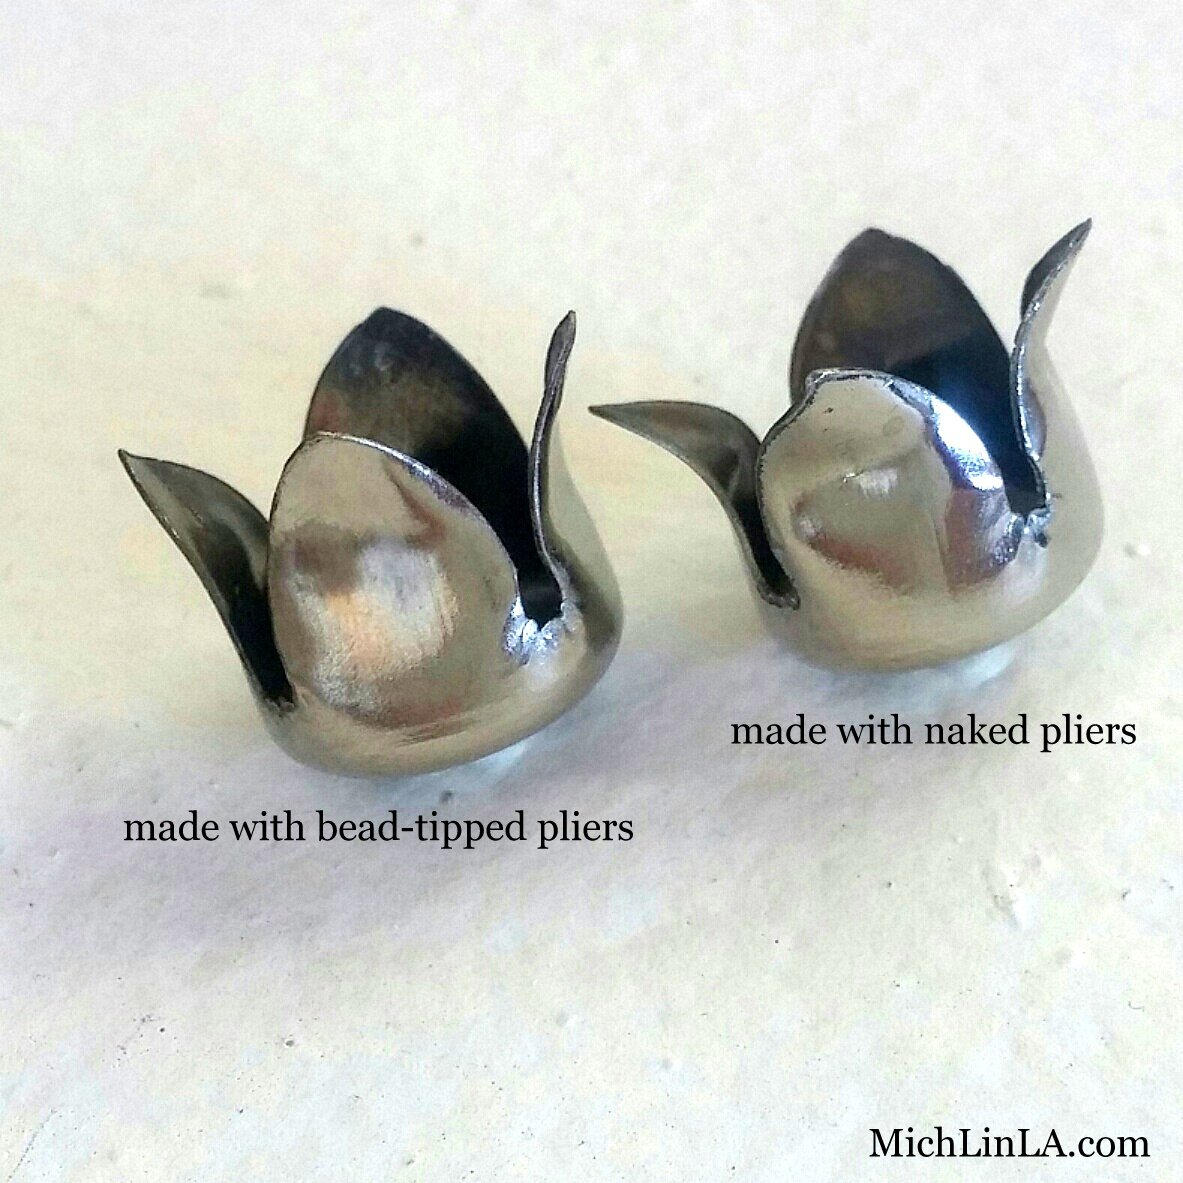
I untwisted and trimmed the handle wires.  Then I made small loops with the trimmed ends, like so:
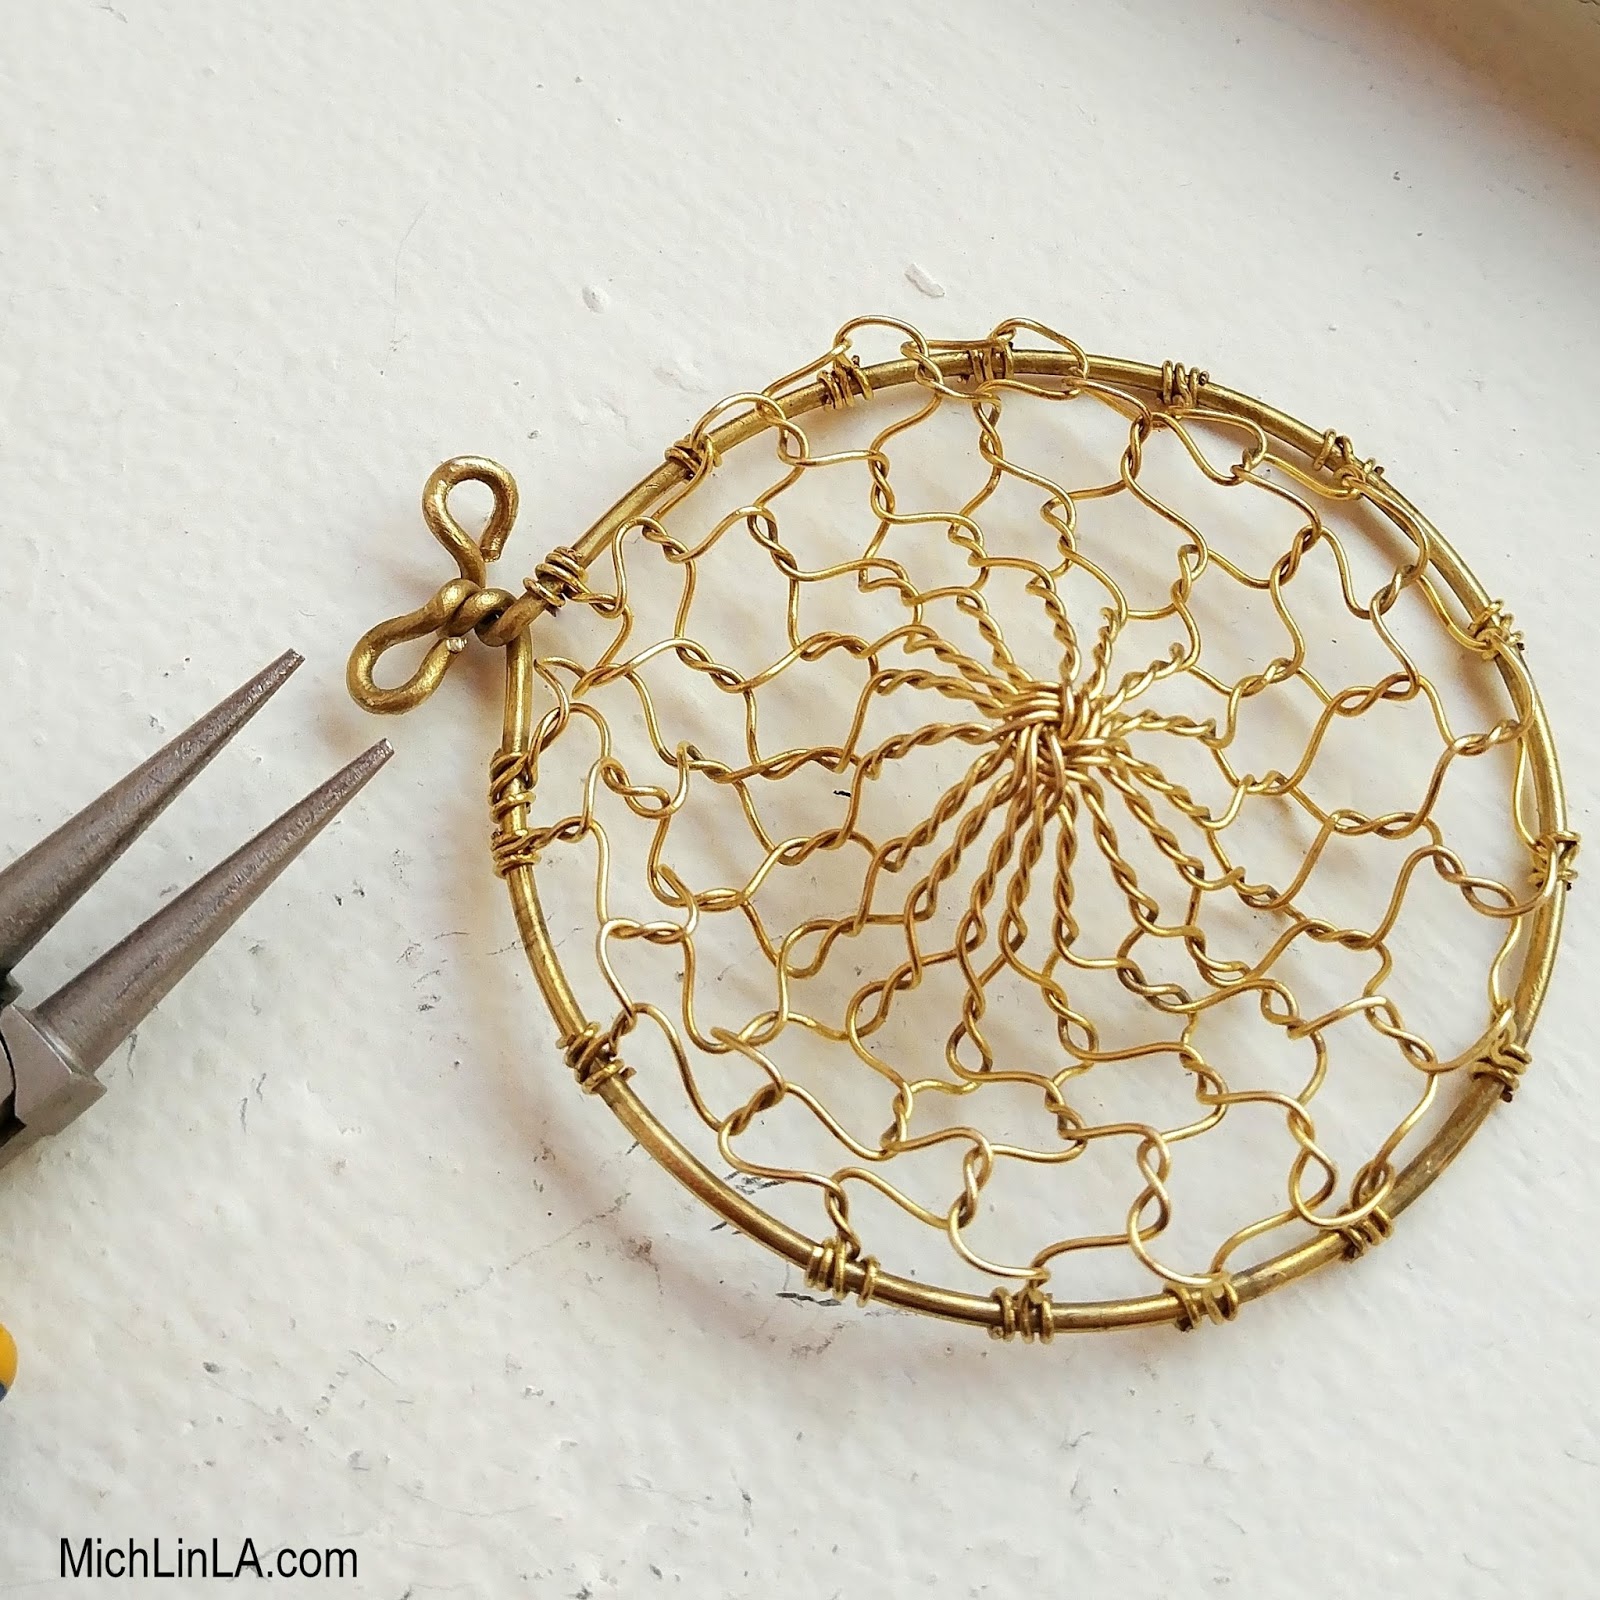


Tipthat two-loop bail was the one tricky bit.  Because the handle wire was so curly, I had to straighten it with pliers before turning the loops.  You could simplify by just cutting the handle short, and turning a plain loop.

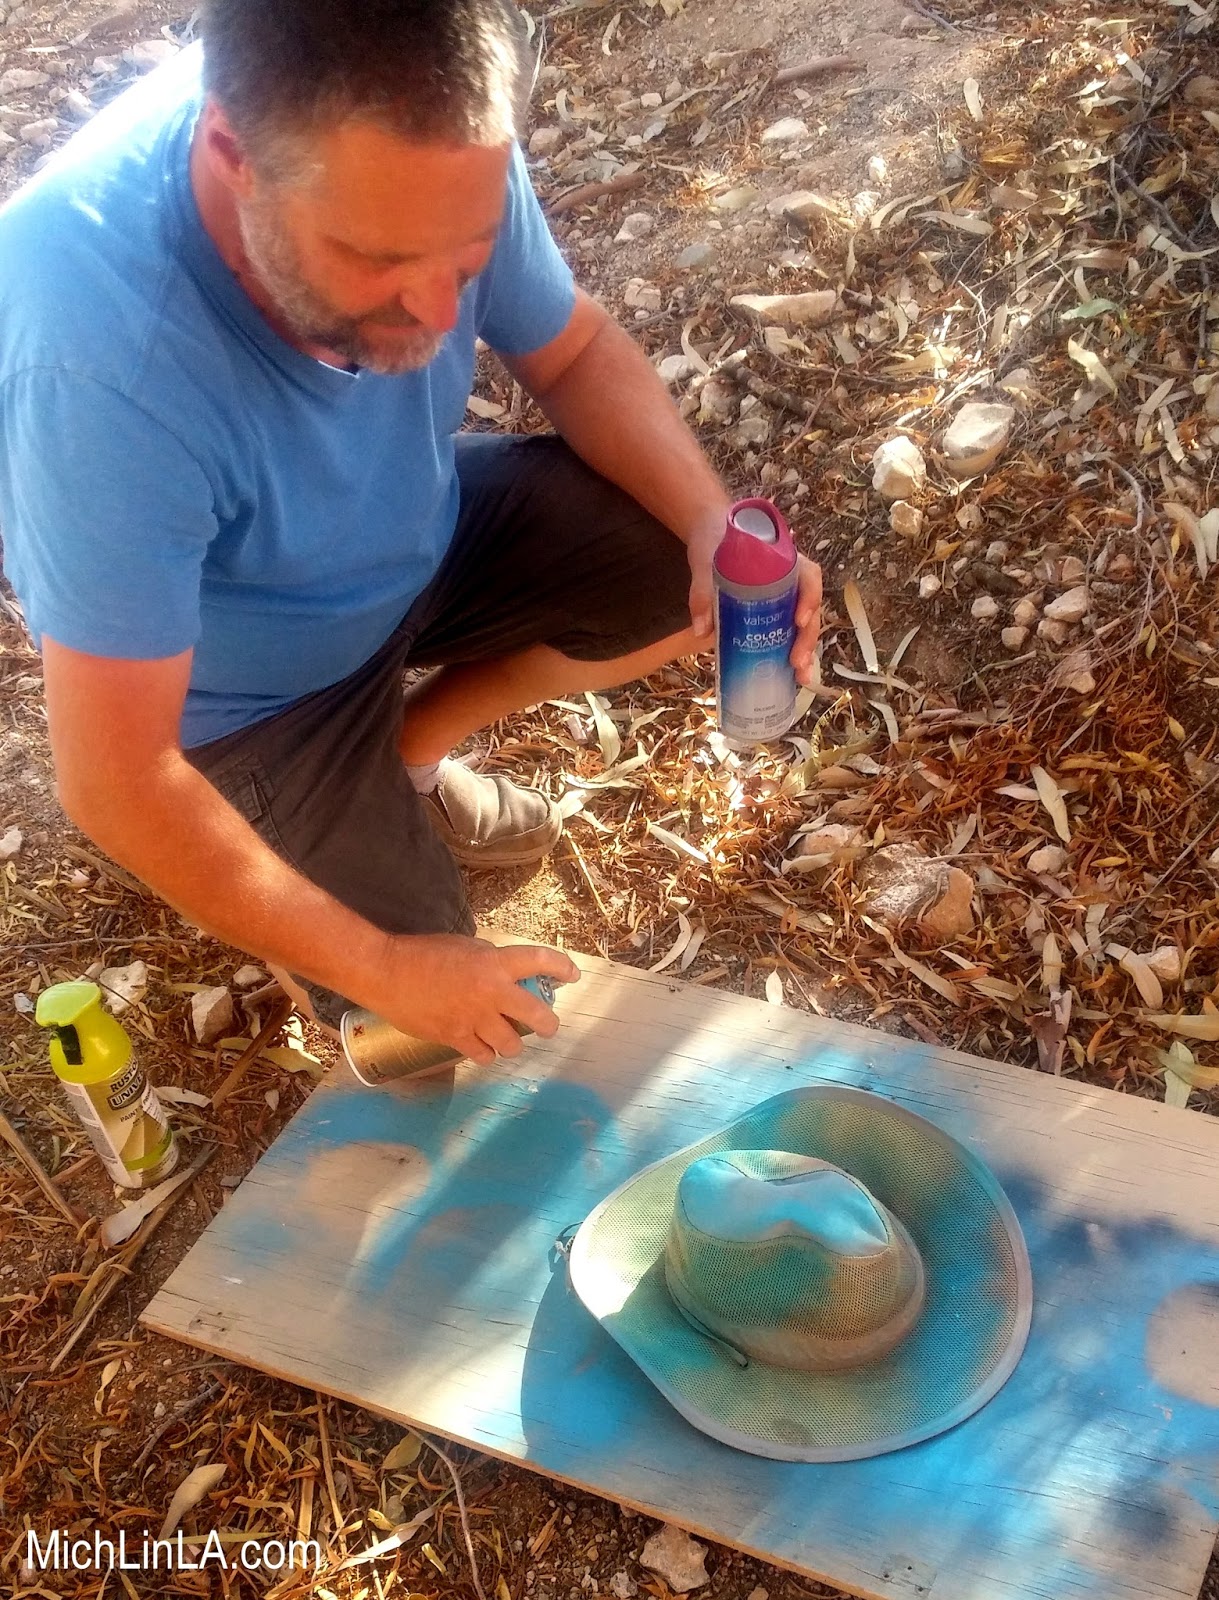
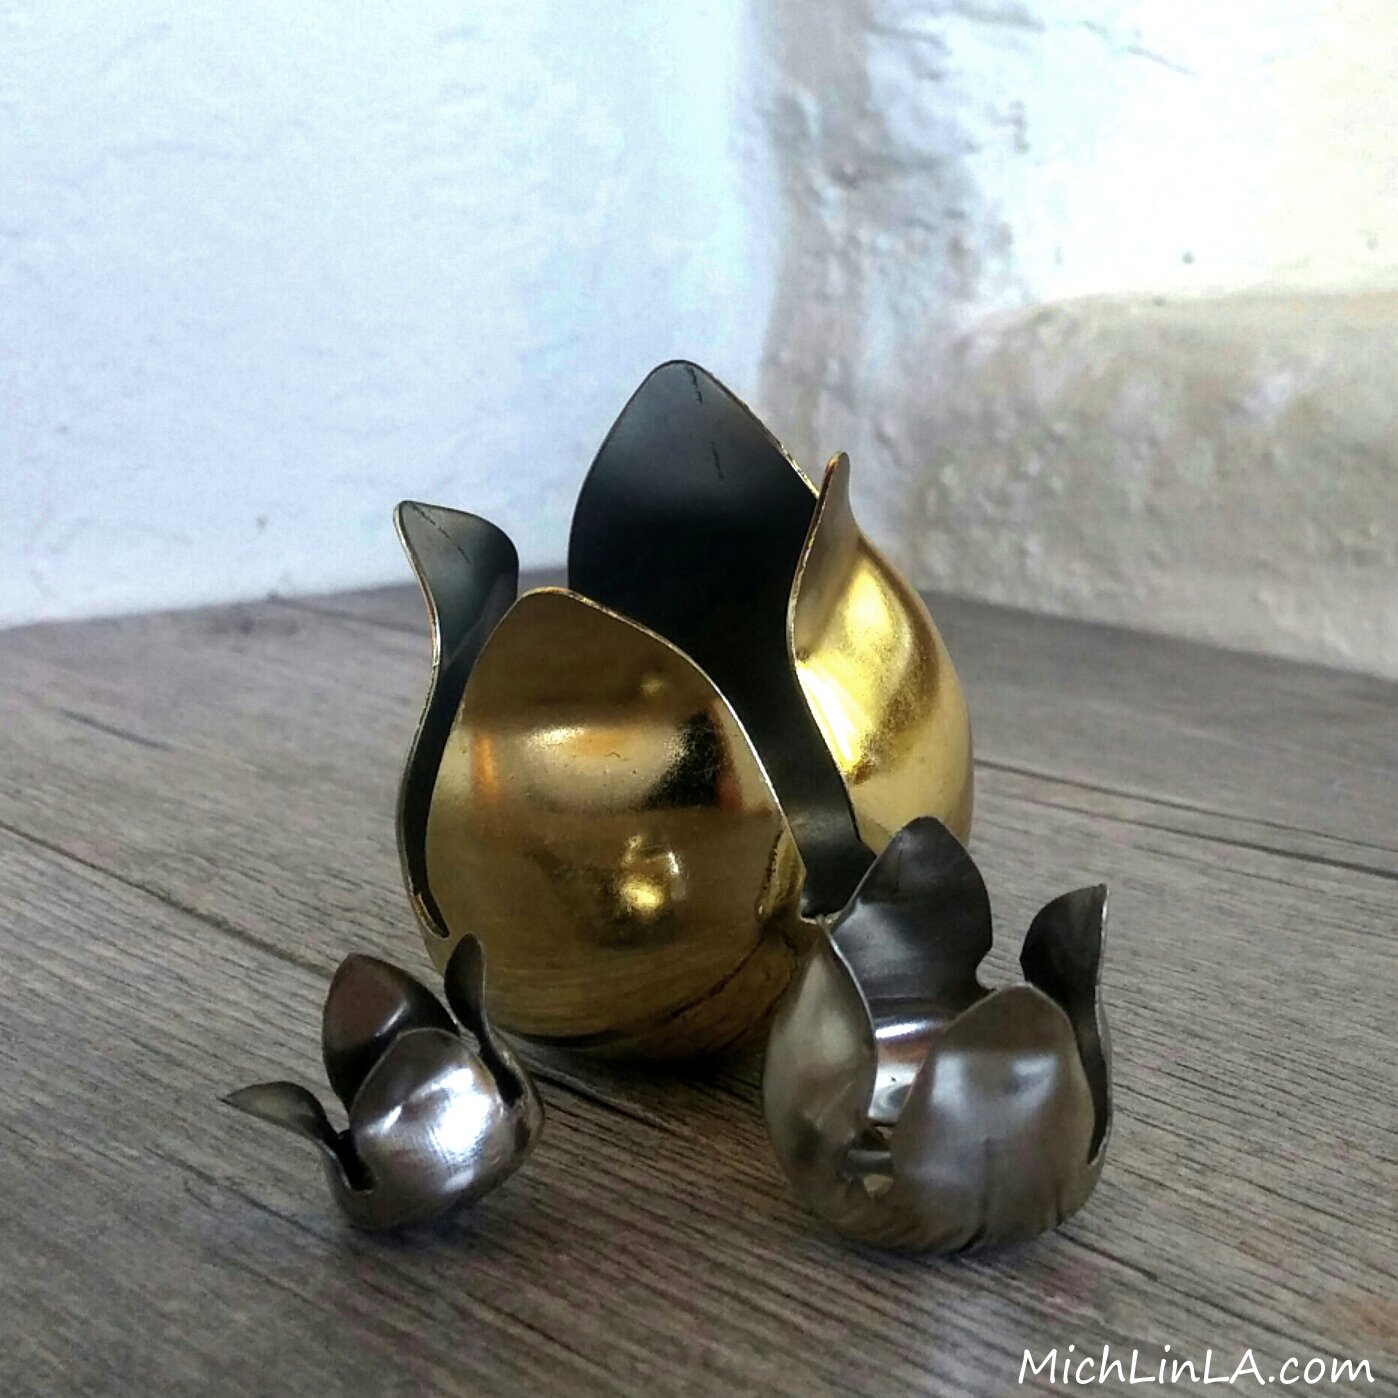
If you like the bright brass color, your dreamcatcher web is all done and ready to decorate.  I took one extra step: a dark jewelry glaze to add an antiqued look.


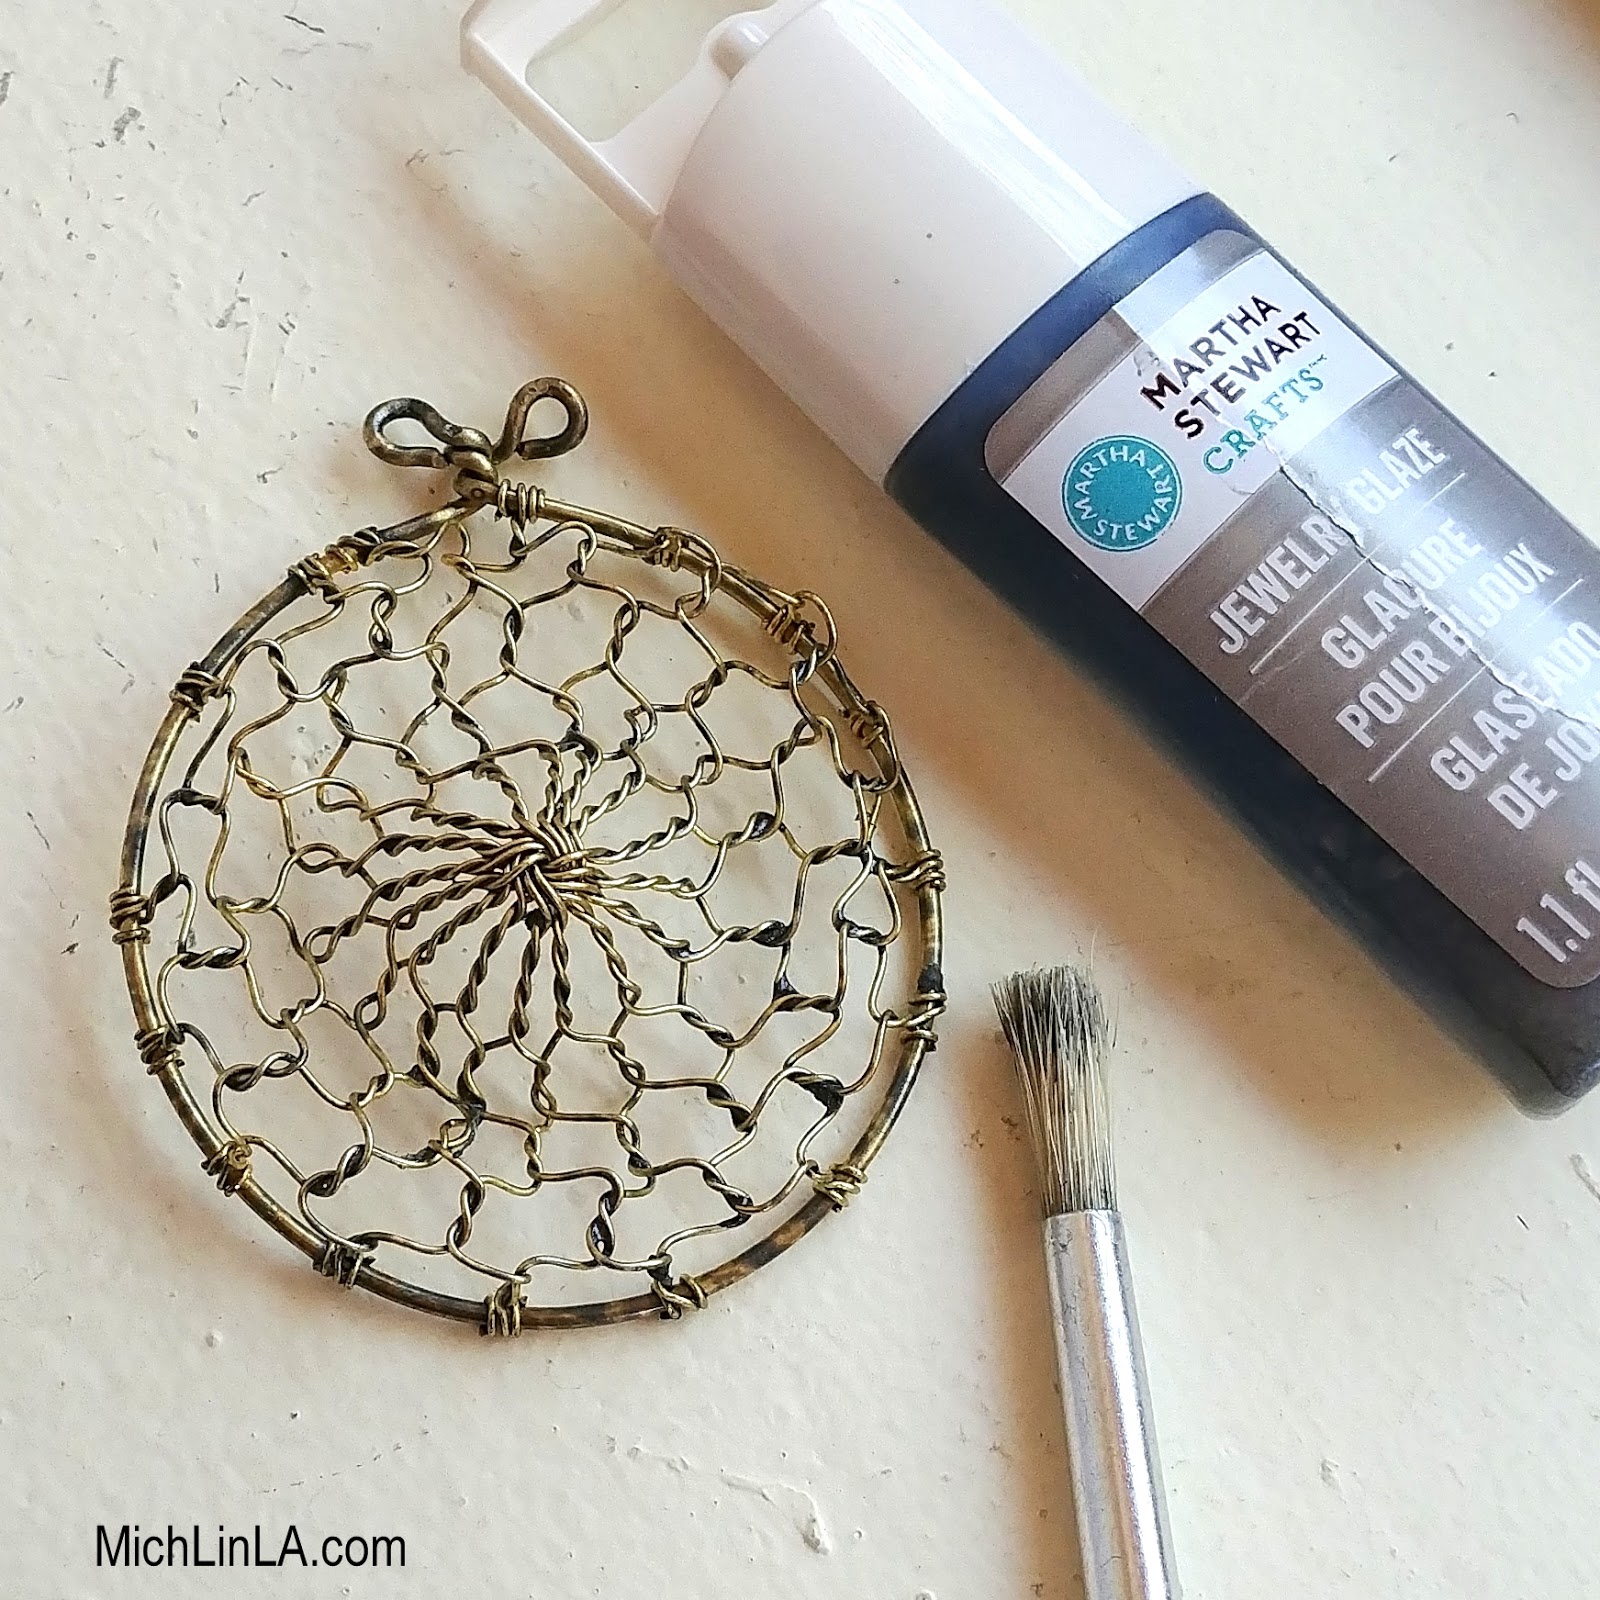
Tip: If you don't have glaze or patina, a simple wash with brown or black craft paint will work, too!

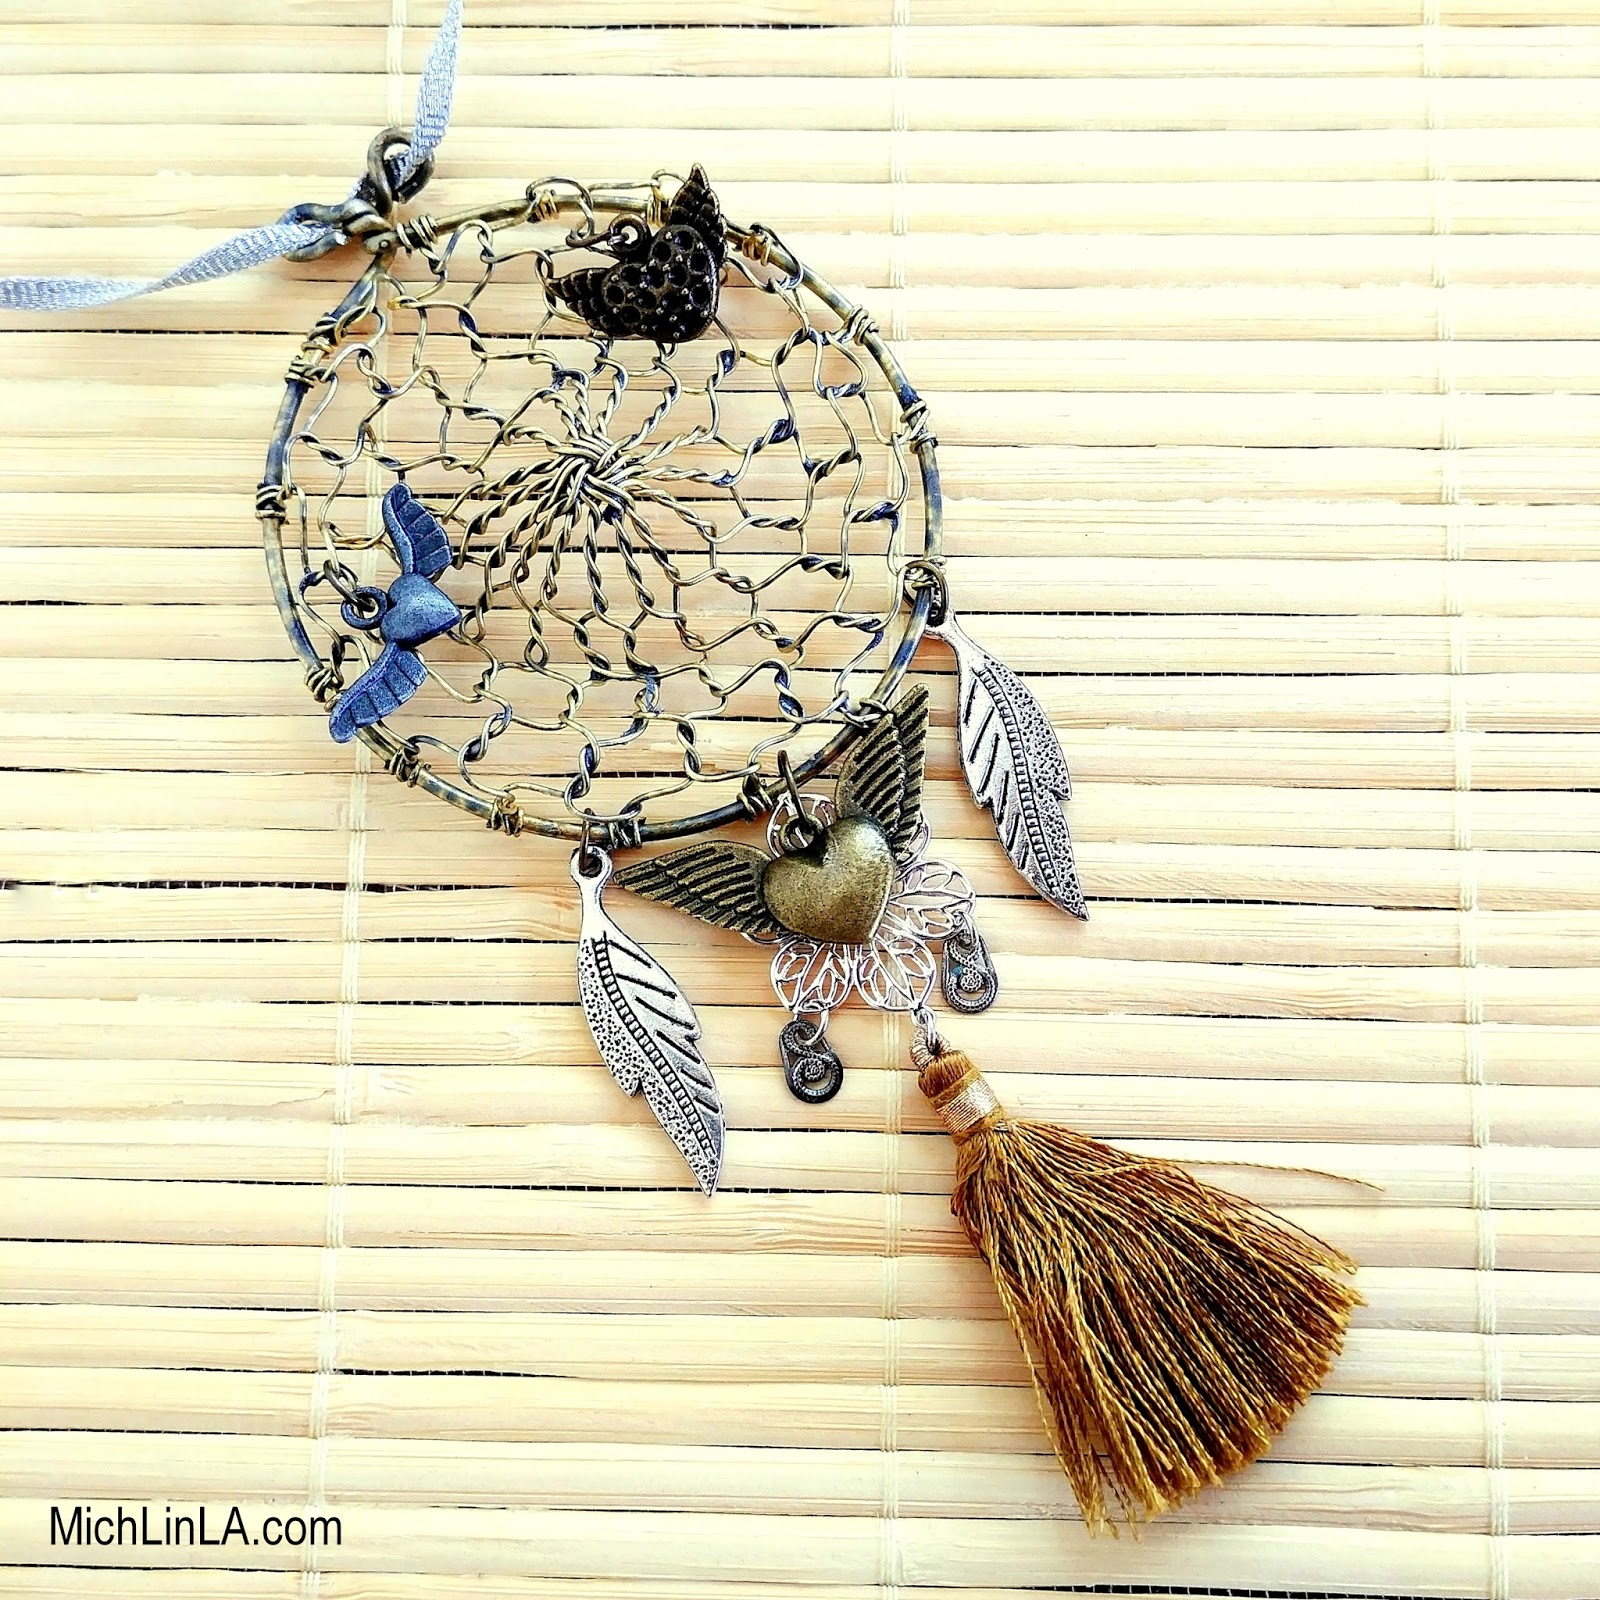
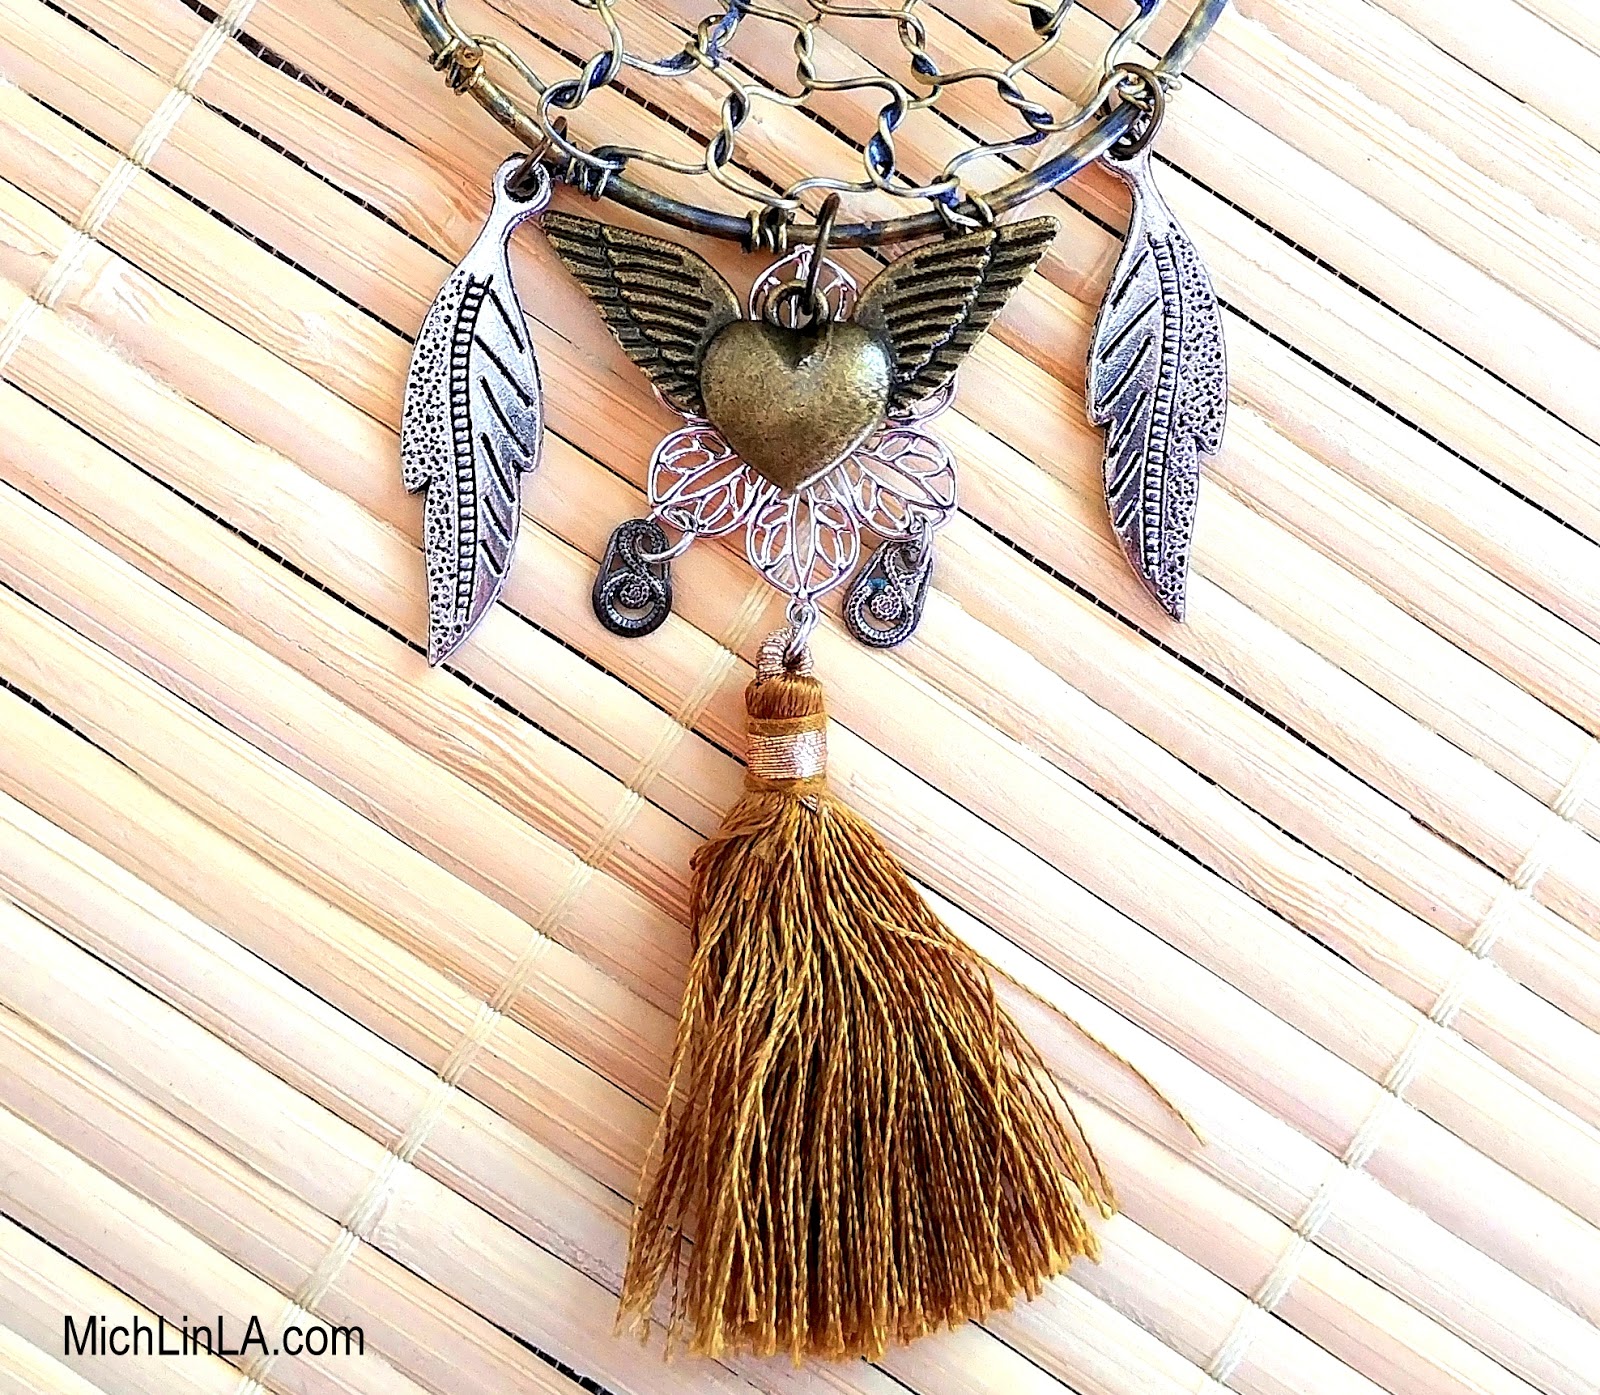
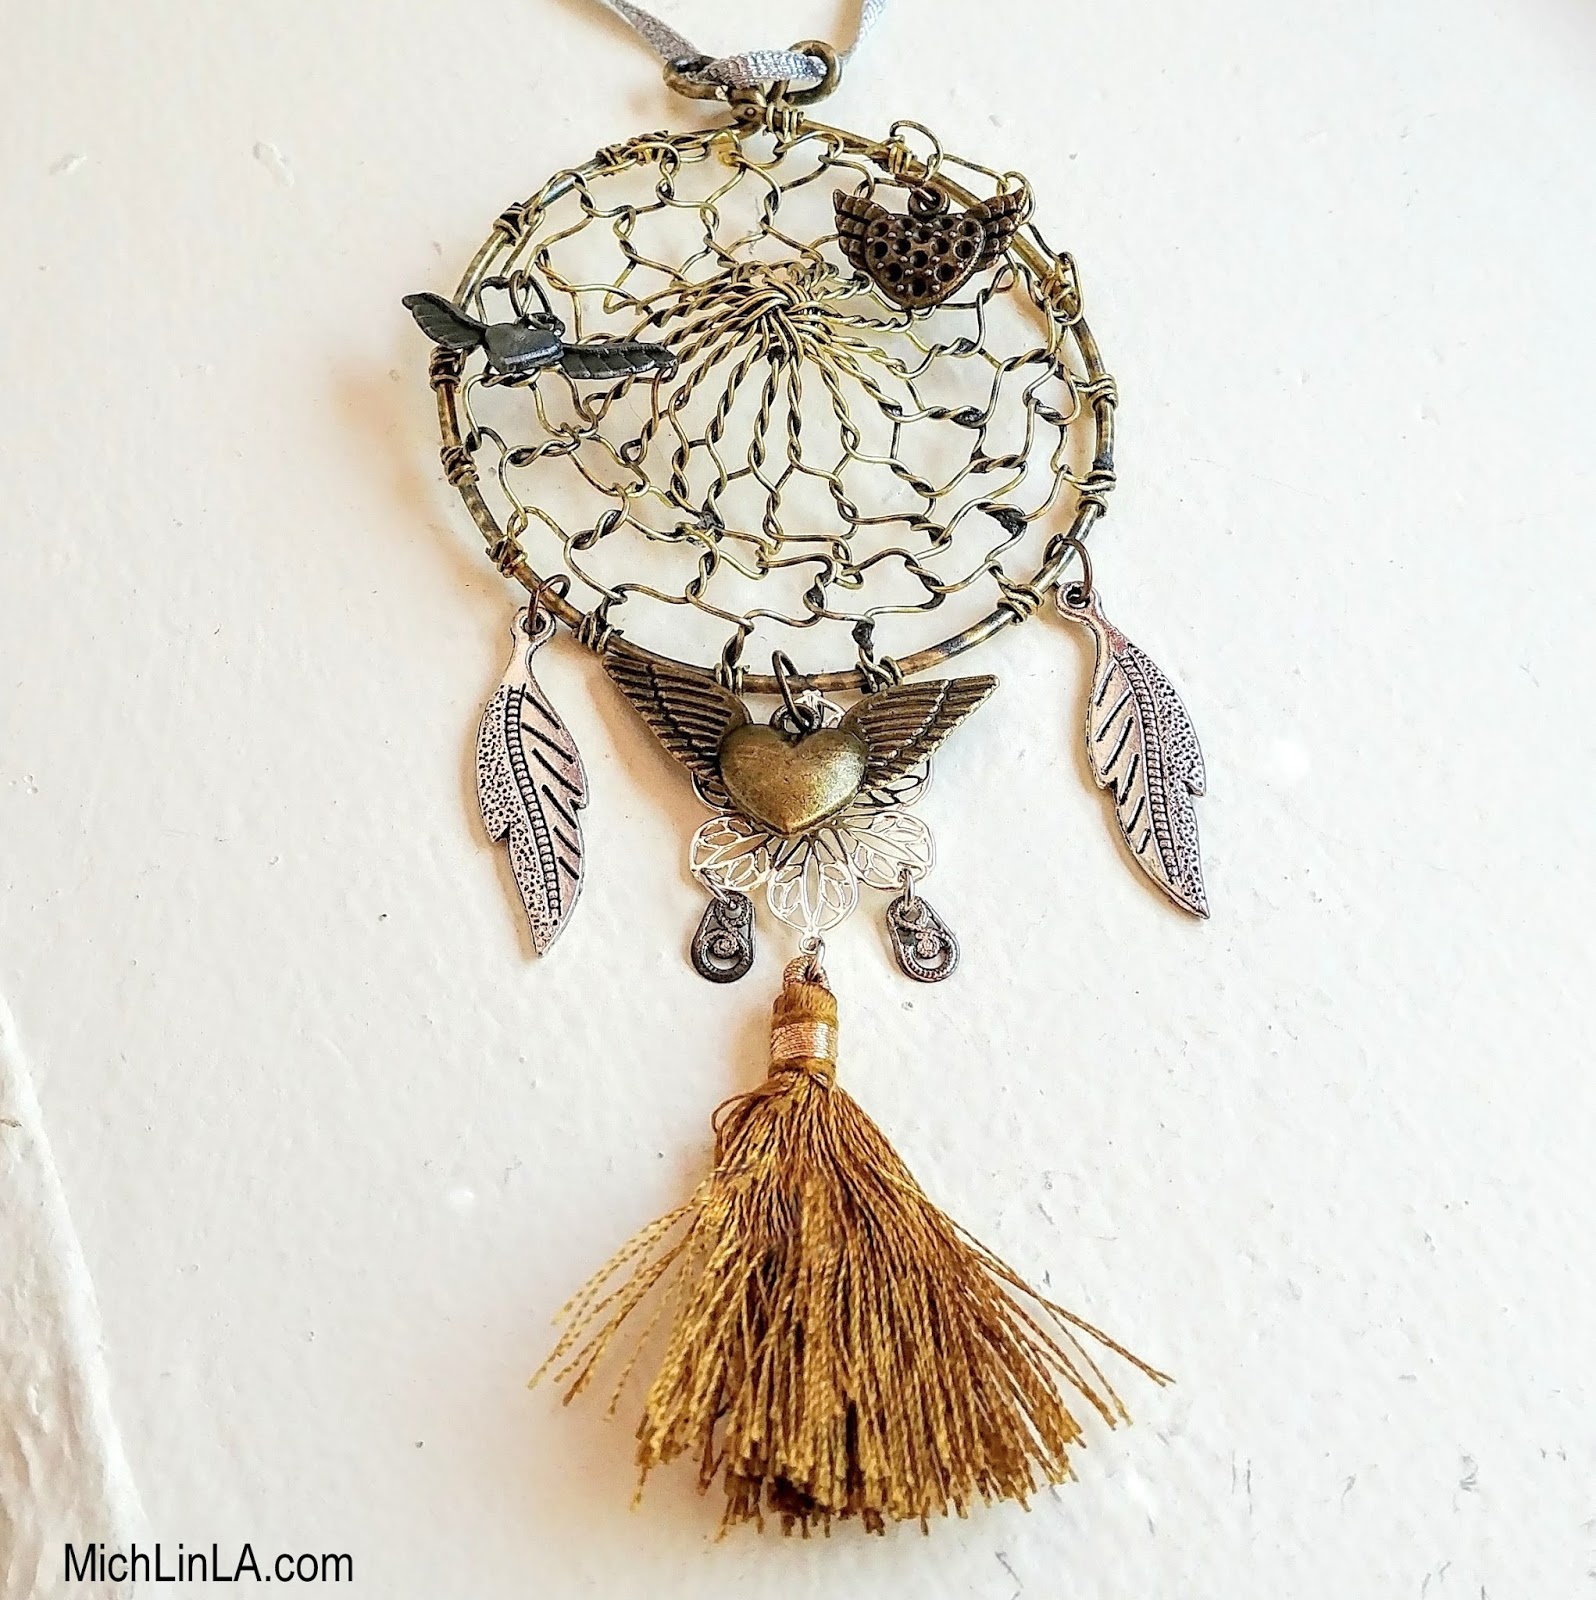
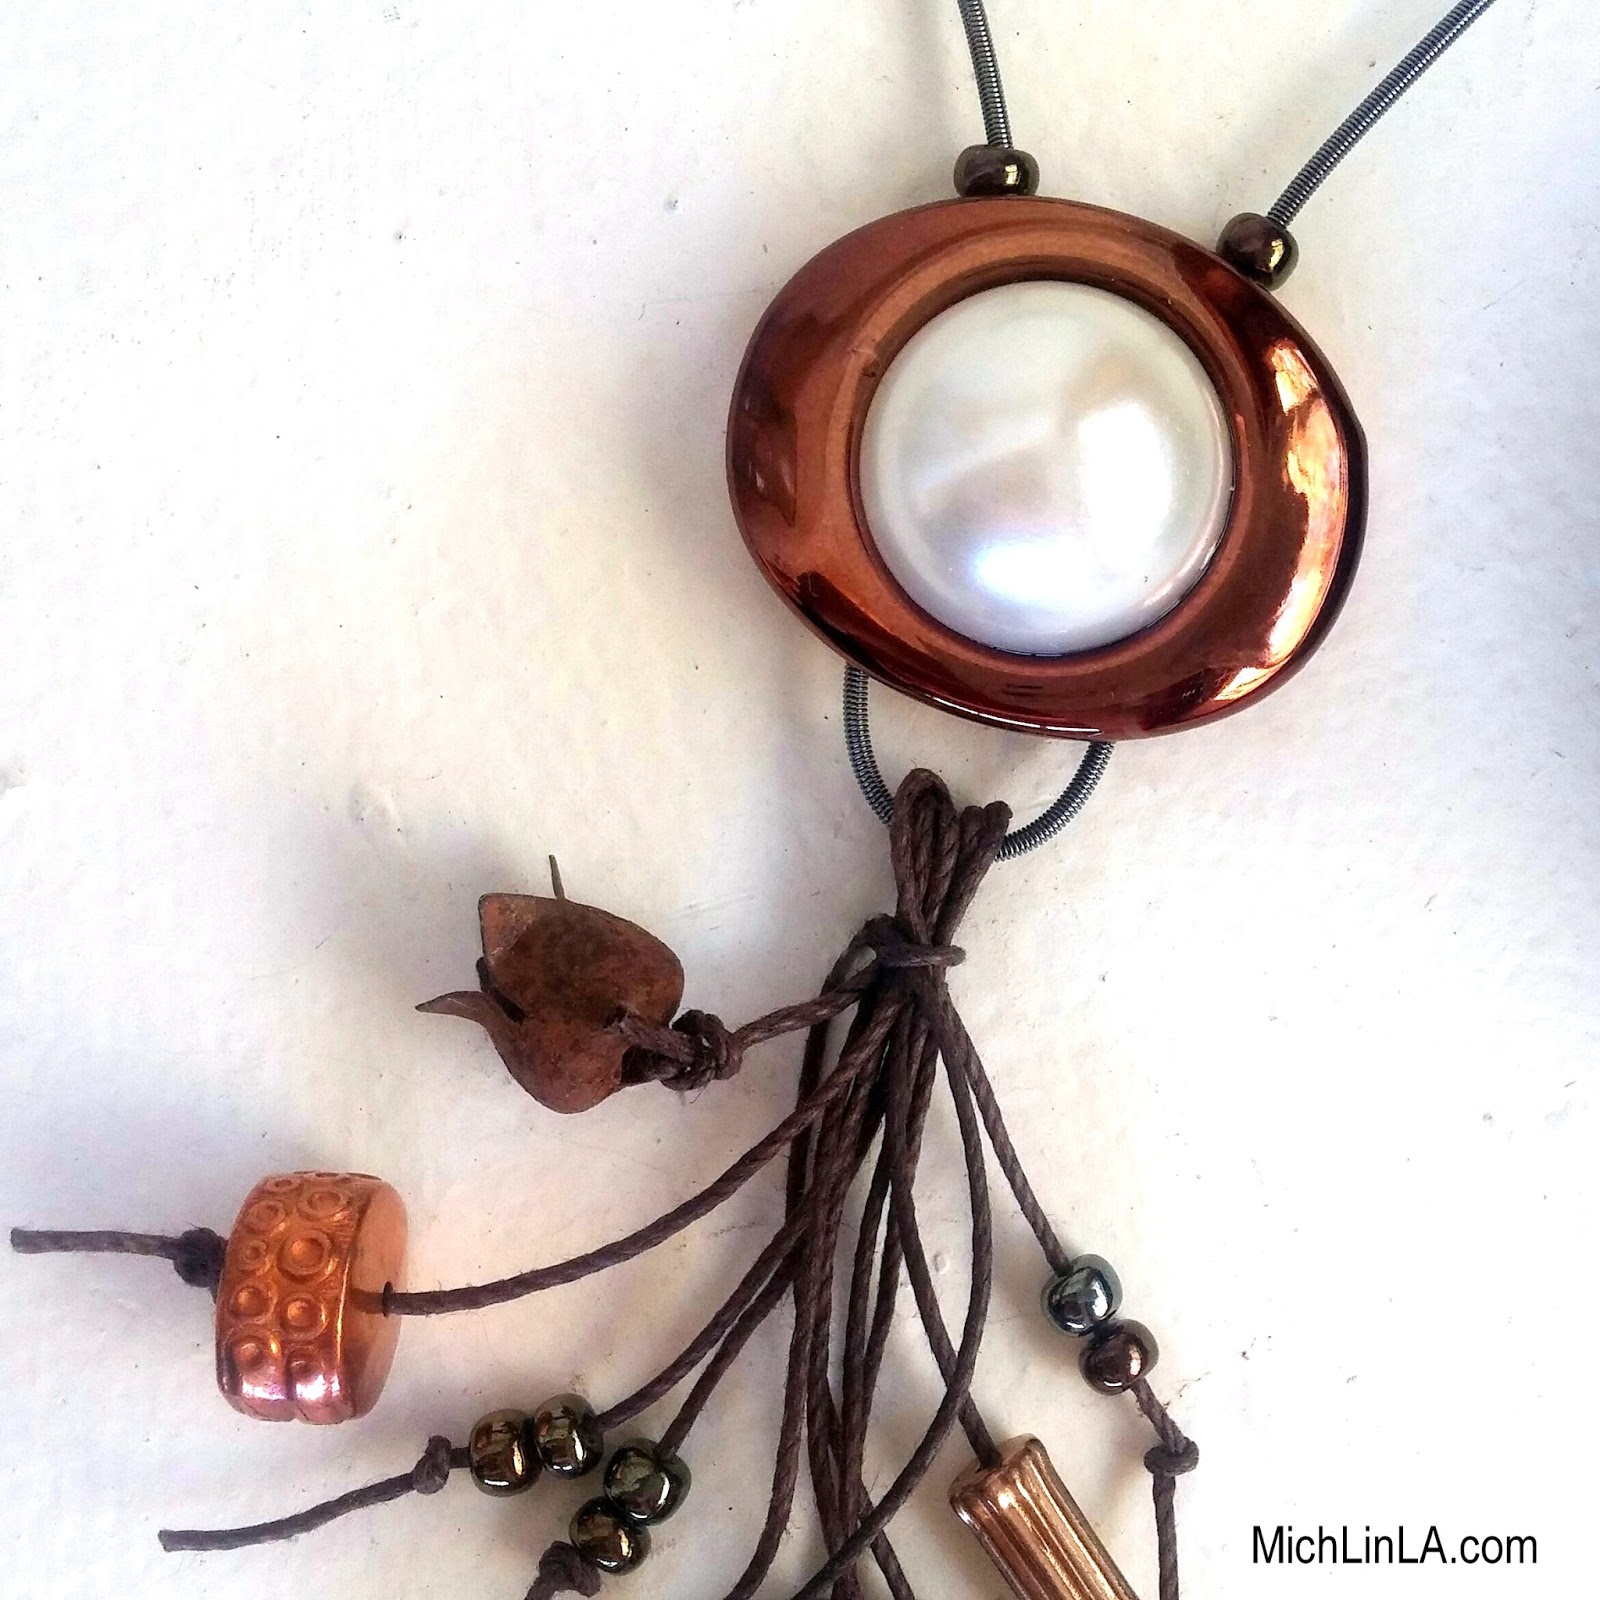
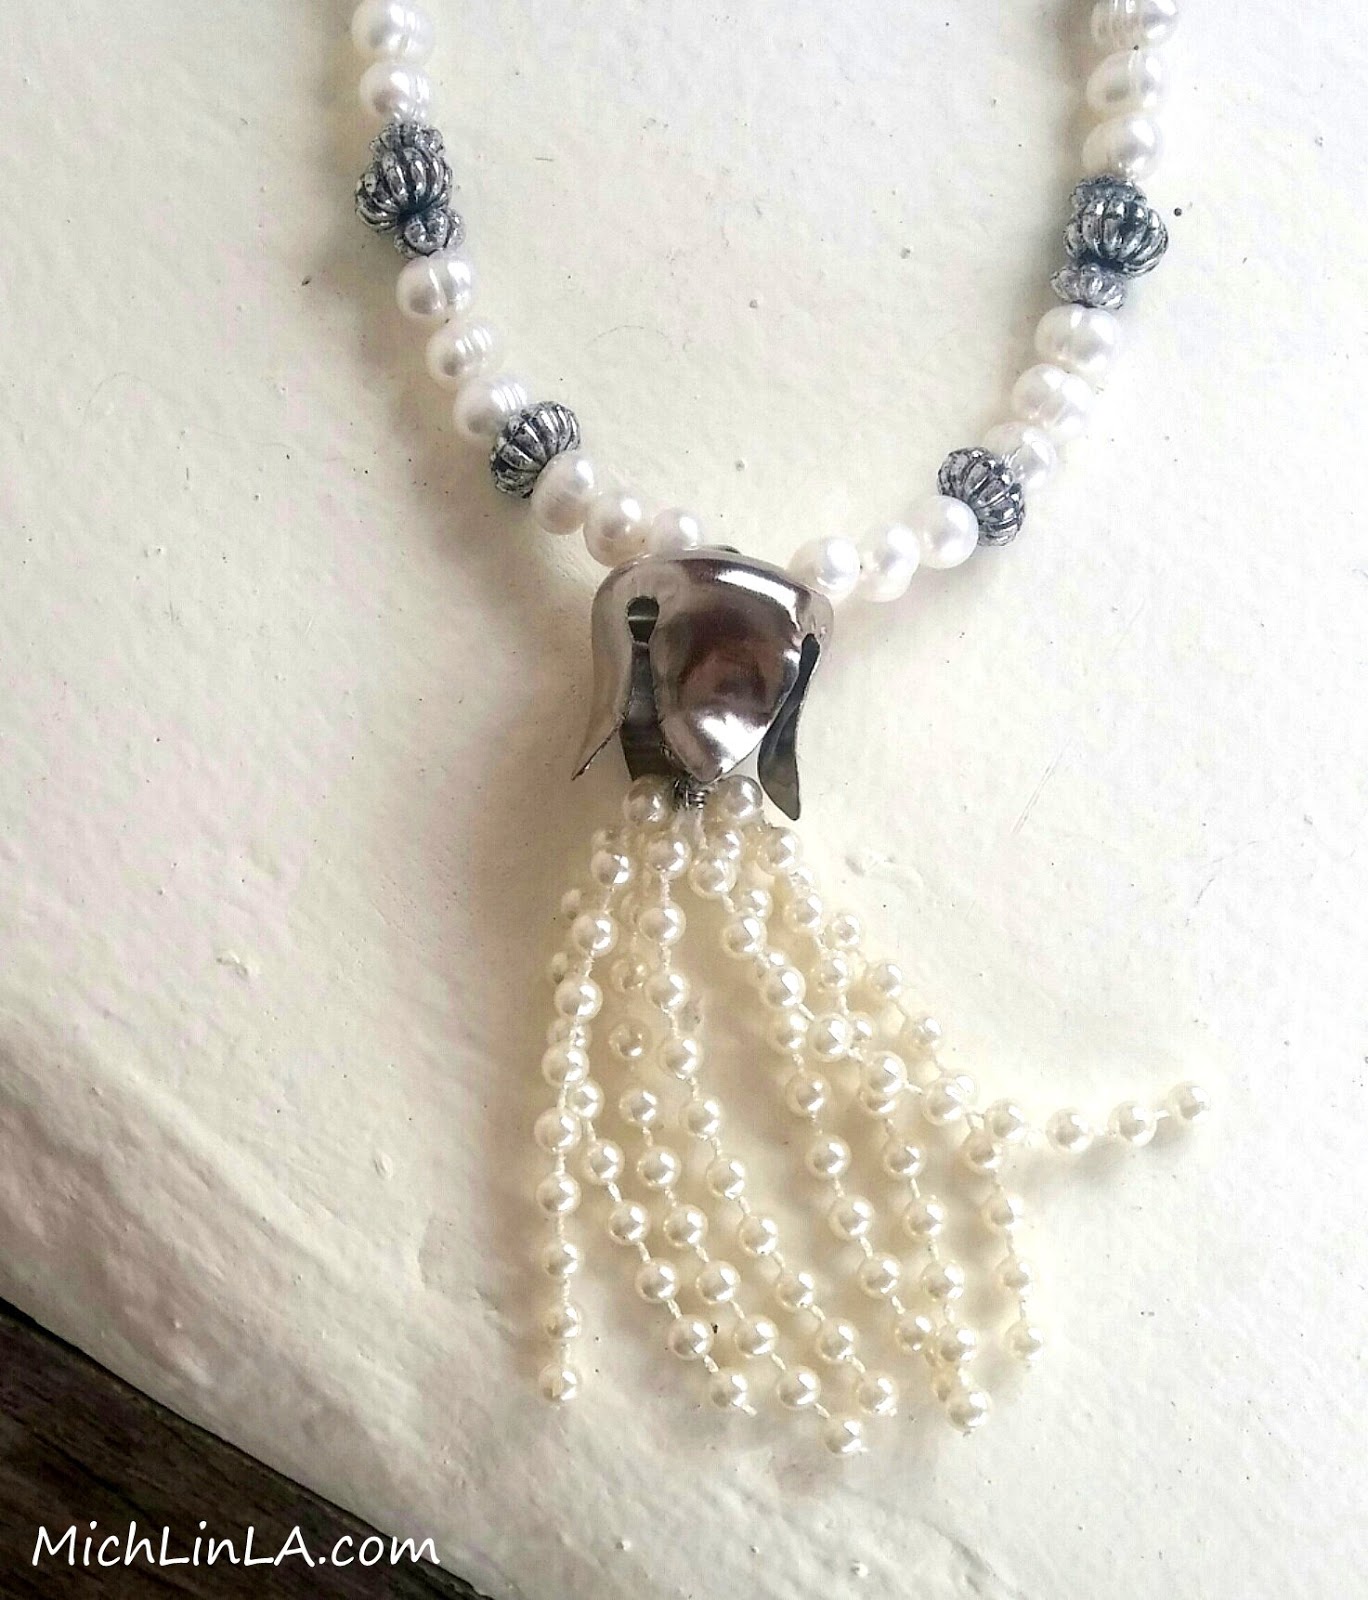
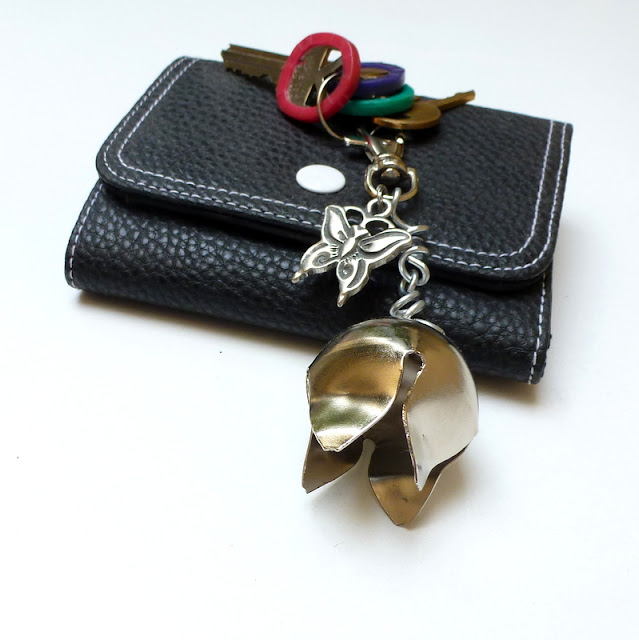
Then I had a great time with the adornments.  Metal feather charms, flying hearts, filigree and a tassel went into the final result.


And my dreamy catcher was ready to hang above the bed.


Of course, this is just an example.  You might prefer to include more traditional elements.  Bone beads, feathers, shells or other natural objects - there are lots of different styles when creating a dreamcatcher, with personal meaning for each maker.

Consult your own taste, aura, and sense of magic.

Now wouldn't this make a great gift, especially for a guy or someone who isn't really into jewelry?  Or hey - I would even count this as a handmade Christmas ornament.

OK, people, thanks a bunch for visiting!  See you again...maybe in dreams.


Friday, June 30, 2017

Colorful Spray Paint Sun Hats!

Here's a five minute craft for summer!  Something fun and creative from the brain of my husband.  A psychedelic painted sun hat!


The story: for 4 years, he has been wearing the same mesh sun hat for working outside.  Even though it went through the washing machine regularly, it was stained and unsightly and, well, take a look at what I mean...


Ew, right?

A few days ago I spotted him heading for the back yard, clutching three cans of spray paint and the hat.  I grabbed my camera and followed.

Hijinks ensued.


Isn't it awesome?  His colors: teal, purple and bright chartreuse.


I loved it so much, I made one for me.  They only take a minute, you guys!  I started with this dollar store straw hat:


I went with a slightly different color scheme - I kept the teal and chartreuse, but added touches of bronze and antique silver.


The paint dried in 10 minutes and the hats were ready to wear.


They look super cute hanging in your house, too.


Tips:

*Start with just a light spray, don't blast on heavy coverage.  (That way the hat will still breathe.)  If you want deeper color, add one or two more very light coats.  

*Don't paint the underside - you don't want to wear spray paint against you hair or skin.

*These won't go in the washing machine, but cloth hats can still be spot cleaned on the inside.  (Maybe even hand washed in the sink; I have had good luck with hand-washing spray-painted fabrics.) 

Okie dokie, I hope you liked Jeff's quickie idea.  Try it, have fun!  Give a sad old hat a whole new attitude.


Friday, March 17, 2017

Quick Jewelry Makeover: Refashion An Elastic Bracelet

Hi!  Today I have a frugal and easy makeover for you.  First let me show you the end result: these pearly, coppery little necklaces.


I've been wearing them a lot lately - they are subtle, so simple and go with everything.


Here's another design, this one a bit more shmancy:


The makeover began with this (sorta, maybe, kinda) cute elastic bracelet...


...which I probably would never wear in real life.  Not that it was awful, just not my personal style.   But I do love the individual segments.  Such a pretty dark copper color and a nice silhouette.


So I turned them into necklace focals.

For the simple version, all I did was thread two headpins through the focal.  At the top, I turned two small loops.


I added chain and pearls to complete the necklaces.


The fancier, tasseled necklace went together differently. It's created with flexible beading wire (tiger tail), covered over with hollow coiled wire.  You can see this a bit better in the closeup:


The coils are a cool way to disguise the plain tiger tail underneath, don't you think?  (In case you're curious, here's where I bought the coil stuff.)

I had lots of fun raiding my stash for copper-toned treasures to tie onto the tassel.


Btw, those tiny rusty flower buds began life as mini jingle bells - click here for the how-to.

Anyway, you get the idea - you can harvest eight (or more!) focal pieces from one bracelet, and go nuts coming up with various necklace designs.

As frugal as this is, it could be a great party project or craft night challenge: how many different ways can a bunch of people use the same focal?

Before I go, one more makeover to show you - and this time, the bracelet in question is genuinely ugly.


Yuck!  No.  Just...no.  But maybe the individual segments had potential.

So here's what I did with one of them.  Step one: string a few beads on craft wire, and thread the wire up through the two holes:


Make wrapped loops on top.


Add some ribbon, a chain, or a length of cord, like so:


And what is it?  Why, this - an eyeglass holder necklace.


I definitely think it's an improvement on the dreadful original jewel!  Not to mention useful as heck.


And hey - I have nine more sparkly segments to experiment with.  Got any suggestions?


Saturday, December 10, 2016

Tiny Succulent Planter - Made From A Jingle Bell

Somewhere out there exists a Scrooge or Grinch who would not think this is cute.  All I can say to that person: Bah humbug.  And I hope you are remembering to feed Max.

For the rest of us, here's my little idea for the world's tiniest flower bud succulent planters.


They are made from jingle bells.  (Cheap dollar store ones, preferably!)


Wanna make this?  Here comes the DIY!

Begin by turning a jingle bell into a little flower.  Go here to follow my easy tute - and see a few fun examples of jingle bud jewelry like these earrings.


Once you have a flower, fill it with a dollop of soil.


Grab some metal washers.  (Glue is optional.)


Plant a scrap of succulent inside the flower, then balance on a washer (or two or three) so it has a stable base.  All done!


Keep it for yourself, or give it away.  A pair of them in an anchovy tin makes a darling hostess or neighbor gift.


I also envision these on the tables at a wedding or other celebration - wouldn't it be a sweet party favor to take home? 


Tips Tips We Got Tips:

*If you are giving it as a gift, you might choose to glue the metal washers to the bottom of the jingle bud so they don't tip over en route.  For the ones on my own windowsill, I don't bother to do this step.

*Water sparingly!  1/2 teaspoon of water once a week should do it.  The bottom will leak, so place it on a plate or paper towel until the water is absorbed.

*After a few months, some rust might form on the petals.  Try to think of it as patina. ;)

I sure hope you guys enjoyed this one!  Thanks a bunch for coming by.


Friday, December 2, 2016

The Jingle Bud Tutorial! Make Little Flowers From Jingle Bells

It's the most wonderful time of the year: that month when you can buy jingle bells at the dollar store!  (Okay, you can buy them other places too.  So I'm told.)

Why is this wonderful?  Well, duh, they make everything more jingly.  But even more significantly -

You can turn them into flower buds.


They are awfully fun to use in crafting.  Delightful for jewelry...


I love to use them in home decor projects (more about that in another post), and for cute flower gifts like these key rings.


If you try, bet you'll come up with all kinds of cool things to use them for.

The DIY is easy - you can probably figure it out without a tutorial.  But I have a neat little trick to show you, so bear with me all the way to the end - you might decide to do it my way.  Ready?  Here we go.


First the basic technique - this is how I used to make them before figuring out my super secret maneuver.  And it's a perfectly fine way to do it.

1. Use a fingernail or pliers to open out the petals just far enough to jettison the jingler.


2. Grab a petal between pliers and bend it over - as little or as much as you like.


Do it with all four petals and - yep, that's it!  Flower done!


But here comes my awesome trick.  Watch carefully now.

Pop a round plastic bead onto one tip of the pliers.


Now grab your petals (with the plastic bead on the outside) and bend.


The round bead will protect the metal and make a prettier, unmarked petal!  This photo shows what I mean:


A tiny - but interesting - difference, is it not?

I hope you enjoyed this idea!  Perhaps there's a trip to the jingle bell store in your future?


P.S. check my next post for another awesomely adorable idea for the jingle buds!