Somewhere out there exists a Scrooge or Grinch who would not think this is cute. All I can say to that person: Bah humbug. And I hope you are remembering to feed Max.
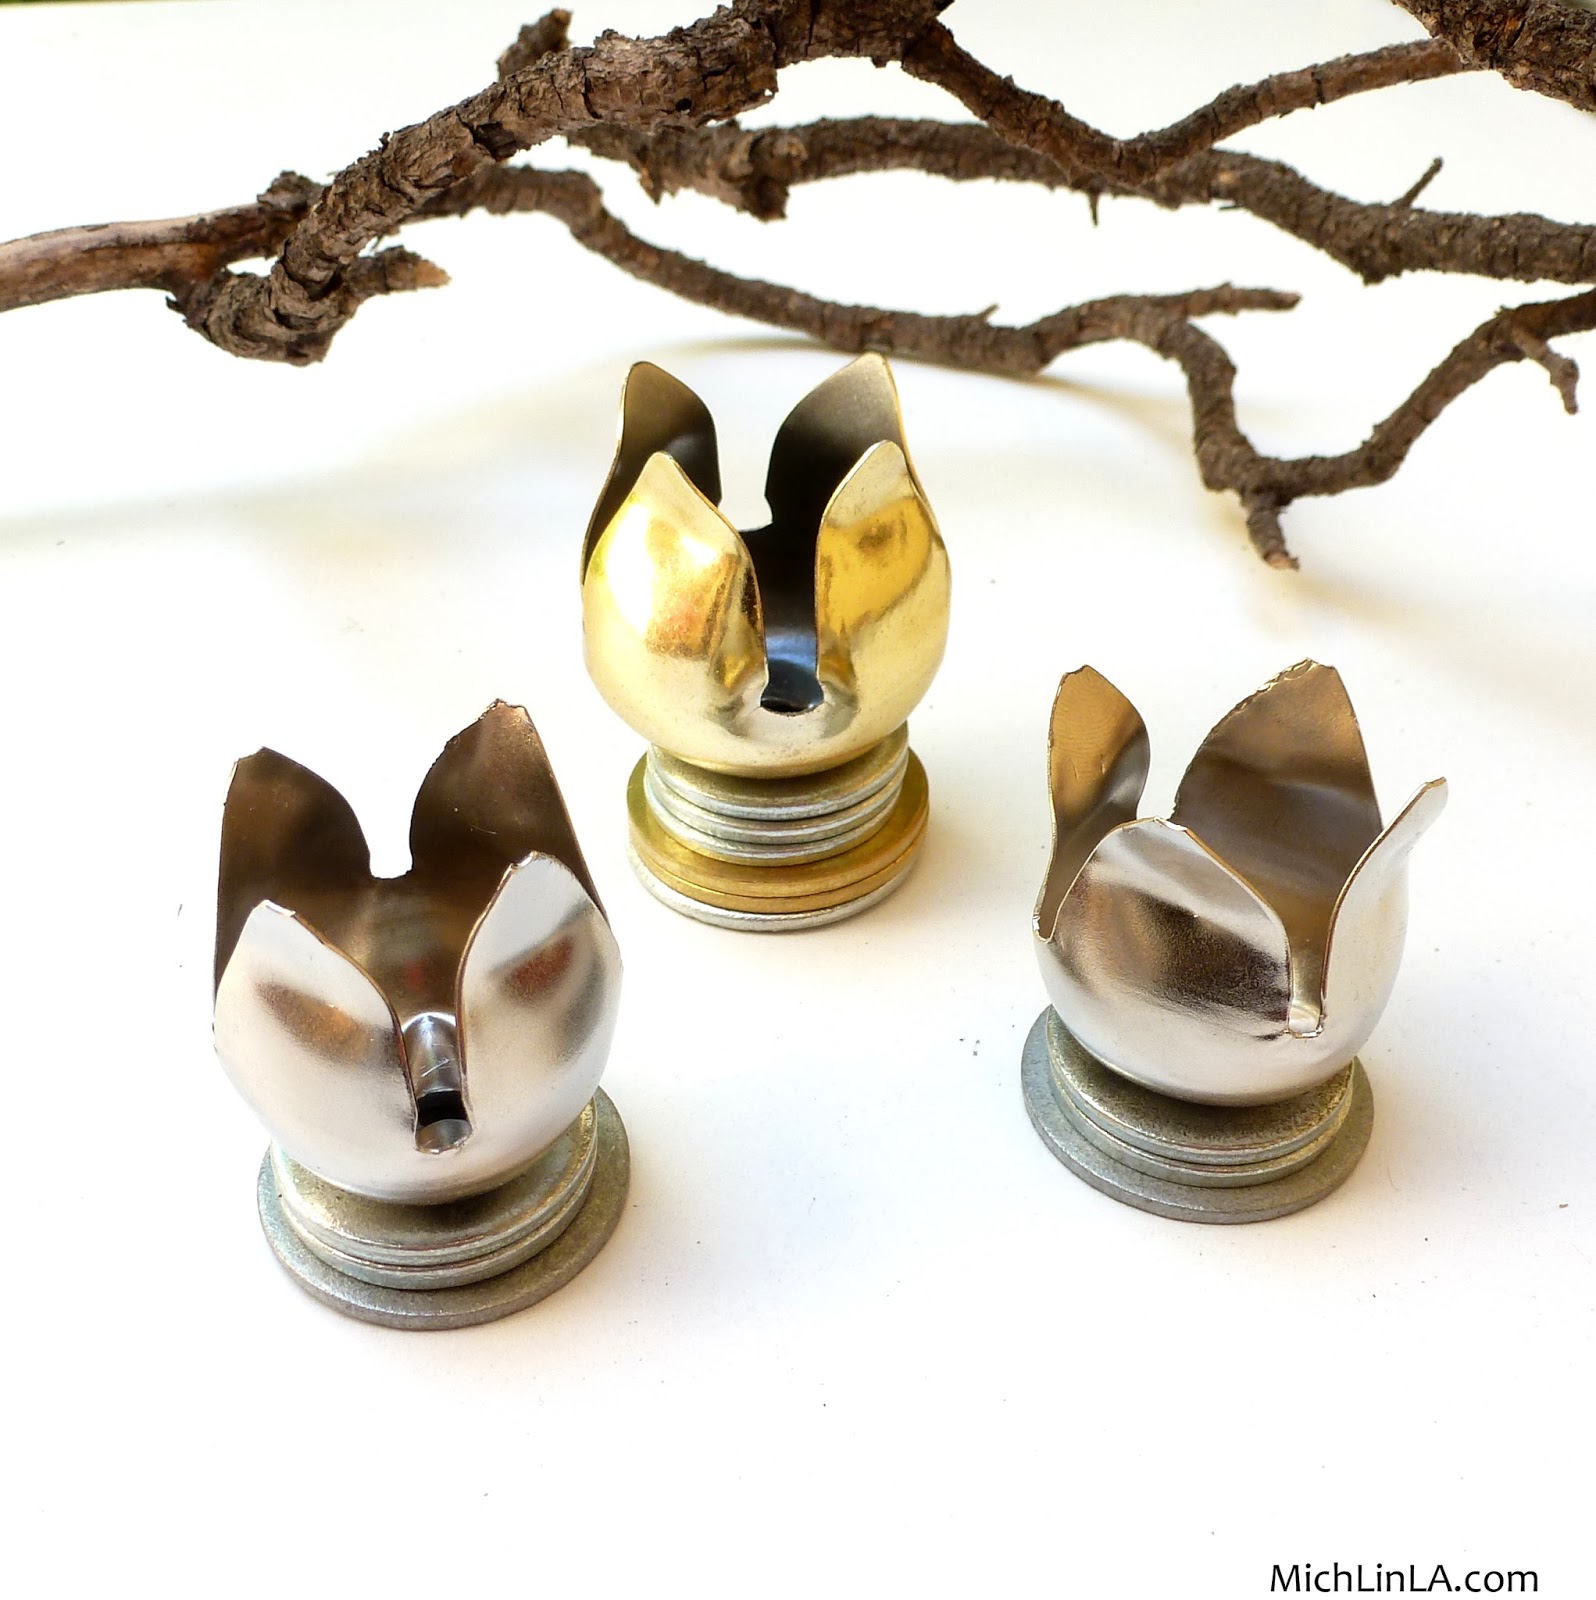
For the rest of us, here's my little idea for the world's tiniest flower bud succulent planters.
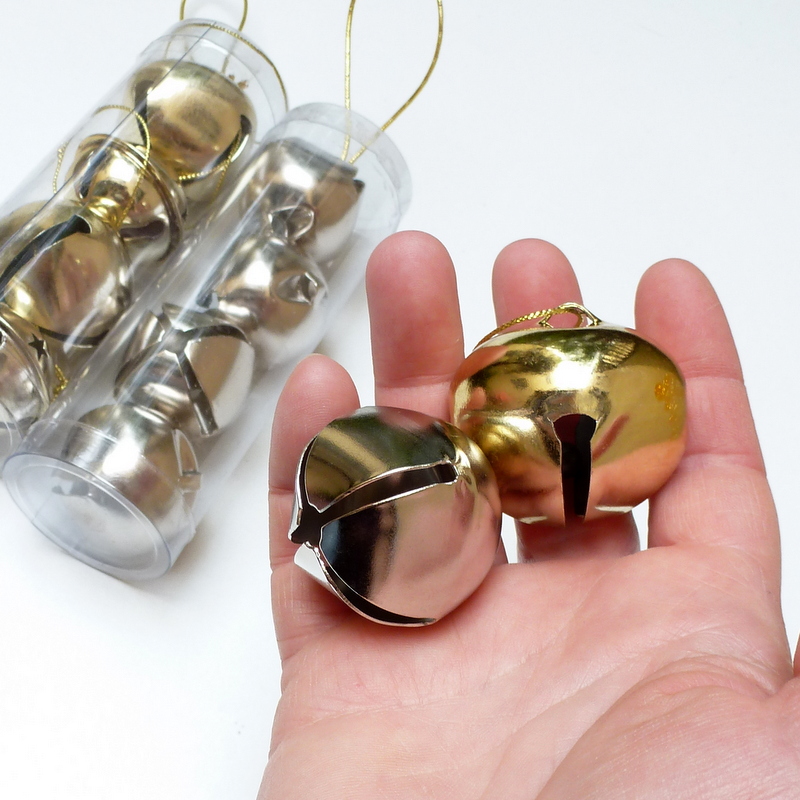
They are made from jingle bells. (Cheap dollar store ones, preferably!)
Wanna make this? Here comes the DIY!
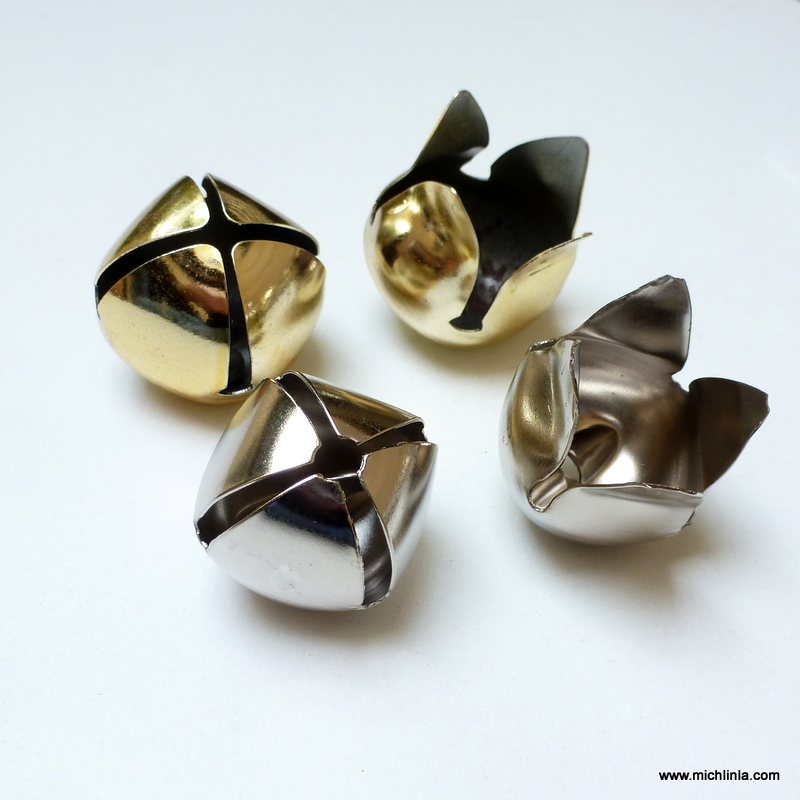
Begin by turning a jingle bell into a little flower. Go here to follow my easy tute - and see a few fun examples of jingle bud jewelry like these earrings.
Once you have a flower, fill it with a dollop of soil.
Grab some metal washers. (Glue is optional.)
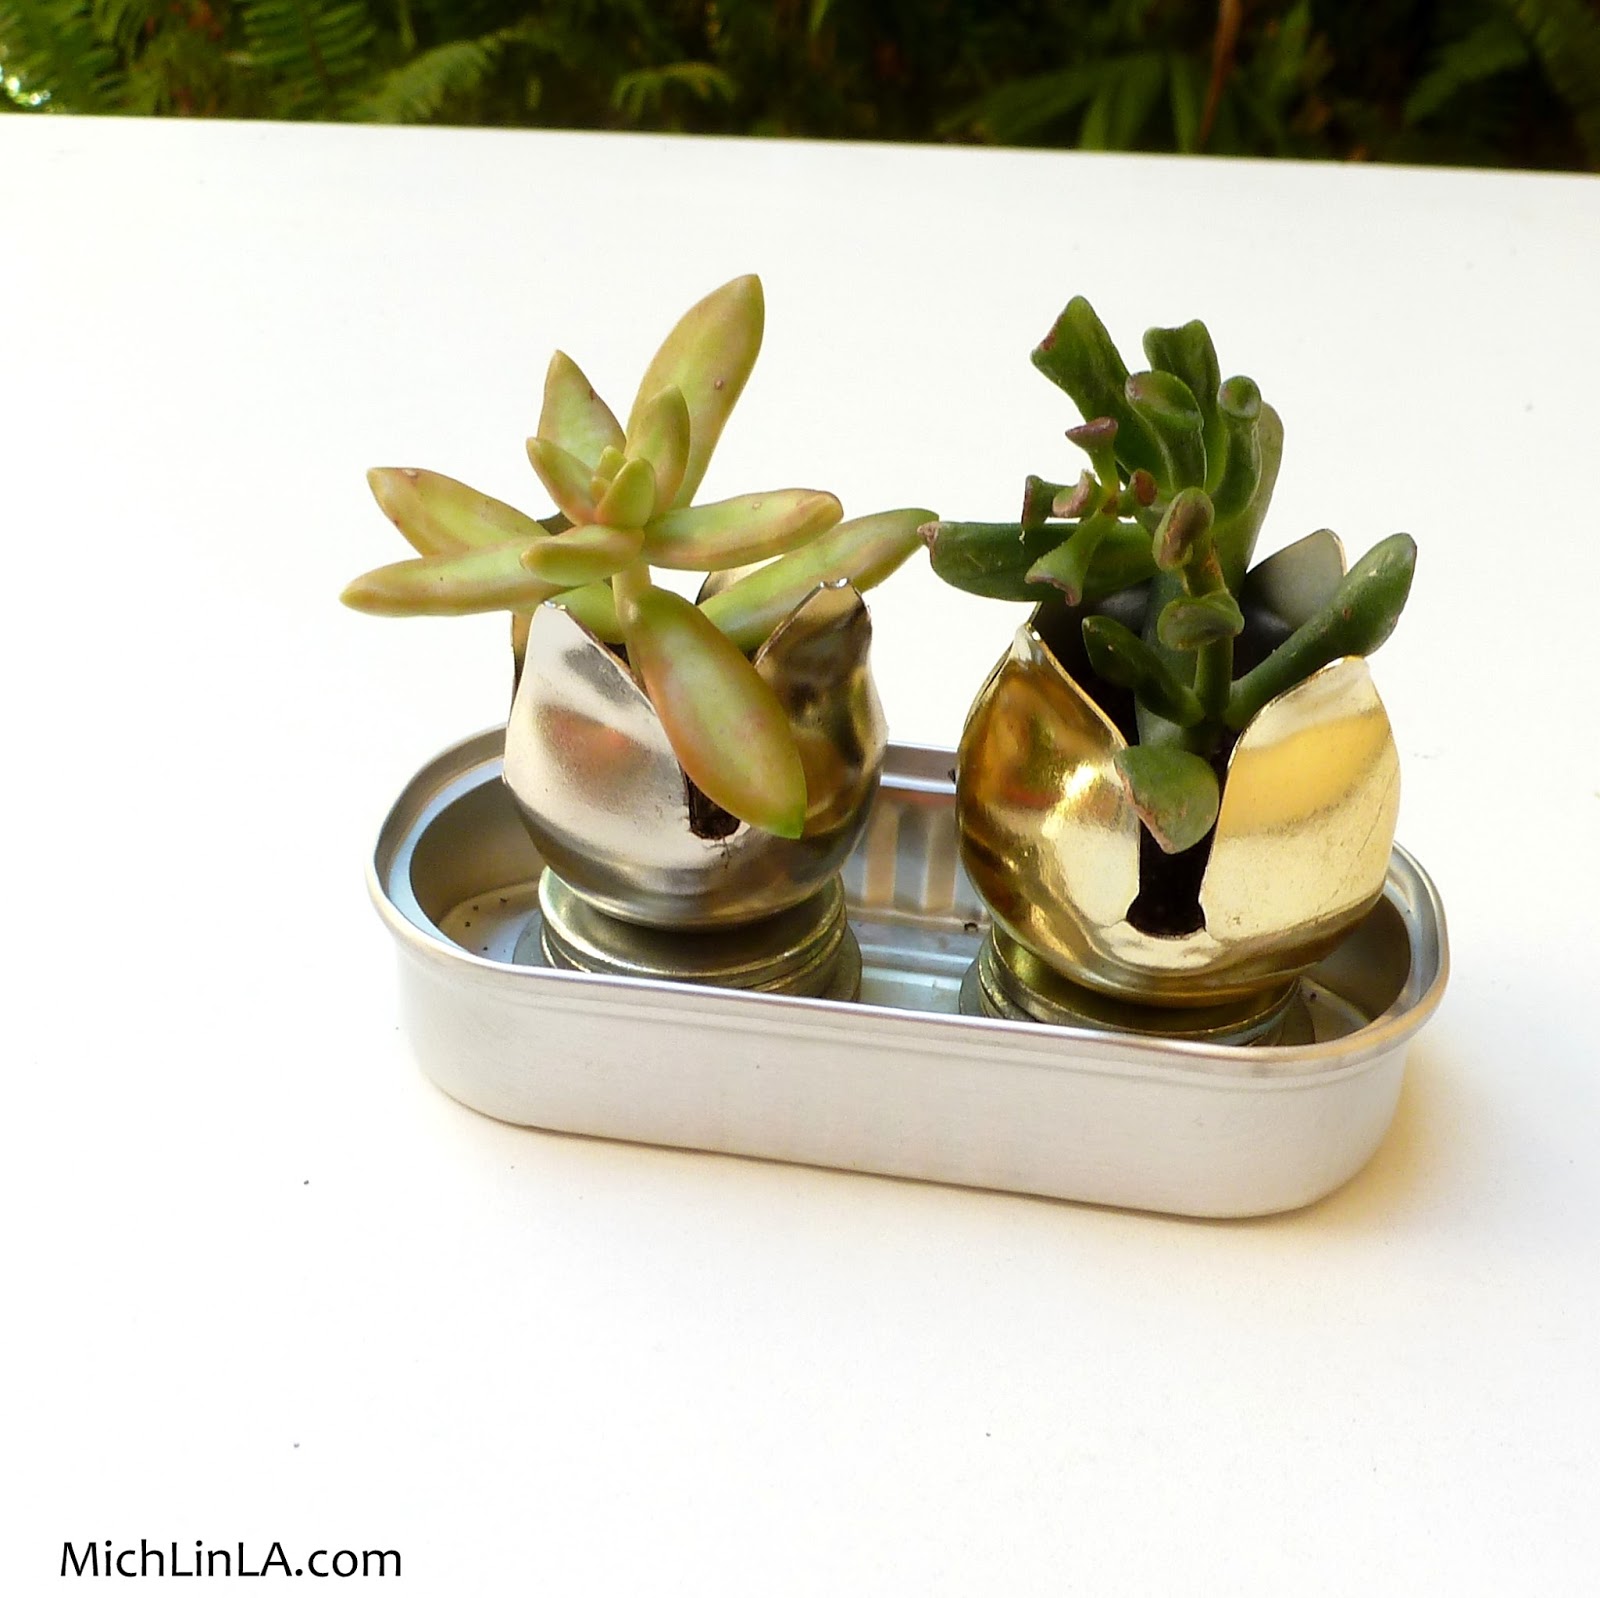
Plant a scrap of succulent inside the flower, then balance on a washer (or two or three) so it has a stable base. All done!
Keep it for yourself, or give it away. A pair of them in an anchovy tin makes a darling hostess or neighbor gift.
I also envision these on the tables at a wedding or other celebration - wouldn't it be a sweet party favor to take home?
Tips Tips We Got Tips:
*If you are giving it as a gift, you might choose to glue the metal washers to the bottom of the jingle bud so they don't tip over en route. For the ones on my own windowsill, I don't bother to do this step.
*Water sparingly! 1/2 teaspoon of water once a week should do it. The bottom will leak, so place it on a plate or paper towel until the water is absorbed.
*After a few months, some rust might form on the petals. Try to think of it as patina. ;)
I sure hope you guys enjoyed this one! Thanks a bunch for coming by.
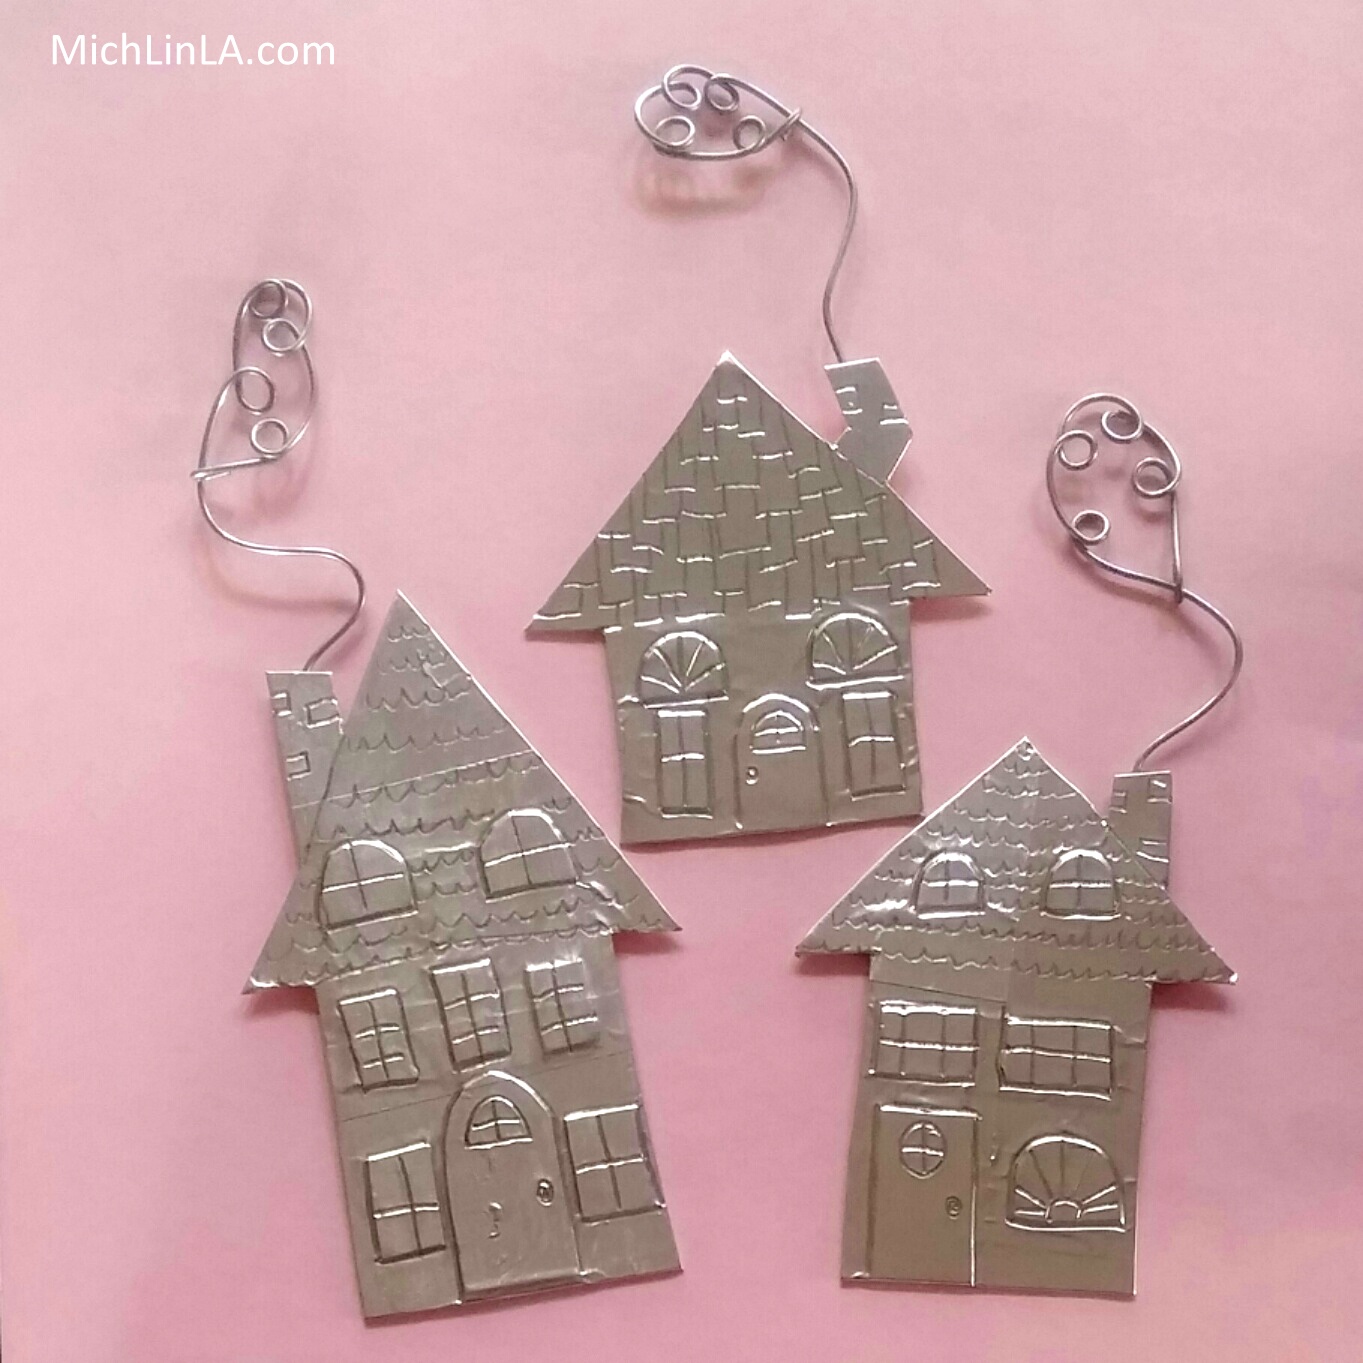
Once, long ago, I made some teeny little silver house ornaments, using recycled cardboard. These new ones are a bit bigger, with a fresh technique and several different uses. And...antiqued!
They can still be used as ornaments, but they are also fun turned into fridge magnets...
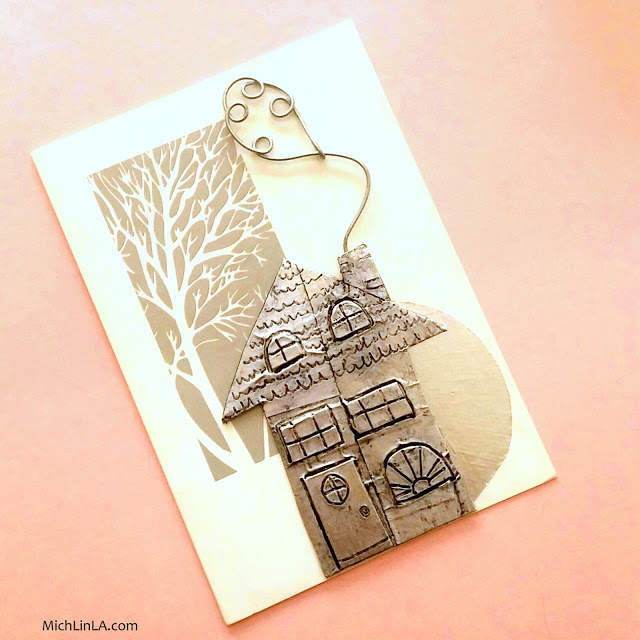
...or greeting cards...
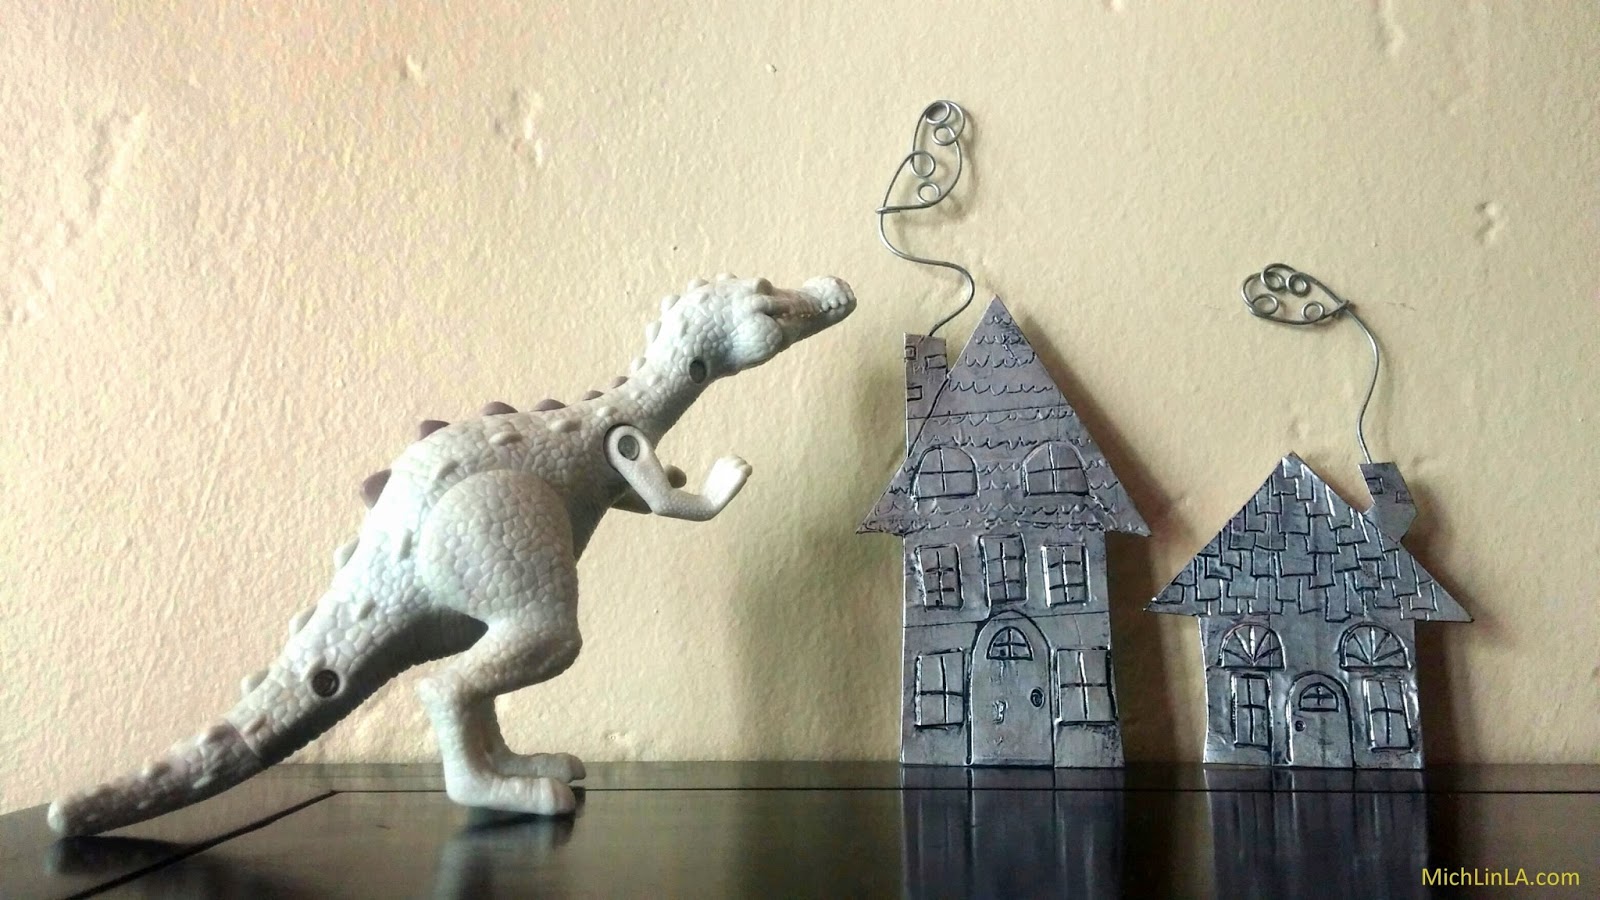
...or standing up anywhere: your mantel, a side table, even the kids' room, hee hee.
They are eco friendly and so fun to make. For tools, all you need are scissors, a pencil and wire cutters. Materials:
-cardboard scraps
-aluminum duct tape
-double-stick tape
-shoe polish
-craft wire
Ready? Here comes the DIY!
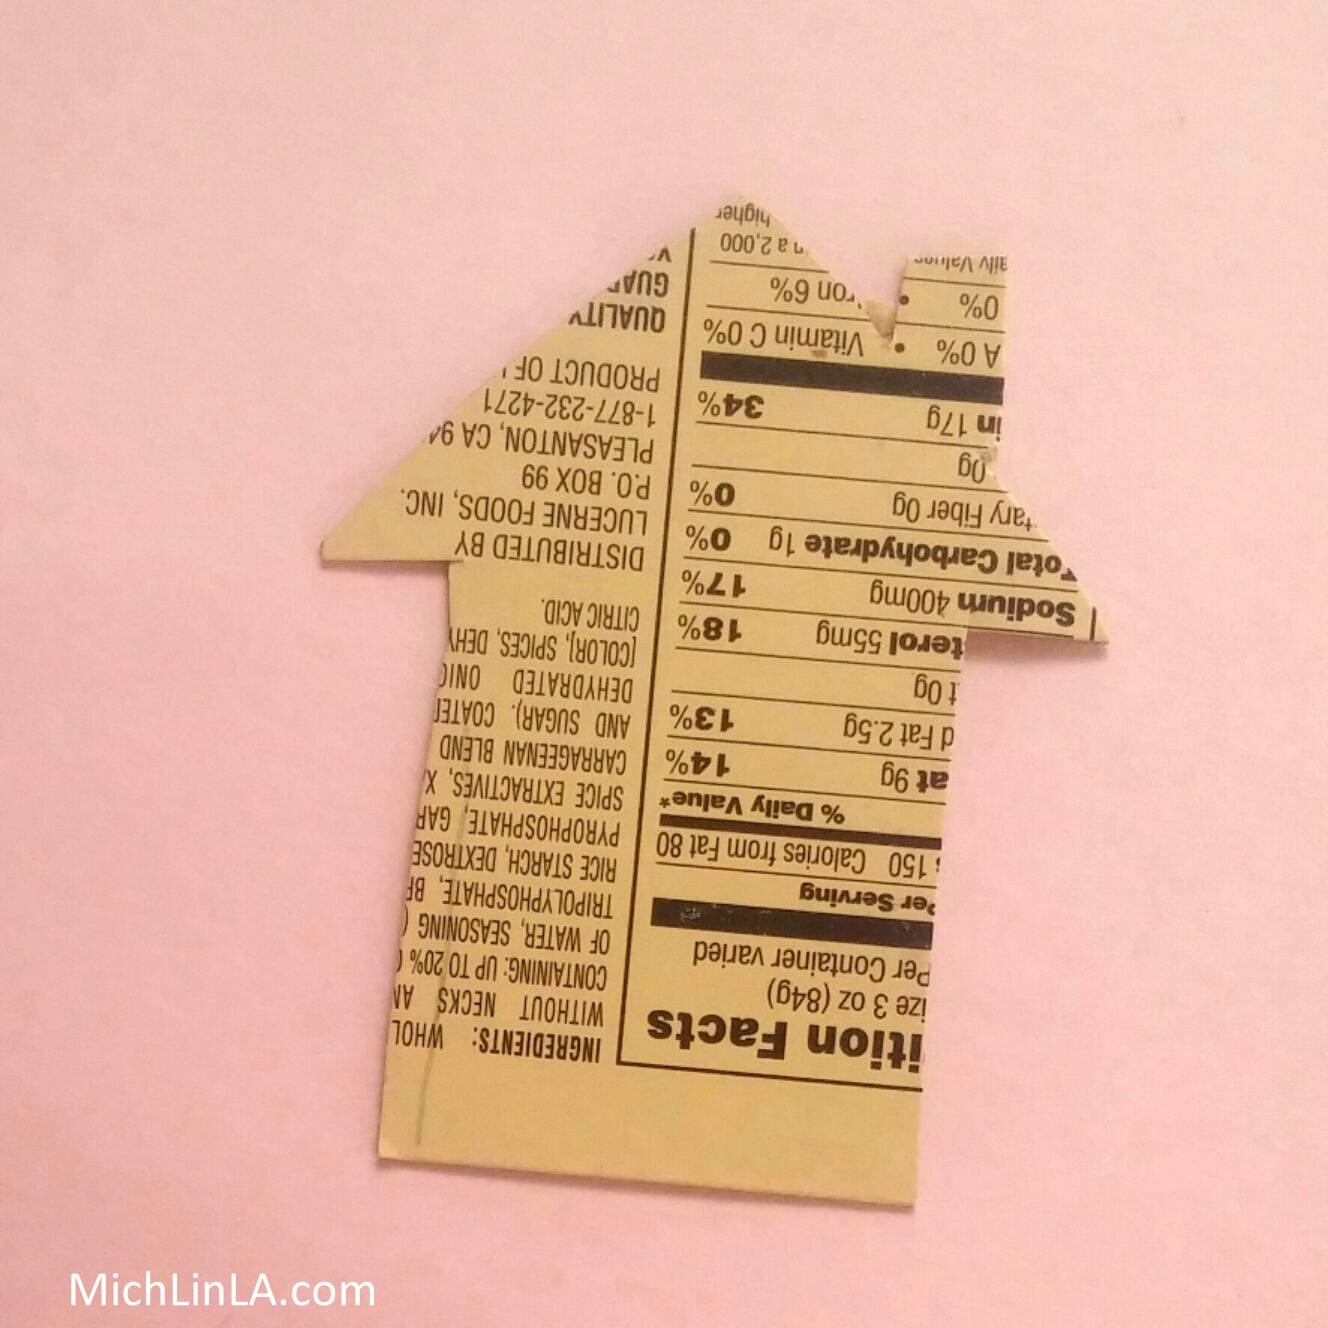
Cut a little house from scrap cardboard.
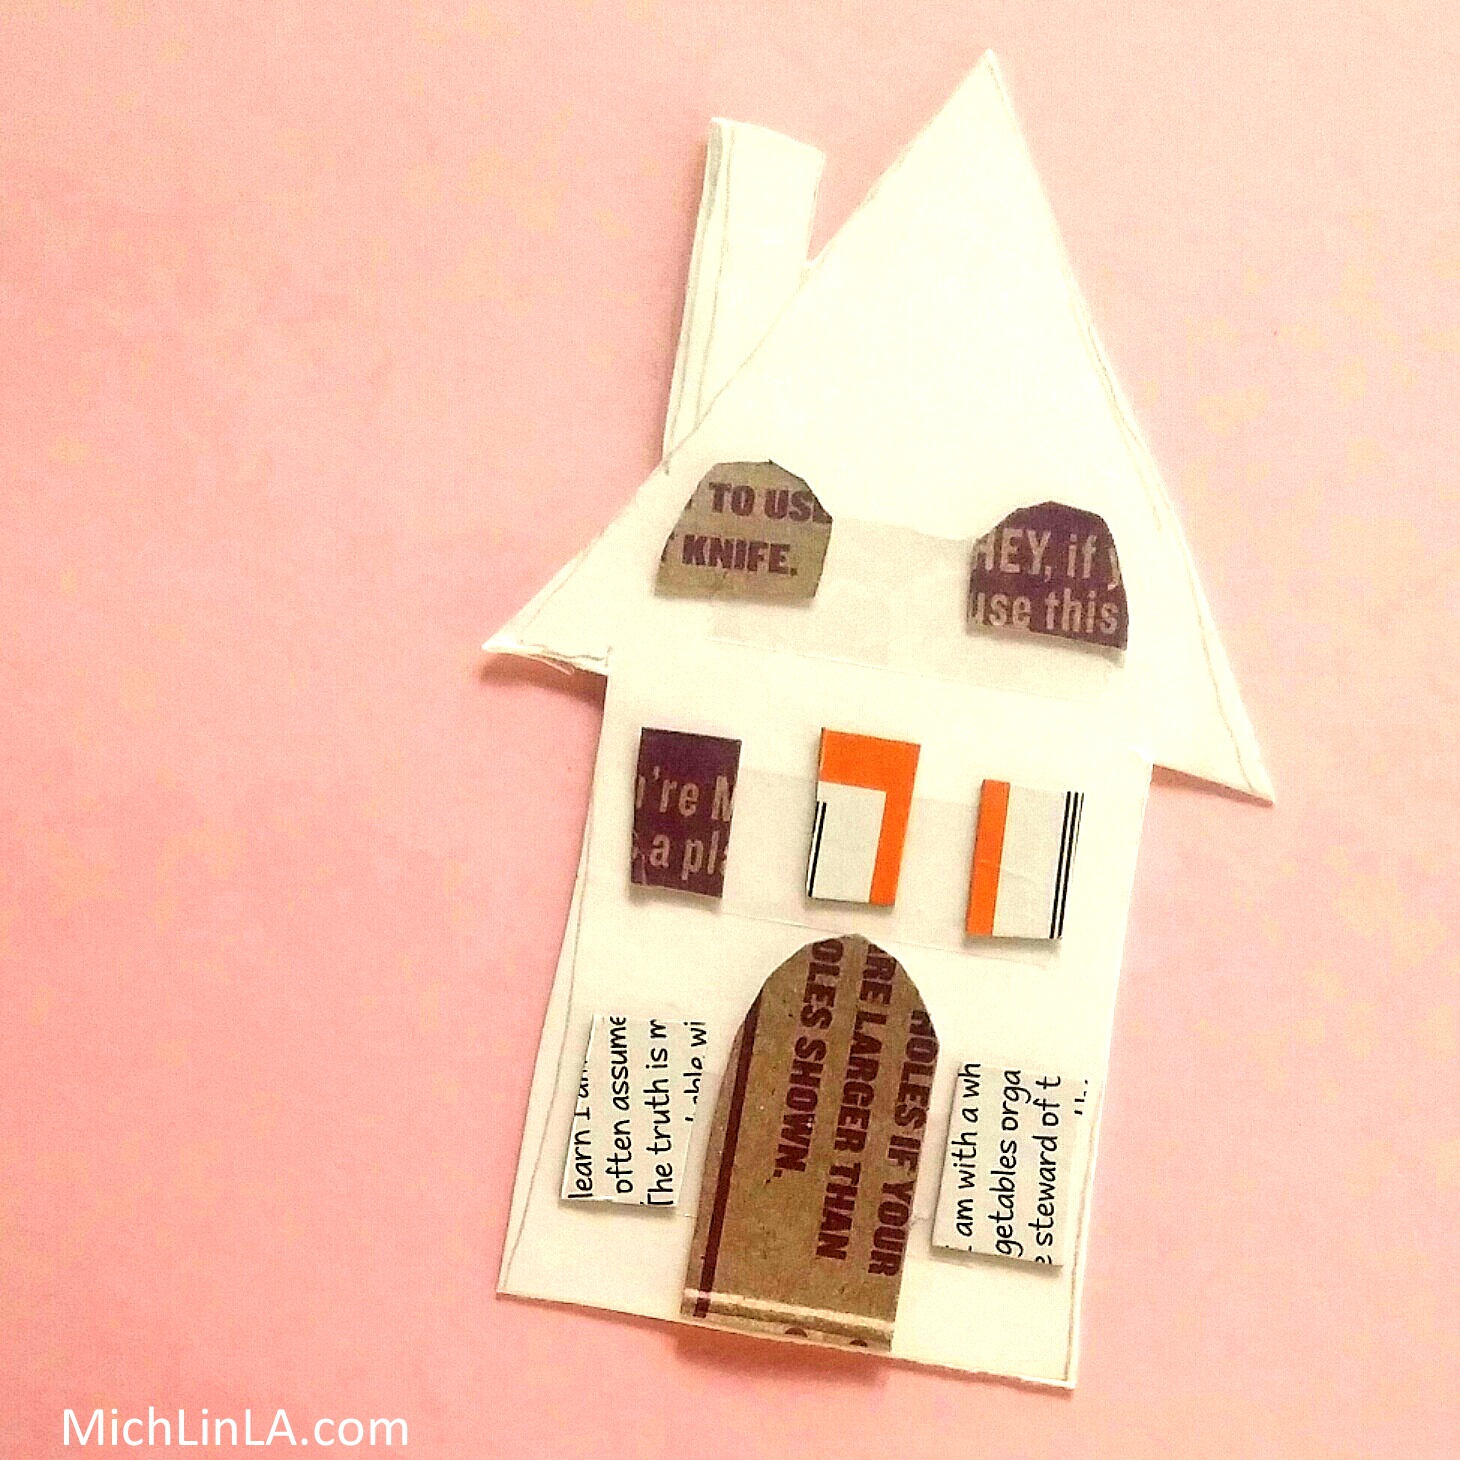
Roughly cut out a tiny a cardboard door and some windows. They don't need to be straight or the same size! Lay down short strips of double stick tape, then stick down the doors and windows.
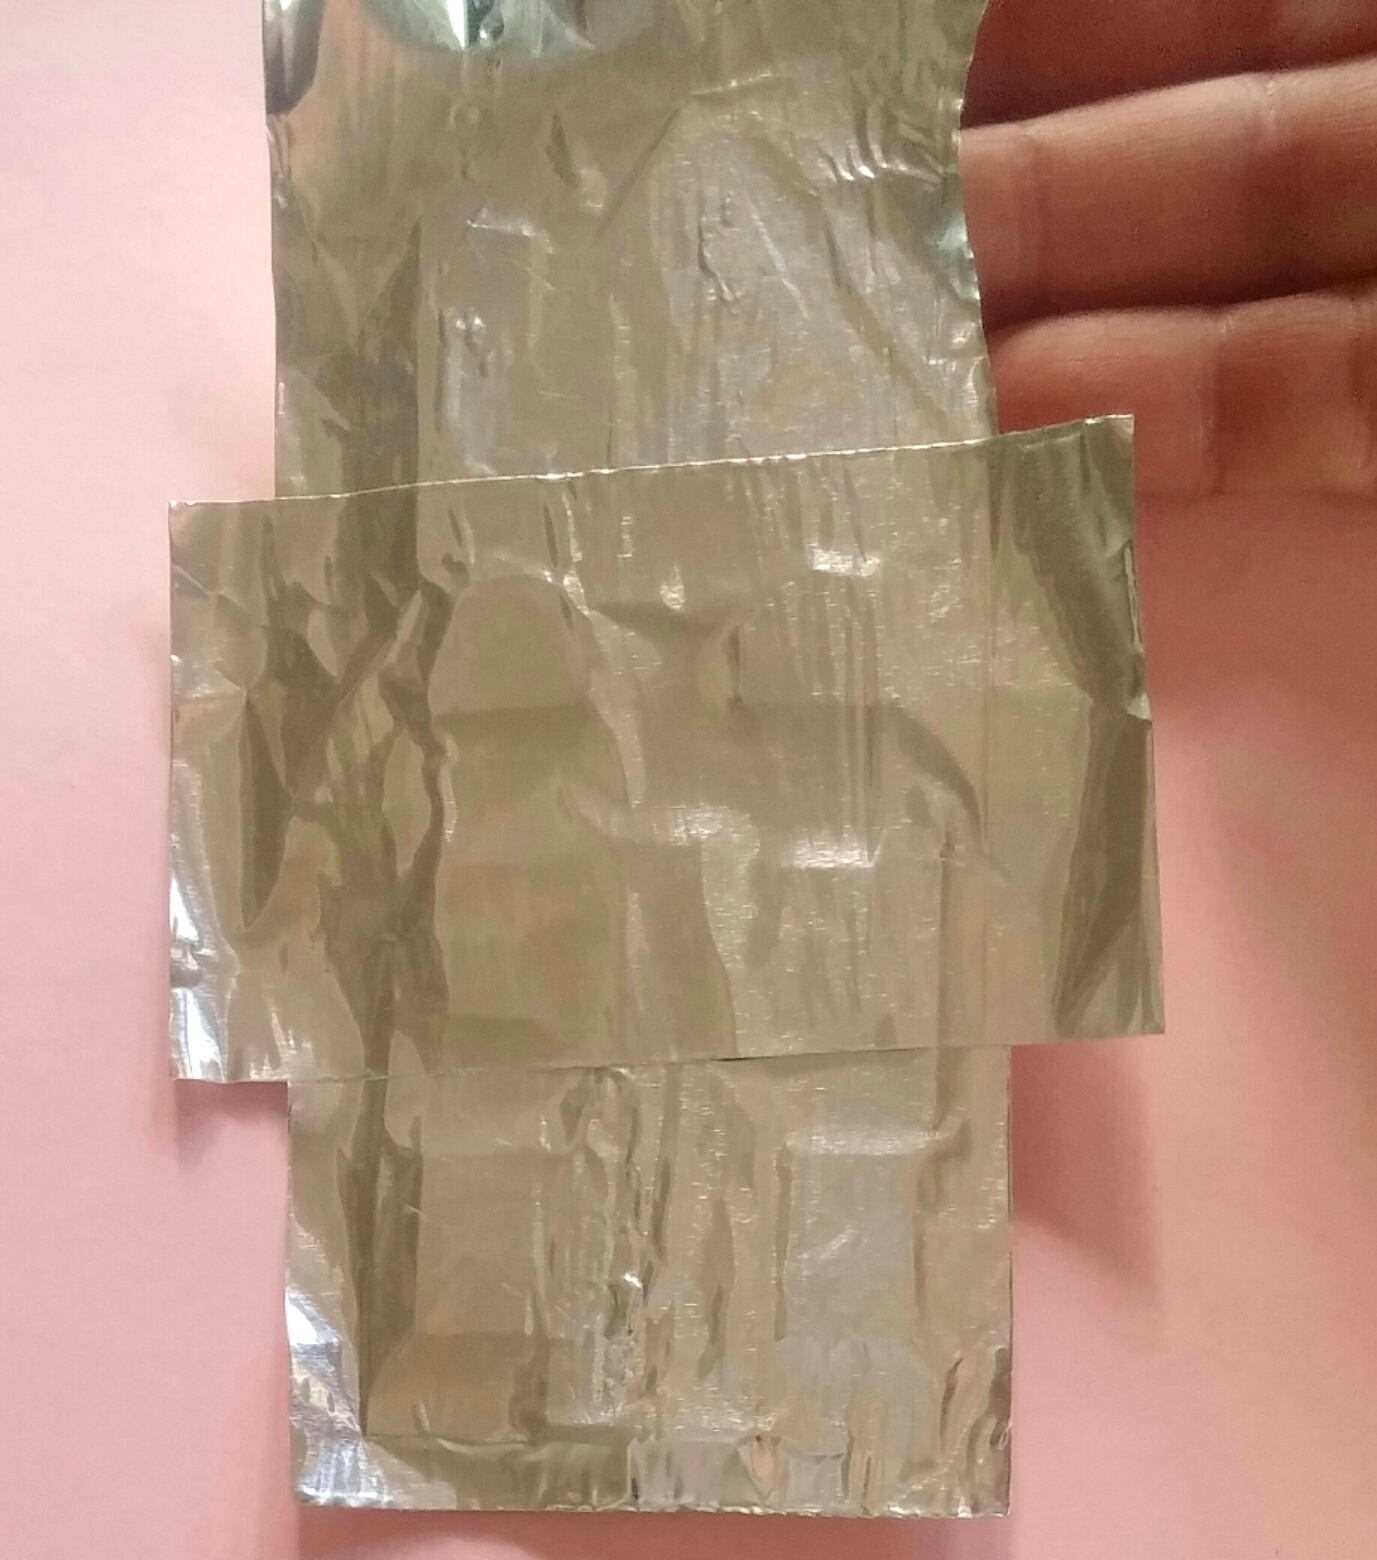
Cover the front with duct tape.
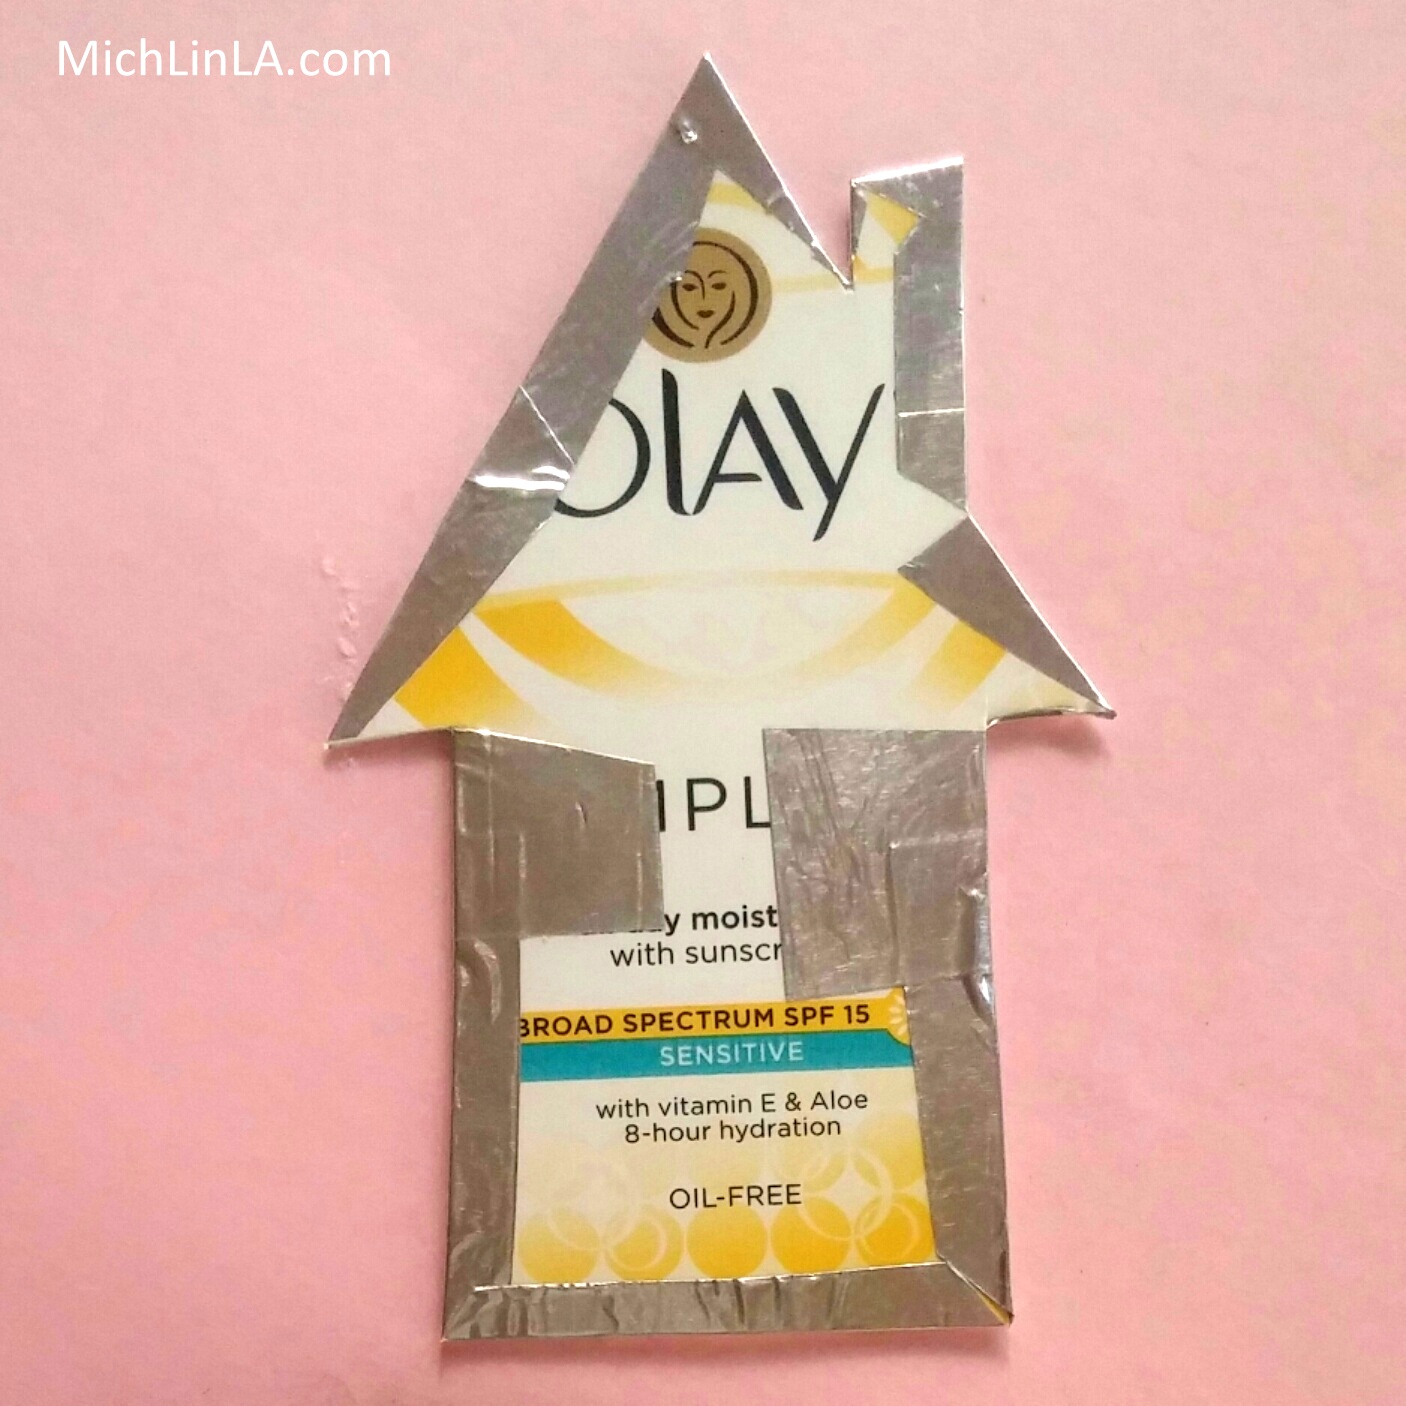
Trim away most of the extra tape. Cut slits at the corners so you can fold down the excess in back. It will probably look something like this:
You can cover the exposed cardboard with more tape - but only if you plan on seeing the back.
Lightly burnish down the tape around the cardboard cutouts, using something rounded like a pen cap (or just your finger.)
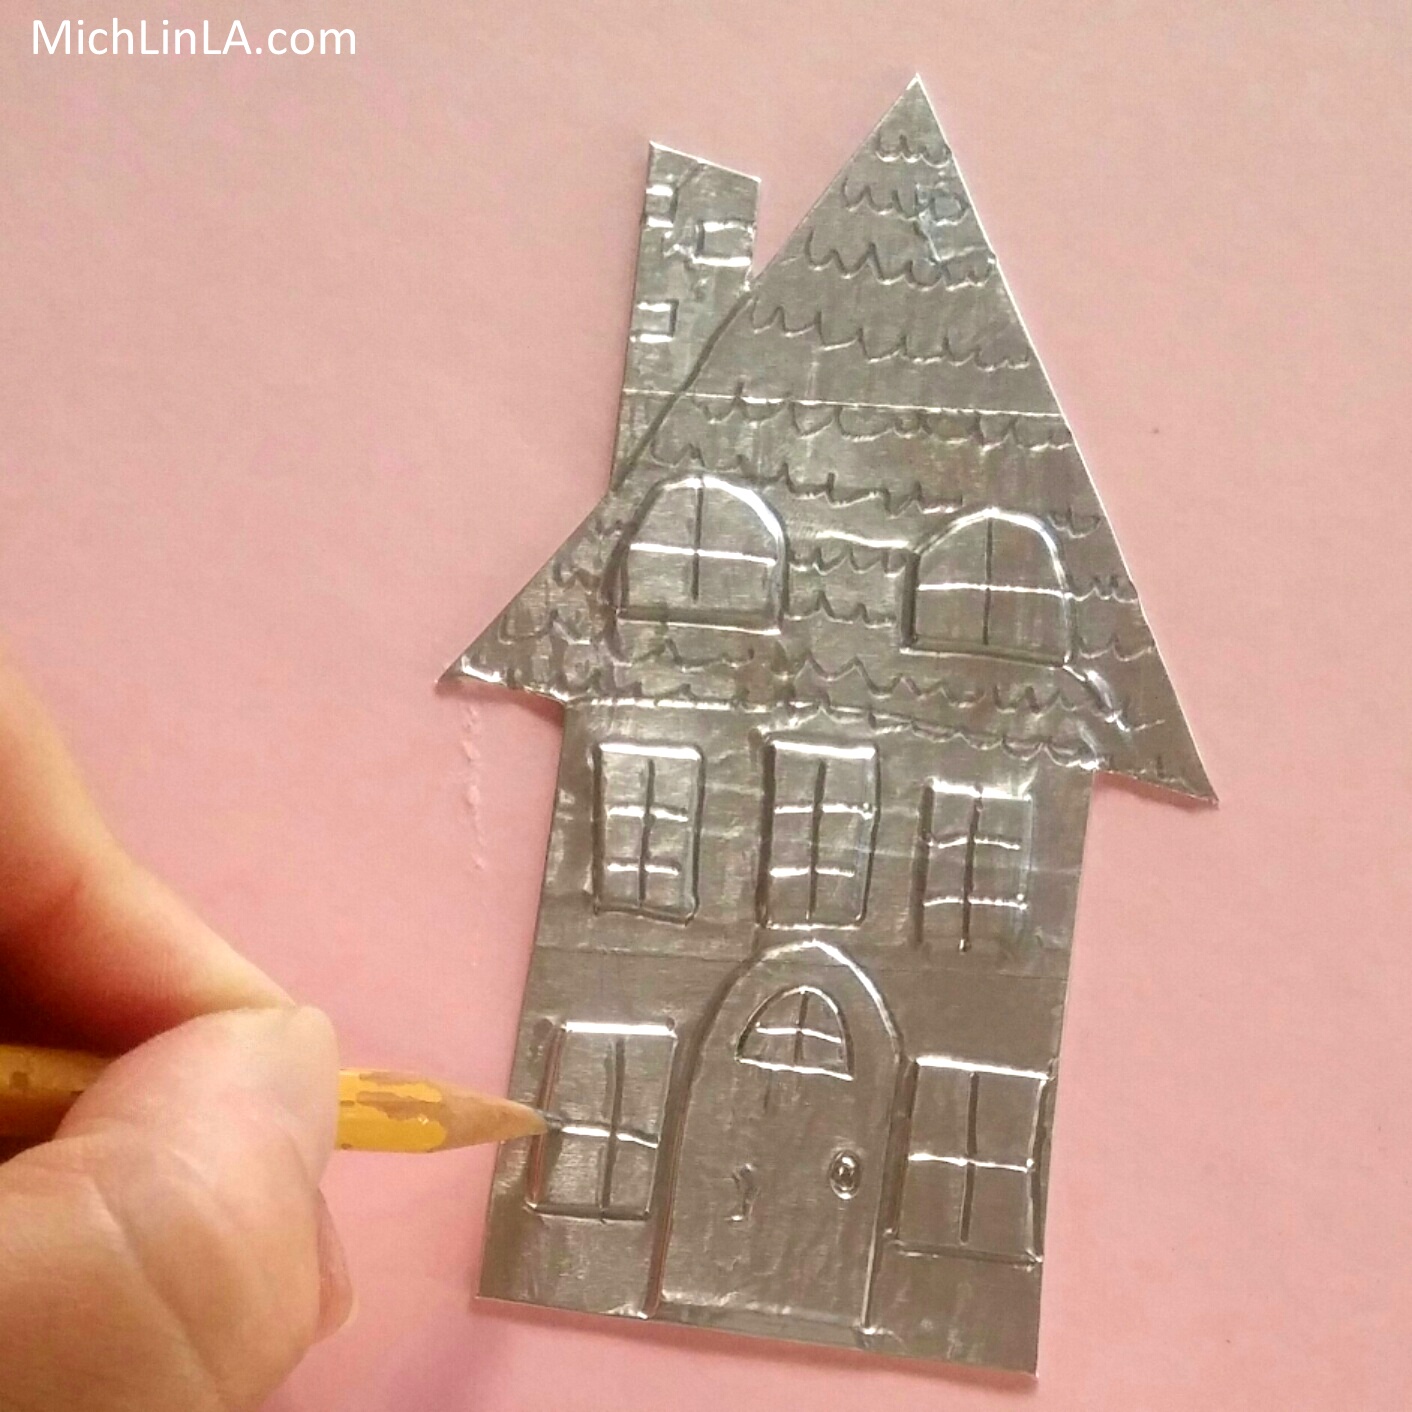
Now to etch in the details. Use a blunt pencil or a ball-point pen - very sophisticated tools, eh? Outline the raised door and windows first. Then add cross-hatched windowpanes, a doorknob and roof tiles. Maybe a few bricks on the chimney.
Remember, you are going for cute and rustic, not precision architectural drafting. Mistakes are okay.
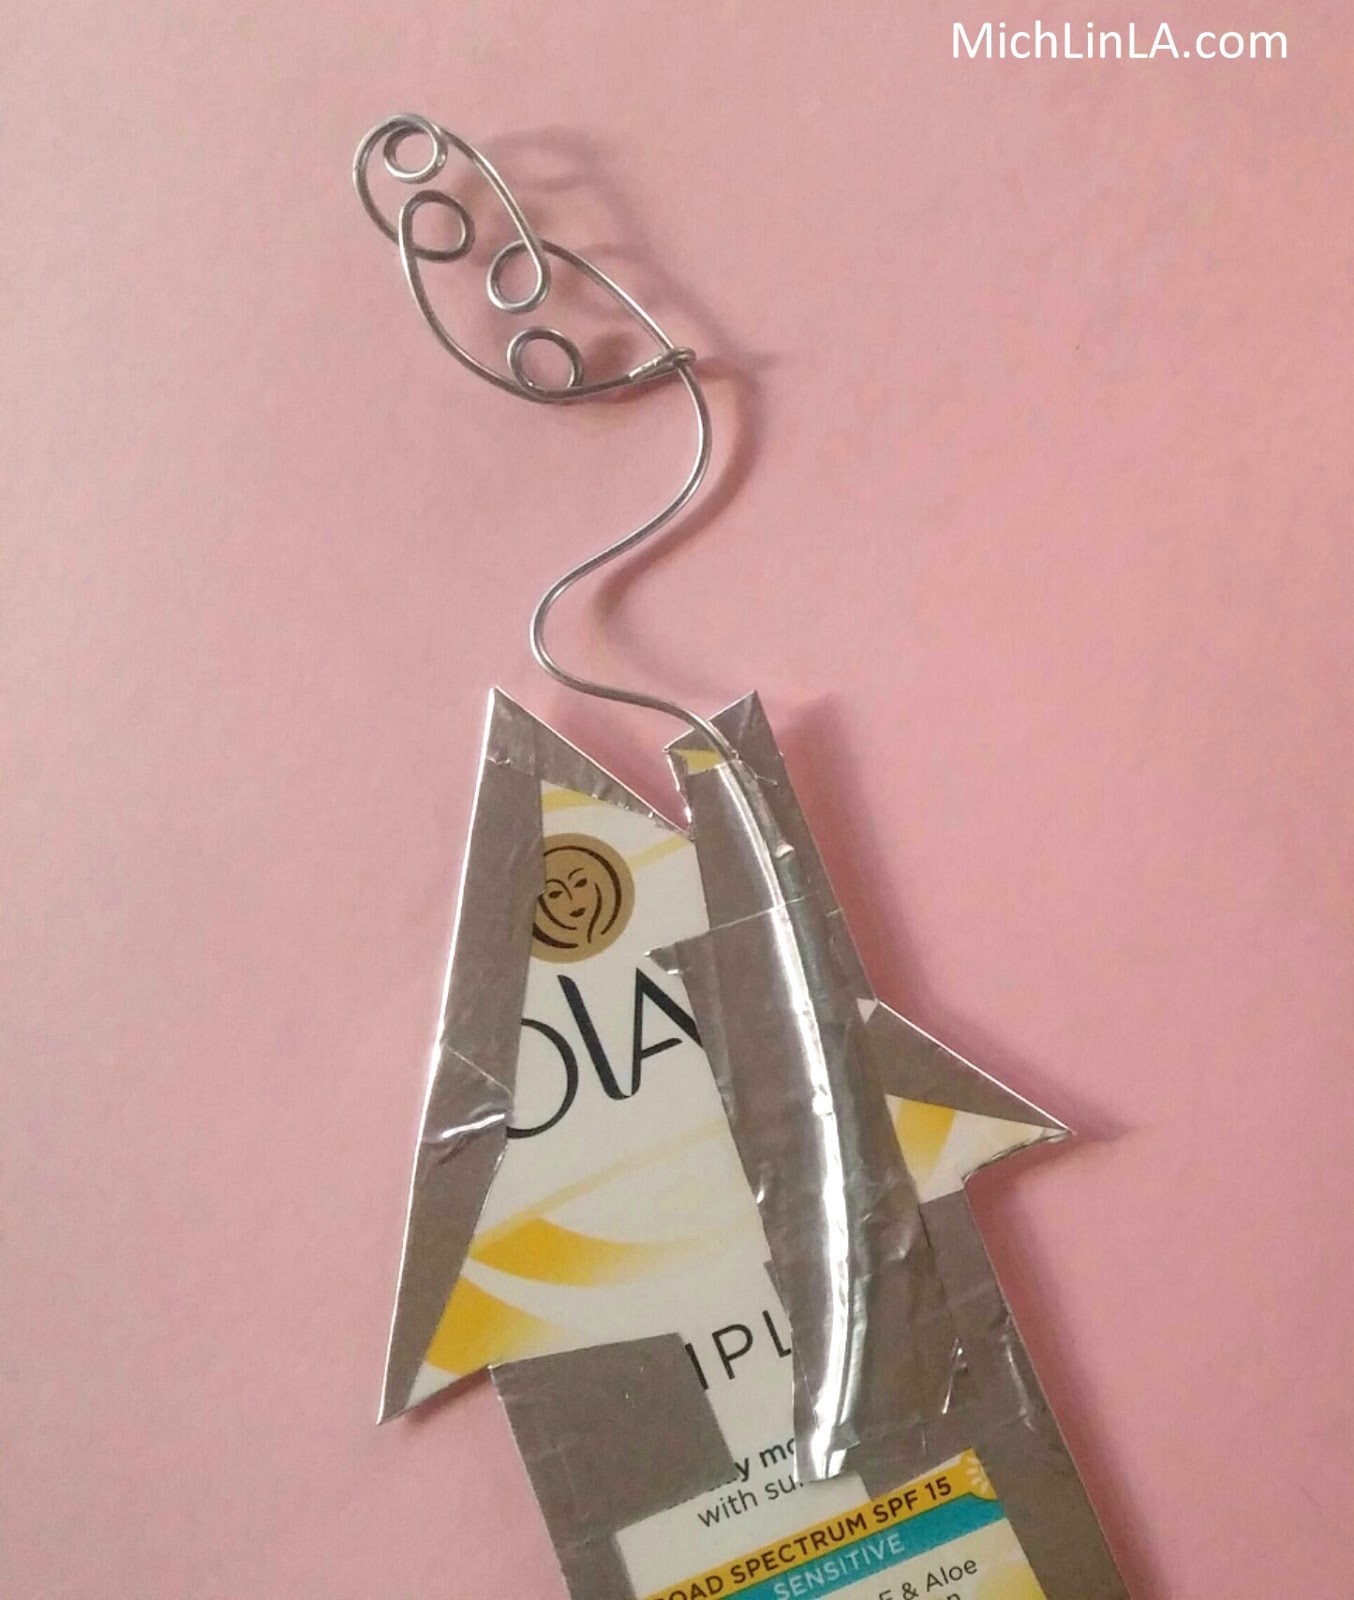
Make a wire smoke plume, to look something like this:
(For the detailed smoke plume tutorial, go here.)
Bend some curves in the wire stem, and tape it to the back of your chimney like so:
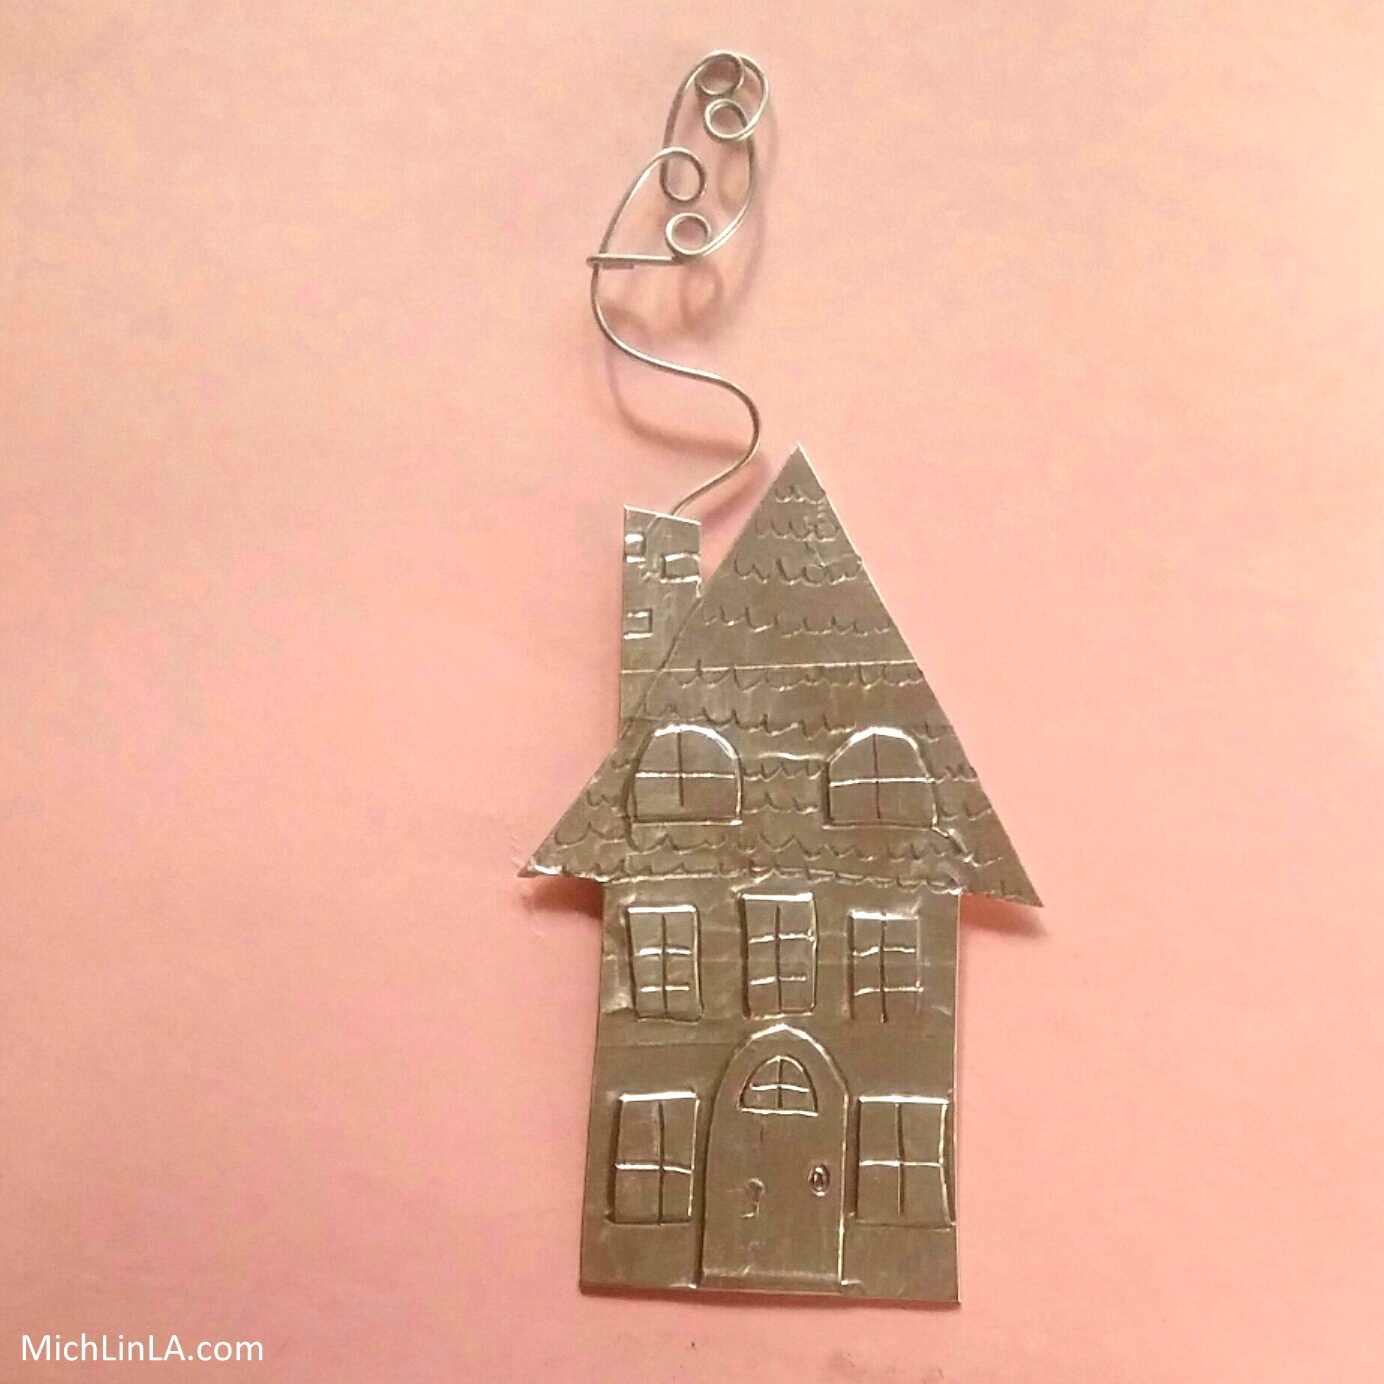
And that, my dears, is a super cool shiny silver house! Adorable.
If you like, you can stop right there. I actually love the shiny silver version as-is.
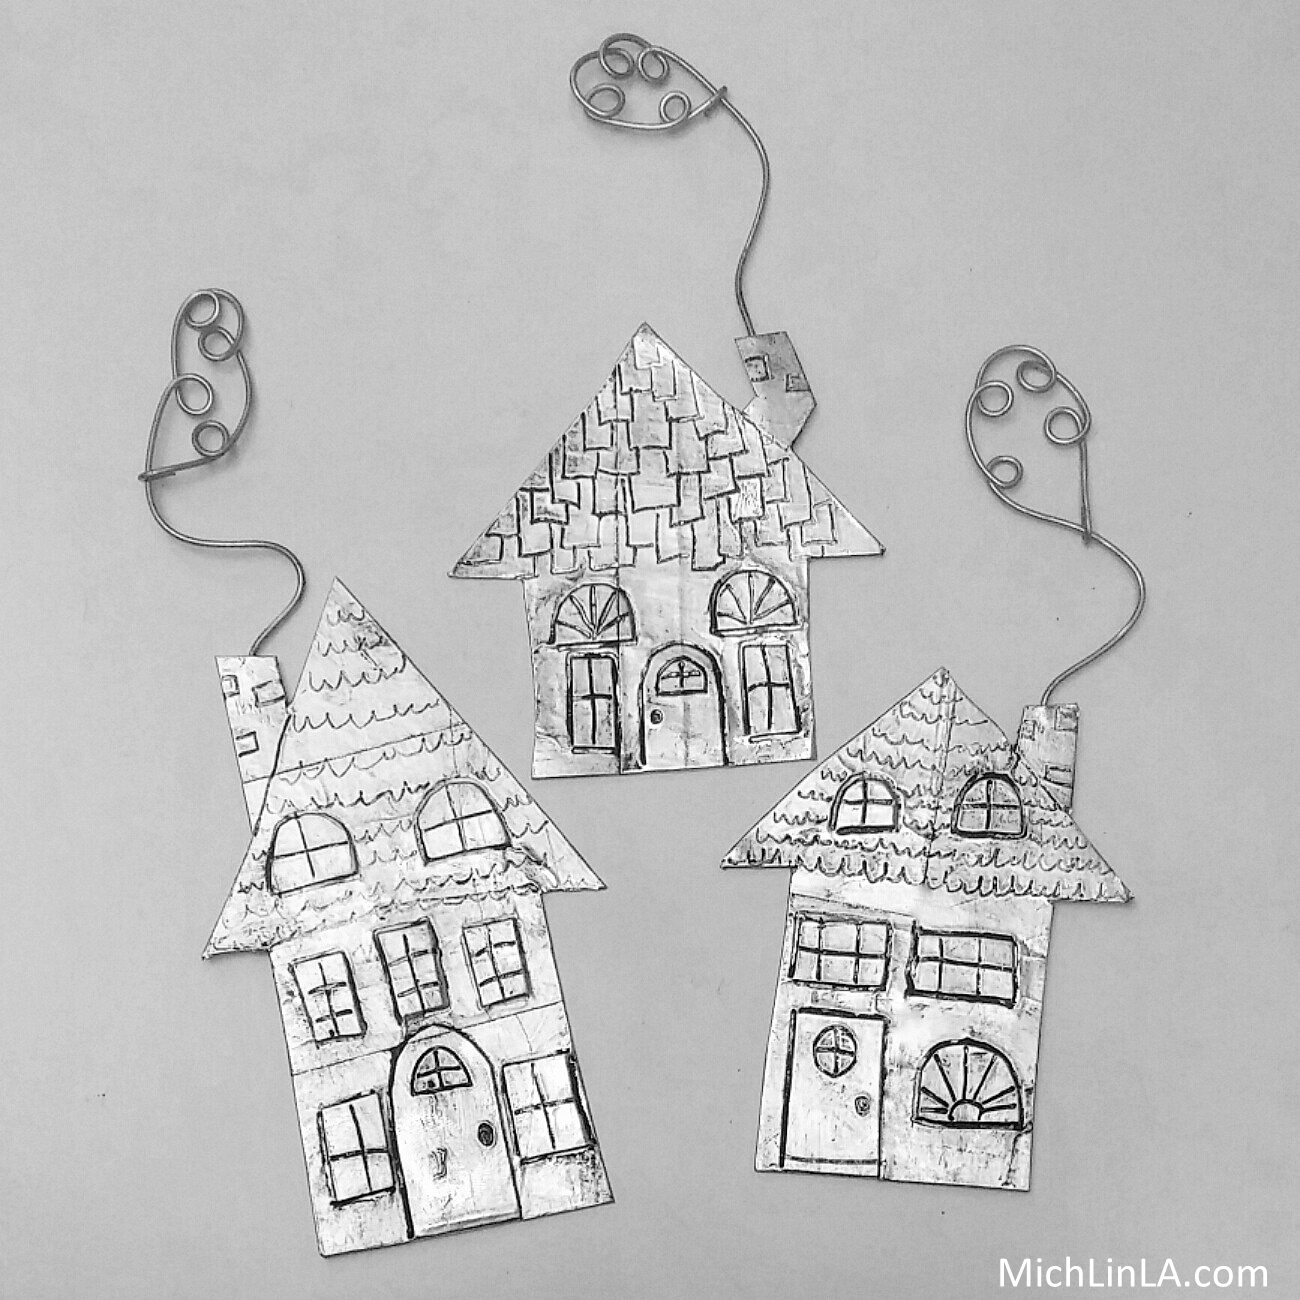
But wait, there's more. The antiquing step is next, and it's so simple. Just rub on some solid shoe polish, then buff it out until you have the amount of antique finish you like. See the difference:
To make an attached stand, cover a scrap of cardboard with silver tape, then attach it to the house with more tape forming a hinge. Here you can see the stand in the mirror:
Here's one more thought I just have to share: a wonderful gift idea. Make a replica of a real house, and present it to the owner! Wouldn't it be awesome for someone moving into a new home? Or a senior who is moving to a smaller place? Yes, it would.
To make a replica house, refer to a photo of the house front, and approximate the main features with your cardboard cut outs. Then proceed as above for a custom mini house!
Well, that's the dealio! Hope you like it.
Thanks for coming by, friends; see you another day.
P.S. If you made one, what would you do with your mini house?
Mich
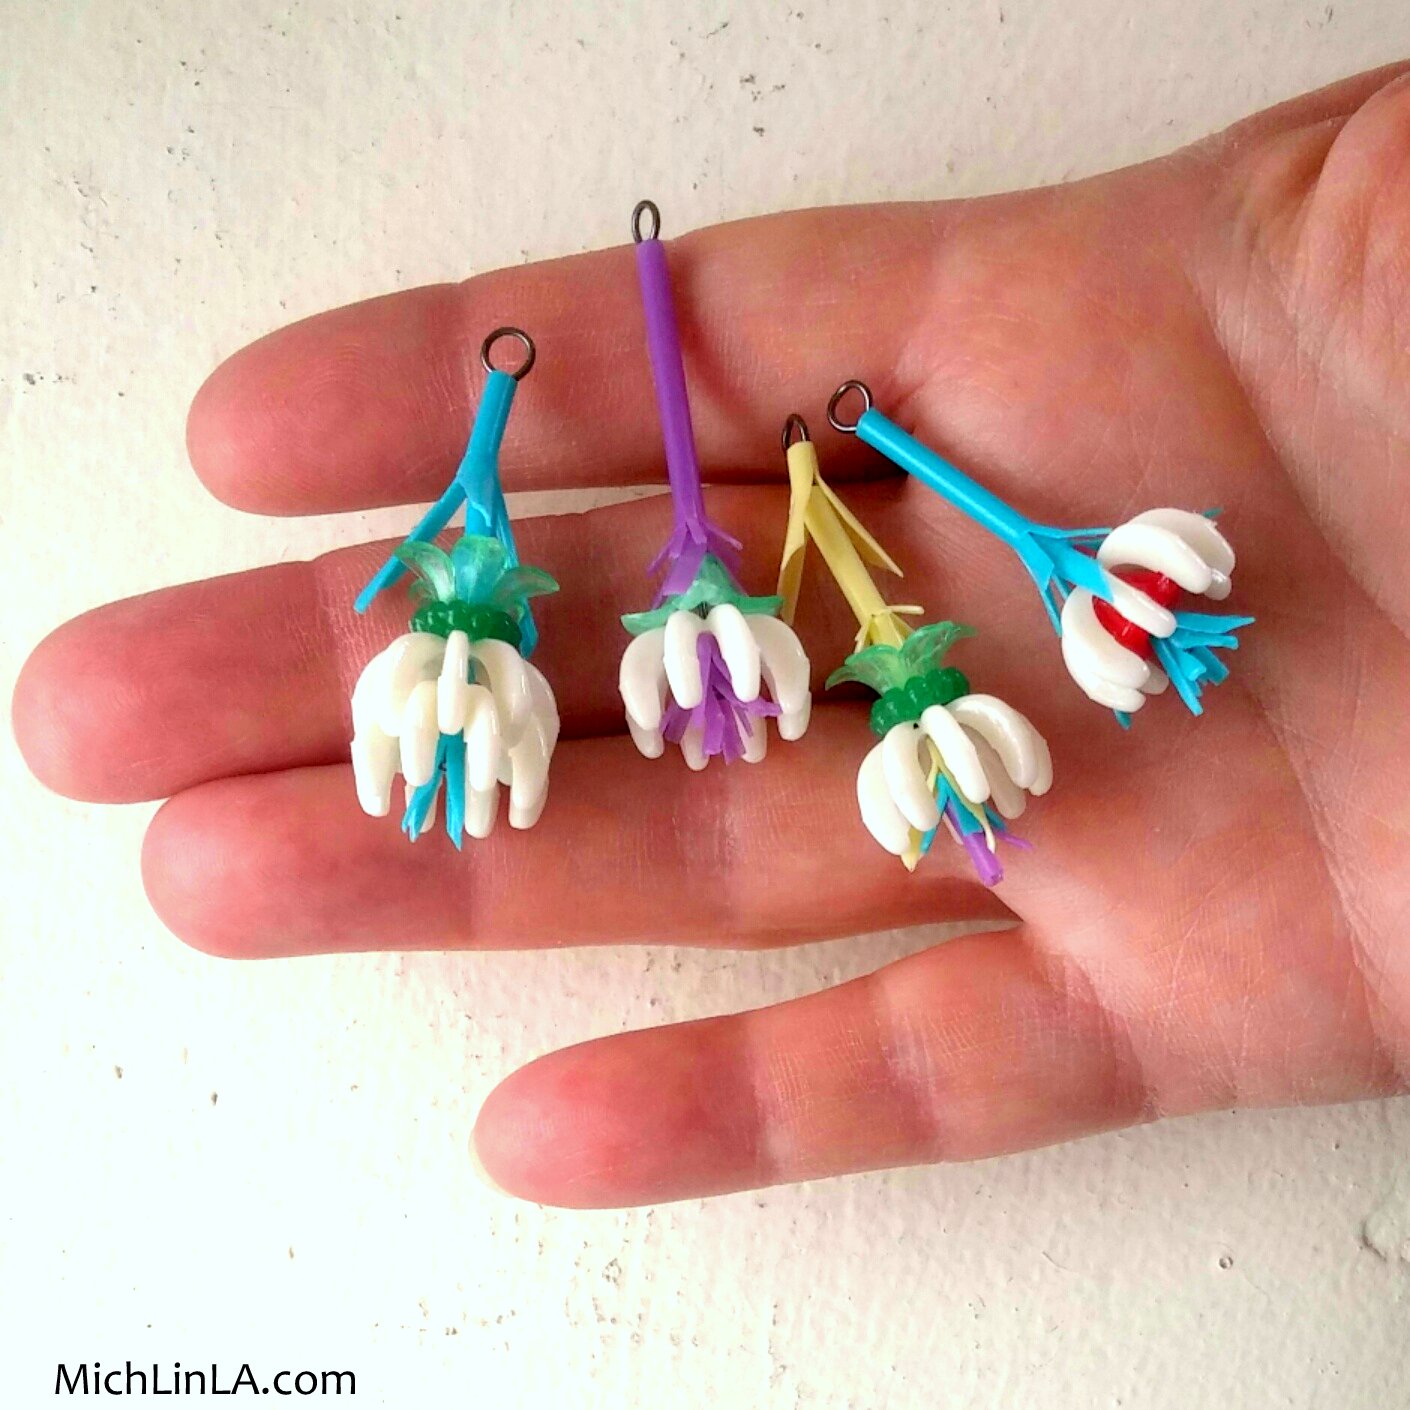
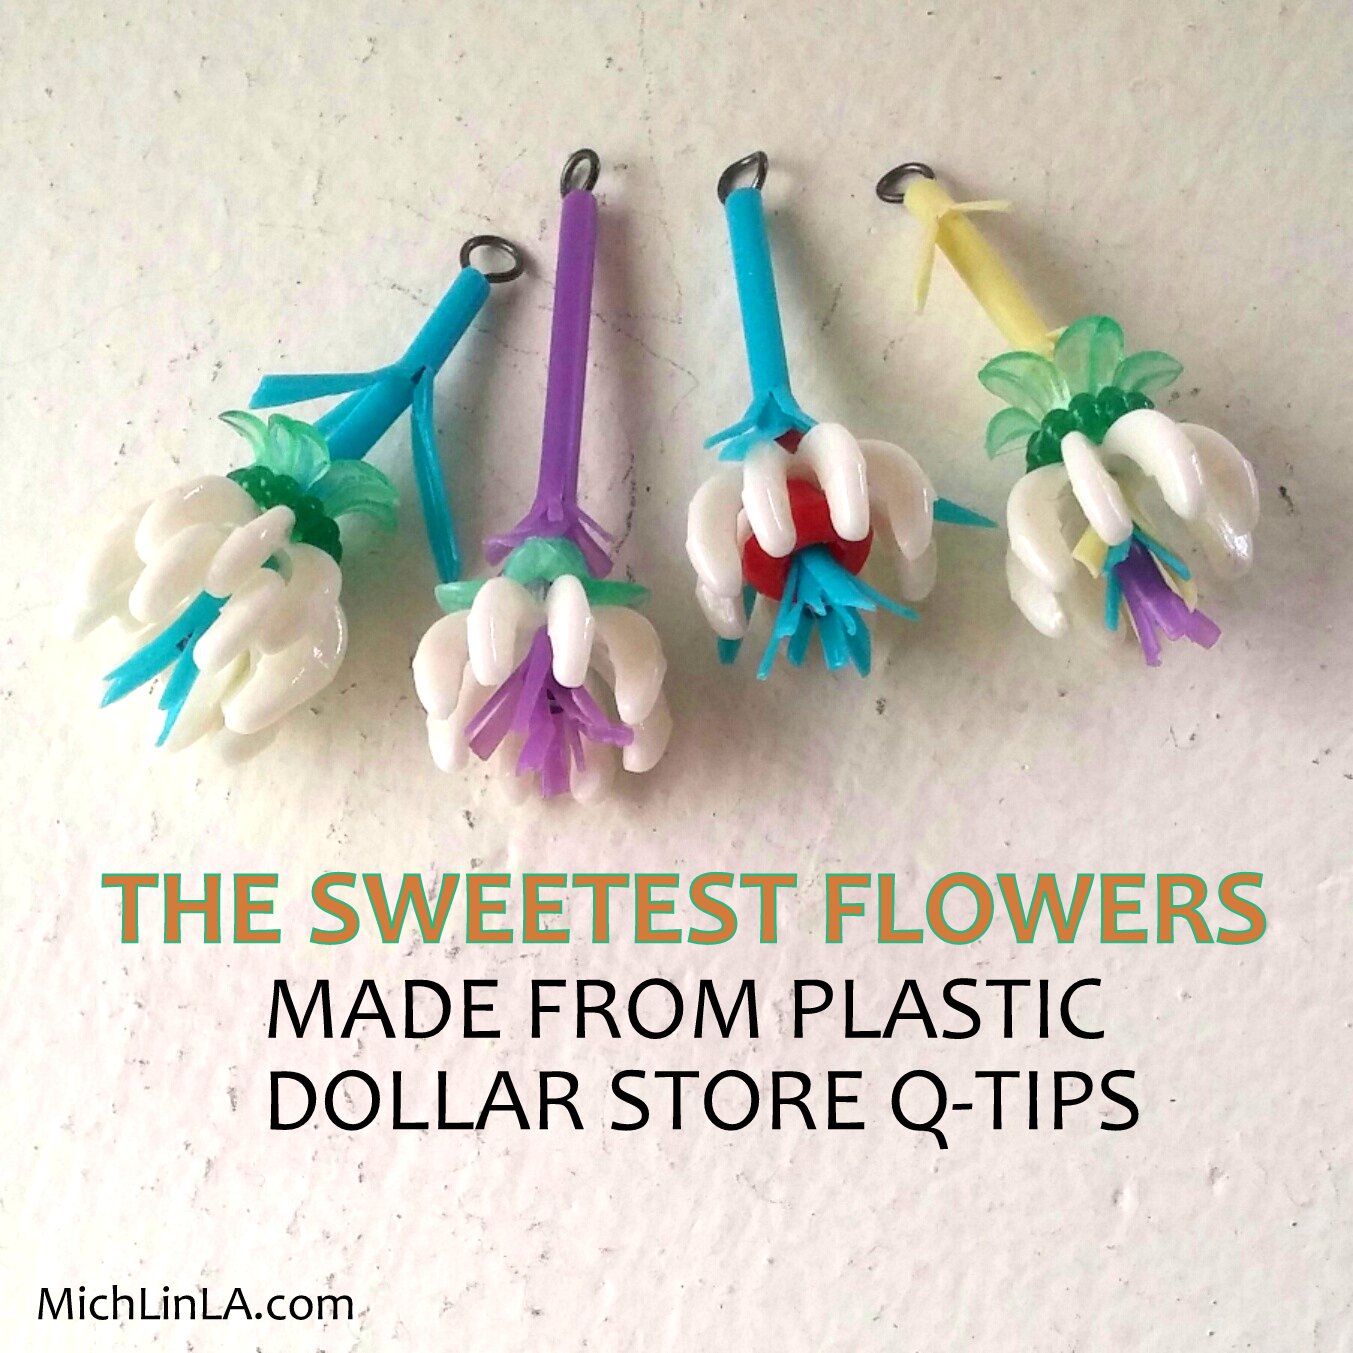
Dude. Look at these fleurs!
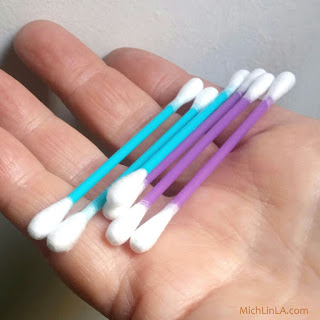
Some of you have no doubt guessed the upcycle: these inexpensive, brightly colored plastic Q-Tips.
I put together a big bunch of the flowers without really knowing what I wanted to do with them. The fun was in the making!
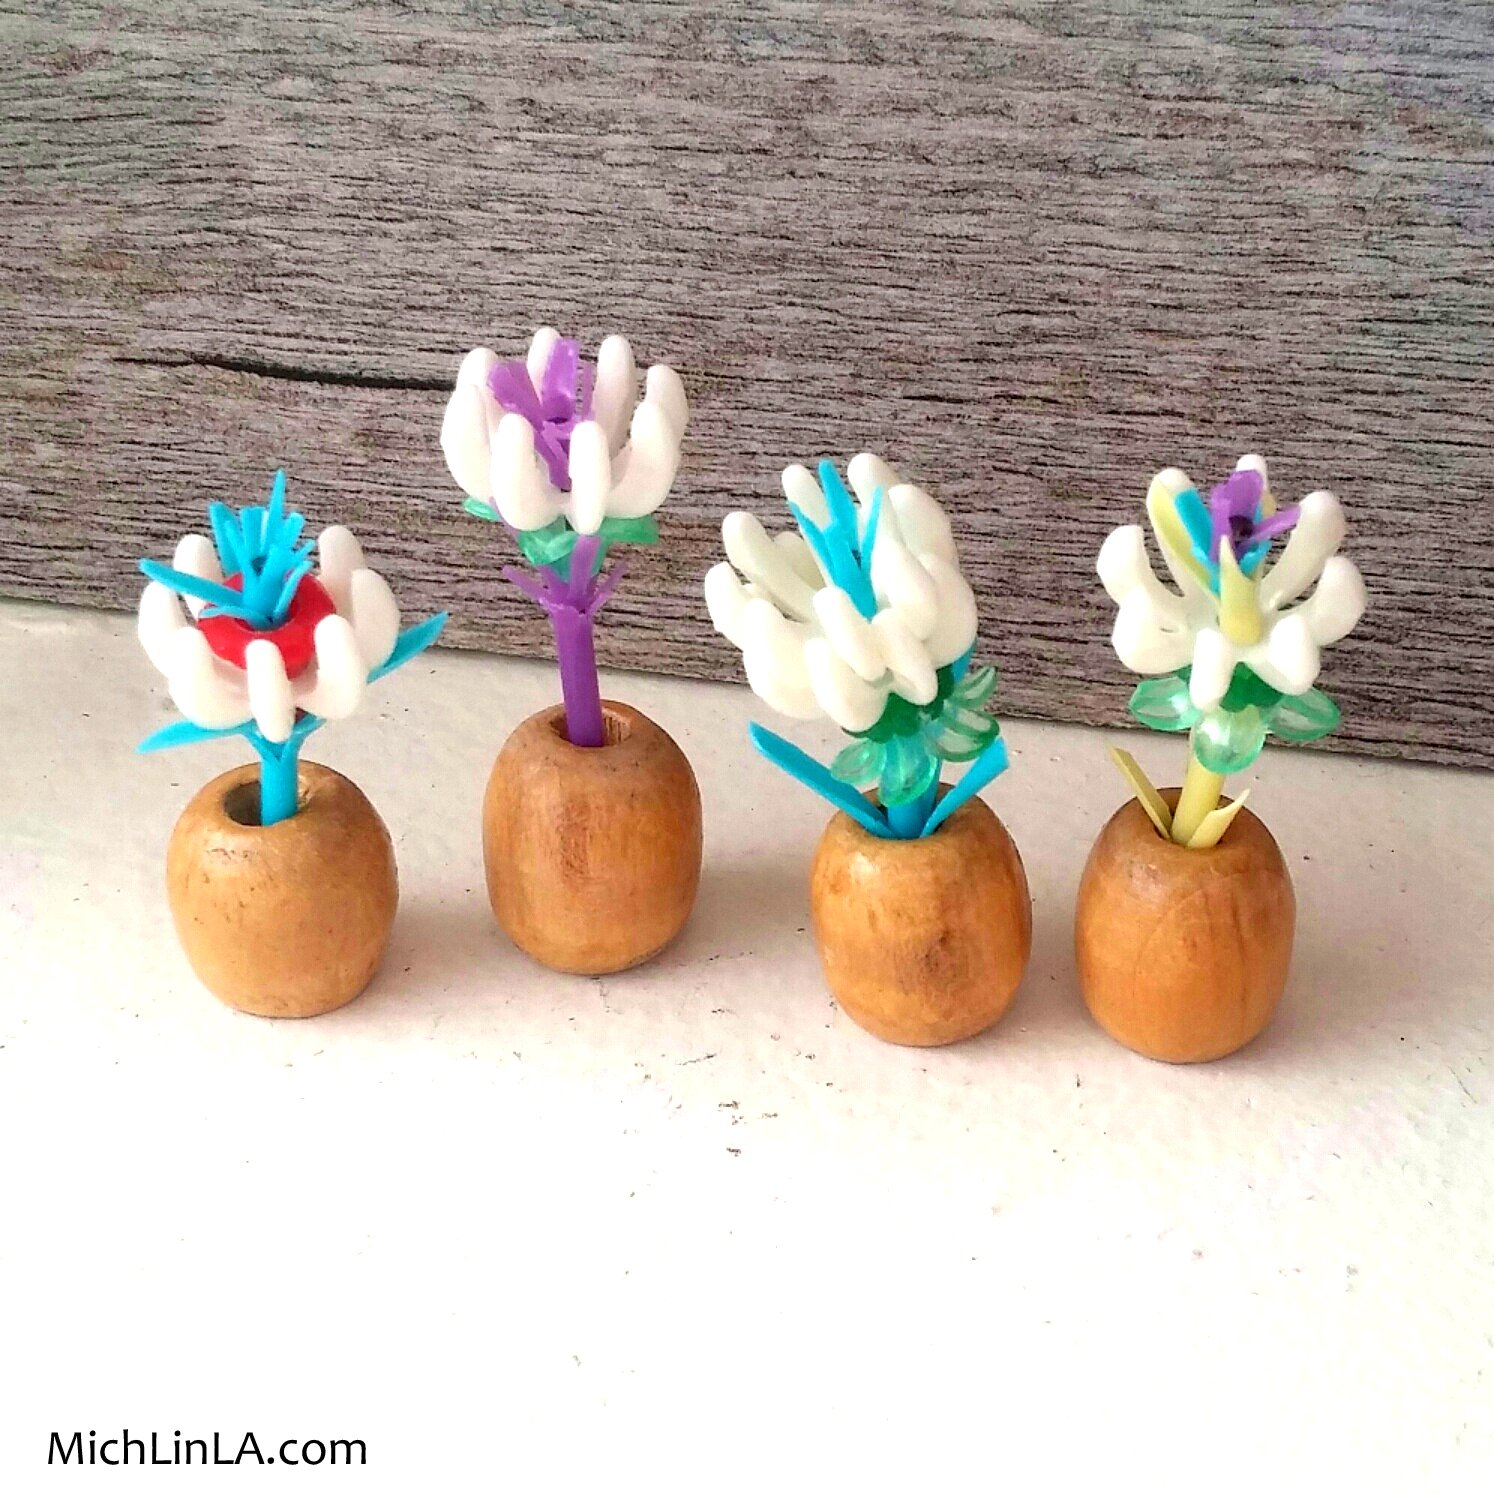
Then I assembled some miniature vases for dollhouse decor:
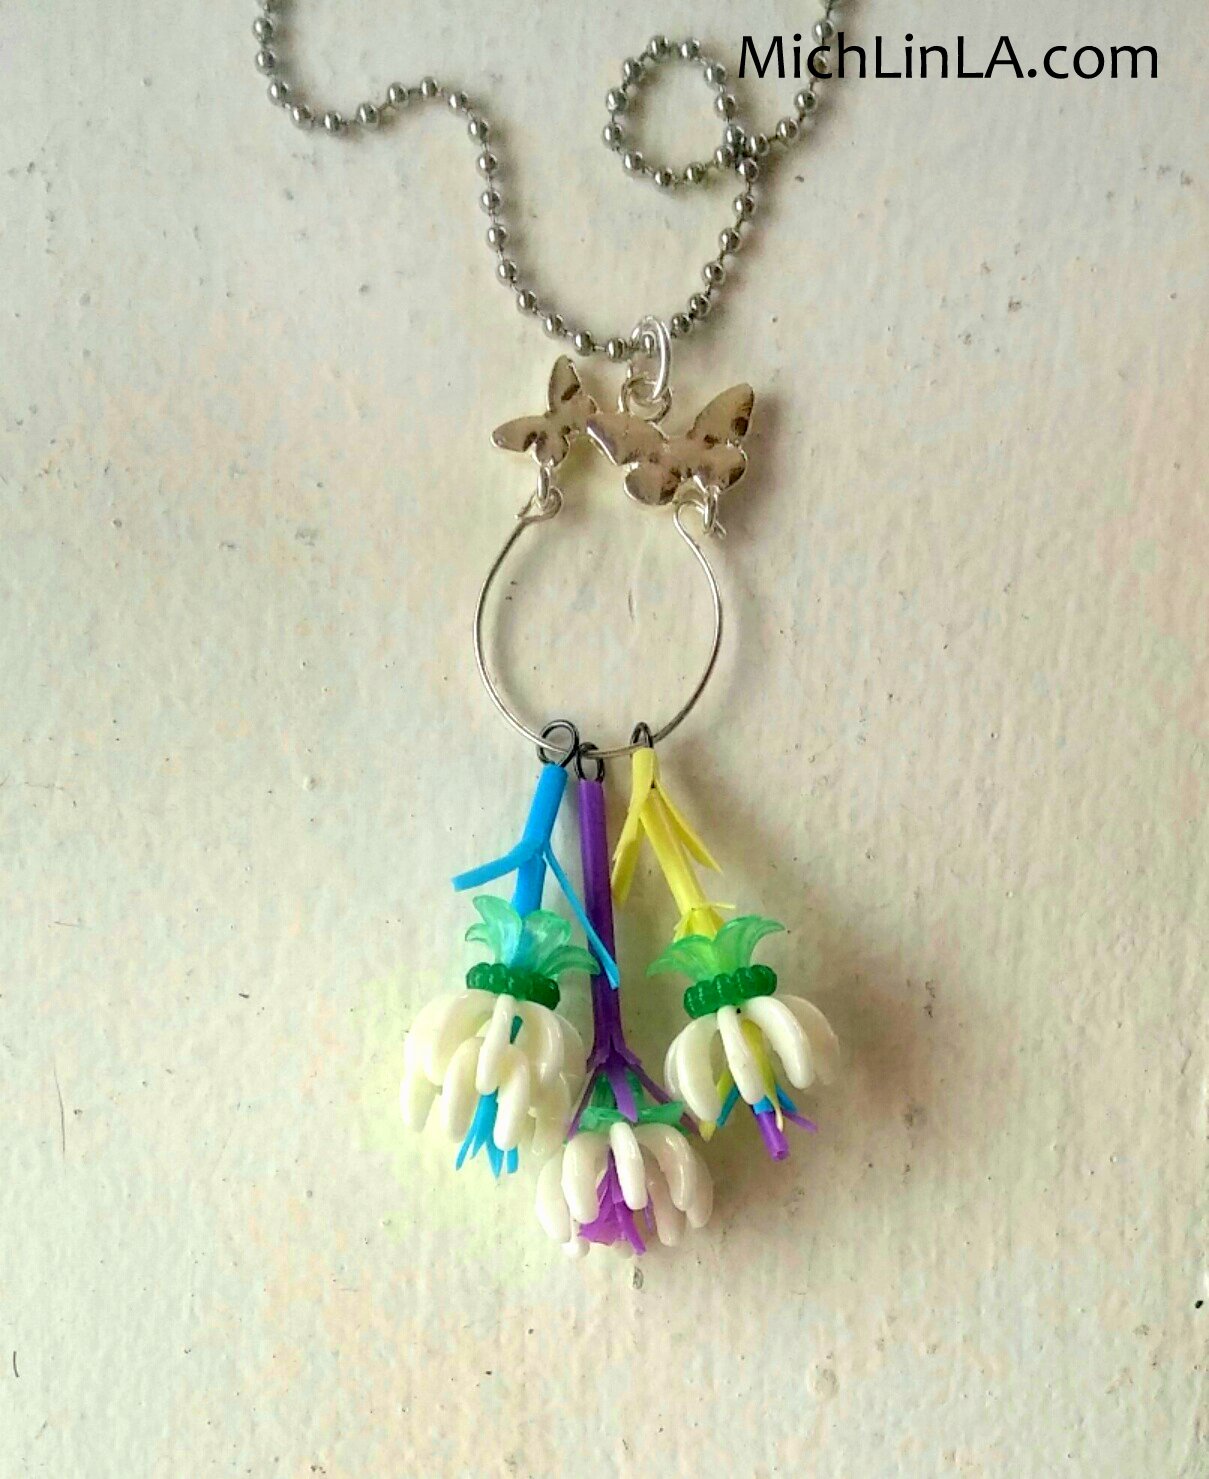
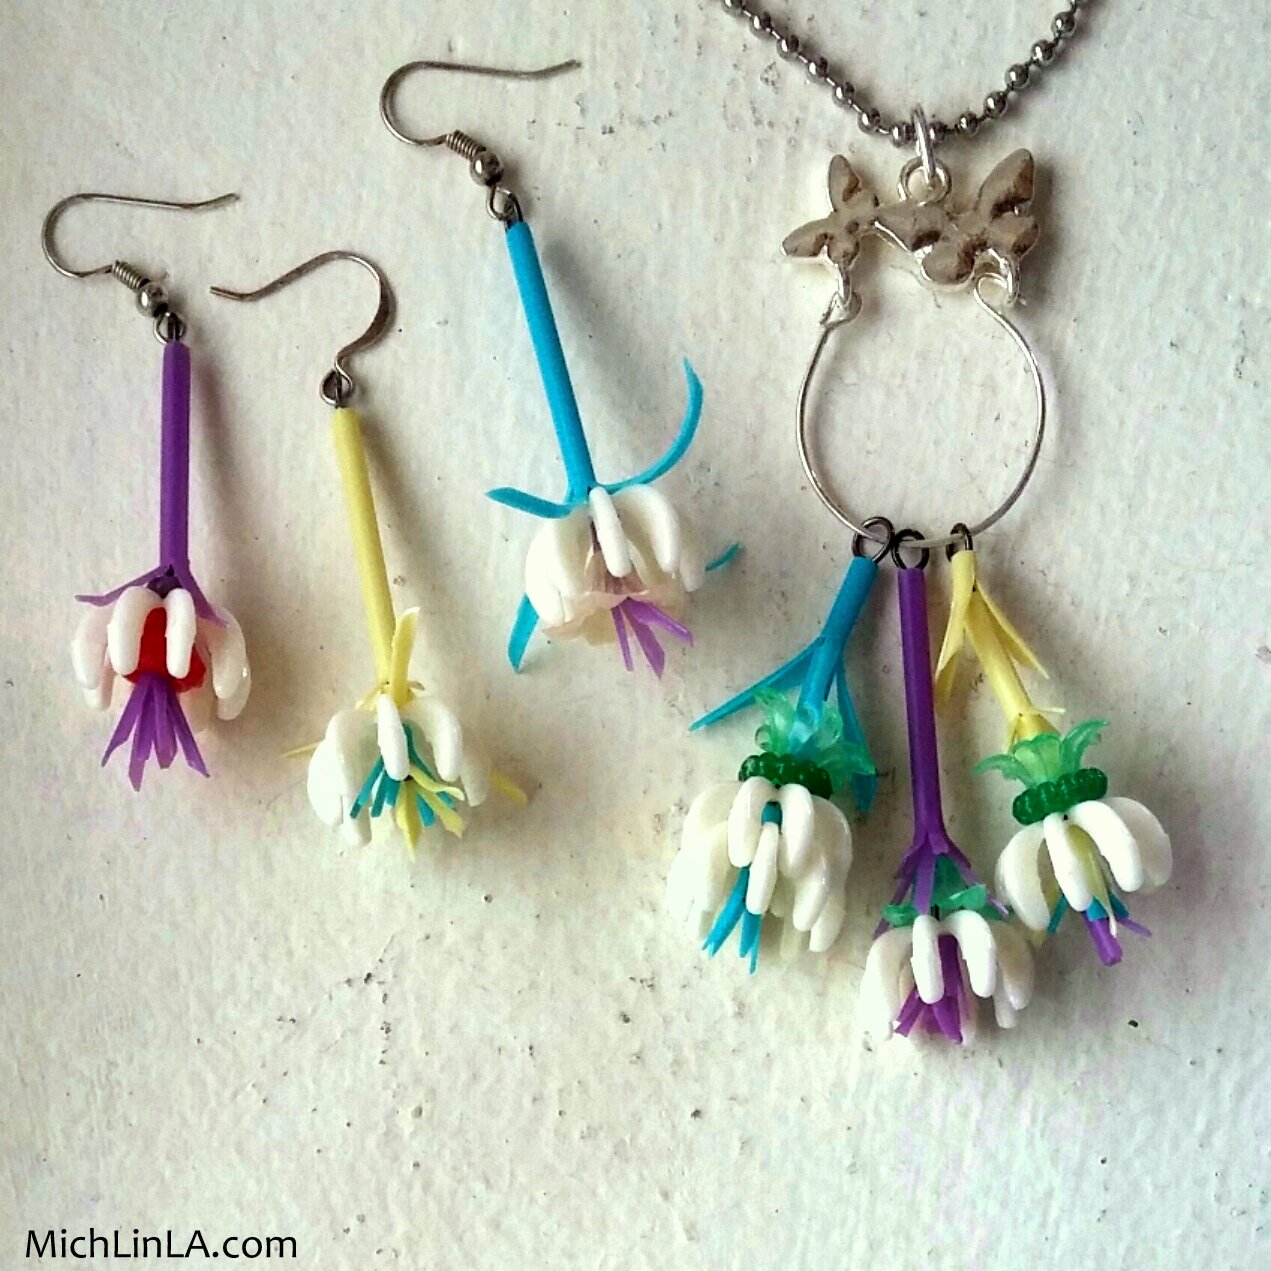
After that it was time for jewelry, of course. A charm holder-style necklace with a floral cluster:
And some single dangle earrings, a cute trend right now.
Want to DIY my little Q-Tip flowers? Here goes!
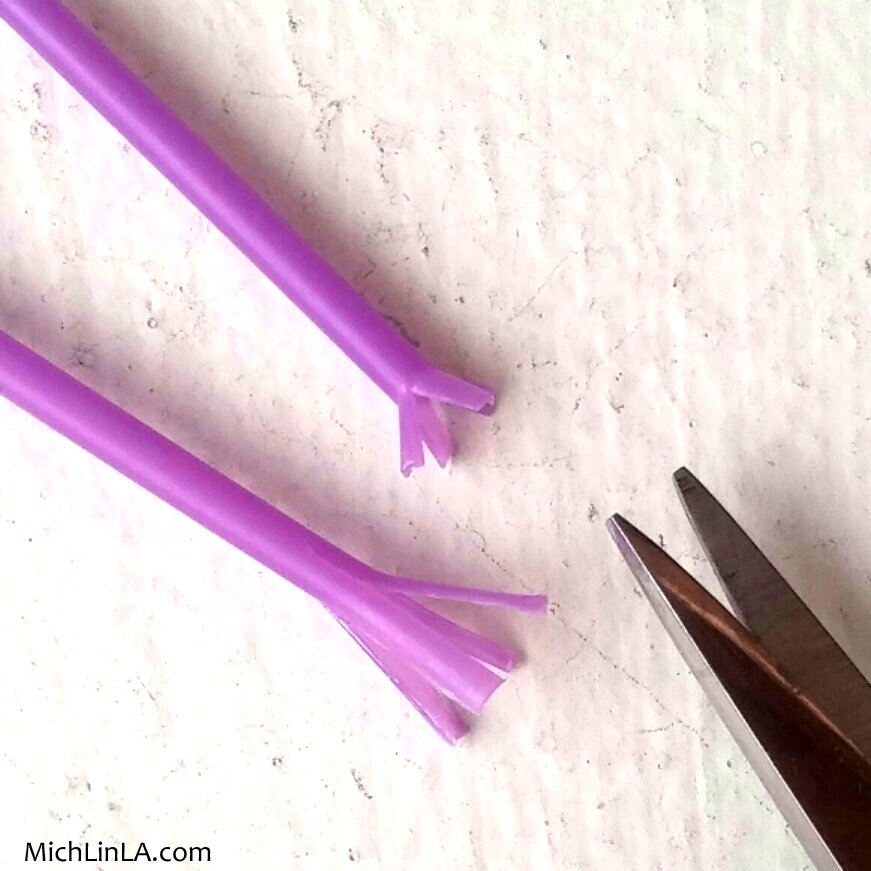
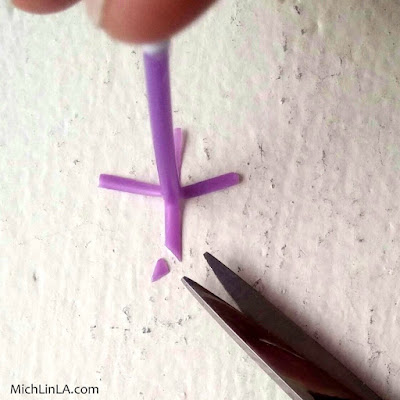
Snip the cotton blobs off a plastic Q-Tip. With your pointiest scissors, cut three or four slits in one end - long slits or short, to make different size flared ends.
This next move is optional, but I do think it adds something: trim the square corners of the 'petals' for a more organic look.
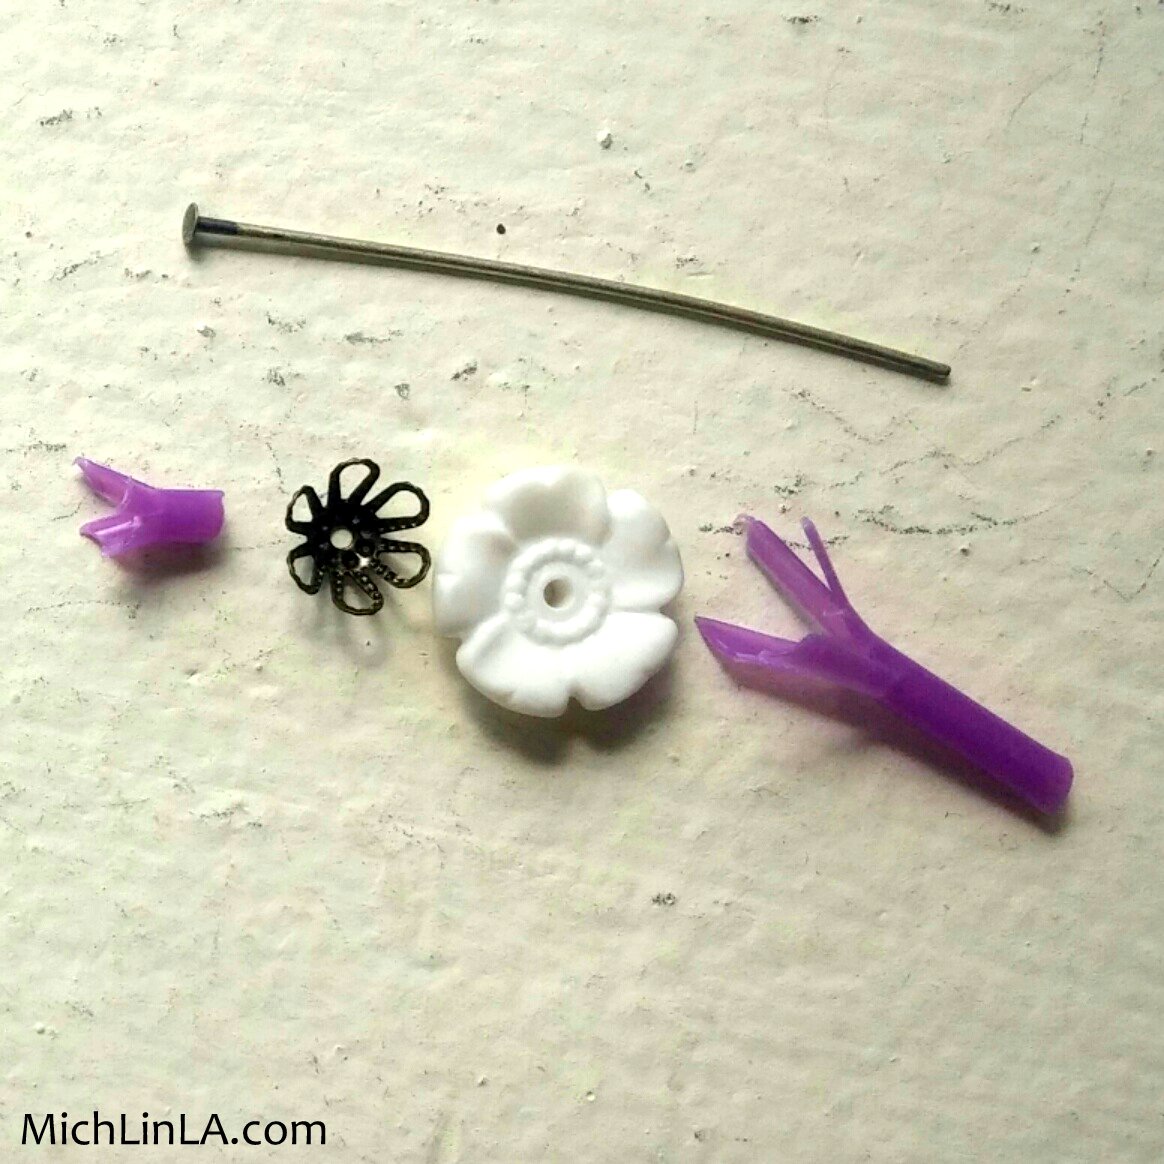
Now the fun part: designing a flower. Cut your flared stems into different lengths. Stack the segments on a headpin, along with various floral-shaped elements like bead caps or plastic flowers.
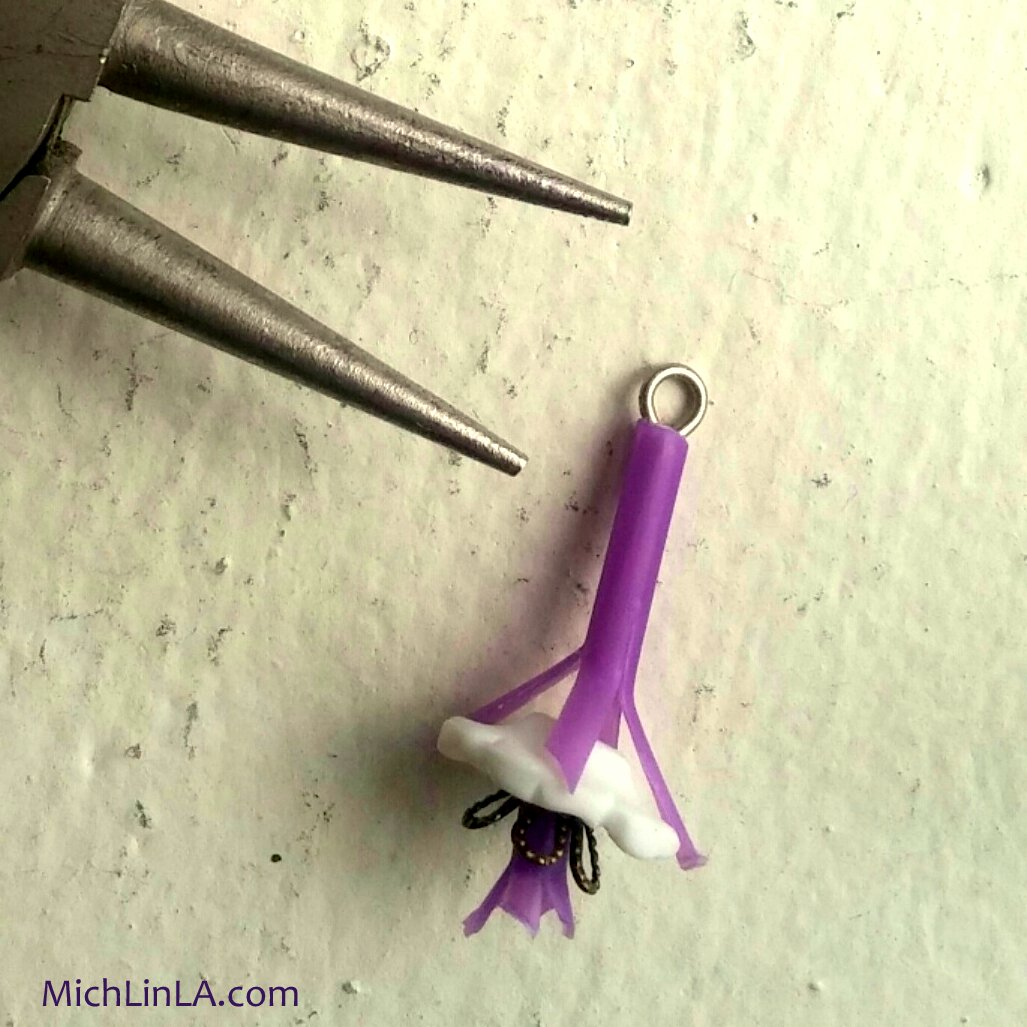
Finish with a simple loop to hold everything together.
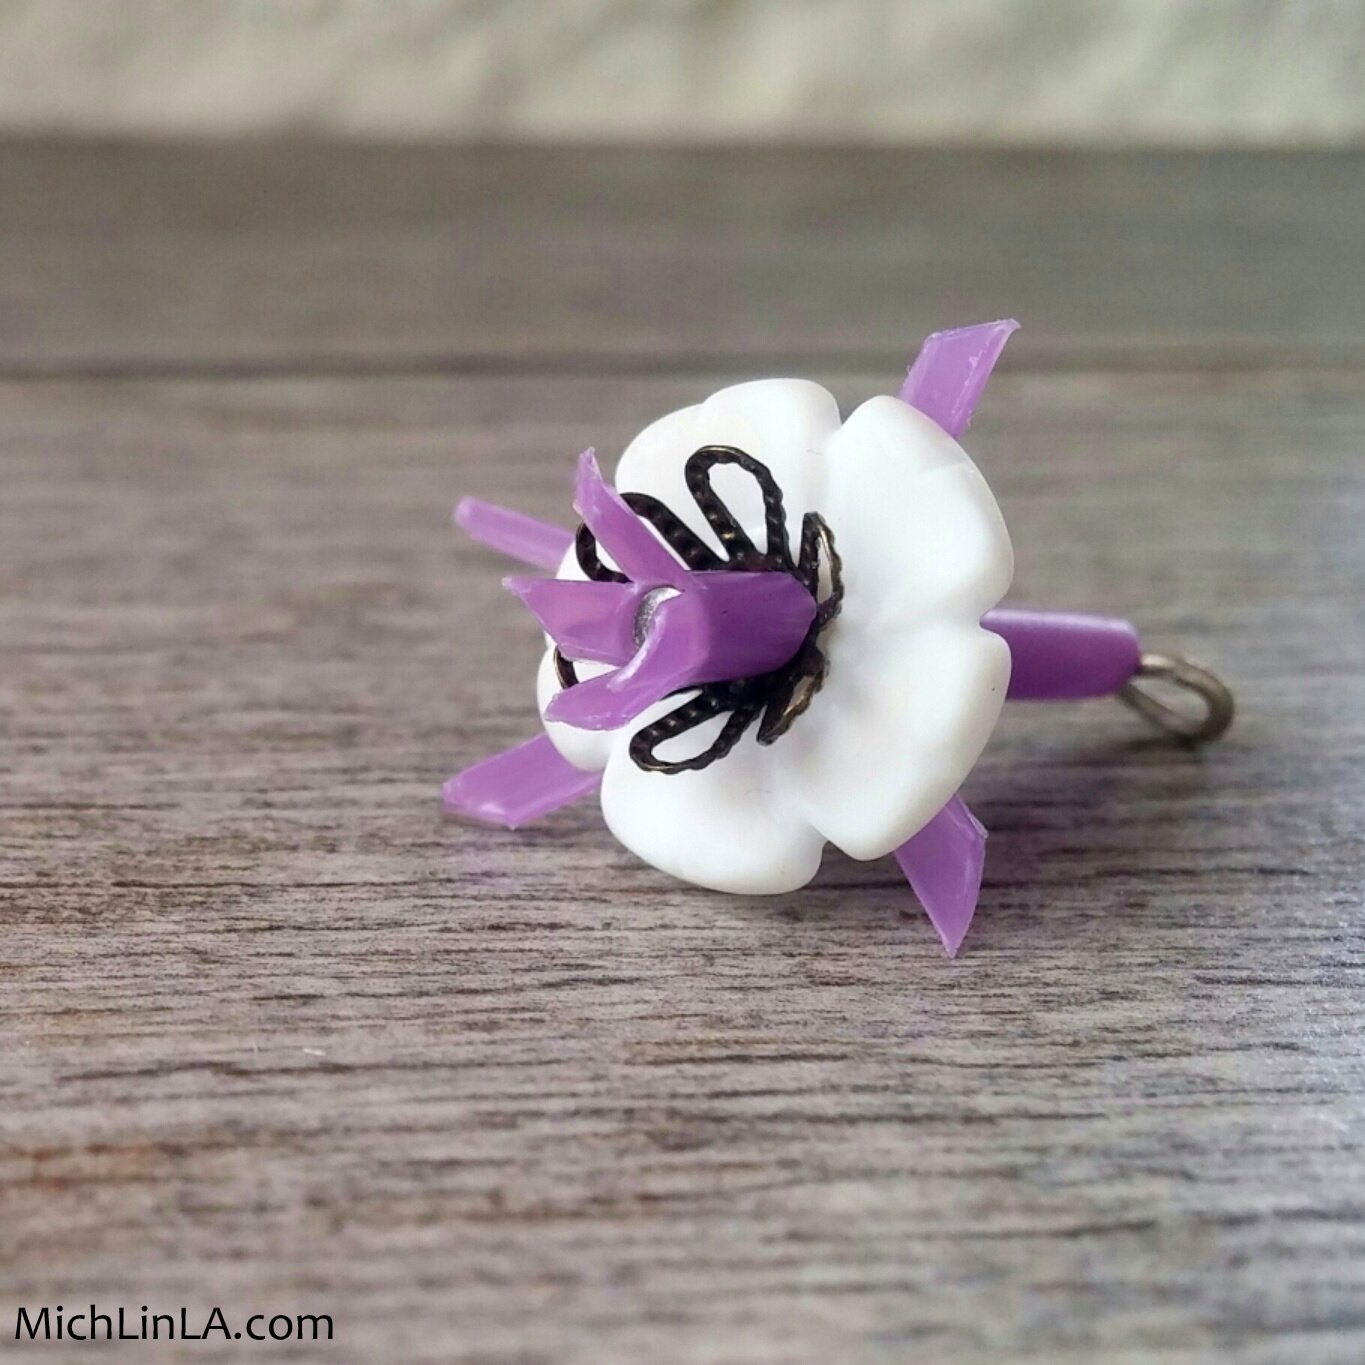
Bing! It's a flower!
As you see, that one is the most basic version. As you add more layers, the flowers grow in weirdness and cuteness! There is much entertainment to be had, experimenting with material, length and shape.
So I had some other thoughts on ways to use the flowers.
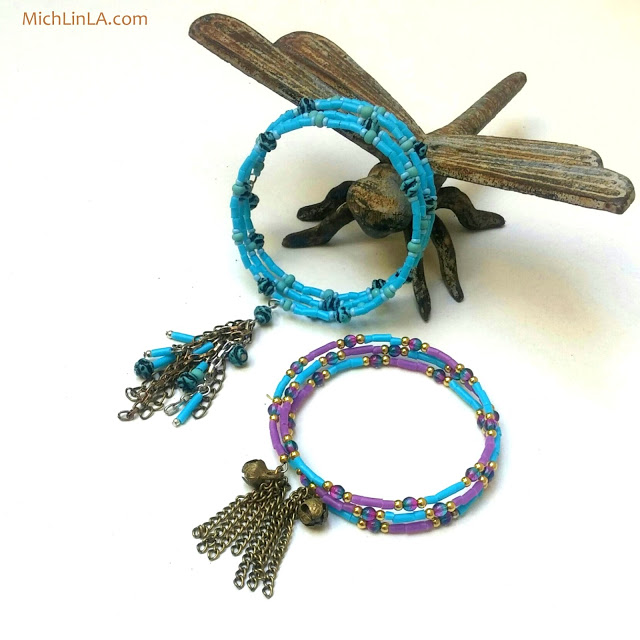
*Strung on a beaded garland, draped across a spring mantel.
*What about planting a few in a fairy garden? Unlike old fashioned Q-Tips, these babies are waterproof and weather friendly.
*Make longer stems and group them in a bouquet - just the right size for your favorite kid's 18" doll.
Have you got any more? I know you guys are smarter than me. Please add your ideas in the comments!
Oh, in case you missed it, check out the tutorial for another idea for using these pretty Q-Tips!
It's almost spring, my friends - time to get flowering.