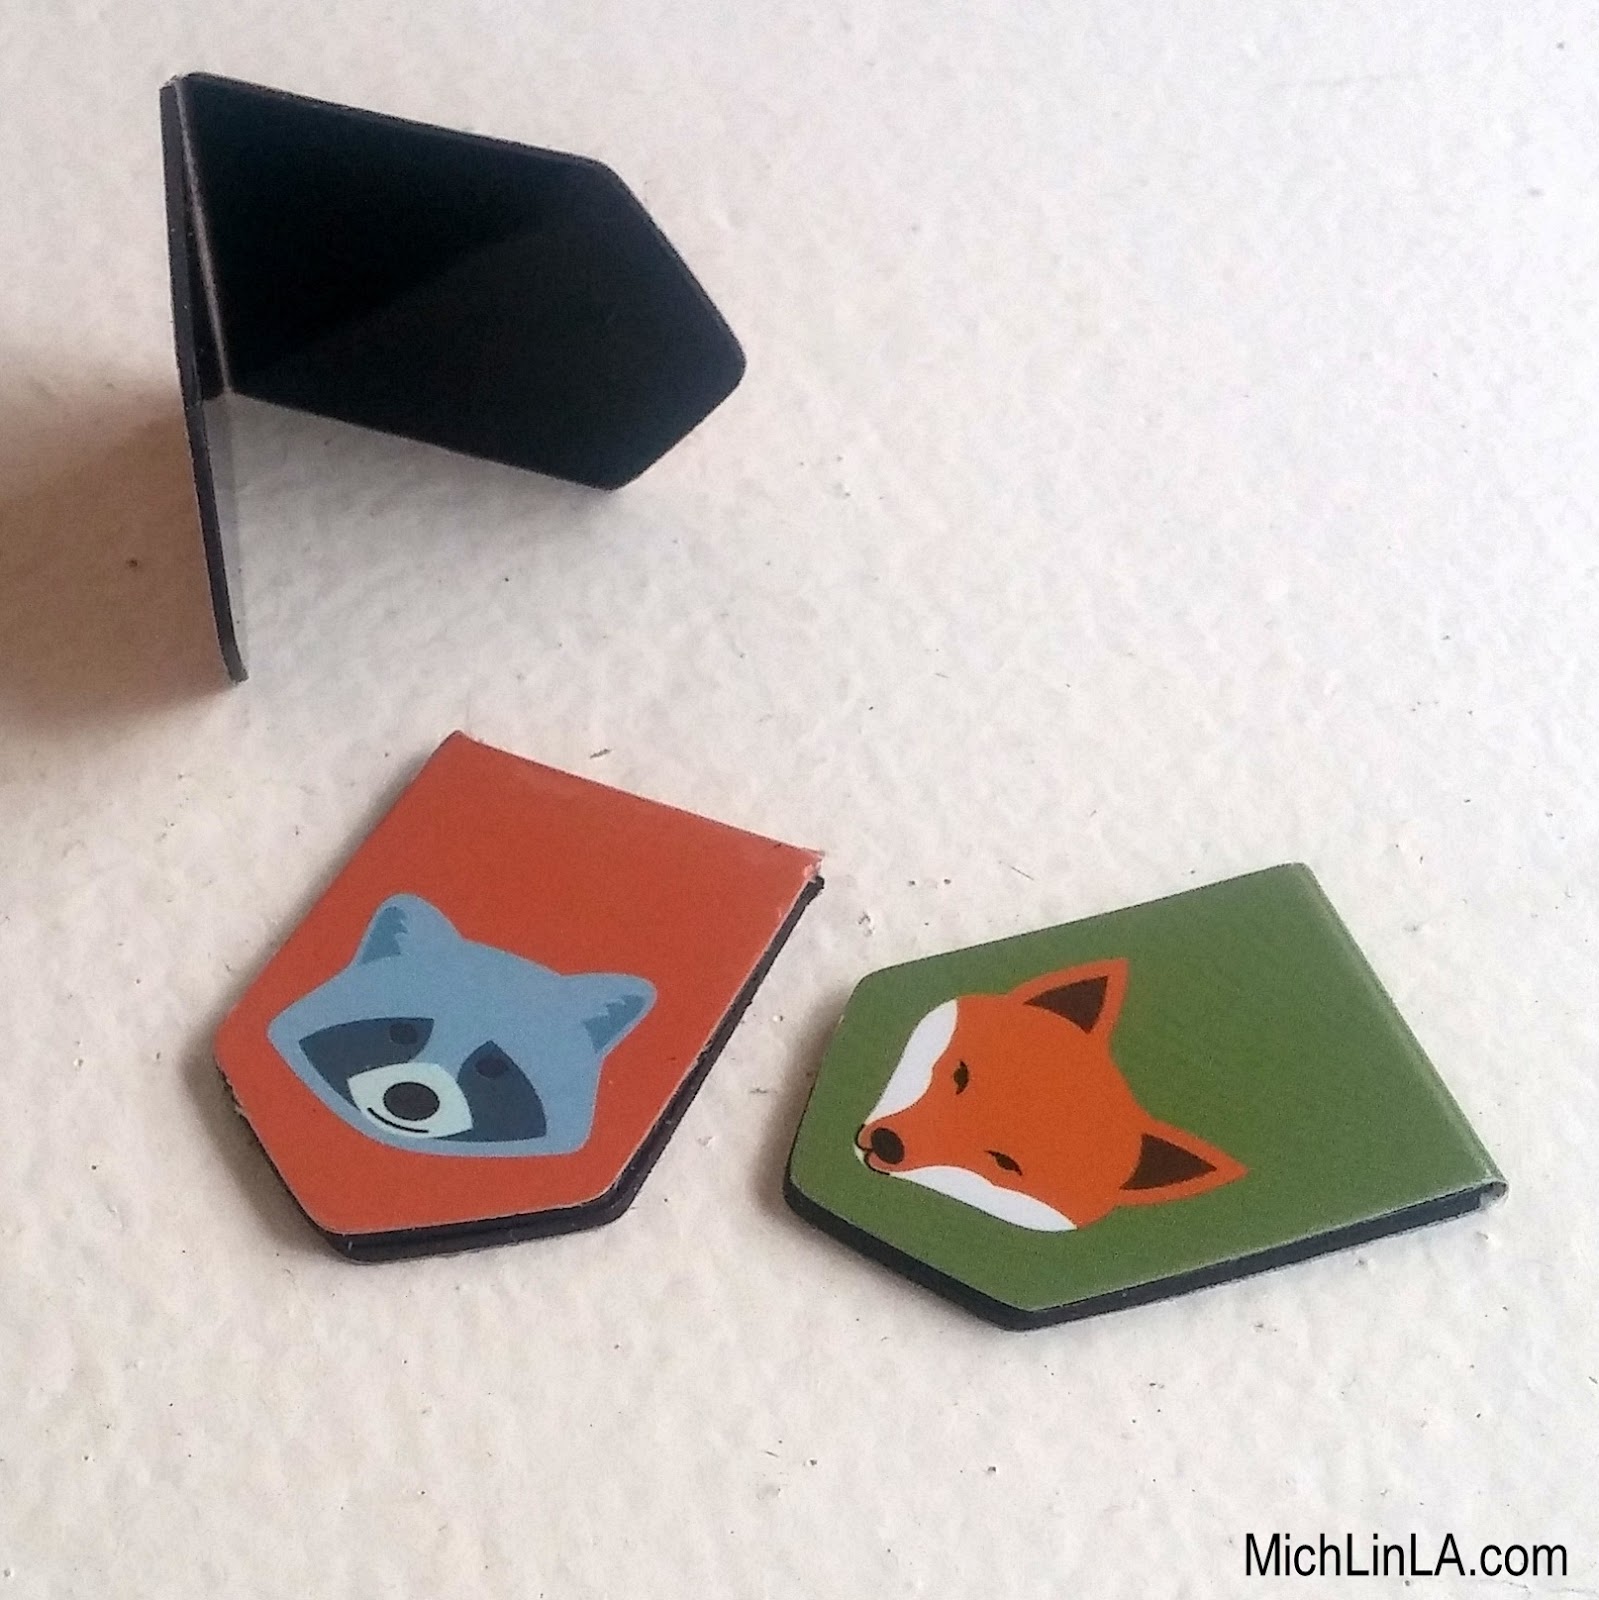
You know those magnetic bookmarks, right? The kind with two flat magnets that stick to the edge of your page. Like these woodland cuties.
They are always embellished with some type of nicely laminated art; you can find them in thousands of adorable designs.
I have a funny little hack for turning them into necklaces. As an added bonus, they are interchangeable - switch out the bookmarks to a different design in seconds. Wanna see? Sure you do!
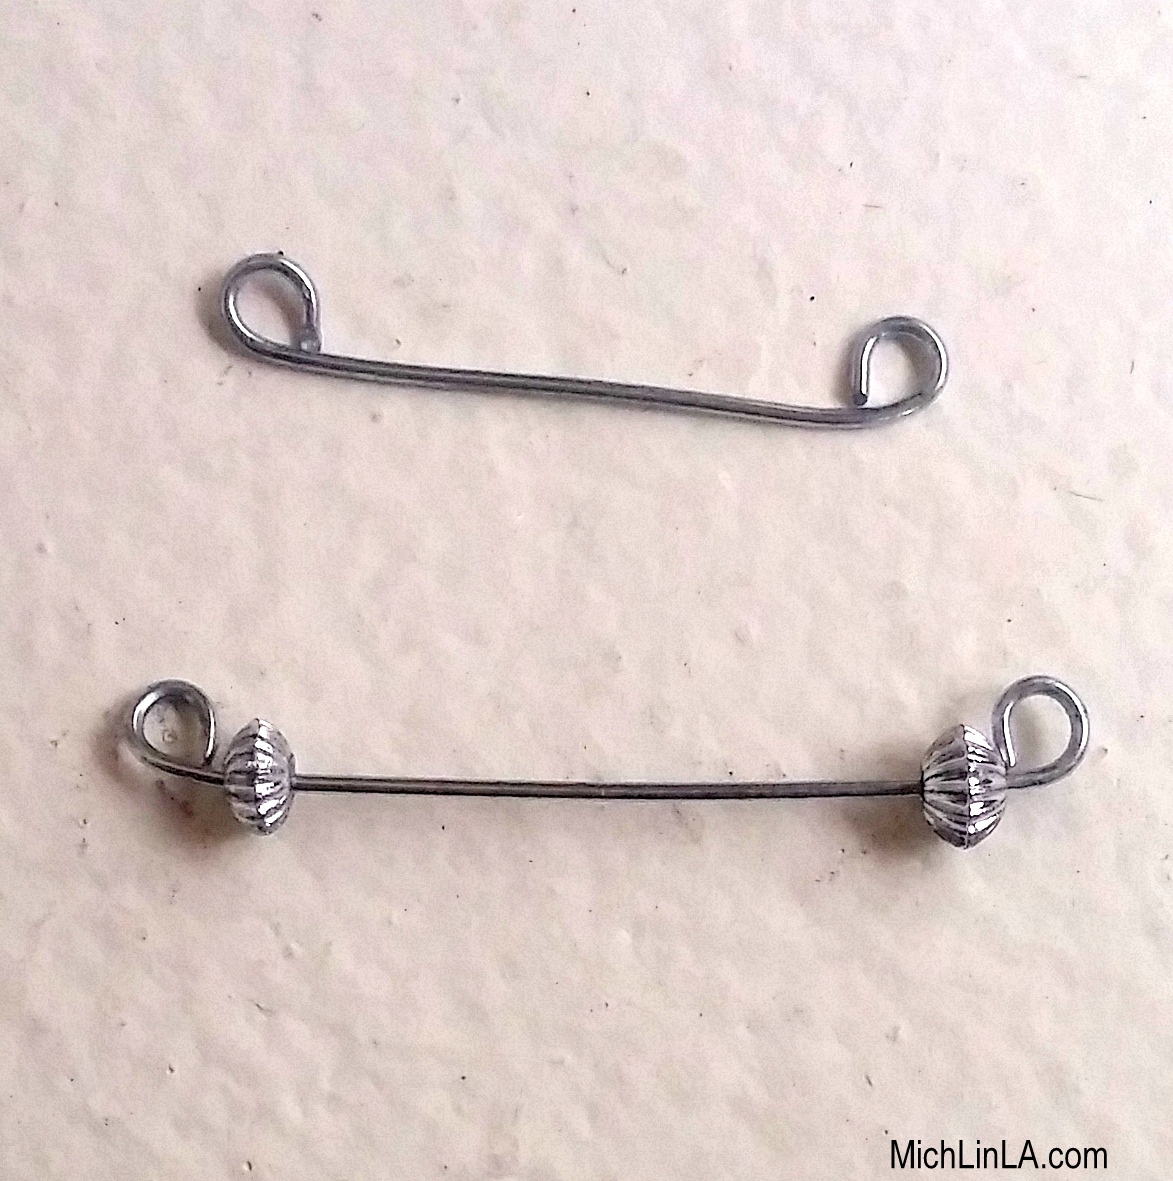
Begin by making a simple wire piece with a loop on each end. The straight section of wire should be the same width as your bookmark. (Optional: add two small decorative spacers.) Here's how it should look:
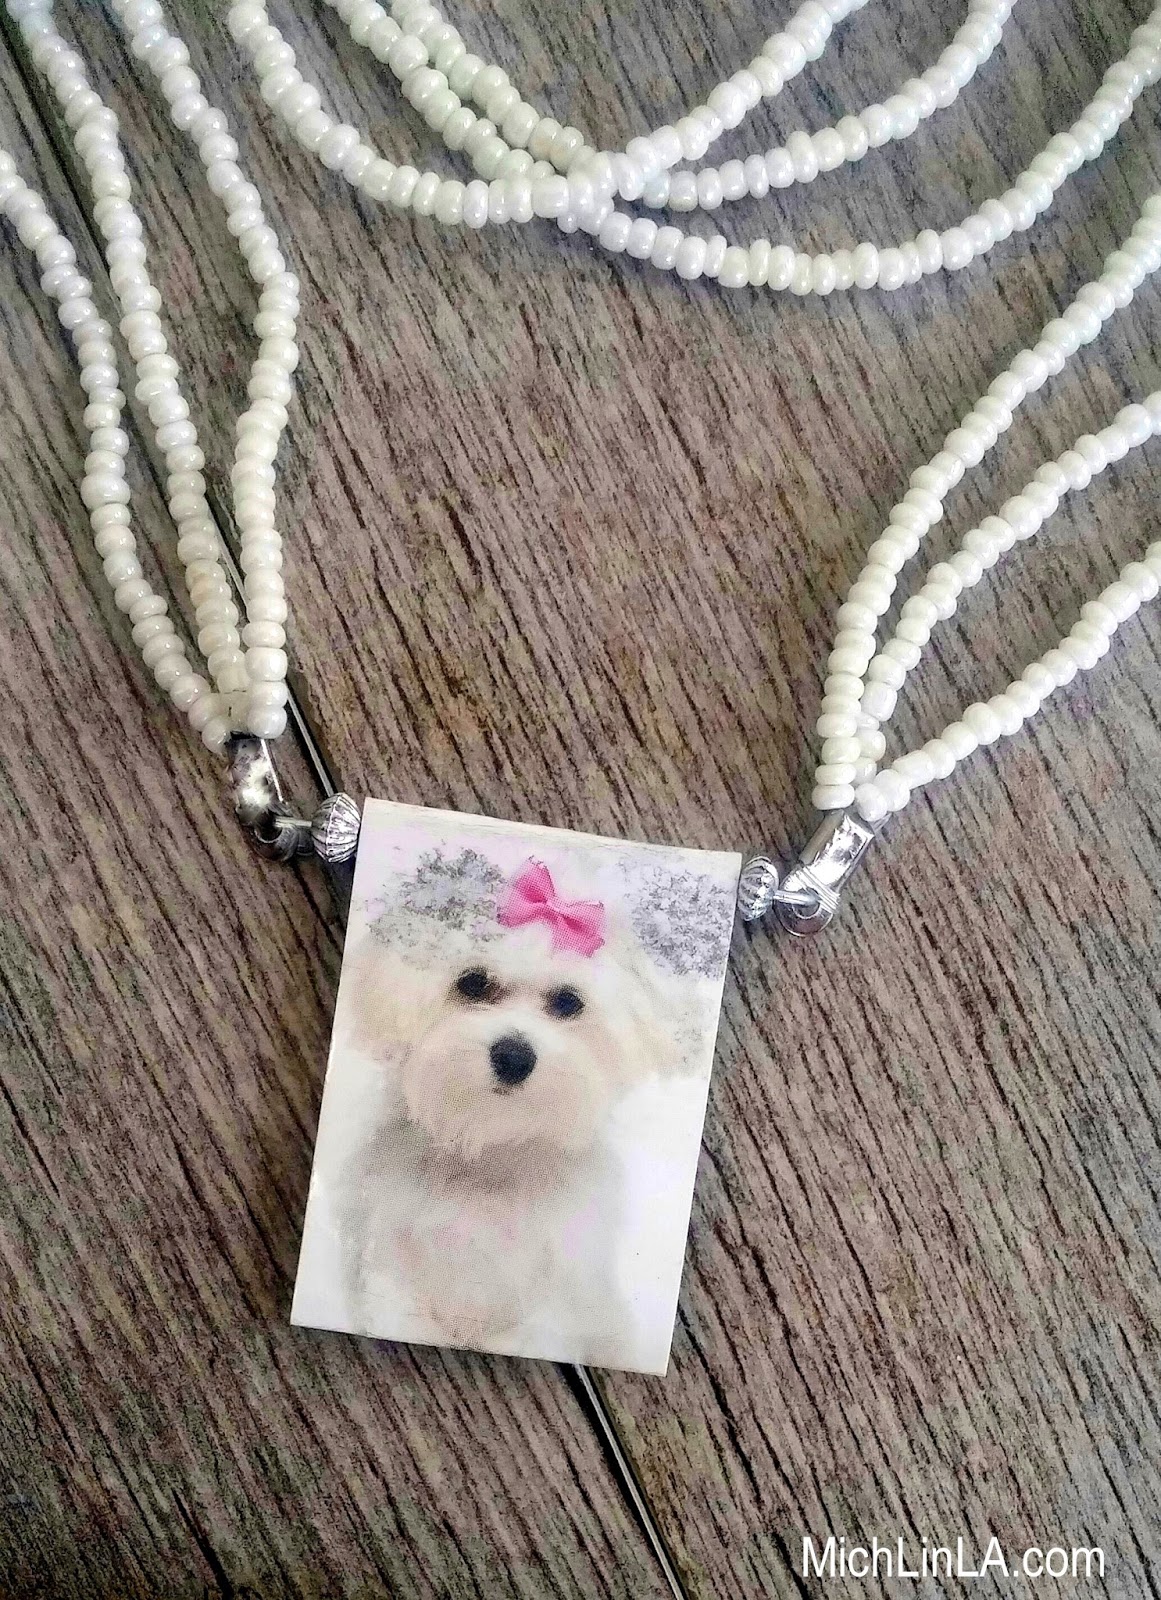
Now add the wire piece to a necklace or a chain.
Open a bookmark, slip it over the wire, and let it fall closed. That is it!
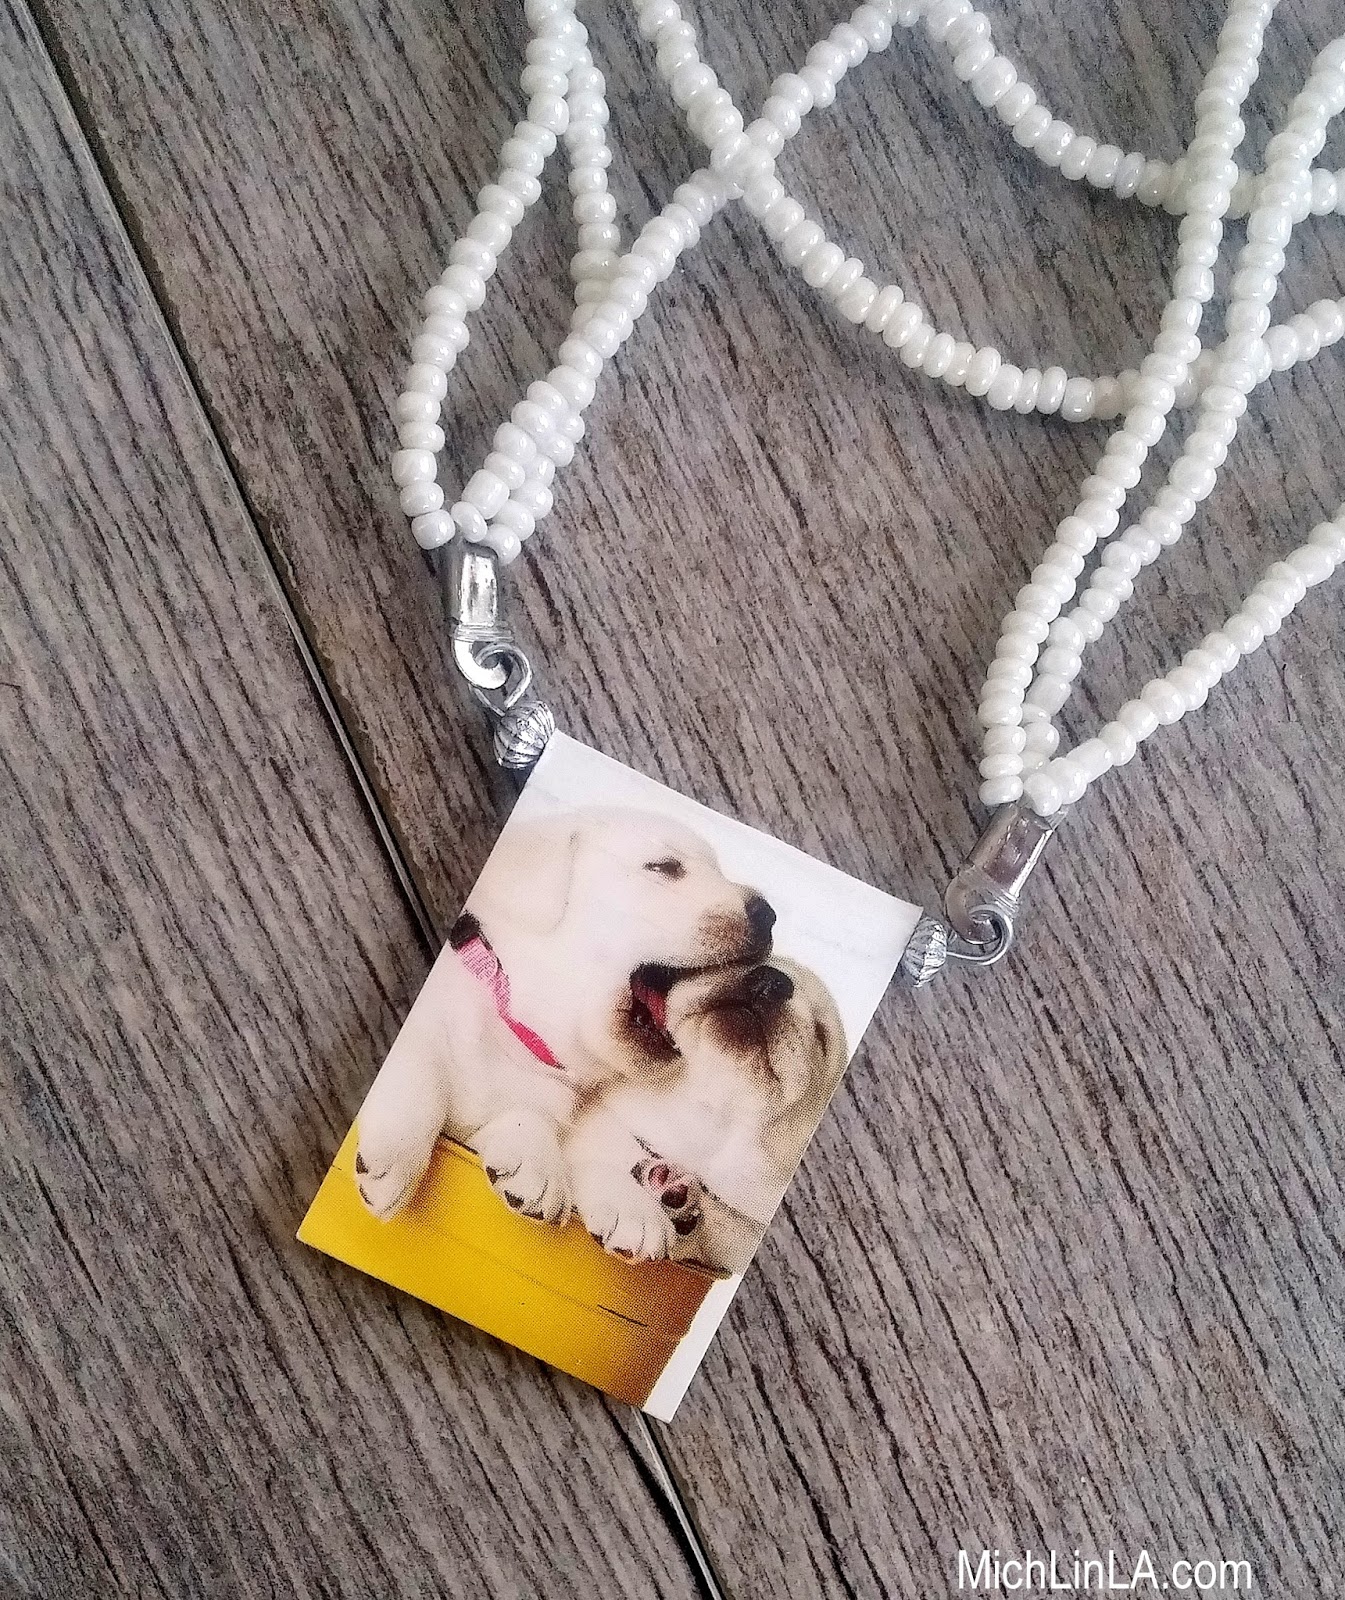
Switch it to another bookmark in the blink of an eye.
It's a great beginner's wirework project. Couldn't be any easier - two loops and you're done. Try it with a teen or a tween, or a jewelry-making newbie!
This would be a fun gift for a book lover: give a set of bookmarks and a convertible necklace to go with it.
I'm sure you can find an elegant bookmark out there to match anyone's taste. Something sophisticated, or whimsical, or literary...
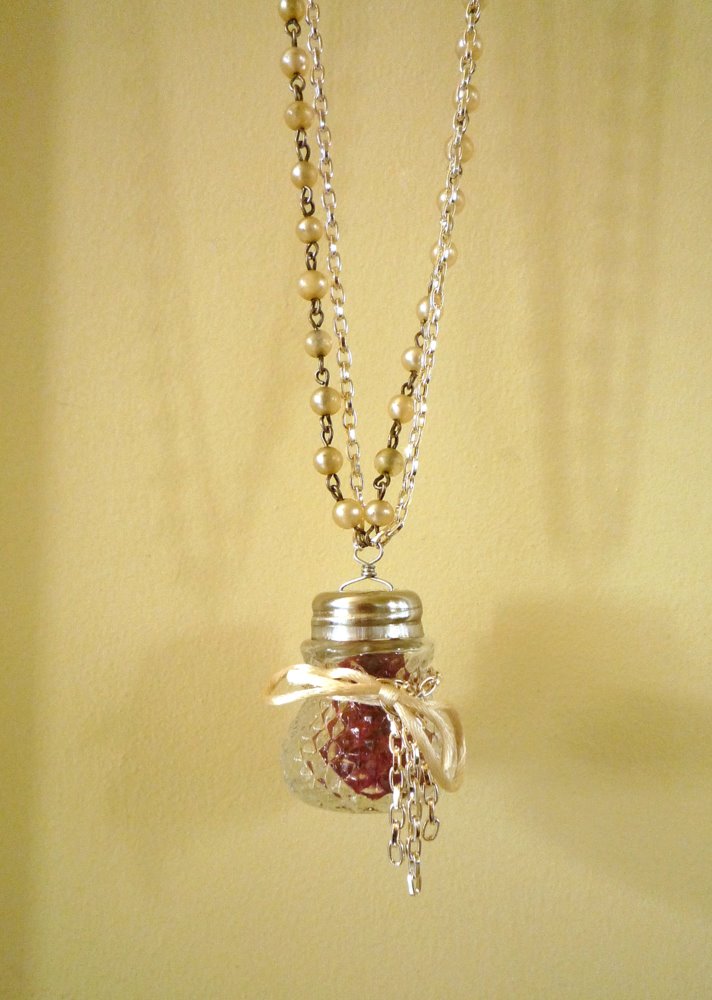
Or you could go in a different direction.
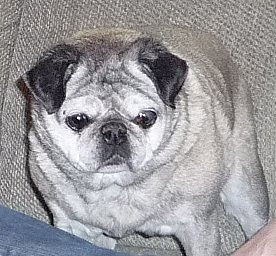
!!!Omg puppies!!!
Bye for now.
p.s. thanks for the puppy ones, mom!
p.p.s. fellow blogger Divya suggested making them for your book club - great idea!
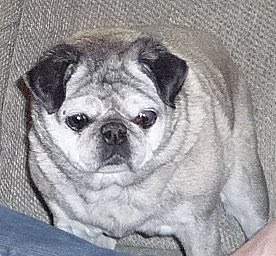
Okay, that title was just an excuse to post a picture of Coco the pug.
 Today's up-cycled project is made from part of a curtain. But probably not the part you'd expect!
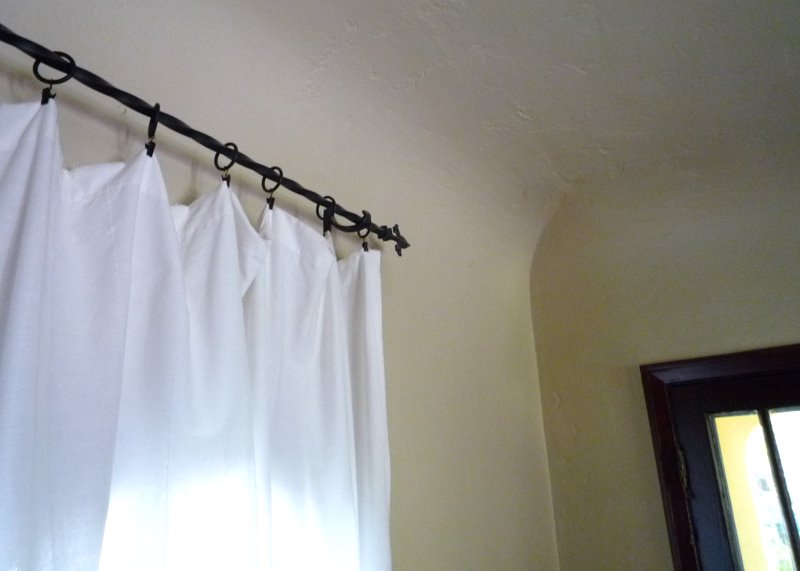
Most of the curtains in my house are these basic white tab-top panels:
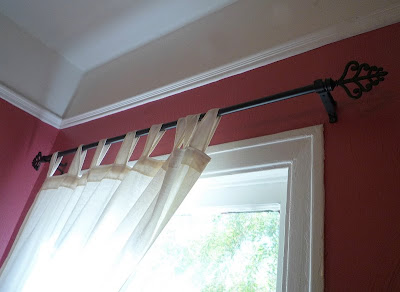
In the living room, however, we decided we liked the look without the tabs. We cut em' off and substituted little clips:

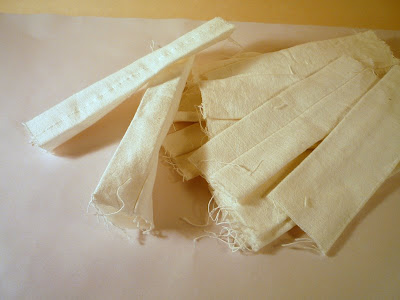
Which means...a big stash of these white cotton curtain-tab tubes, just begging to be crafted upon!
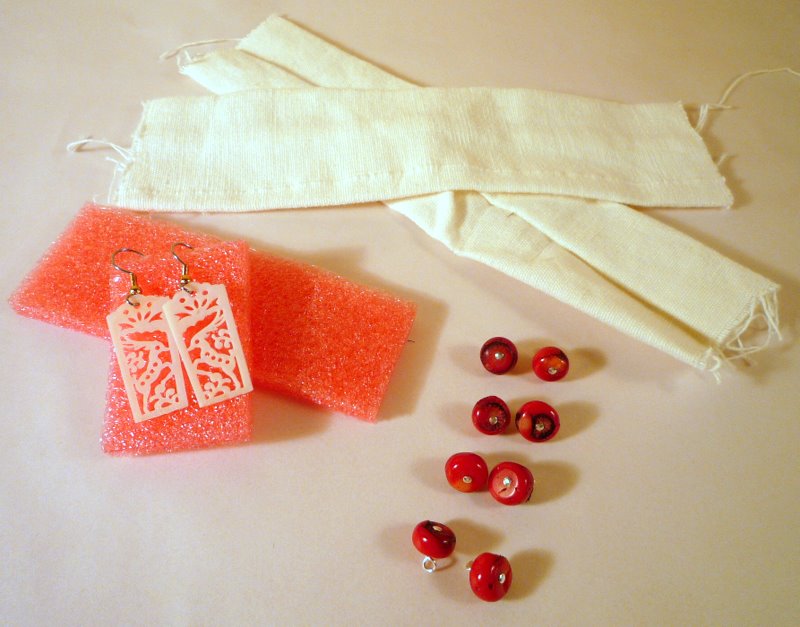
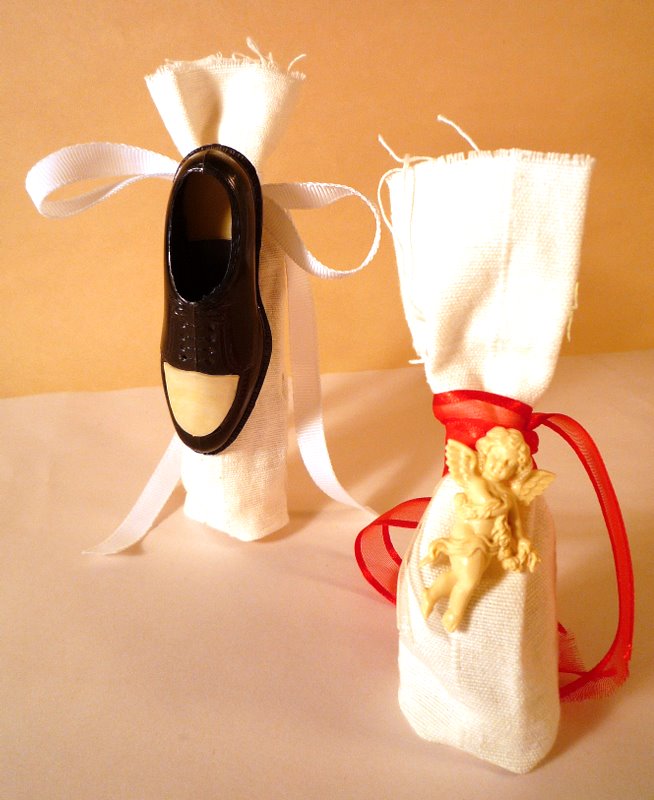
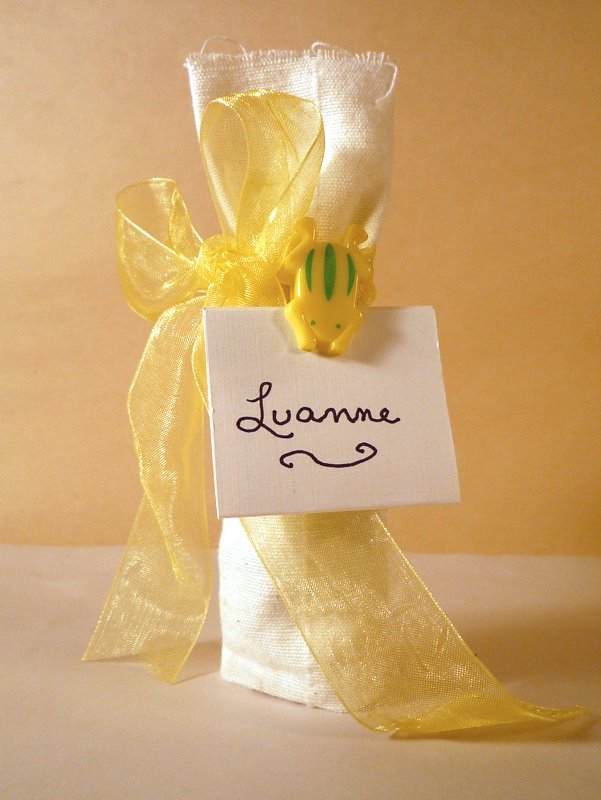
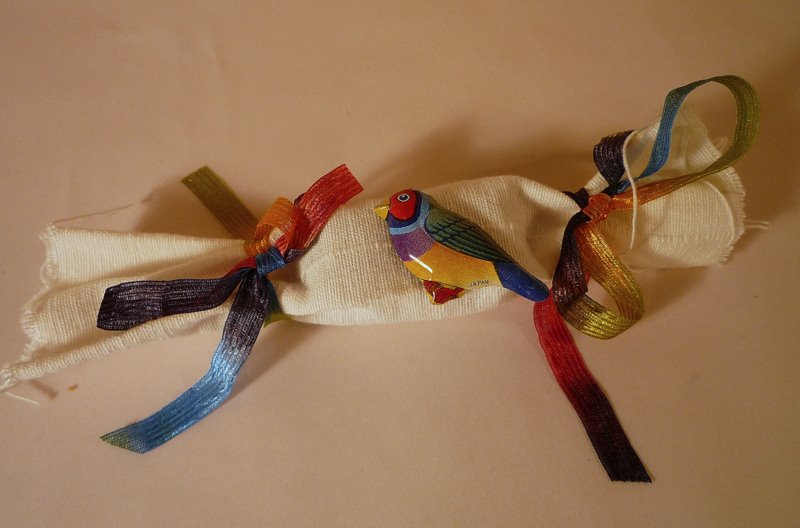
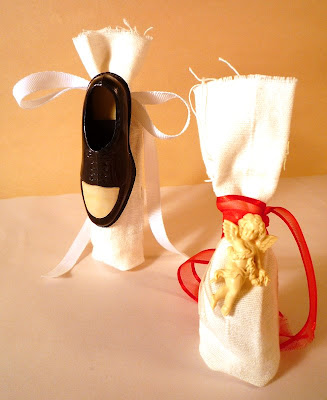
I'm always on the lookout for creative ways to package up itty bitty gifts of jewelry. Like, for example, I might need to mail out some deer earrings or some coral buttons to some giveaway winners. How to package them...thinking... thinking...
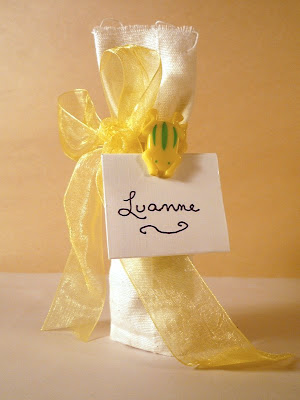
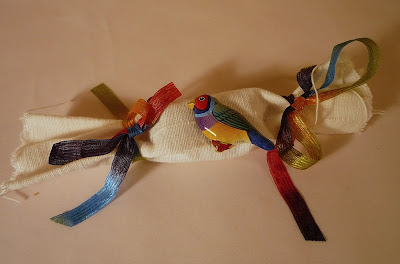
 That's right. In these humble white curtain-tabs, we have The Ultimate Teeny Weeny Gift Bag Blank. Grab a tab. Add your own style. Fill with some variety of tiny giftie - and you are golden. Here are a few I whipped up.
Your immediate instinct will be girly/swelegant.
 But they just as easily can go masculine.

Or unisex.

Or cute or silly.
 No matter what you come up with, it will be fun to make.
So if you ever think of altering your curtains, save those tabs! They are the best little things. If I think of any more stuff to do with them, I might have to start counting to ten...hmm, can I come up with that many ideas for these?
(Update: reader Amanda mentioned the obvious - if you don't have curtain tabs, sew yourself a long skinny tube of fabric, cut it into sections, and start crafting your own teeny weeny gift bags. Thanks, Amanda!)
Here it is, one last post about the 'SuperSecret Challenge' challenge. I've had so much fun! Today's project is another 'infinite convertible': a blank slate for creativity, style and thrifty re-purposing.
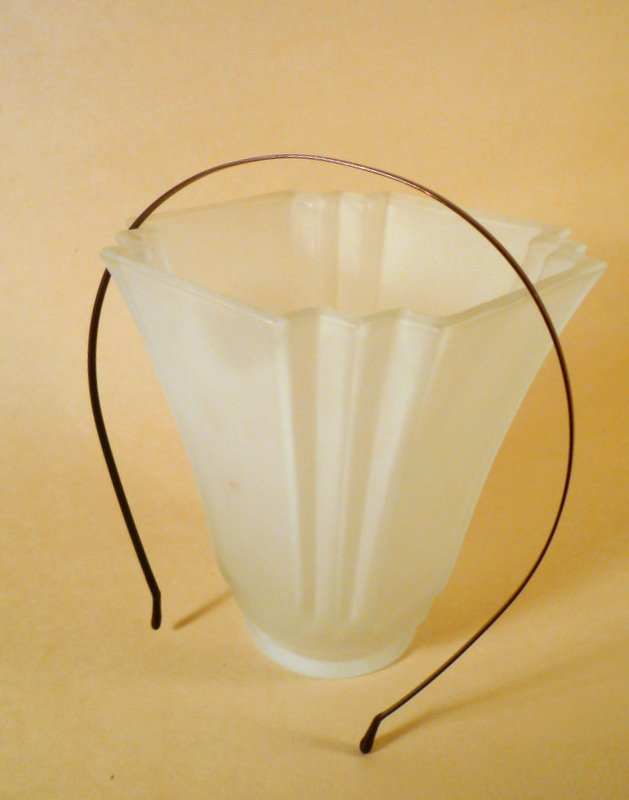
From the challenge stash, I took this plain headband. Sometimes, you just want a basic headband. This one fits my big head really well.

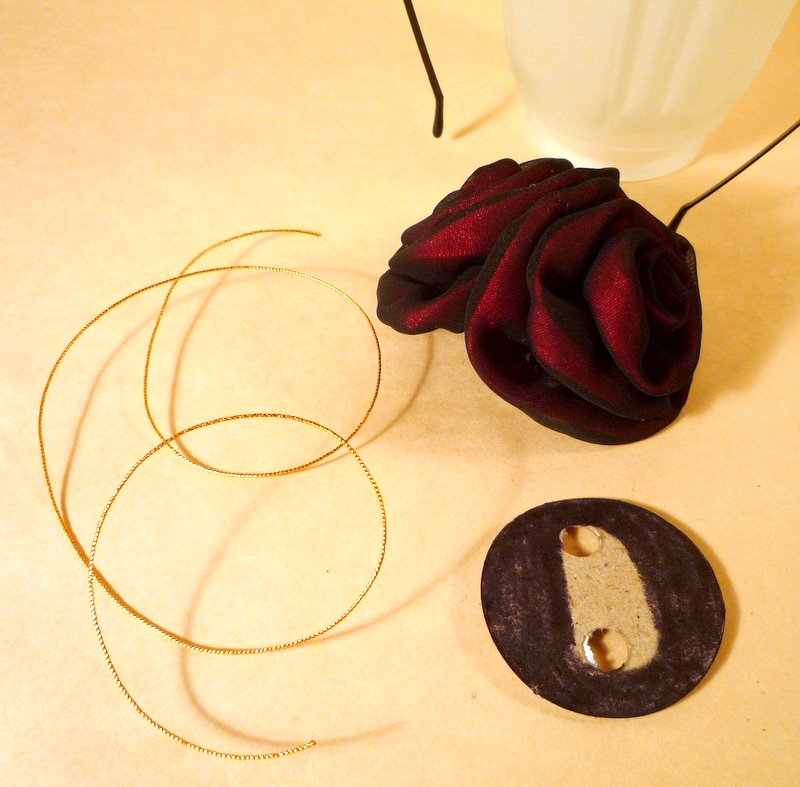
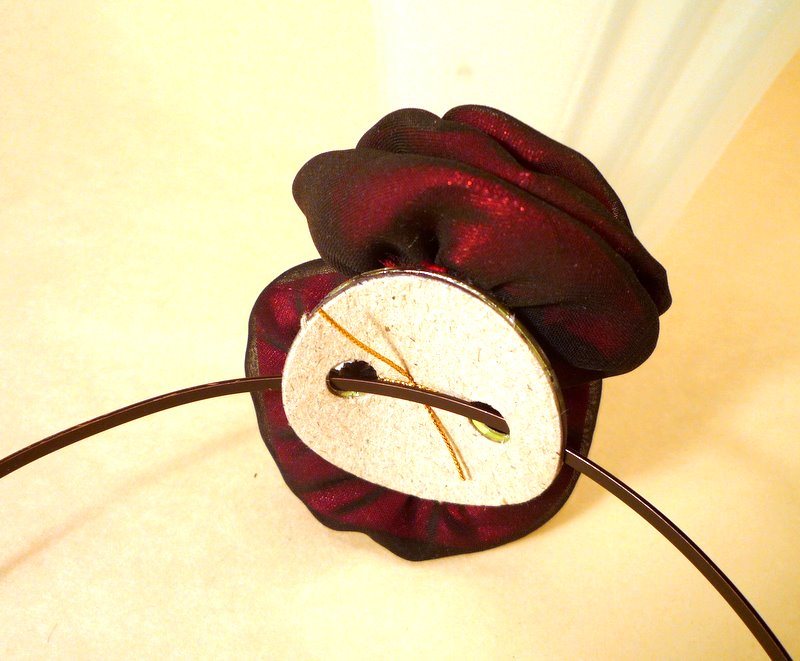
I took a two-holed chipboard tag (also from the stash), peeled off the paper, sharpie-ed black around the edges. The only other ingredients: string, and a cute found object (in this case, a fabric rose from a scrunchie that lost its scrunch).
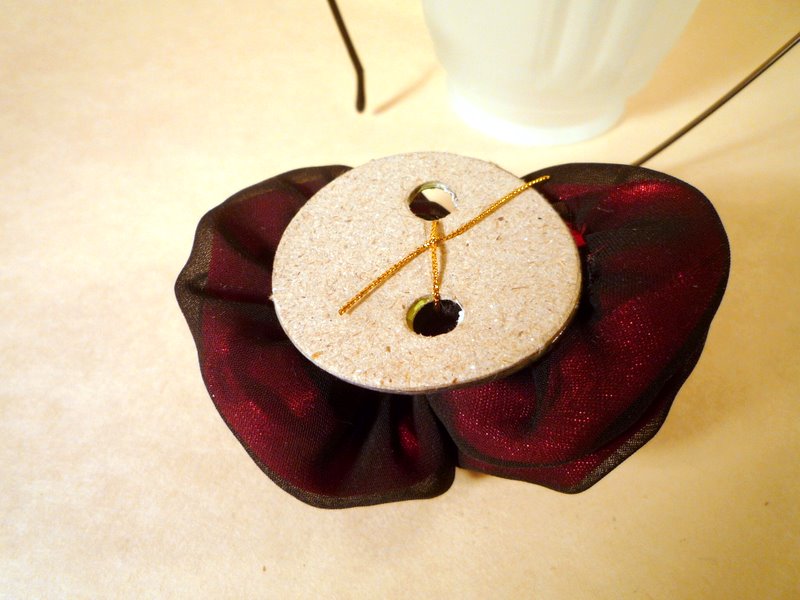
 The key to this project is the two-holed tag. Tie the flower to the tag...
...then slip the headband through the two holes.

You end up with...
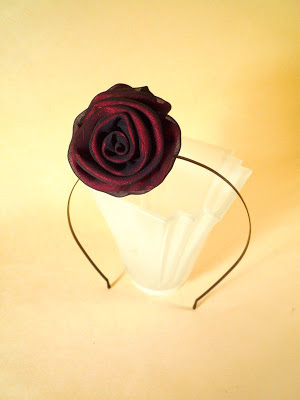 Fancy headband!
I've seen them in stores with big price tags and all kinds of embellishments: huge flowers, feathers, weird 'fascinator'- type creations. You could make dozens of these and slip them on and off one headband to match any look.
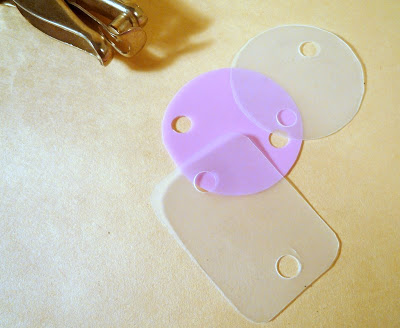
No chipboard tags? Make your two-holed base from any plastic or cardboard that's reasonably stiff, thin enough to cut but still slightly flexible. These are from the recycling bin:
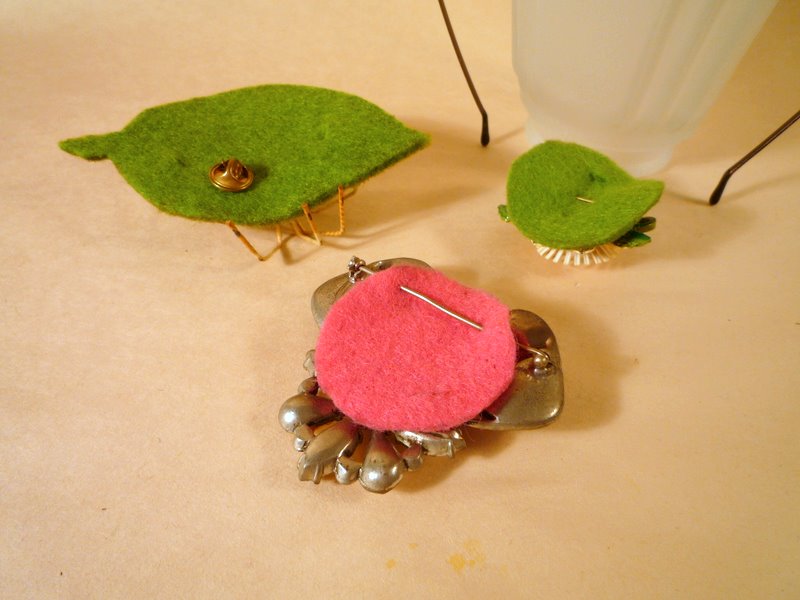
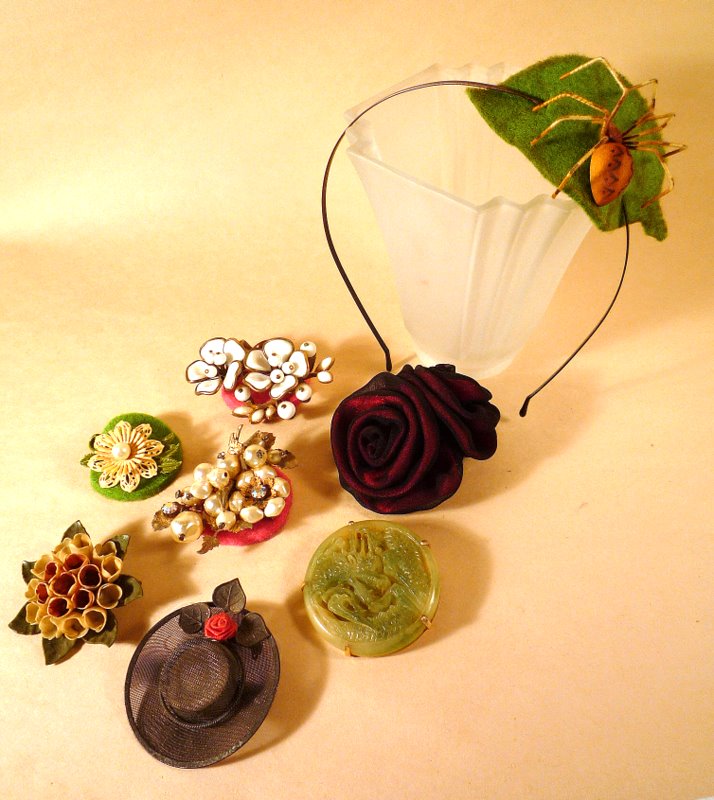
Here's a retro/neato variation, still using the two-hole, slide-it-on-and-off concept:
I cut some felt shapes, and made two small slits instead of holes (a little hard to see in this pic, but they're there). Then I pinned on some big brooches.
 Wahlah! Fancy brooch fascinators.

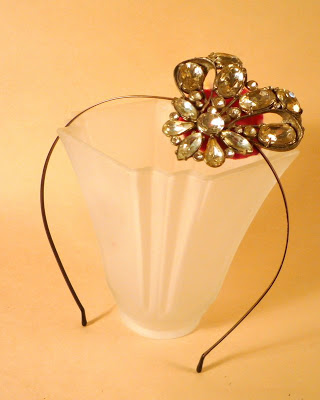
I've been collecting pins forever and have a ton of pretty, retro or bizarro choices. Here are just a few ideas:

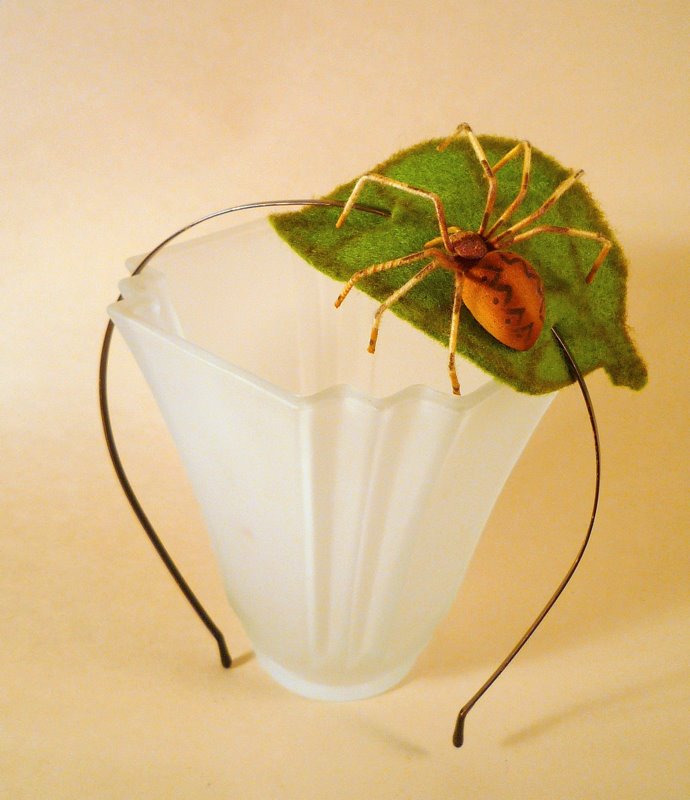
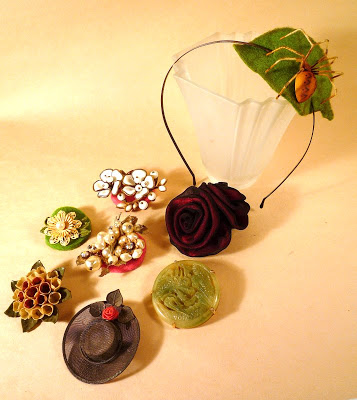 This one's my favorite:
 "Ahhh! Mommy, mommy, that lady with the big head has a spider in her hair!"
Thanks again for checking out my adventures in stash busting. It's been crazy fun. Hope you will continue to visit; I have ideas percolating even now.
Hi! This is project 9 of 10. For first time visitors, please see previous posts on the SuperSecret Stashbust challenge - a really fun project initiated by Heather M. from the amazing blog Dollar Store Crafts.
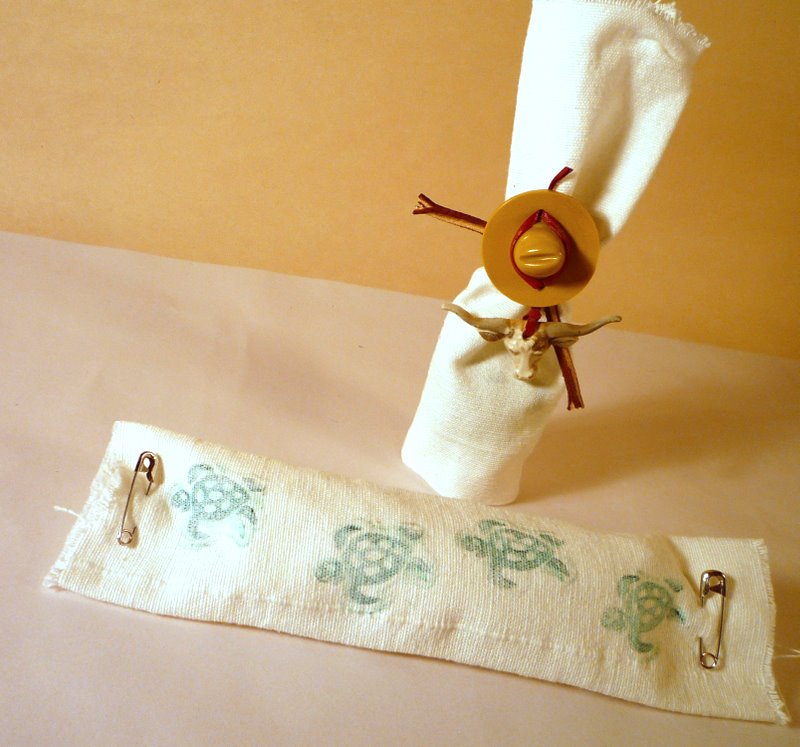
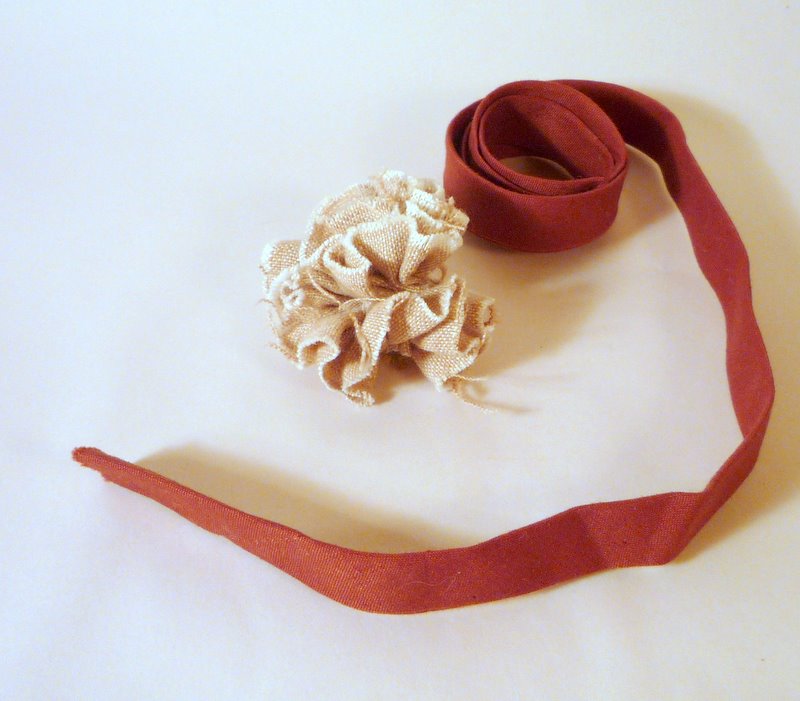
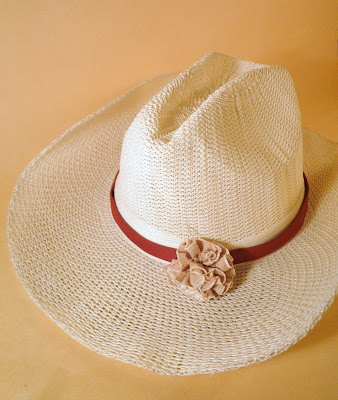
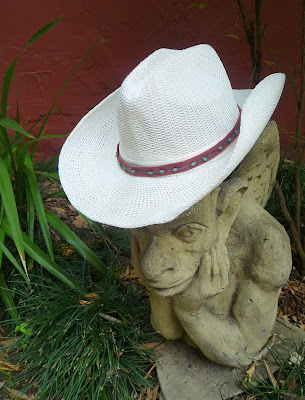
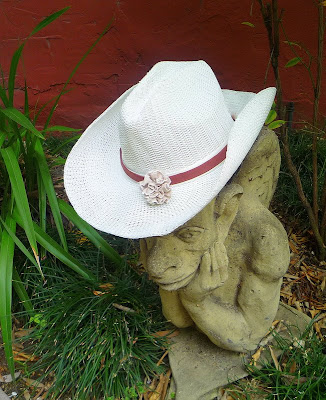
Today I have grabbed three items from the challenge stash: a thin strip of folded fabric, a cute linen flower and some novelty yarn:

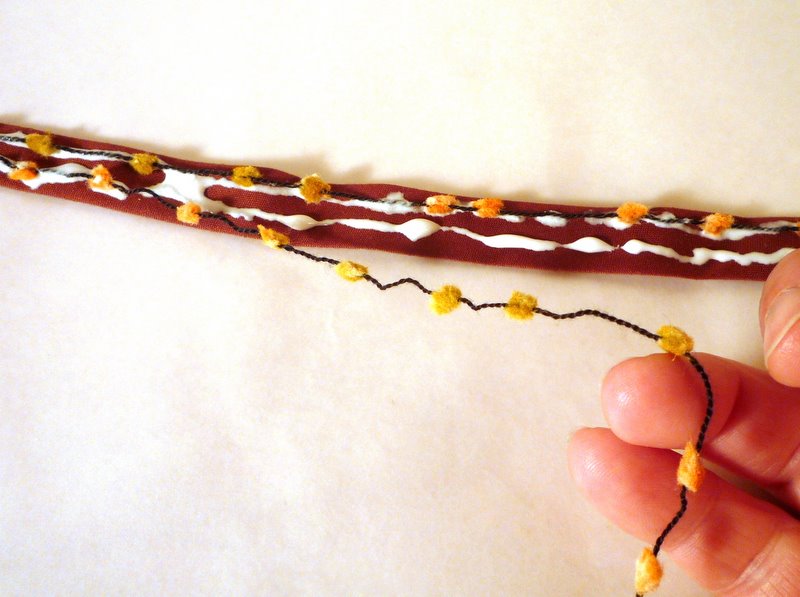
 Let's see what I did with 'em! First, I embellished two pieces of the fabric strip with a little bit of yarn, using basic white glue.
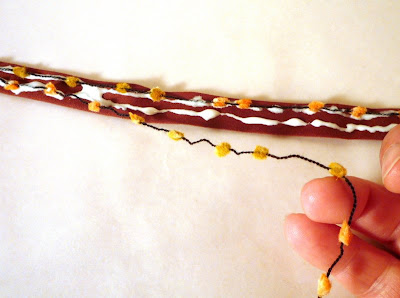 I used fabric paint to color some of the yarn robin's egg blue for a different look.
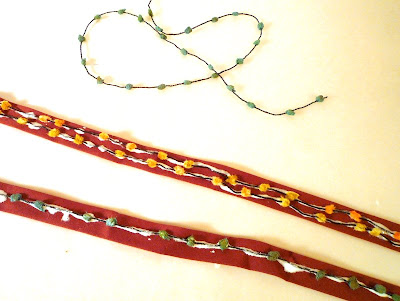
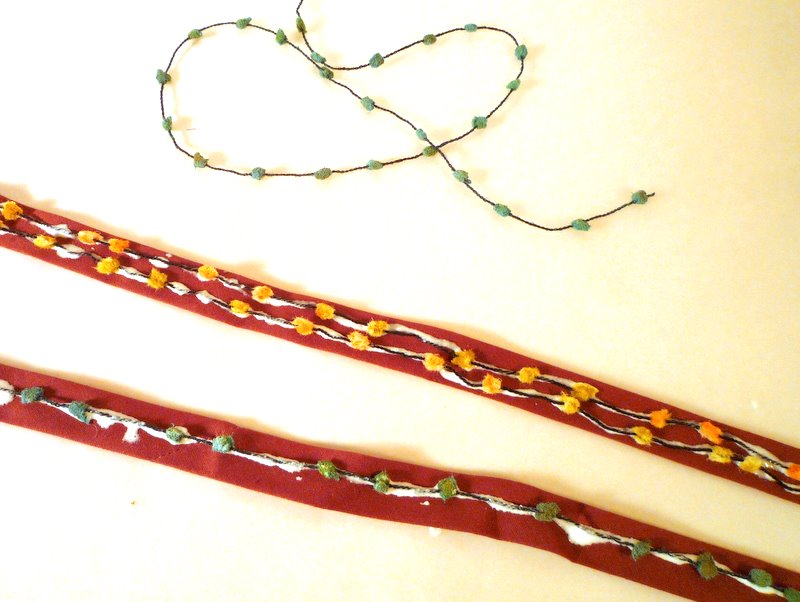
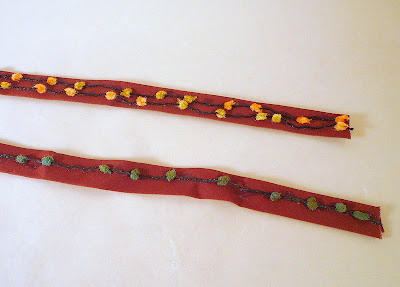
When dry, they ended up like this:
 I embellished a third length of fabric with the linen flower, using my legendary "just barely manages to sew on a button" needlework skills.
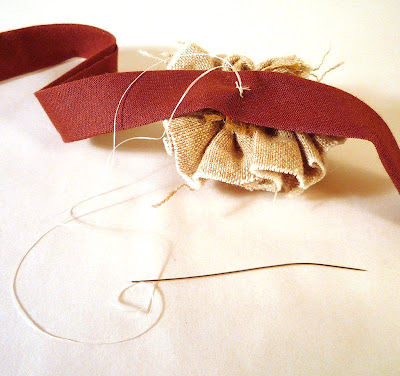
Finally, I added a simple velcro closure to each piece.
 I happened to have some of the glue-on kind, but you could use any kind of closure you prefer - snaps, hook-and-eye, sew-on or self-adhesive velcro.
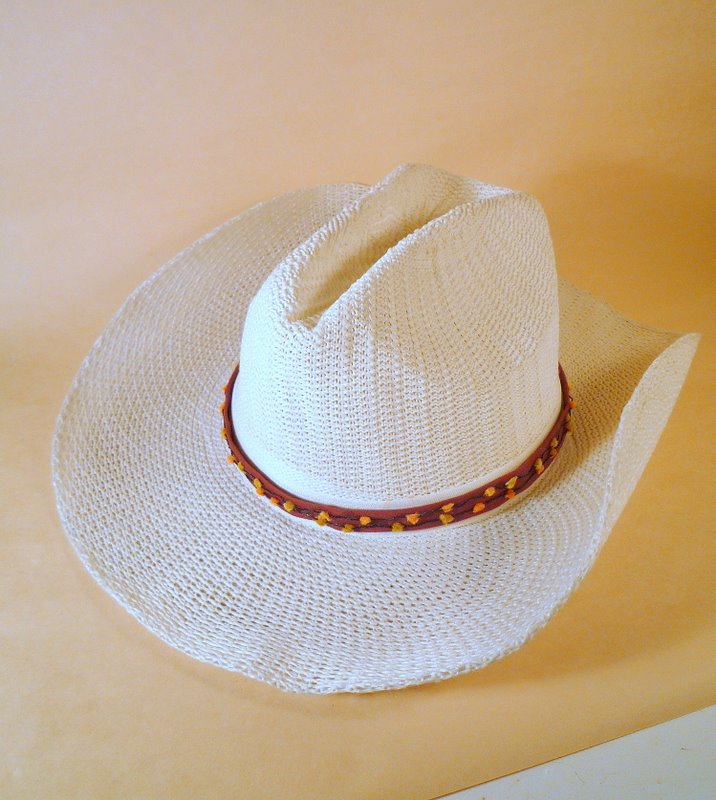
So what have I made?
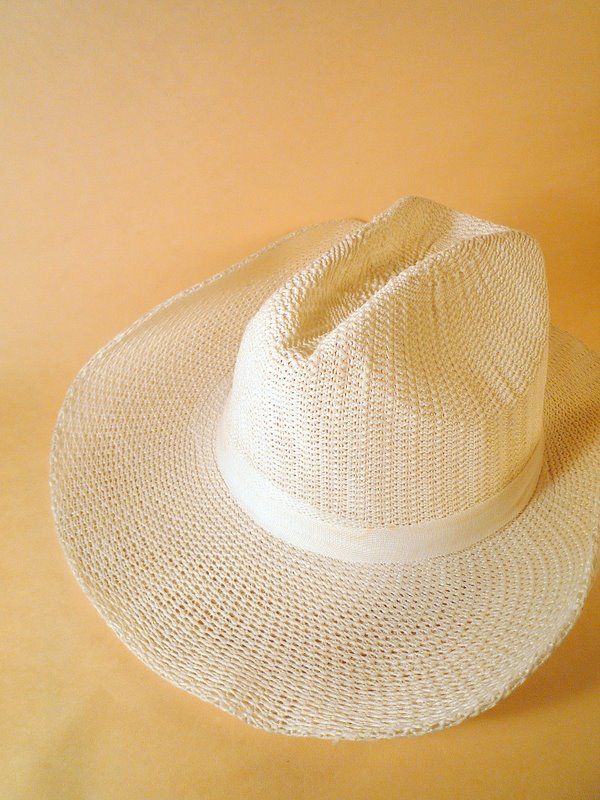
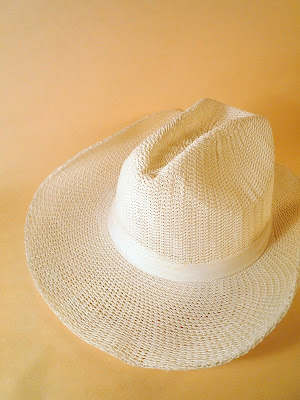
Here is my white cowgirl hat, regular.
Here is my white cowgirl hat, SuperSecret StashBusted!

 My favorite thing about this simple project is the velcro idea: the ability to change out hatbands. It's thrifty...it's a true blank-slate project you can take in any direction...
And it's especially great if you have a big head and can hardly ever find a hat that fits! Yes, I am talking about my big-head self.
Who needs three hats? Who needs ten hats? All I need is one, infinitely convertible.
Yee haw!