
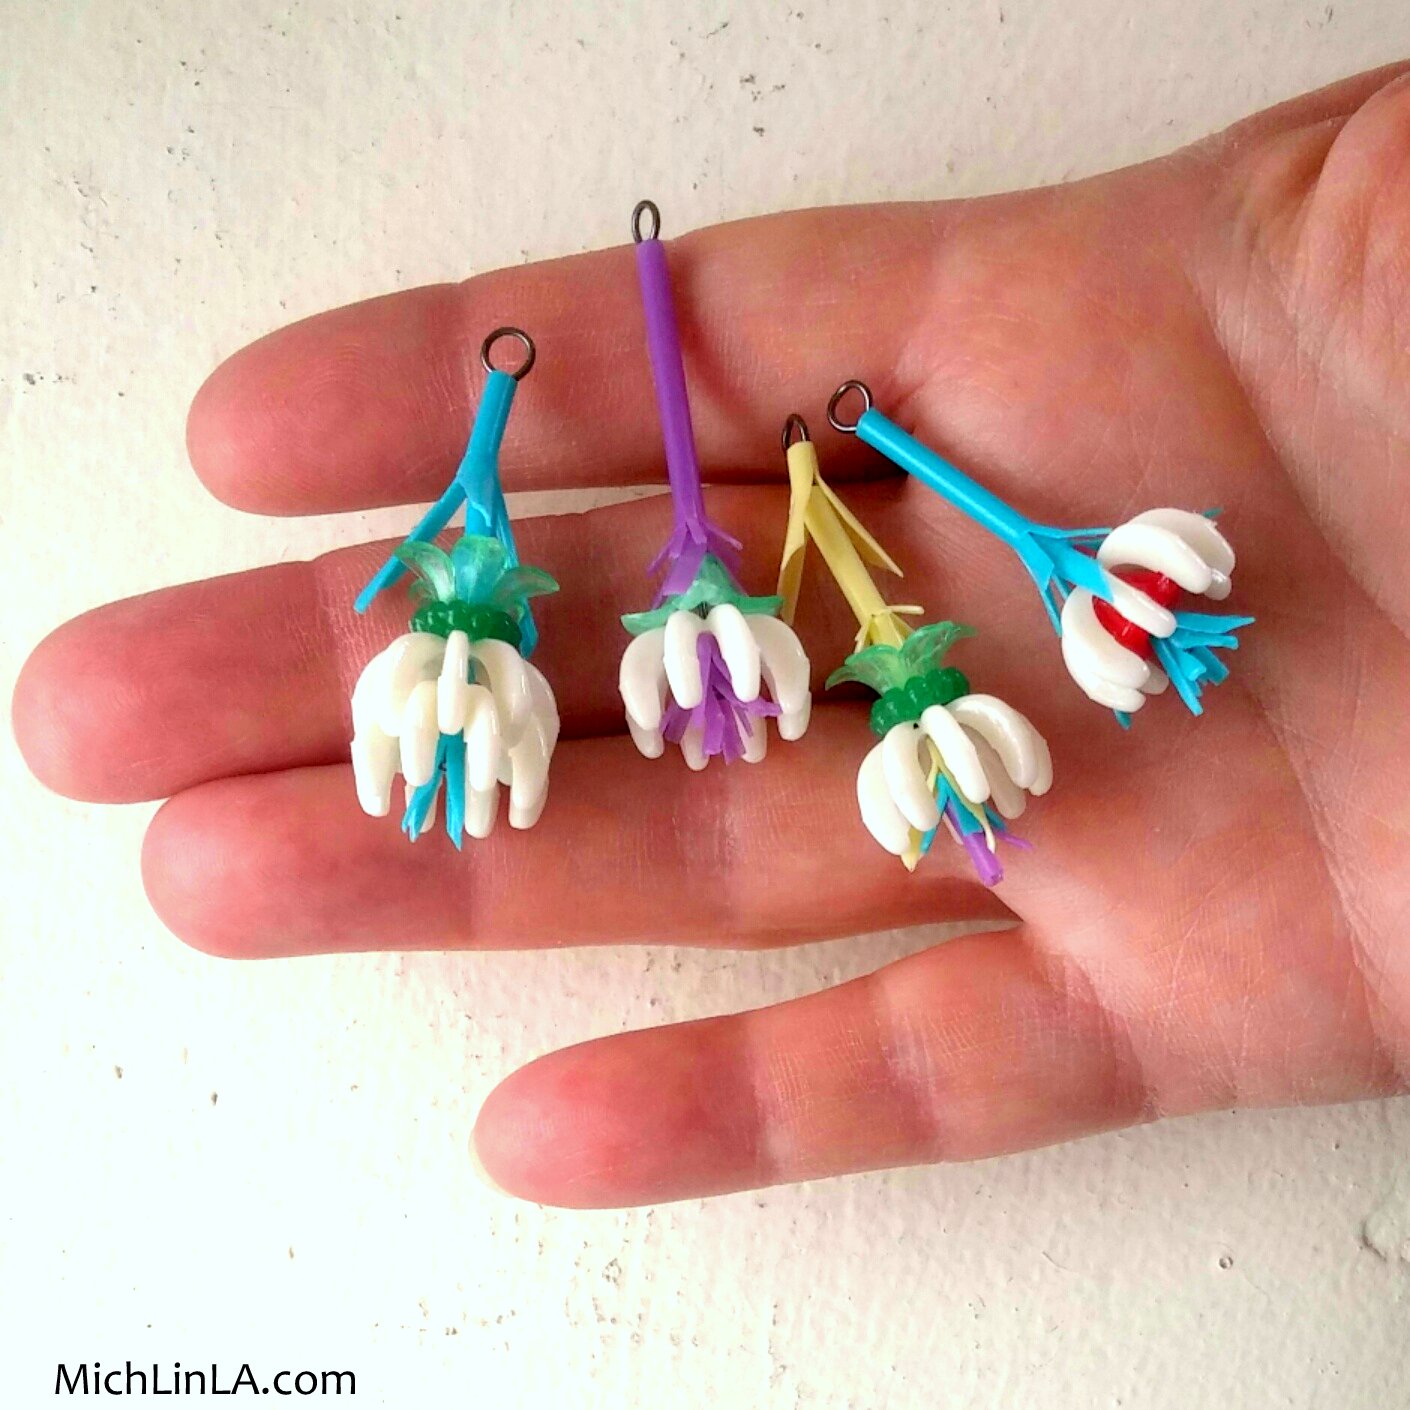
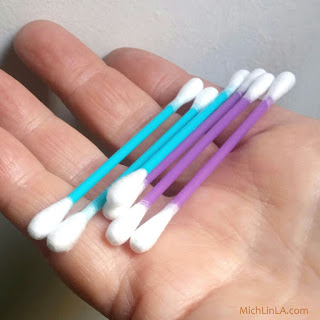
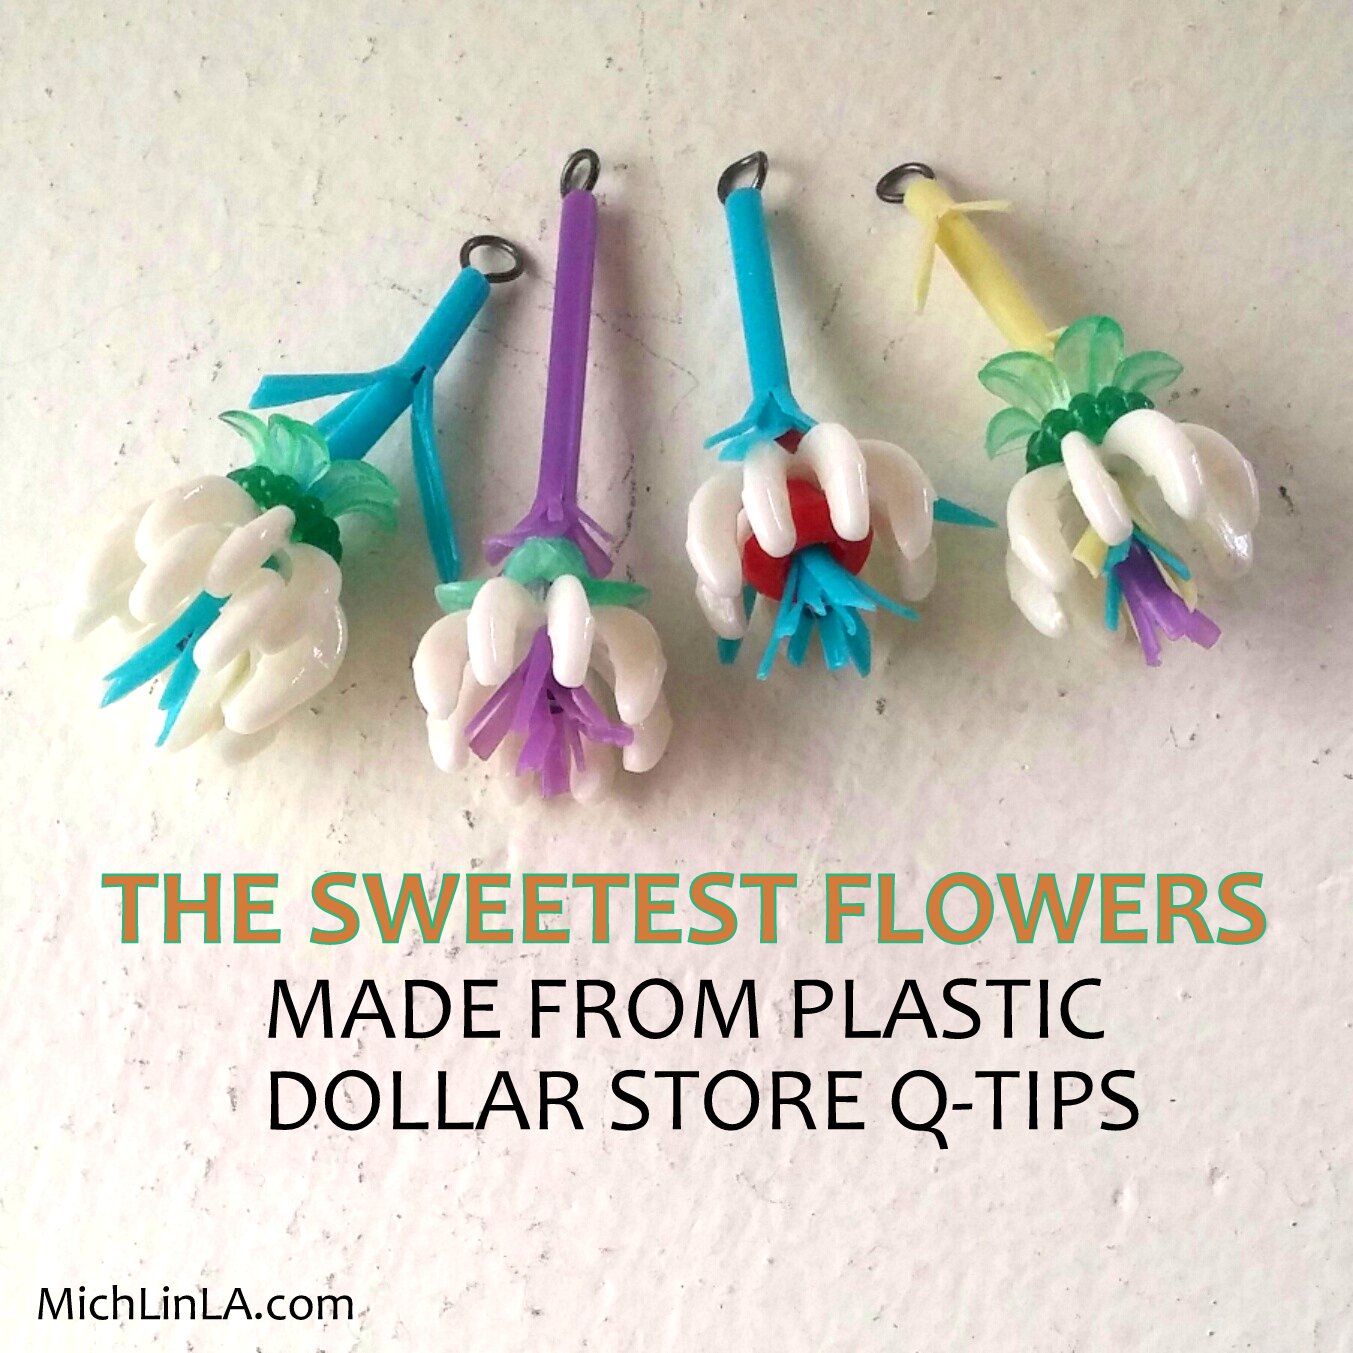
Some of you have no doubt guessed the upcycle: these inexpensive, brightly colored plastic Q-Tips.
I put together a big bunch of the flowers without really knowing what I wanted to do with them. The fun was in the making!
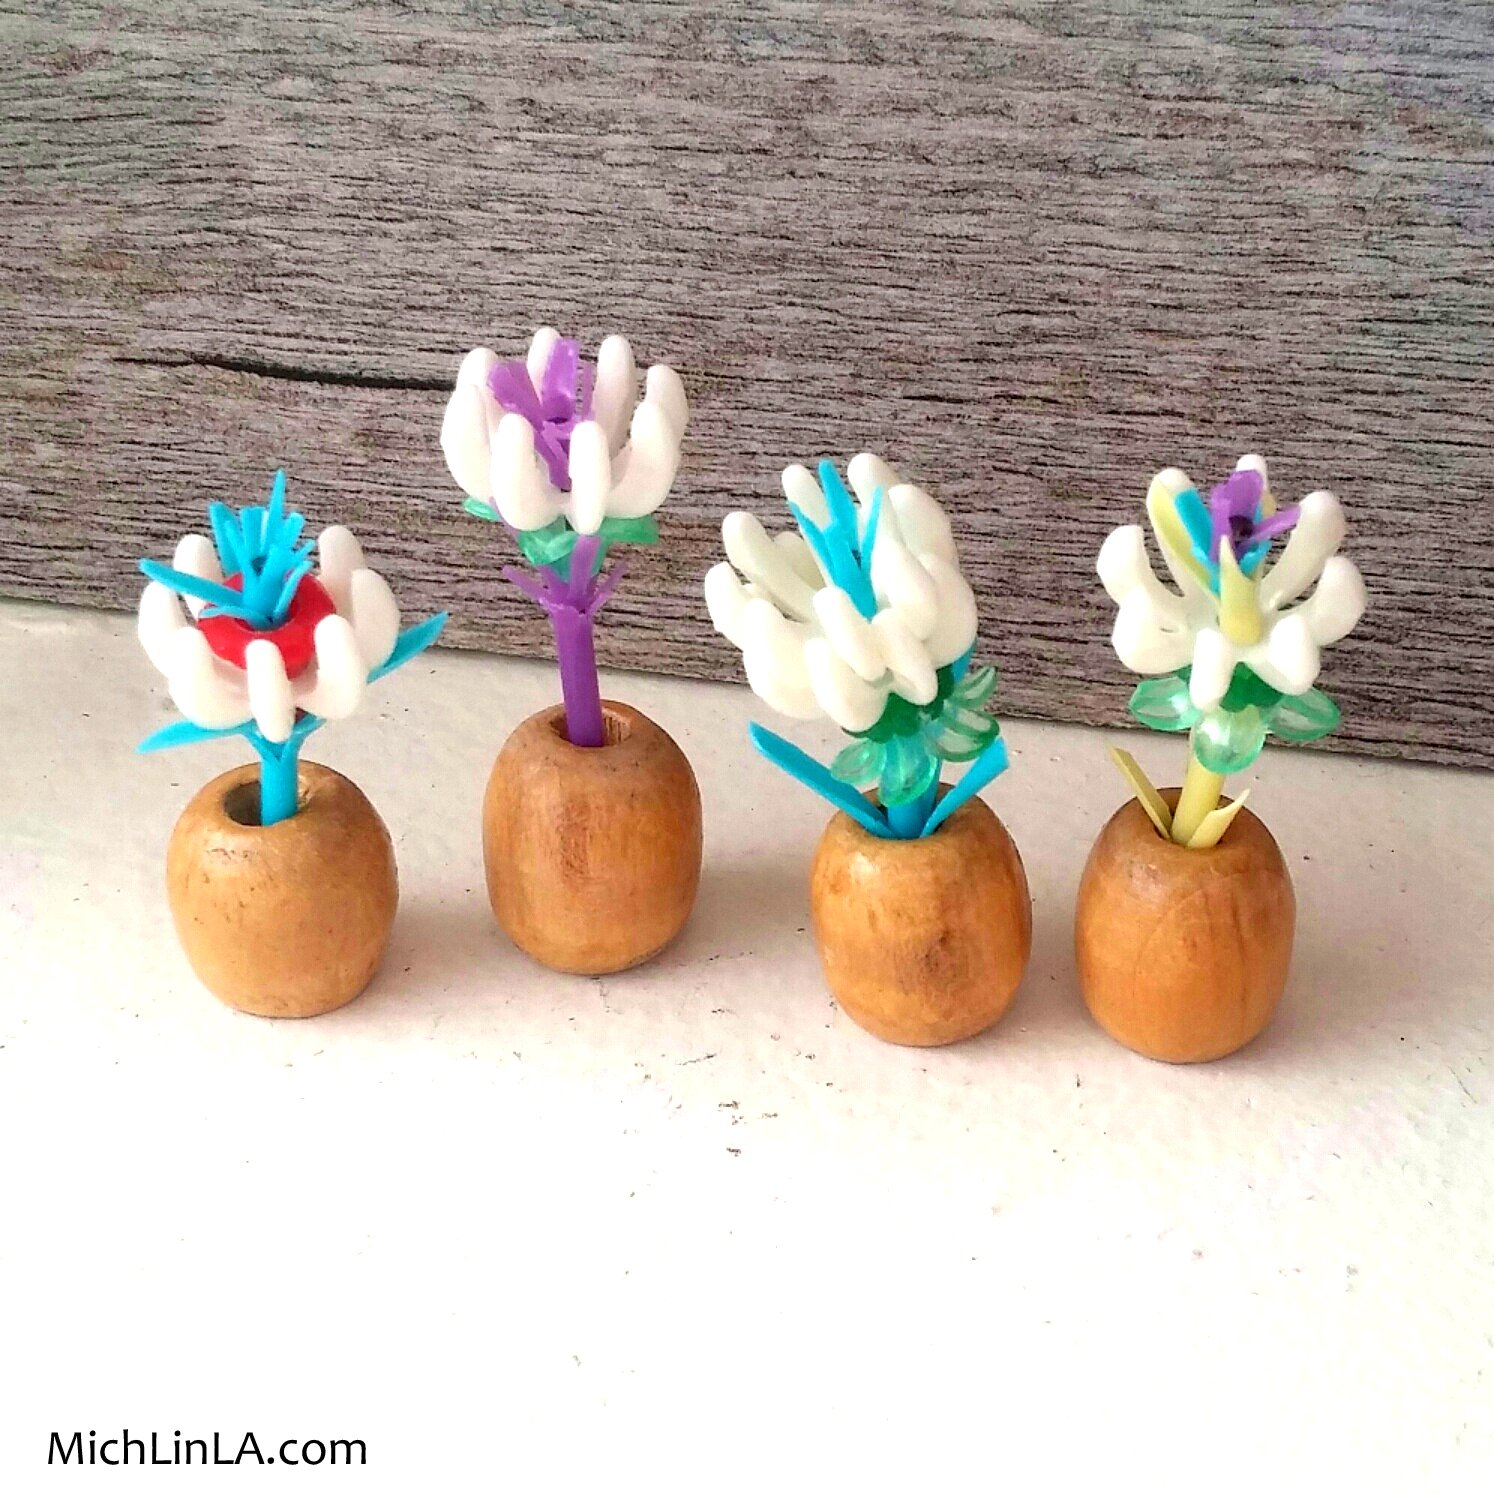
Then I assembled some miniature vases for dollhouse decor:
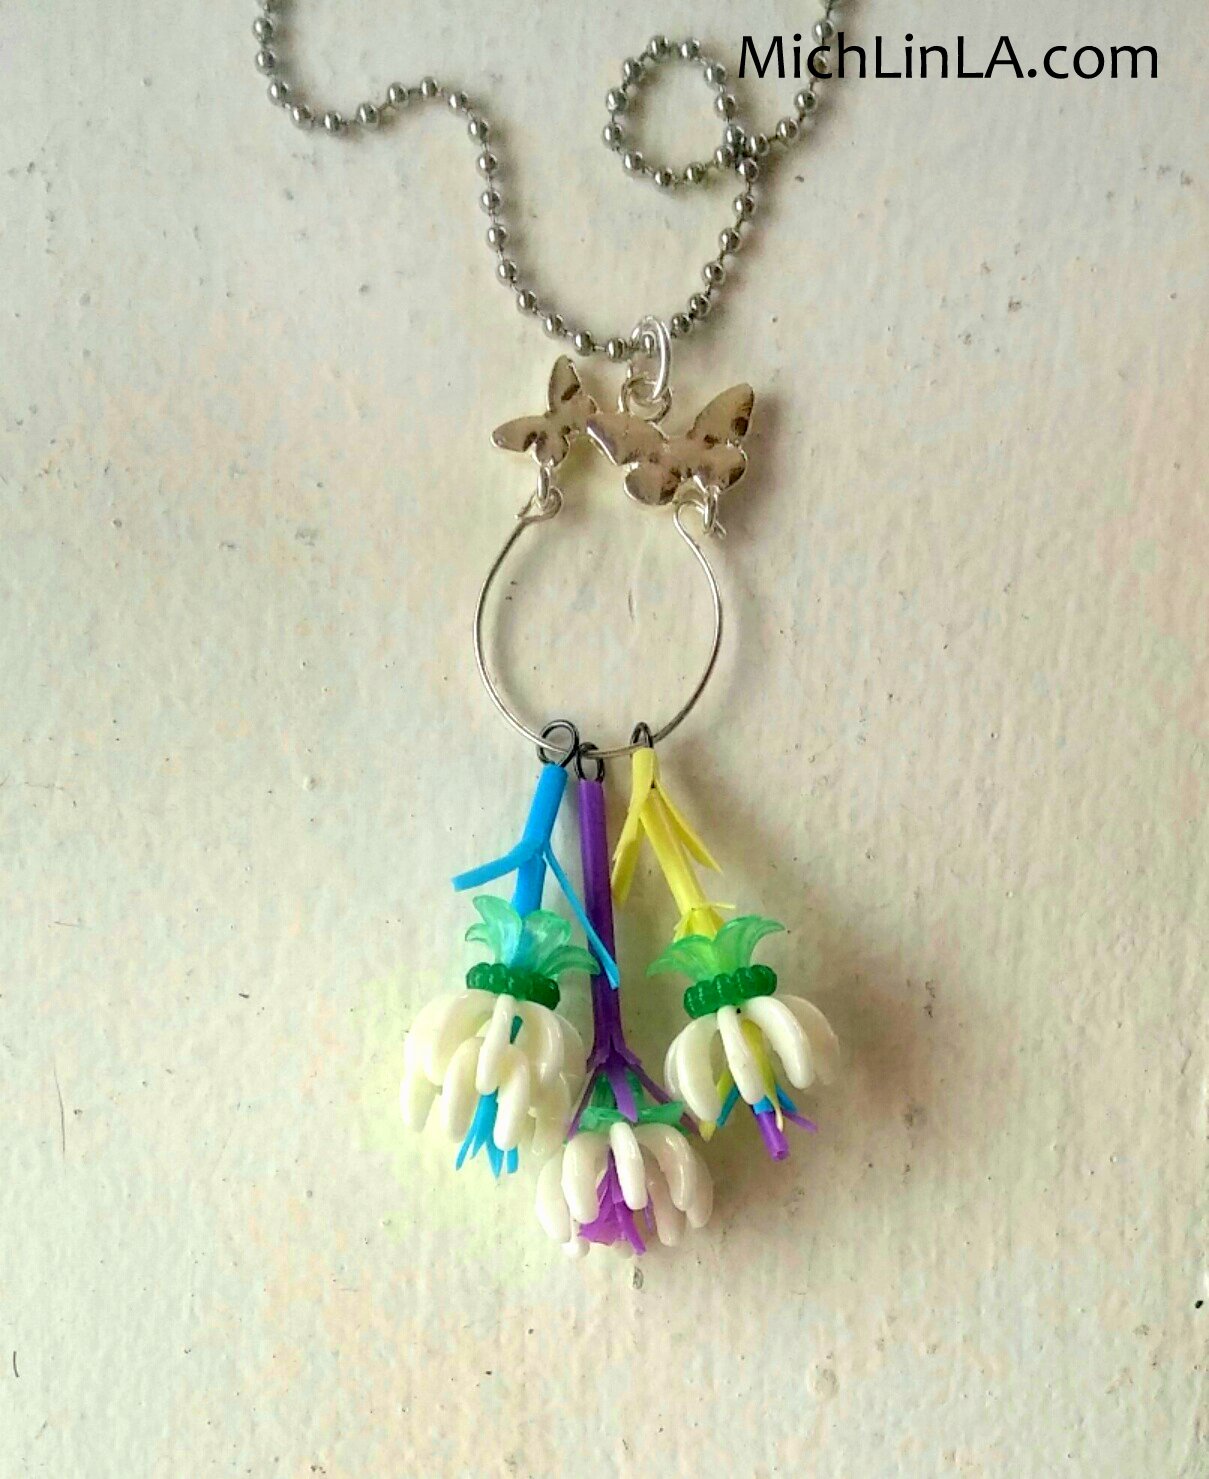
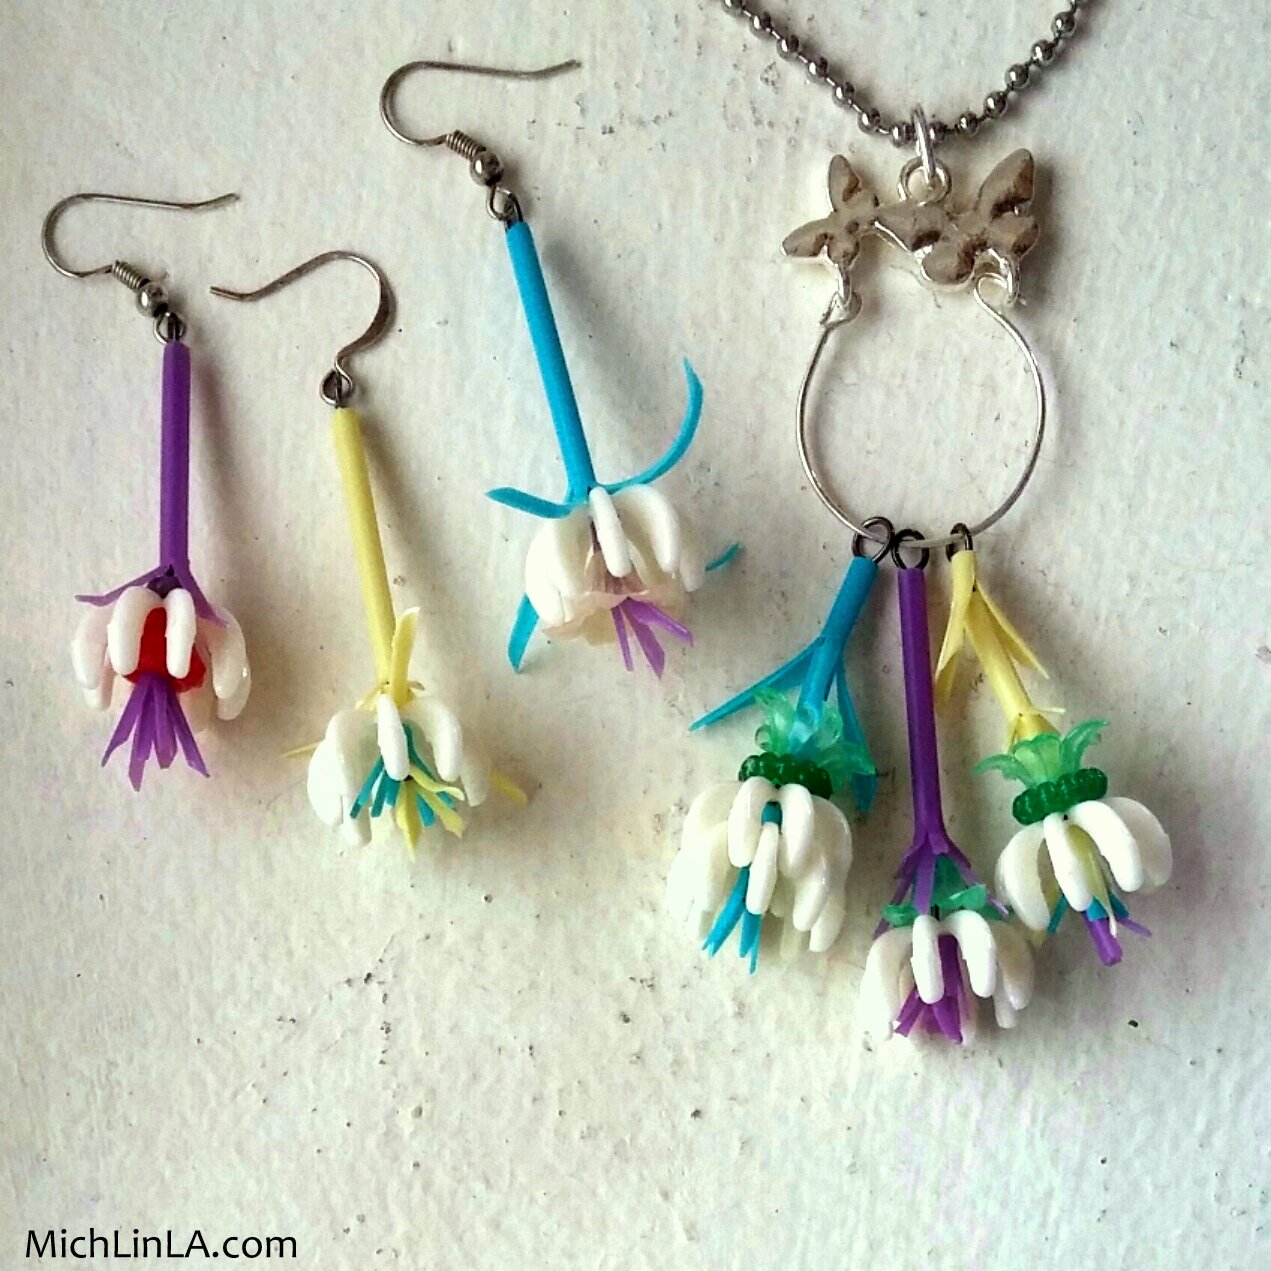
After that it was time for jewelry, of course. A charm holder-style necklace with a floral cluster:
And some single dangle earrings, a cute trend right now.

Want to DIY my little Q-Tip flowers? Here goes!
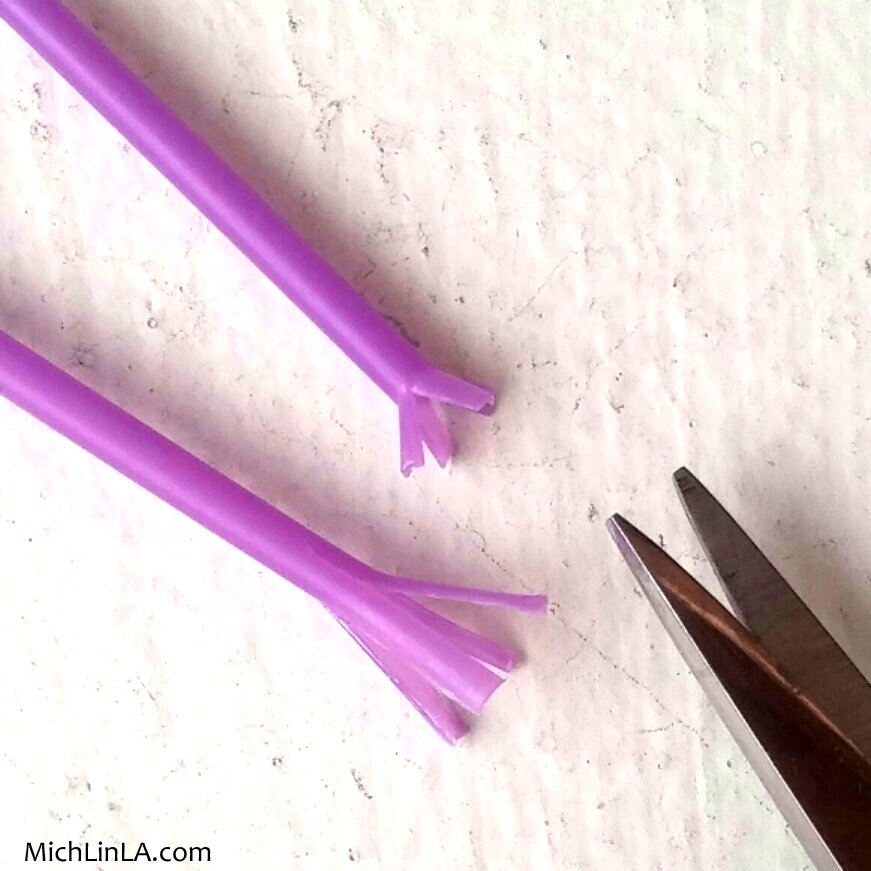
Snip the cotton blobs off a plastic Q-Tip. With your pointiest scissors, cut three or four slits in one end - long slits or short, to make different size flared ends.
This next move is optional, but I do think it adds something: trim the square corners of the 'petals' for a more organic look.
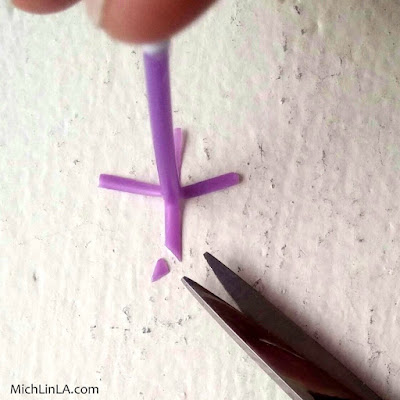
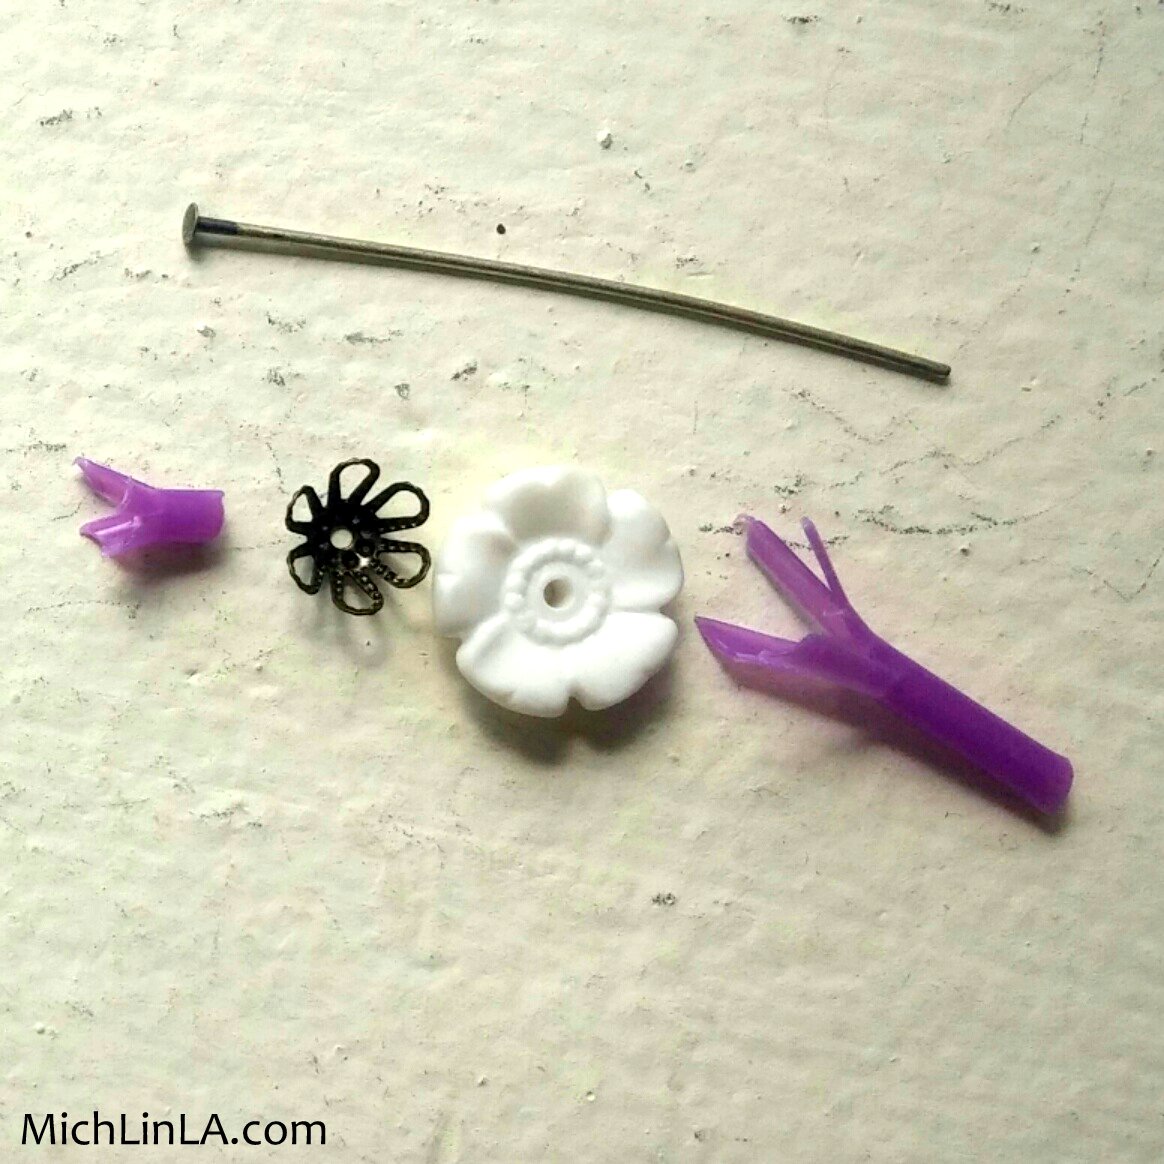
Now the fun part: designing a flower. Cut your flared stems into different lengths. Stack the segments on a headpin, along with various floral-shaped elements like bead caps or plastic flowers.
Finish with a simple loop to hold everything together.
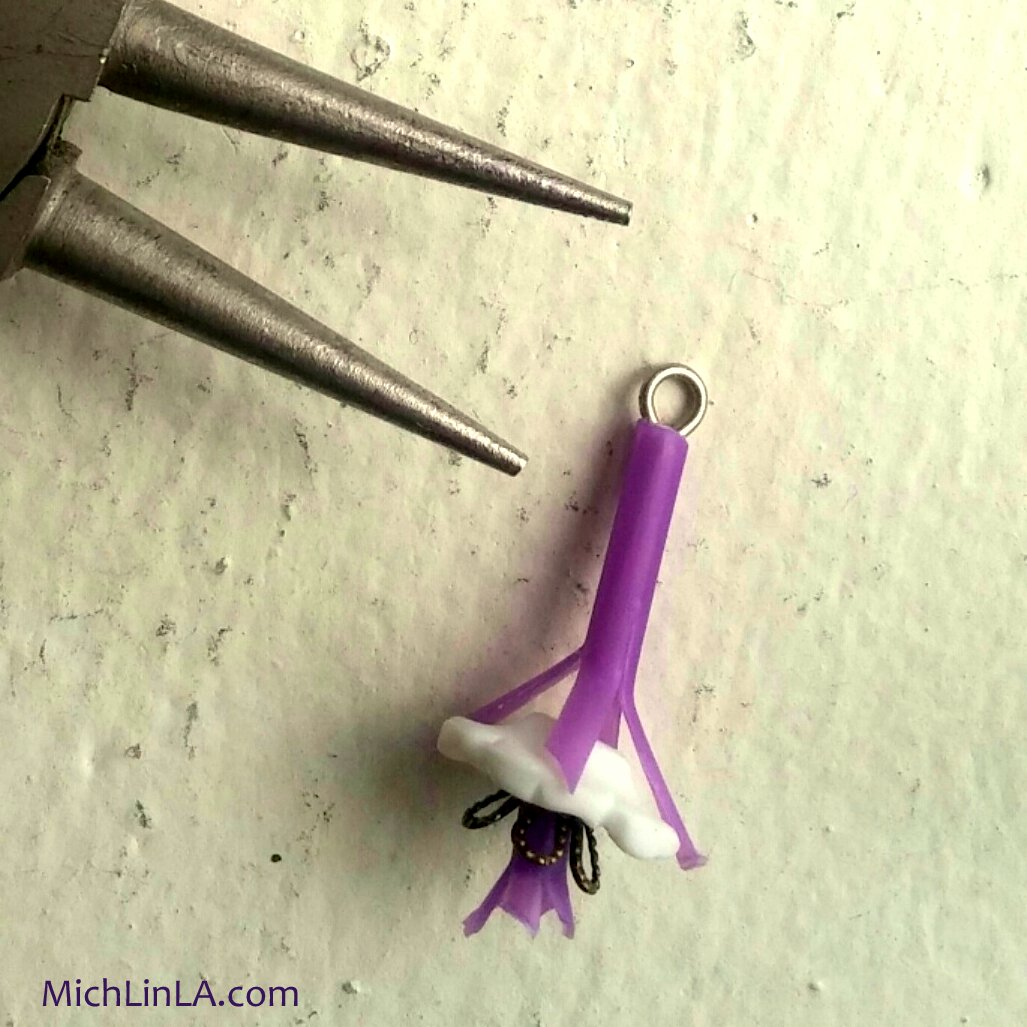
Bing! It's a flower!
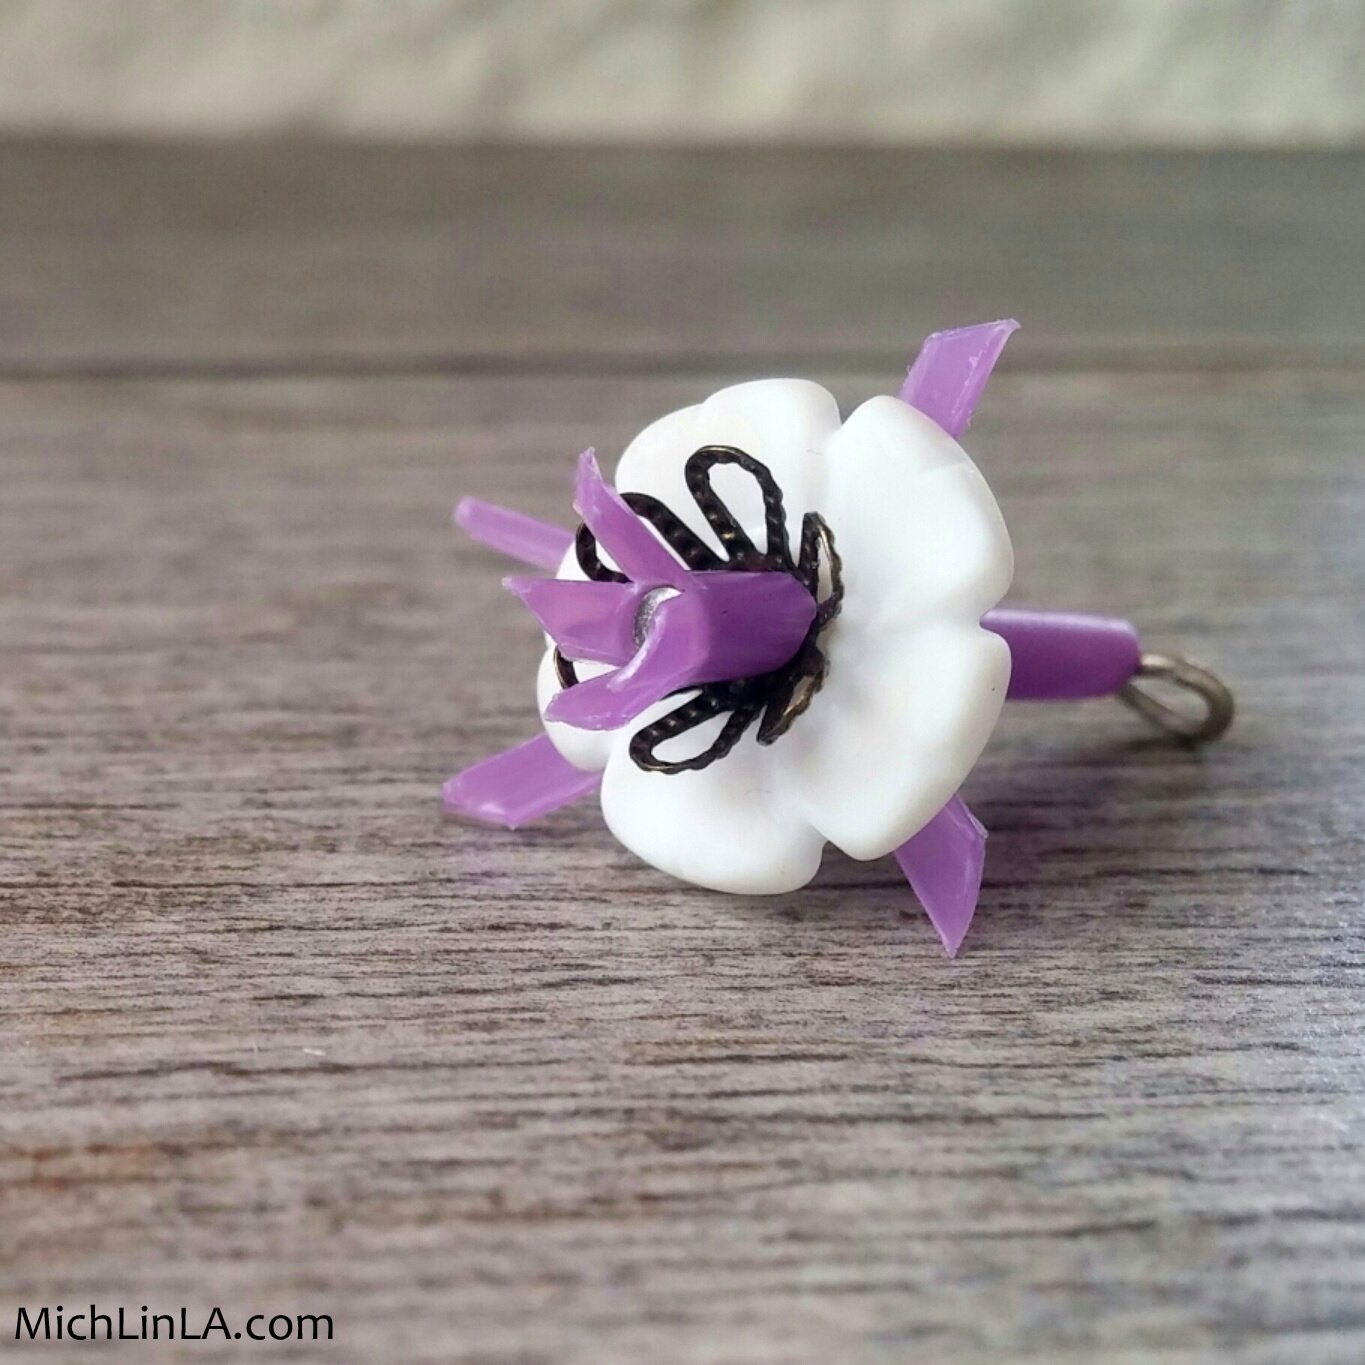
As you see, that one is the most basic version. As you add more layers, the flowers grow in weirdness and cuteness! There is much entertainment to be had, experimenting with material, length and shape.
So I had some other thoughts on ways to use the flowers.
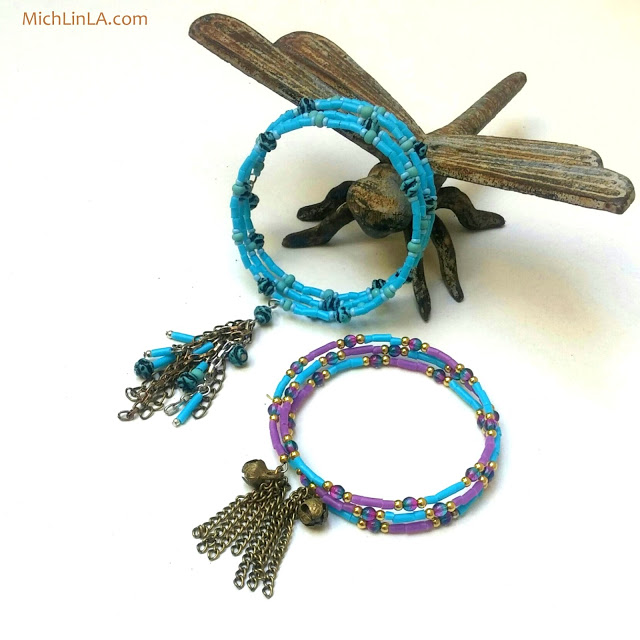
*Strung on a beaded garland, draped across a spring mantel.
*What about planting a few in a fairy garden? Unlike old fashioned Q-Tips, these babies are waterproof and weather friendly.
*Make longer stems and group them in a bouquet - just the right size for your favorite kid's 18" doll.
Have you got any more? I know you guys are smarter than me. Please add your ideas in the comments!
Oh, in case you missed it, check out the tutorial for another idea for using these pretty Q-Tips!
It's almost spring, my friends - time to get flowering.
Just when I thought Q-tip jewelry couldn't get any cuter, you come up with these colorful blooming creations. I can see a picture of these earrings on the front of every Q-tip box.
ReplyDeleteFabulous Mich, thanks for sharing on craft schooling Sunday! And I see you're getting into the Pinterest thing with that photo at the bottom, just thought I'd share the knowledge that for Pinterest it is best to make photos as vertical and long as you are comfortable doing as they then show up in the feed in a more visible way (apparently) all the best!
ReplyDeleteOh, gosh, that is a great tip! Thanks Sara - I am such a clueless social media user, I do appreciate it. Mwah!
DeleteMich,
ReplyDeleteWhat is the white flower part? Is it a regular bead or something else you made?
Maureen
Hi, Maureen! Oh, I meant to include a link - it's a cool little vintage bead cap from Fire Mountain: http://www.firemountaingems.com/itemdetails/h20g5527cl Not sure if they still have them in stock.
DeleteThis is something WOW, cute and interesting! looks amazing. Thank you for sharing with us.
ReplyDelete